How to Make a Spaghetti Strap Tank Top - Easy Sewing Tutorial

Today, I’m going to be showing you how to make a spaghetti strap tank top with loop and knot front closures. This is a light, breezy top that will be a perfect addition to your summer wardrobe.
It’s also a very simple pattern and an excellent project for those who are just learning how to sew. So follow along with this tutorial, and I’ll show you how I made this adorable DIY spaghetti strap tank top.
Tools and materials:
- Woven fabric
- Tank top (to trace)
- Fabric chalk
- Ruler
- Measuring tape
- Pins
- Scissors
- Loop turner
- Needle and thread
- Serger (optional)
- Sewing machine

1. Measure and mark the fabric
I began by folding my fabric in half and using a tank top I already owned, folded lengthwise, as a reference to draw the pattern.
Because the tank top I was tracing is stretchy and the leopard-print fabric was not, I added 5 centimeters (2 inches) to my bust measurement, so my new top would fit properly.
I divided my bust measurement by 4 and marked the new measurement on the fabric. Then, I traced around the rest of the shirt, adding half an inch of seam allowance all around.
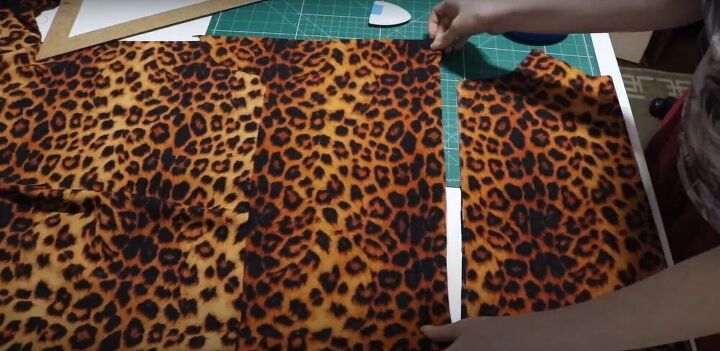
2. Cut and serge the fabric
I cut out the fabric along the lines I marked. Then, I folded the fabric again lengthwise and used the first piece I cut out as a guide to cut a second piece that would be the back of my tank top.
Finally, I folded the fabric again and cut a front facing and a back facing by cutting around just the top half of one of the bodice pieces.
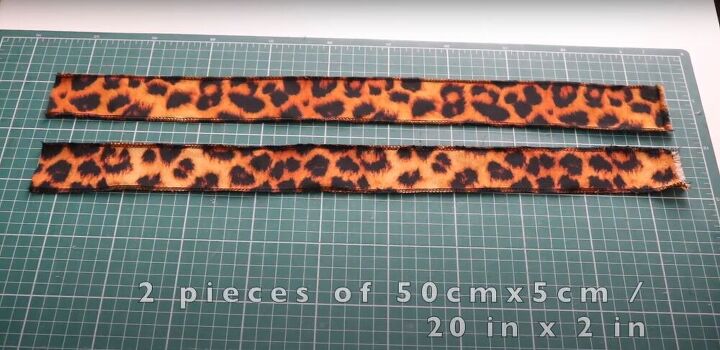
I also cut two straps, each 50 centimeters by 5 centimeters (20 inches by 2 inches). Then, I serged the raw edges of all the pieces. If you don’t have a serger, you can finish the edges with a zigzag stitch.
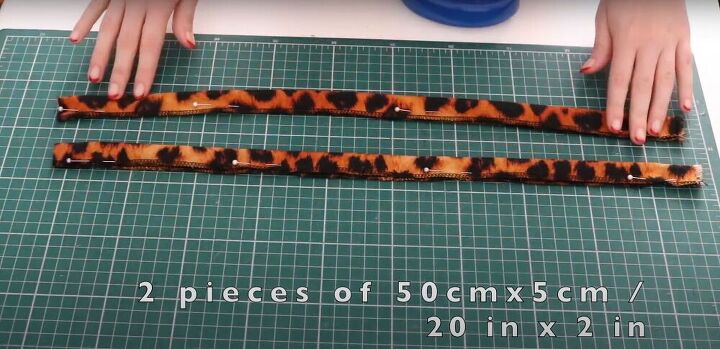
3. Pin and sew the straps
To begin construction, I folded the straps lengthwise, and pinned and sewed them down along the long edges.
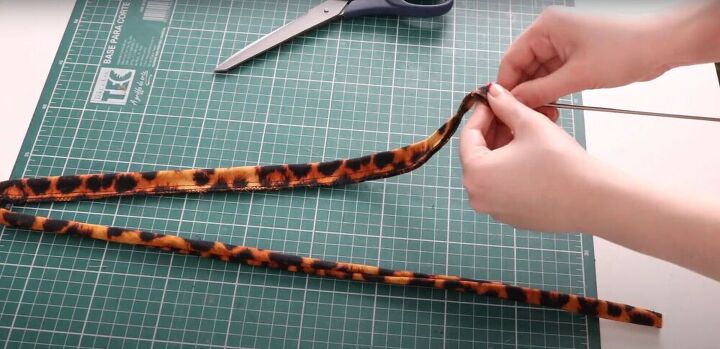
4. Turn the fabric
I used a loop turner to turn the fabric of the straps right side out.
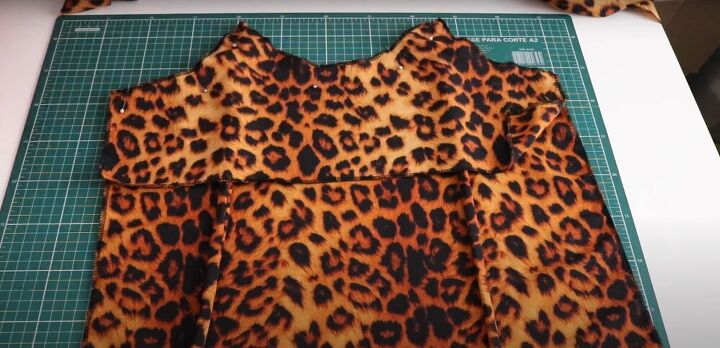
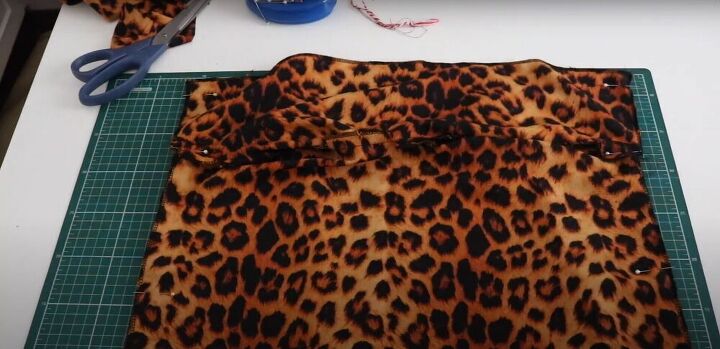
5. Pin and sew the bodice
I placed the back bodice piece with the right side facing up. I laid the ends of the straps in their proper places along the top edge of the top, and then laid the back facing in place on top of the straps, with the right side of the fabric facing down.
Then, I pinned the straps in place, pinned the bodice and facing together along the armholes and neckline, and sewed them down with a straight stitch.

6. Cut, pin and sew the loop detail
For the loop detail in the front of the top, I cut a thin strip 3 centimeters (1.5 inches). I folded it in half, then folded it in half again to make a very thin spaghetti strap, pinned it, and sewed it down.
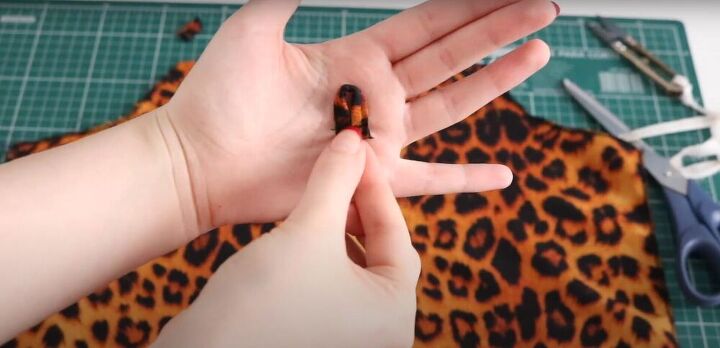
7. Cut and sew the loops
Then I cut two 5-centimeter (2-inch) pieces from the strip. I made a loop with each piece and secured them with a straight stitch.
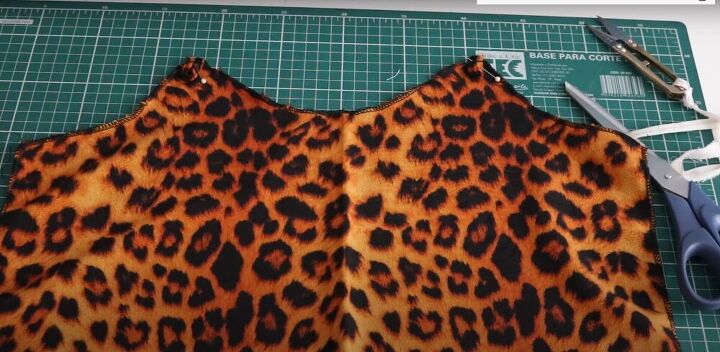
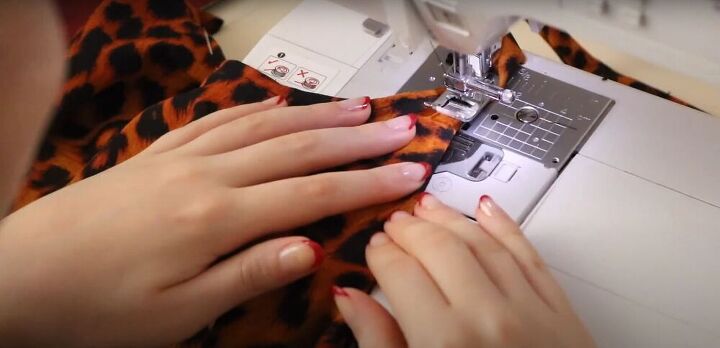
8. Pin and sew the facing
I pinned the loops in place on the front bodice piece, with the loop pointing downward. Then I laid the front facing on top of the front bodice, right sides facing, and pinned and sewed along the armholes and neckline.
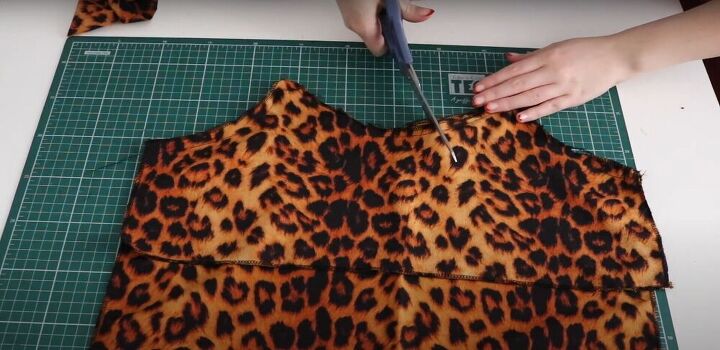
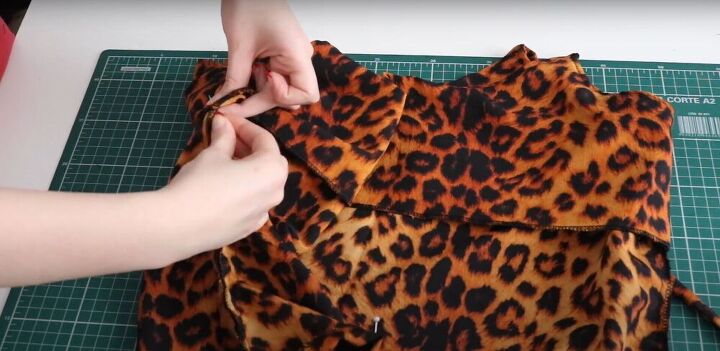
9. Snip the edges
After sewing the facings to the bodice pieces, I used scissors to make a few snips along the curved edges of the seam allowances, which will allow the fabric to lay flat once it’s turned right side out.
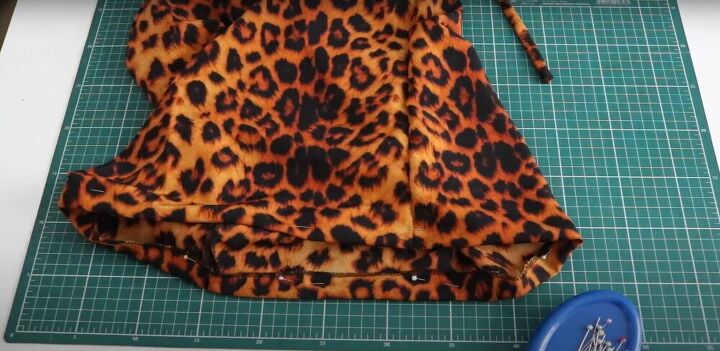
10. Pin and sew the side seams
Next, I laid the front and back pieces right sides together, each with the facing piece flipped upwards, and pinned and sewed the side seams together.
11. Topstitch
After sewing the side seams, I turned the top right side out and topstitched along the edges of the armholes and neckline on both the front and back of the top.
12. Hem
To hem the top, I folded the bottom edge once, pinned it in place, and sewed it down.
13. Sew the facings
Lastly, I hand-stitched the facings to the seam allowance of the side seams to hold them in place.
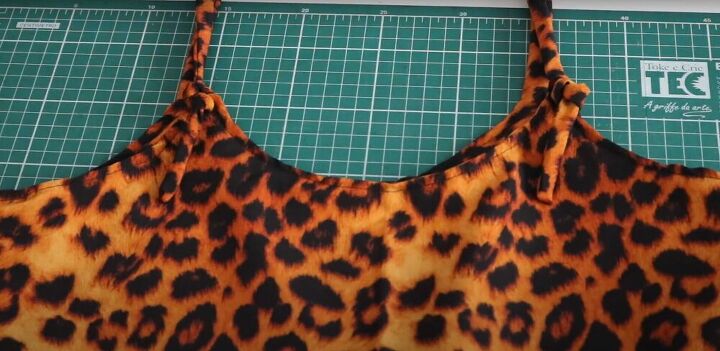
To tie the straps, I pulled the ends through the loops, and tied a knot in each one, leaving a few inches of the strap hanging down.

How to make a spaghetti strap tank top tutorial
And with that my knotted DIY spaghetti strap tank top was complete! I hope you found this tutorial helpful. Let me know what you think of my DIY spaghetti strap tank top pattern. How would you style this cute summer top?
The author may collect a small share of sales from the links on this page.


Comments
Join the conversation