How to Sew a Crop Top From Scratch: Simple Step-by-Step Tutorial

Today’s tutorial will take you step-by-step through how to sew a crop top. We'll be using the June crop top pattern, which gives you a choice of three different necklines, so you can choose the style that suits you best.
If you’re ready to sew a crop top, then let’s get started!
Tools and materials:
- 1⅛ Yards of knit fabric
- June crop top sewing pattern
- Scissors
- Pins
- Measuring tape
- Ballpoint sewing machine needle
- Serger or sewing machine
- Clapper
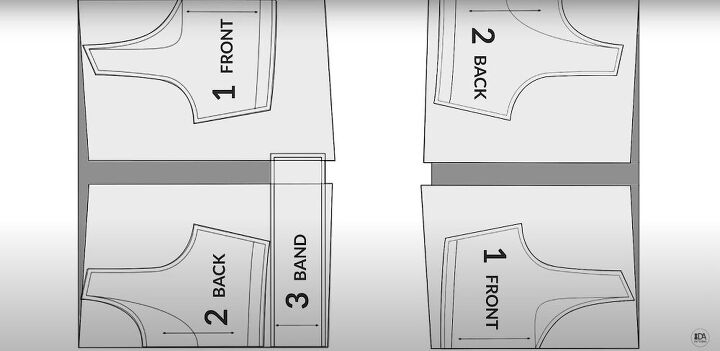
1. Cut out the pattern
To begin, use the pattern to cut out all the fabric pieces you will need for construction.
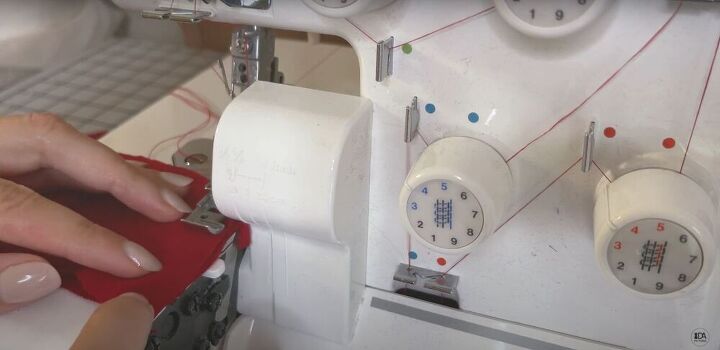
2. Sew the fabric pieces together
Once your fabric is all cut out, place the front and back pieces of the main fabric, as well as the lining, right sides together, and sew down the shoulder seams.
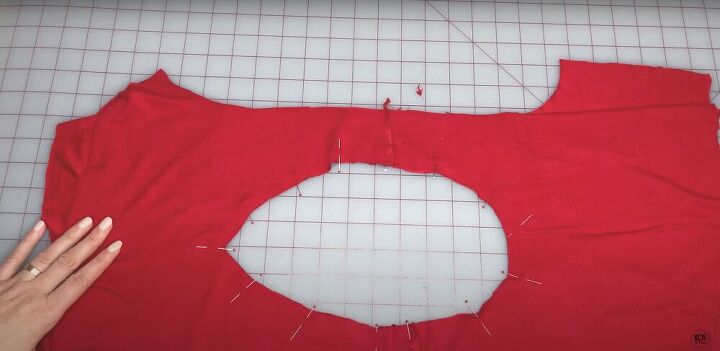
3. Pin and sew the fabric to the lining
Place the main fabric and the lining right sides together, pin them together around the neckline, and sew.
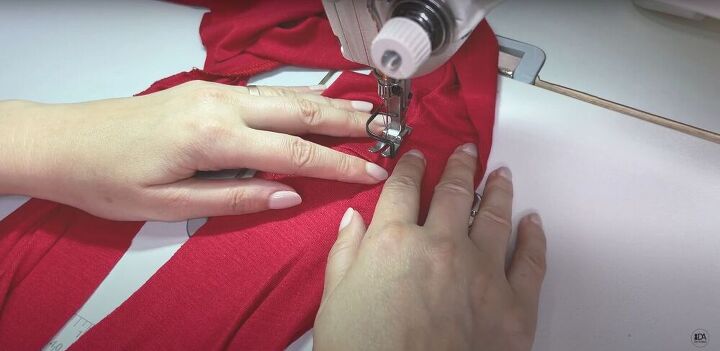
4. Understitch the neckline
Next, understitch the neckline from the lining side. This will reinforce the seam, and keep the seam allowances in place.

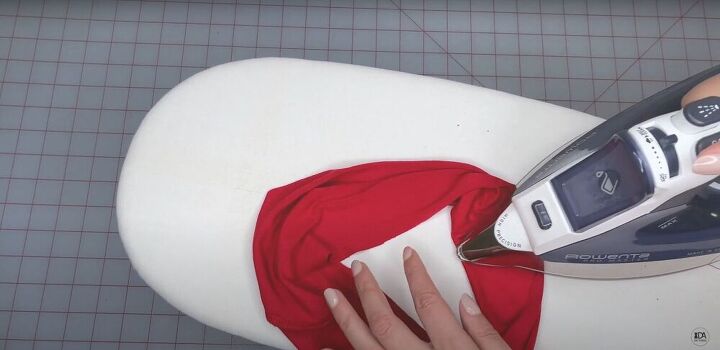
5. Press the neckline with a clapper
Press the neckline and cool it down with a clapper. If you don’t have a clapper, you can use a small pillow or the palm of your hand.
It’s important to wait until the fabric is completely cooled before moving it, as the pressing allows the fabric to hold its shape.
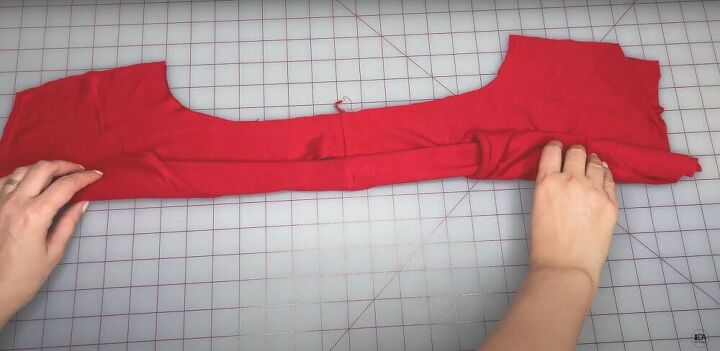
6. Pin and sew the armholes
Pin and sew the armholes using the “burrito method”, as described in the video from 3:15-3:53.
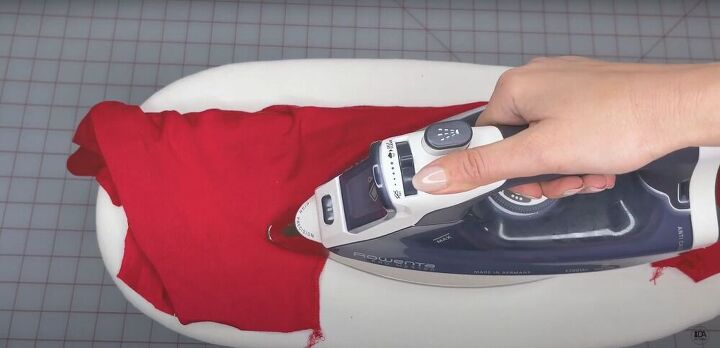
7. Press the armhole seams with a clapper
Press the armhole seams to get rid of any waviness in the seam. Allow it to cool before continuing.
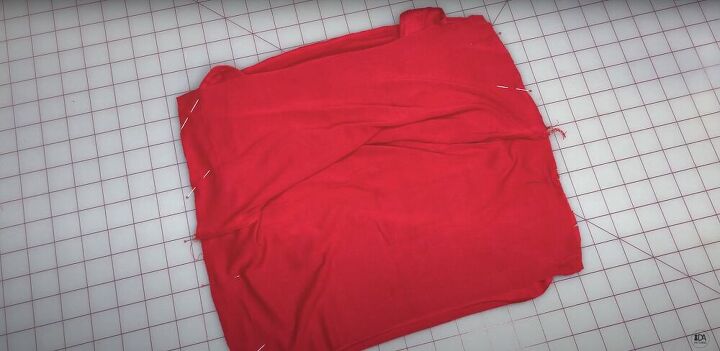
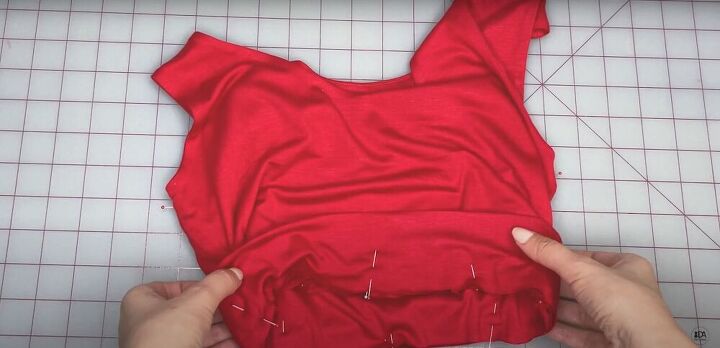
8. Pin, sew, and press
Turn the fabric right side out, and place the front and back sides together. Along the bottom edge, take out the two middle layers of fabric, line them up carefully and pin the two side seams.
Make sure to match the armhole seams as well. Then sew and press.

9. Pin and try on
Pin the side seams together, and mark the center front and center back of the top. Try on the top to make sure it fits properly at the armhole and bust, and that you’re satisfied with the length of the top.
10. Prep the waistband
Sew the side seams of the waistband. Then fold the waistband in half, and press it.
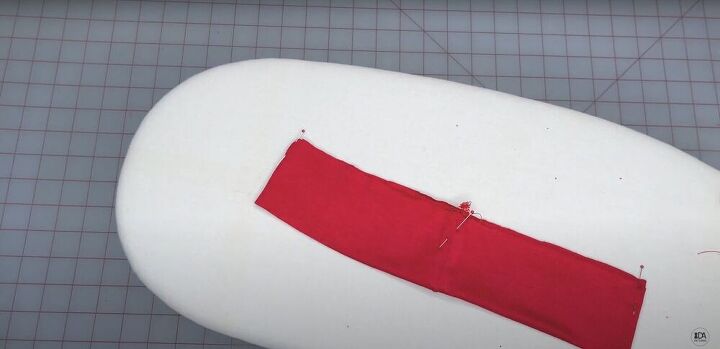
11. Mark the waistband
Use pins to mark the center front, center back, and side seams of the waistband.
12. Pin, sew, and press
Pin the waistband to the bottom edge of the crop top, making sure to match up the center front, center back, and side seam pins.
Sew using a serger or a narrow zigzag stitch, and press the seam. Give the whole top one last press, and you are done making your beautiful June crop top!

How to sew a crop top tutorial
I hope you enjoyed following along with this tutorial on how to sew a crop top. Which version of the pattern would you choose to make?
The author may collect a small share of sales from the links on this page.


Comments
Join the conversation