How to Sew a Shirred Top - Simple Step-by-Step Tutorial

If you’re not sure what to make for your next DIY sewing project, then try this tutorial on how to sew a shirred top! I saw this gorgeous shirred top with long puff sleeves and ruffled hems on Pinterest and fell in love - I knew I had to make it.
Follow me as I show you how to make a shirred top and see how beautiful the result is. Let’s get to it.
Tools and materials:
- Fabric
- Thread
- Elastic thread
- Elastic
- Scissors
- Measuring tape
- Ruler
- Pins
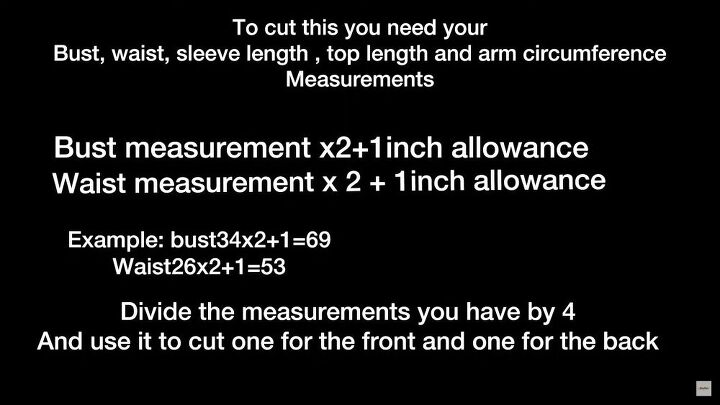
1. Take your measurements
These are the measurements you need.
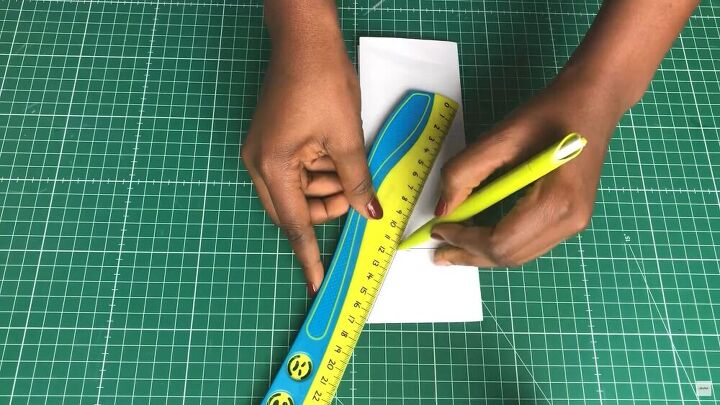
2. Trace the pattern
To create the shirred top pattern from scratch, watch the video from 1:05 to see all the steps. I demonstrated on paper, so it's easy to see how to connect the measurements.
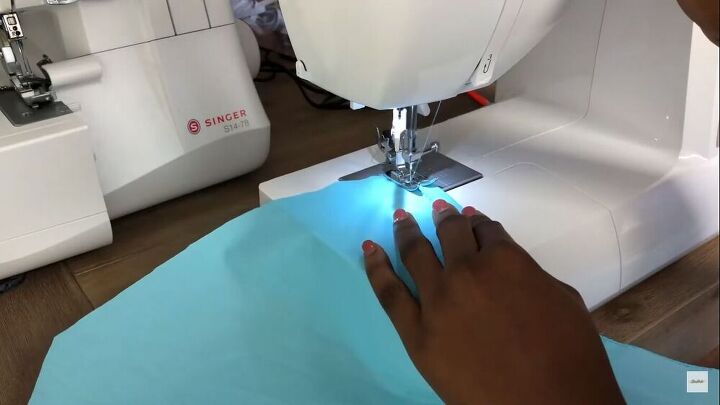
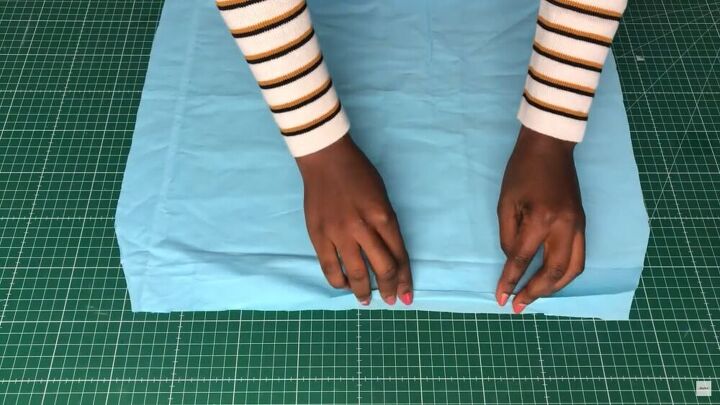
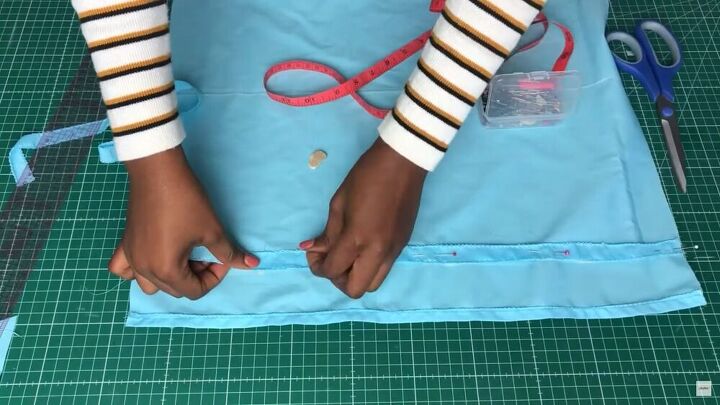
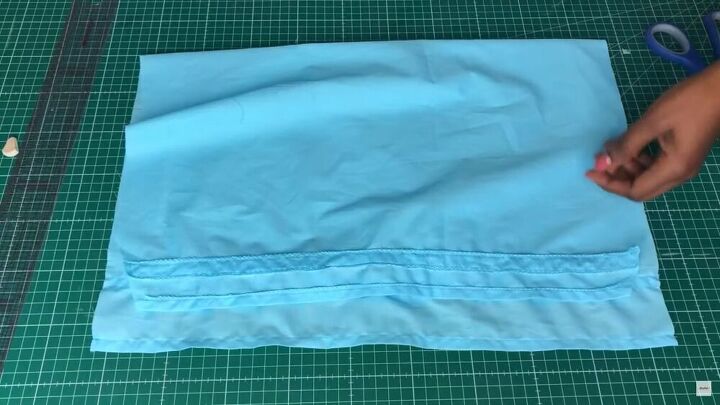
2. Finish the fabric
Before you start shirring, finish both the top and bottom pieces by folding the raw edges over by ½ an inch and sewing down.

3. How to sew a shirred top
Hand wind a bobbin with elastic thread. Be careful not to wind it too tight, so the elastic doesn't stretch.
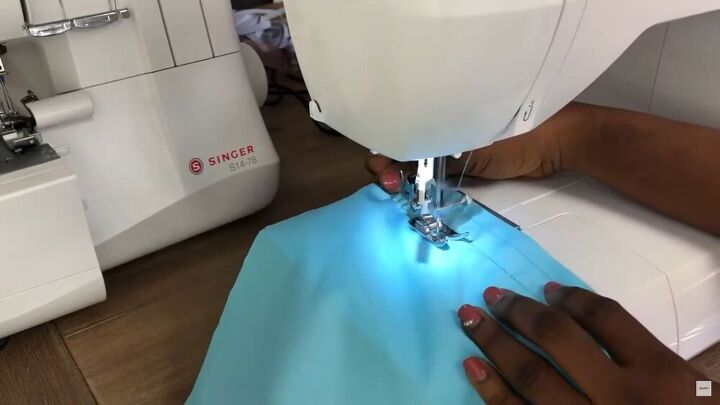
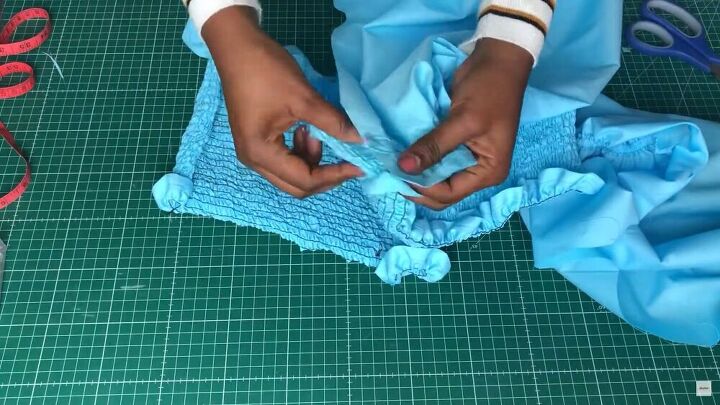
Start shirring one inch from the hem, creating lines of elastic stitching at one-inch intervals all the way down the top, until 1-1.5 inches from the bottom.
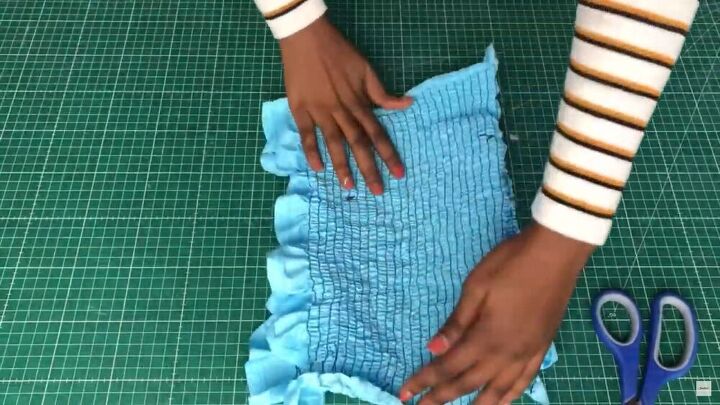
This is what it should look like. How beautiful? This shirred top is starting to look great.
4. Make the sleeves
Finish the raw edges with a zigzag stitch, then hem the sleeves the same way you did for the bodice pieces. Do the same for both ends of the sleeve fabric.
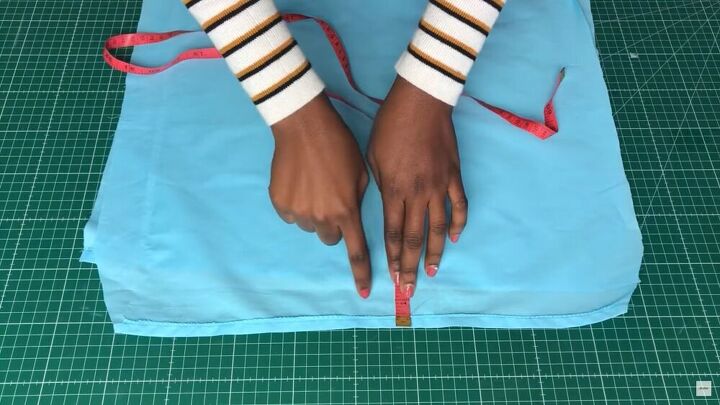
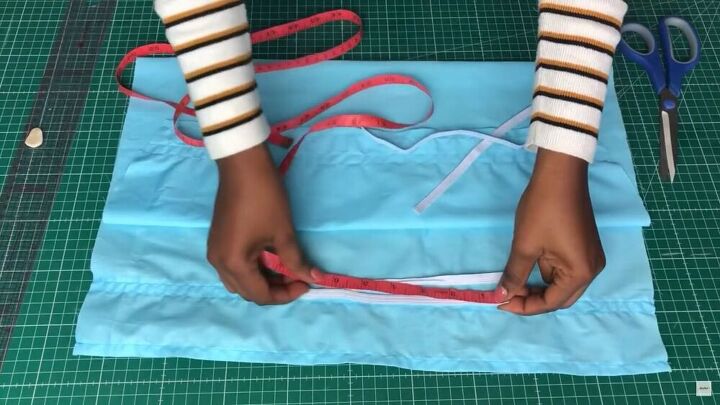
Now, measure down from the top part of the sleeve by about an inch and draw a line across.
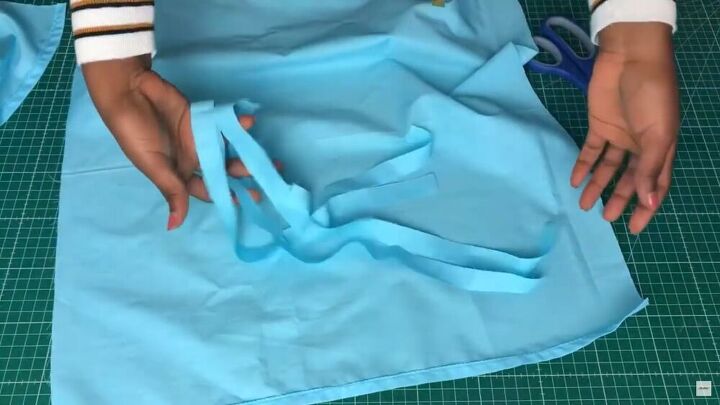
Cut a few strips that will make up the tunnel for the elastic. My elastic was ½ inch, so I cut the strips a little bigger than that.
Draw a line 2 inches from the bottom of the sleeve and pin a strip, as shown. Sew down.
This is how it should look after.
Measure the elastic to your wrist area and your top arm circumference. Cut the pieces.
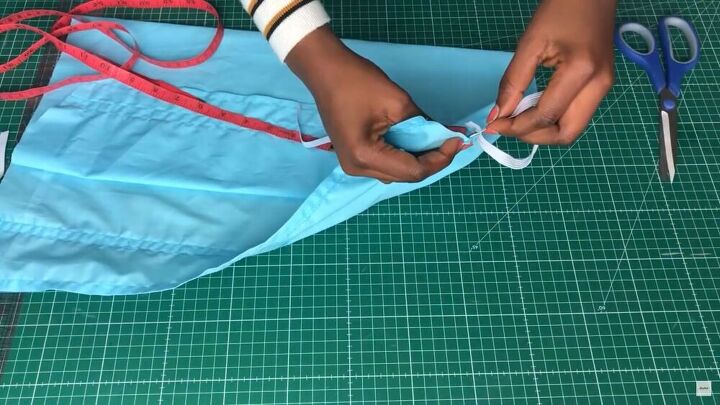
Insert the relevant elastics into their casings.
5. Assemble the shirred top
Now, align the armholes of the top and sleeve together, right sides facing in, and pin. Sew down.
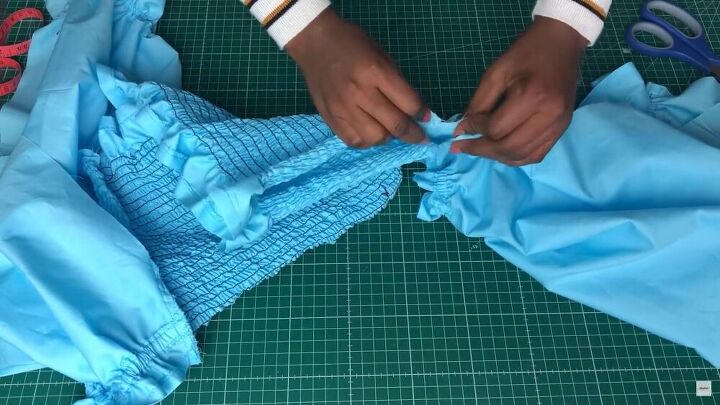
Now, pin the side seams of the shirred top and sleeves.
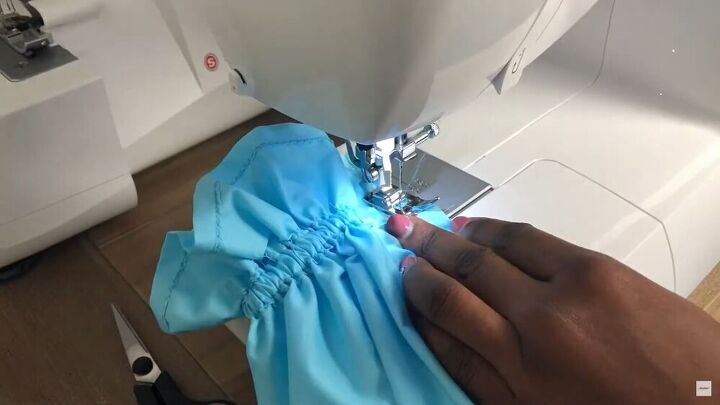
As you sew the side seams, be sure to go slowly over the elastic casings.

How to sew a shirred top tutorial
There we go, all done and ready to wear! This shirred top is definitely love at first sight for me. I really love it, and I think it goes great with jeans or even a lovely skirt. Let me know what you think of this tutorial in the comments below. Happy shirring!
The author may collect a small share of sales from the links on this page.


Comments
Join the conversation
Awww so sweet and feminine..you must be proud to have such a talent..