How to Sew a Reversible Bikini Bottom - Simple Step-by-Step Tutorial

In this tutorial, I’ll be showing you how to sew a reversible bikini bottom. You can use my Ranger Bottoms pattern to make these, or you can trace a pair of bikini bottoms you already own that fit you well.
These DIY reversible bikini bottoms are simple to make and effectively give you two pairs of bikini bottoms in one! Let’s get started.
Tools and materials:
- Pattern or existing bikini bottoms
- Swimwear fabric
- Rotary cutter
- Scissors
- Serger
- Seam ripper
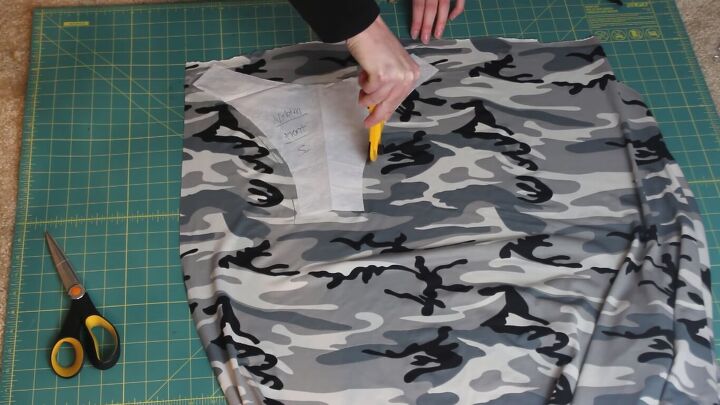
1. Cut out the fabric pieces
Place your pattern on the swimwear fabric and cut out two pieces for the front and two for the back. I’m making reversible bikini bottoms, so I’m going to cut out one front and back piece in two different fabrics. Be sure to leave a ¼ inch for seam allowance.
Tip: when cutting out the second piece, use the first piece as a pattern instead, to ensure both pieces are perfectly symmetrical.
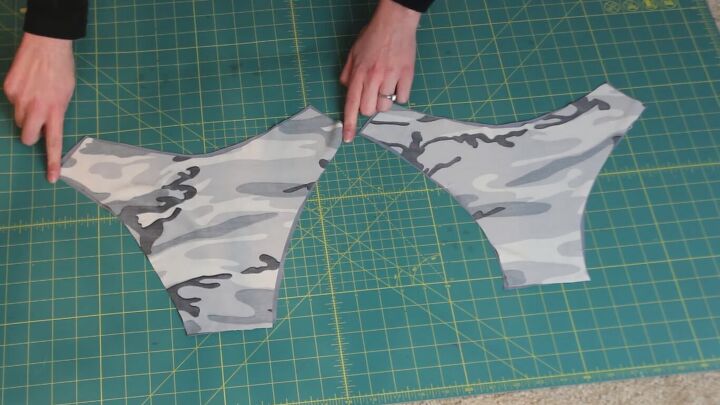
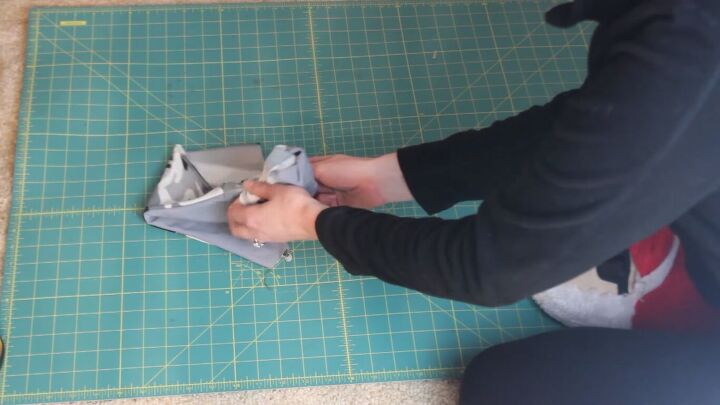
2. Sew the hip seams
Place the fabric pieces right sides together and sew along the hip seams. Do not sew the top or crotch yet.
I’m using a serger, but if you don’t have one, you can use a zigzag stitch on a regular sewing machine. I use a woolly nylon thread, but spun polyester is also a good option.
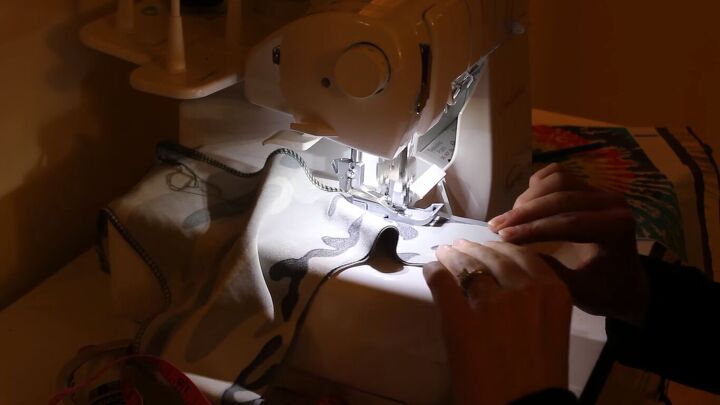
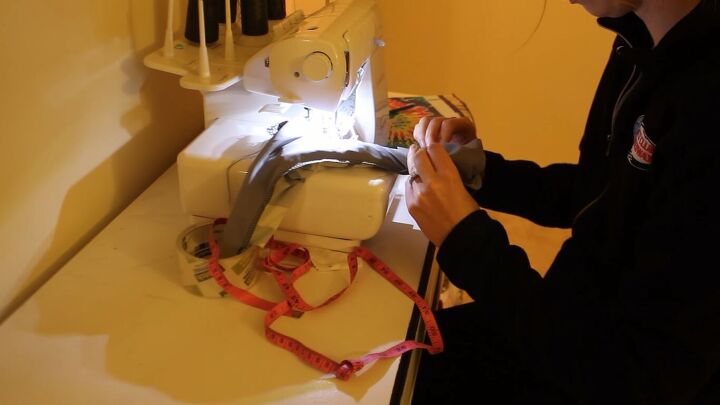
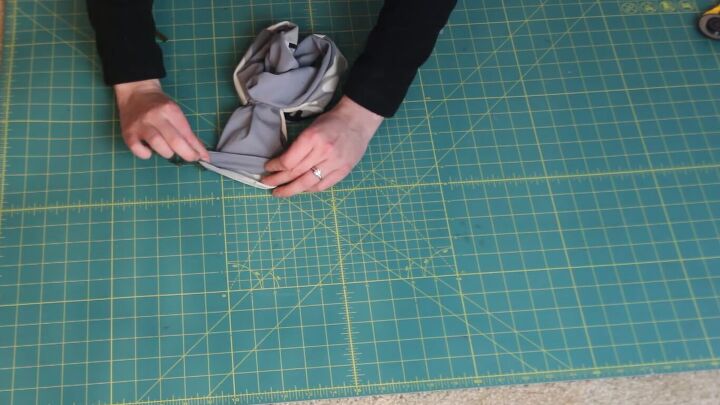
3. Attach the pieces together
Turn the front and back pieces right sides out. Then, at the top of the hip, flatten the pieces and match up the sides, as shown. Sew across that line. Watch the video from 3:00 to see exactly where to sew.
Sew with right sides together. Repeat on the other side.
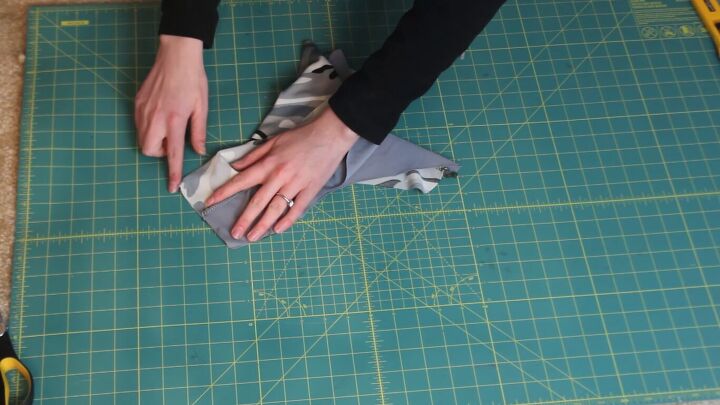
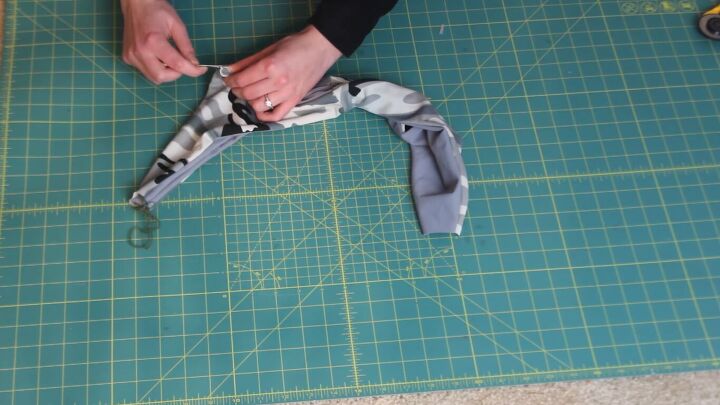
4. Sew the top
Next, turn the DIY reversible swimsuit bottoms inside out through the crotch. Watch the video from 3:40 to see exactly how to do this step.
Align the top piece and sew the two outside layers together, but not the two in the middle. I shift the fabric as I do this.
Then, turn the fabric right sides out again, turn it through the opposite crotch, and sew down the two exterior layers at the top.
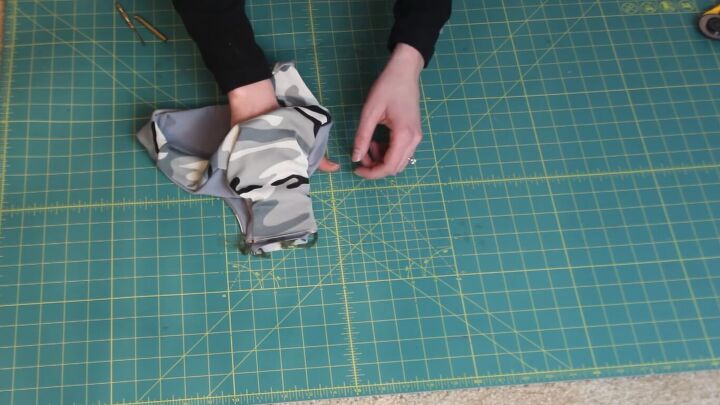
5. Sew the crotch
Turn the fabric right sides out again. The last part to sew is the crotch. First, seam rip a small section in the middle of the back of the bottoms, so you can turn the fabric through it.
Tip: later, to disguise the seam rip, you could add a label here if you want.
Stick your fingers through the hole and out through the crotch, then grab the other crotch piece and pull everything through. Watch the video from 6:20 to see how I do this.
Align the two crotch pieces together, then sew around the whole loop.
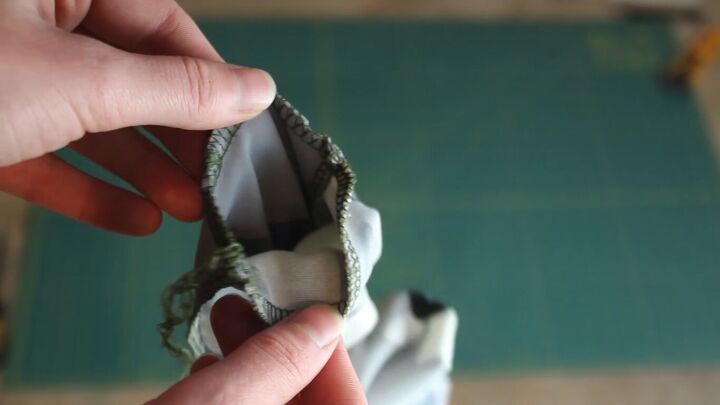
It should look like this.
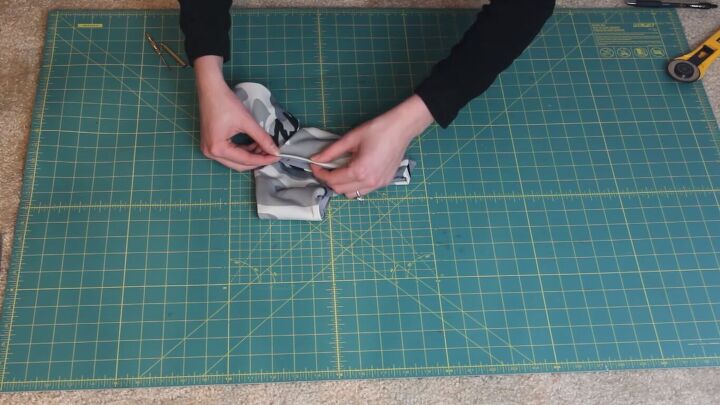
6. Sew the opening closed
Turn the bikini bottoms back through the opening and sew it closed. You can hand-sew a blanket stitch or run a straight stitch across. If you want to add a tag, now is the time to do that. I’m not going to because these are reversible bikini bottoms, so I don’t want a tag showing.
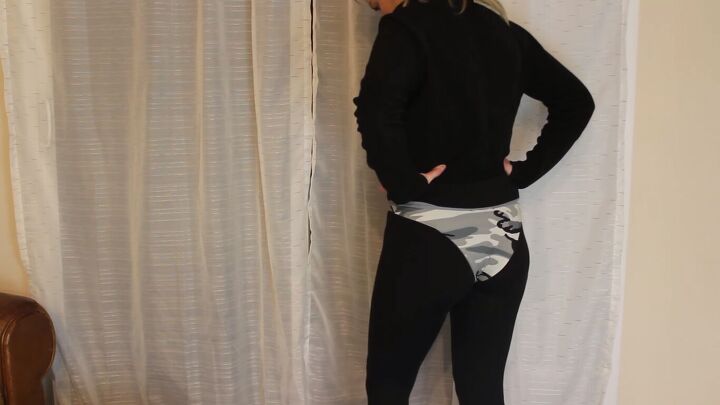
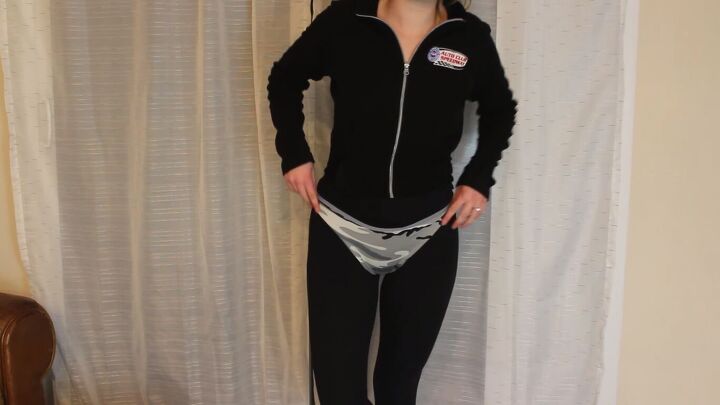
How to sew a reversible bikini bottom tutorial
Here’s what the finished product looks like. What do you think? Let me know your thoughts on this tutorial and the finished DIY reversible bikini bottoms.
The author may collect a small share of sales from the links on this page.


Comments
Join the conversation