How to Sew an Invisible Zipper, A Step-By-Step Tutorial

While I was editing a video, I thought it would be nice for you to learn how to sew an invisible zipper in advance, especially for those who aren't experienced or are feeling intimidated.
I hope this step-by-step video is clear enough for you to feel like you have mastered the invisible zipper but always remember, you will need to practice to make it look neat.
Experience with a regular zipper will help immensely when learning to sew an invisible zipper.
Tools and materials:
- Sewing machine
- Pins
- Zipper
- Fabric
- Lining fabric
- Invisible zipper presser foot
- Interfacing (optional)
- Marker
- Iron
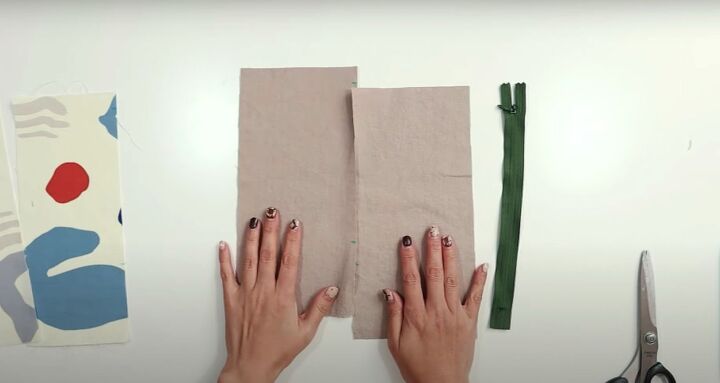
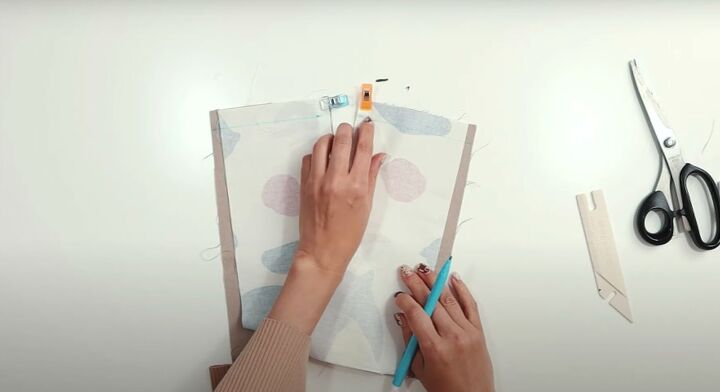
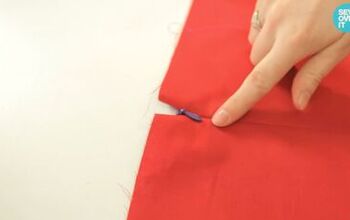
1. Prep the fabric and zipper
To start, you want to prepare the main fabric as well as the lining fabric. I marked the area where the zipper will go.
I forgot this time but adding interfacing will make a neater and stronger zippered garment.
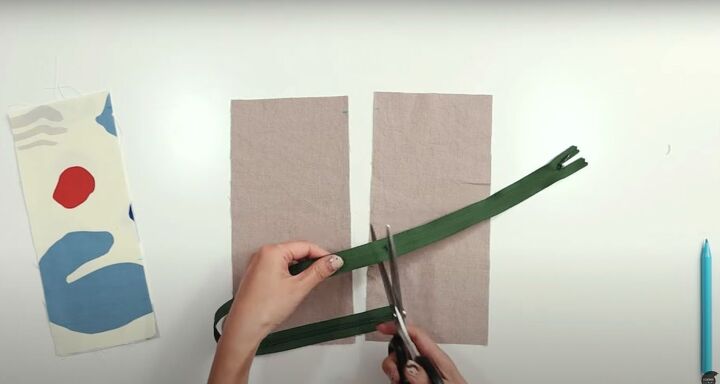
If your zipper is too long, create a new bottom stop by zigzag stitching and trimming it about 2 inches from the bottom.
We don't need to finish the edge because we are using a lining so the raw edges will be hidden. If you're not using a lining, you can serge or finish the edge using your preferred method.
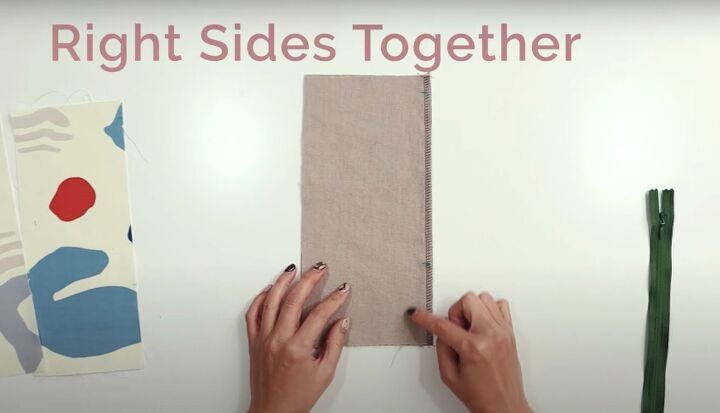
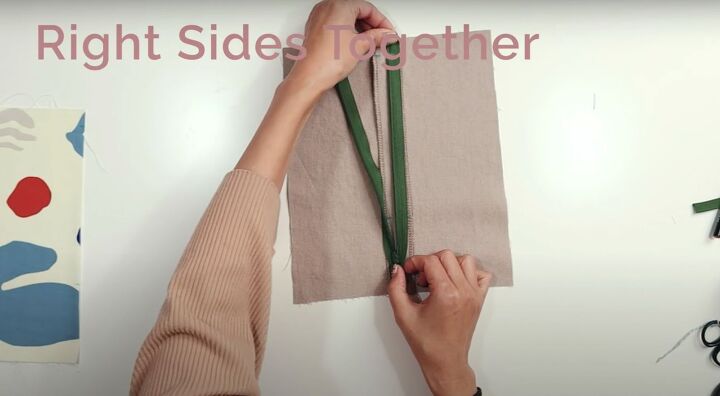
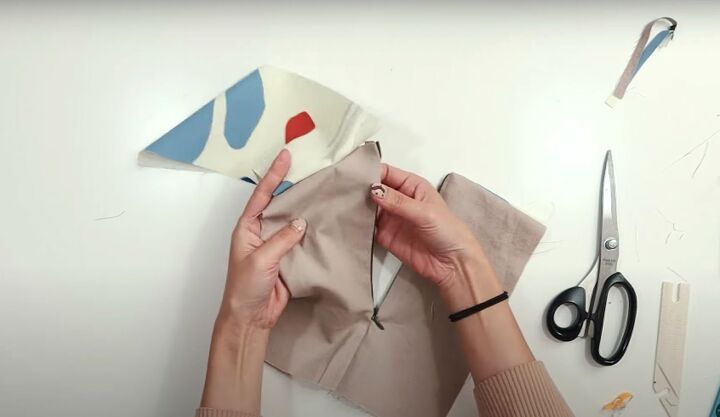
To secure the pieces together before adding the zipper, place them right sides together and use a few backstitches at the bottom.
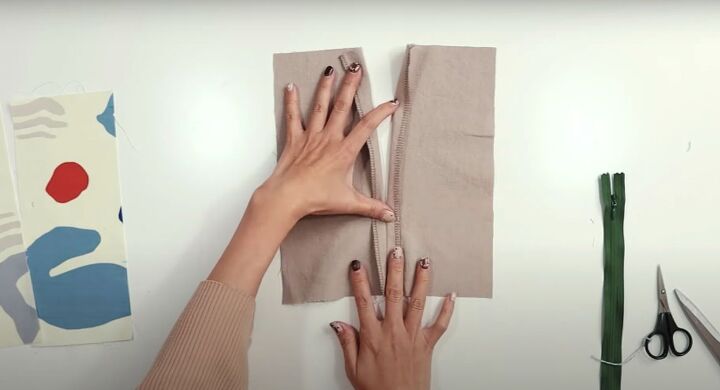
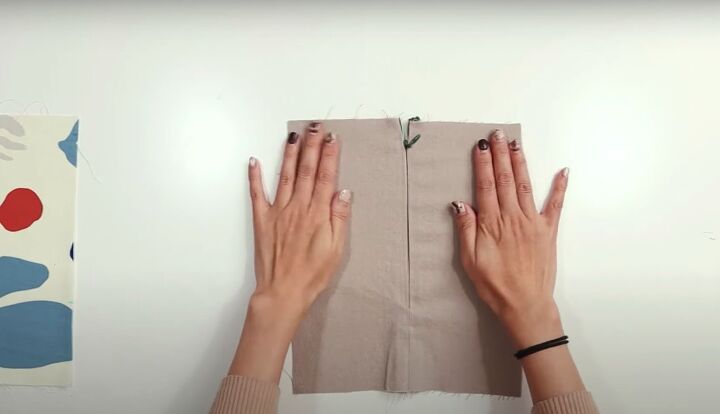
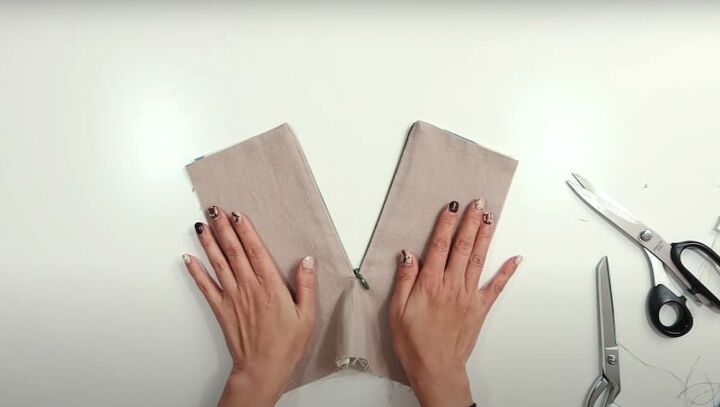
2. Press open the seams
Next, open the seams and press.
3. Place the zipper on the fabric
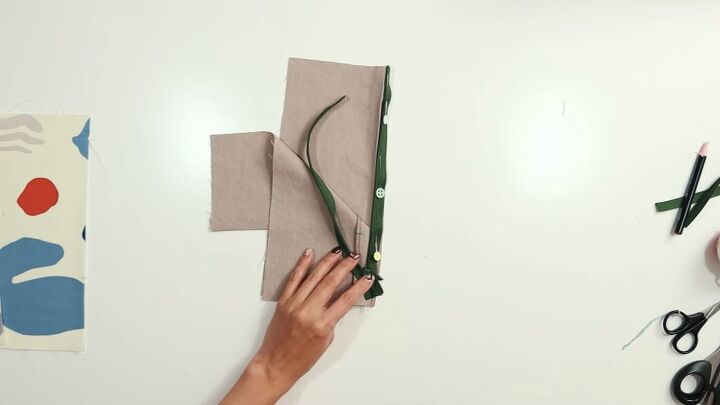
Open the zipper and press the teeth of the zipper away from the zipper tape. We will be sewing as close to the zipper teeth as possible, so this will help a lot.
Tip: If you're having a hard time pressing it, soak the zipper in the water and then press open.
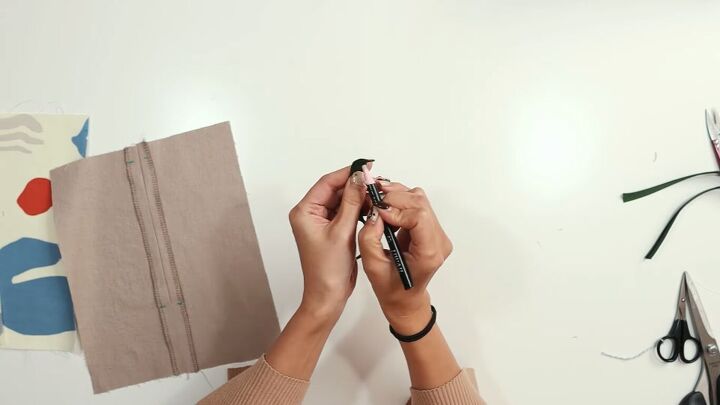
Bend the upper end of the zipper close to the zipper teeth and mark.
4. Sew the zipper
Start with the right side because it's easier to sew. Align the zipper teeth to the fold line and pin well.
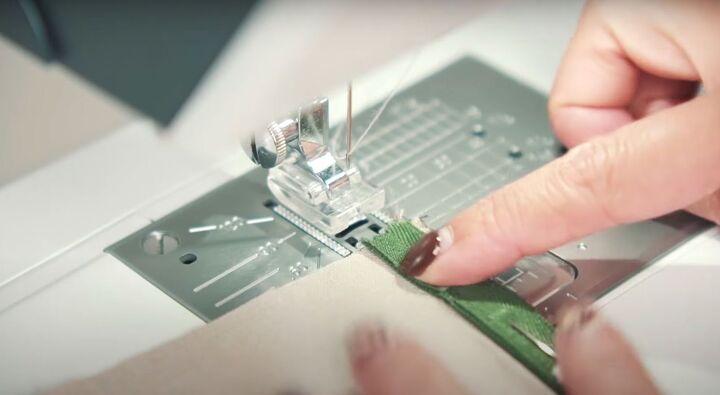
Try to sew as close to the teeth as possible. Let your invisible zipper presser foot do all the work.
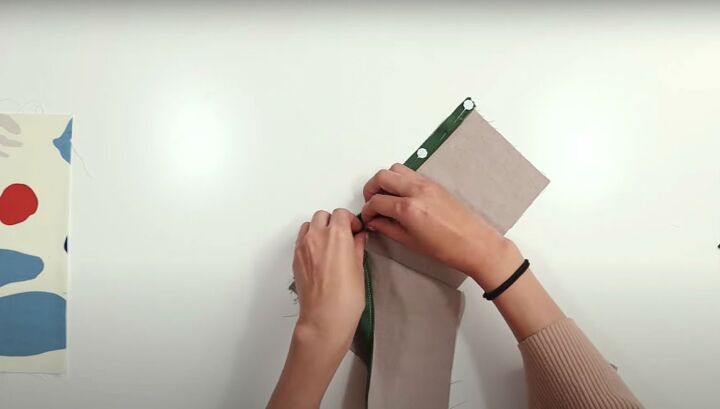
When the right is done, start on the left, making sure to pin it well so that it doesn’t wiggle.
Make sure both sides align well before pinning the left side, then pin as close to the teeth as possible.
5. Sew the lining
Open the seam, match the lining, and pin.
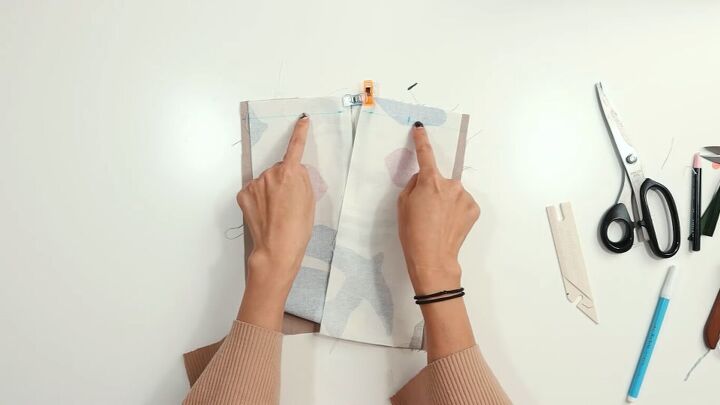
Sew together, stopping 2 inches from the zipper teeth.
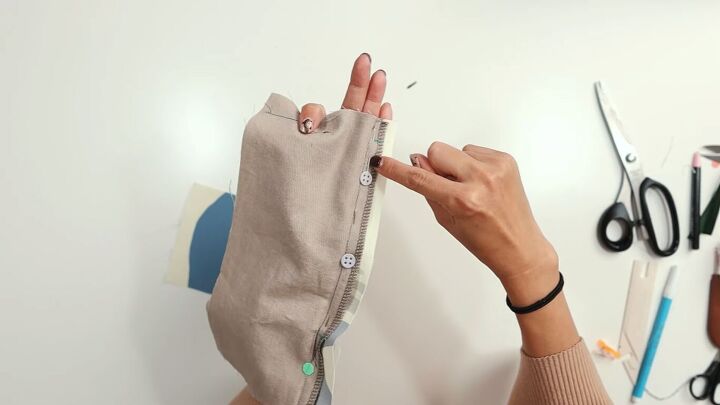
Now, instead of matching the main fabric and lining fabric, you want to make the lining fabric show. Trust me when I say it looks beautiful on the inside.
Pin it and sew anywhere between the main stitches and the edge. Just make sure it's straight. Don’t forget to move the zipper pull when you reach it, just like when you sew regular zippers.
Now, the upper edge doesn't match, but that's OK.
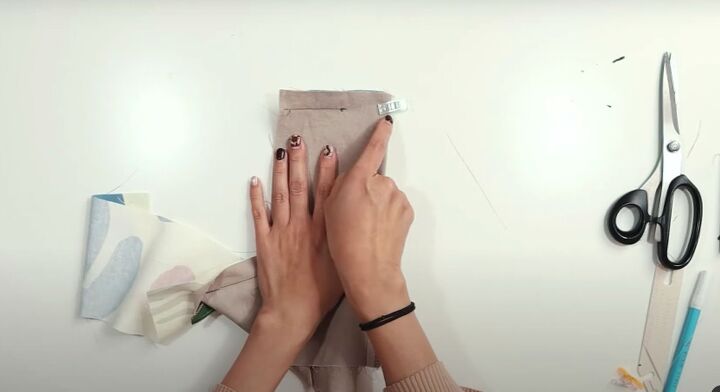
6. Sew the vent
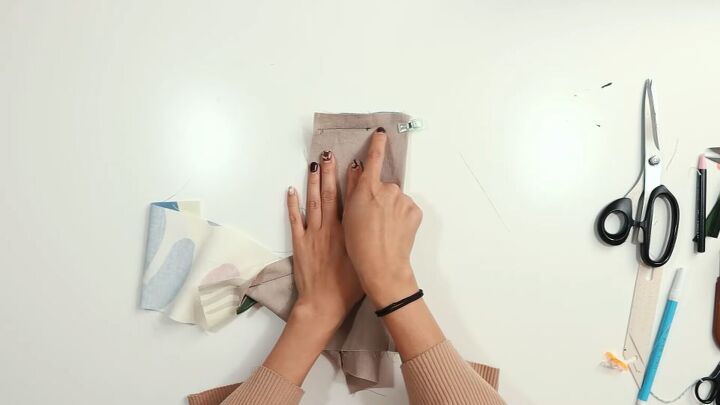
Fold the gap to make both layers flat and even, then sew the vent left at the top.

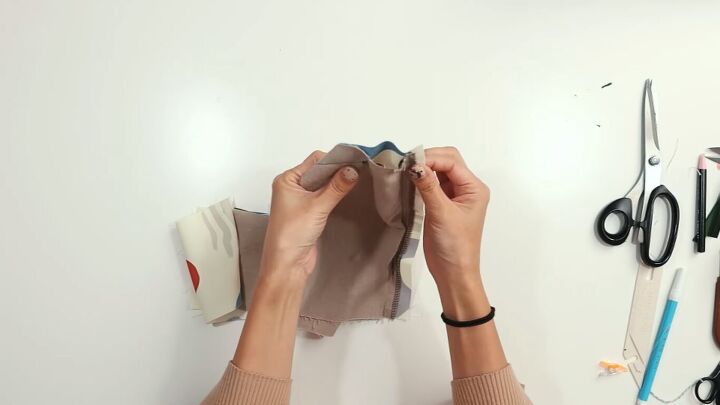
Trim the seam and also trim the corner if necessary, then turn it right side out.
Repeat all steps on the other side.
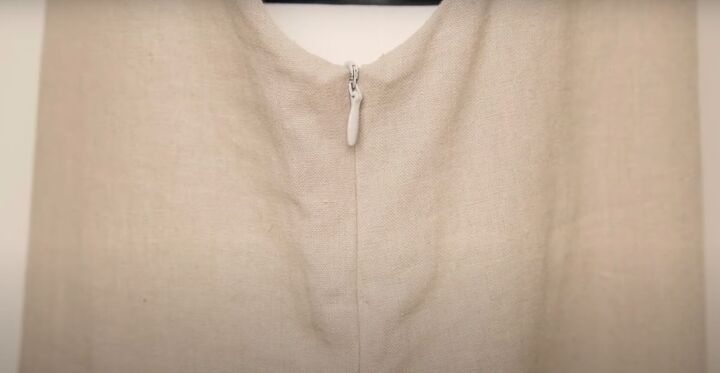
How to sew an invisible zipper tutorial
Now you have a nicely lined, invisible zipper that will never get stuck thanks to the gap between the teeth and the lining. I hope you enjoy this short tutorial on how to sew an invisible zipper.
The author may collect a small share of sales from the links on this page.


Comments
Join the conversation