How to Sew a Pencil Skirt for Beginners: Easy Step-by-Step Tutorial

Here is an easy tutorial on how to sew a pencil skirt for beginners. I’ve created this pencil skirt sewing pattern that uses your measurements directly on the fabric to make this wardrobe classic. Take your time with each step to get a great result. Let’s get started with your DIY pencil skirt!
Tools and materials:
- 1½ yards of fabric
- Sewing machine
- Scissors
- Ruler or measuring tape
- Styling design ruler (curved ruler)
- Marking or tailor’s chalk
- Needle and thread
1. Make the front piece
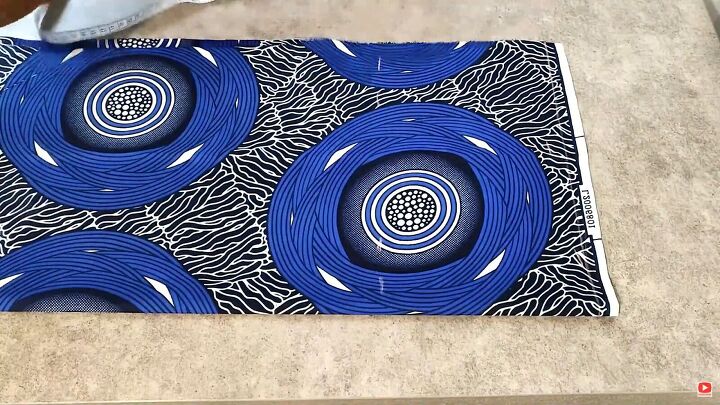
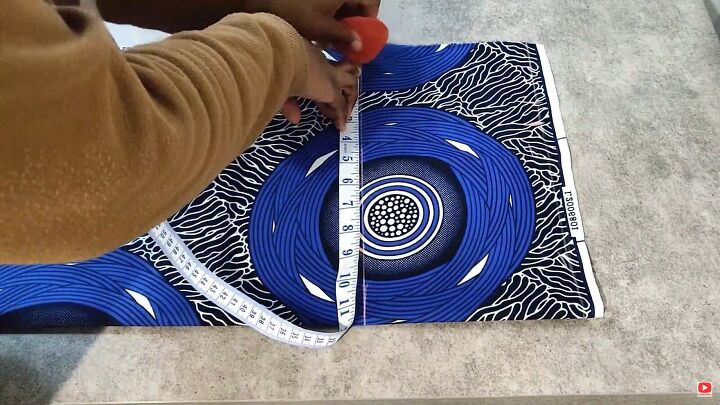
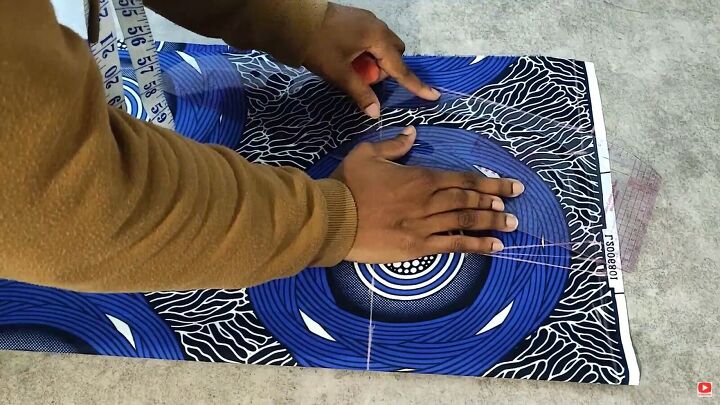
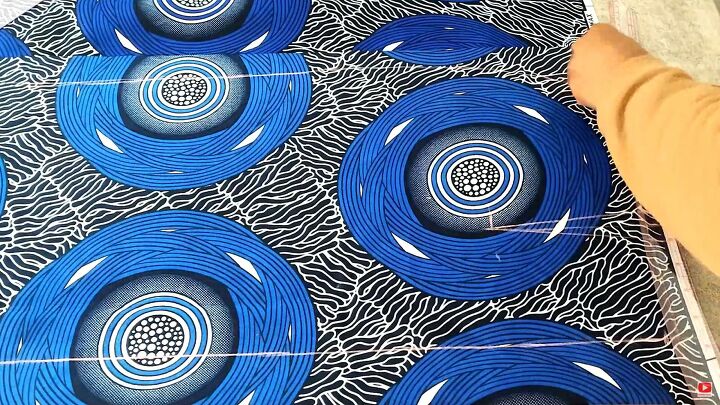
Measure your hips and waist. Lay the fabric down on a flat surface.
Fold the fabric in half lengthwise making sure you have enough for your hip measurement. Mark an inch off the top if your fabric has a selvage edge (that hard edge that’s almost impossible to sew) to serve as your starting point.
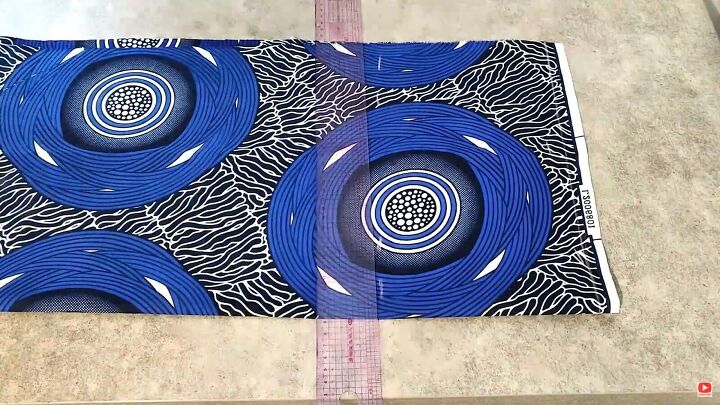
Mark your hip line about 8 inches down from the starting point, across the width of the fabric.

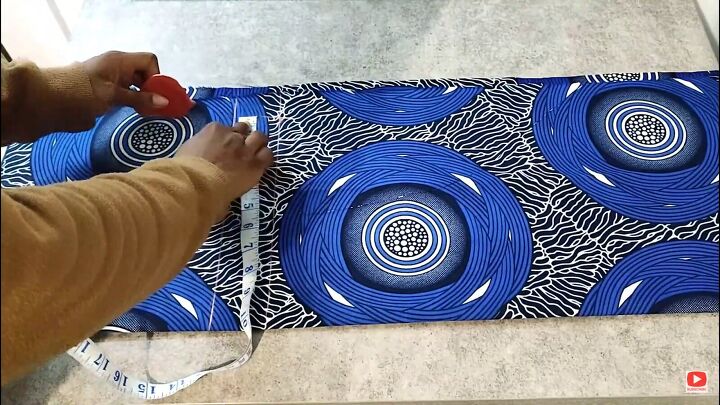
Measure the length of your skirt, leaving a seam allowance of at least 1 inch at the bottom for hemming.
Mark both the skirt length and the seam allowance across the width of the fabric.
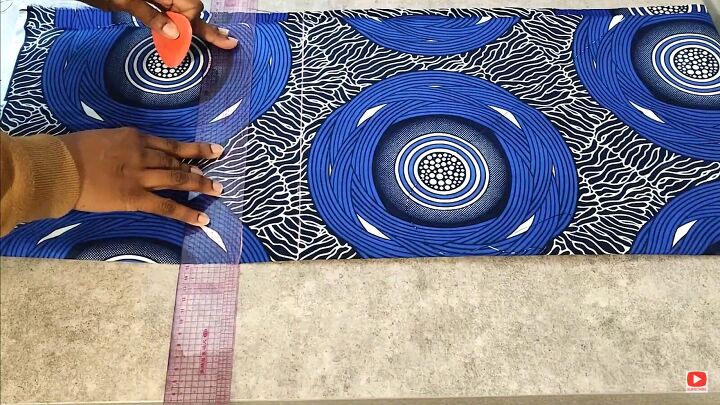
Mark your waist measurement divided by 4 plus add an extra inch for darts. So if your waist measurement is 28 inches, mark 8 inches at the top for the waist.
Plot your hip measurement divided by 4 on the hip line as well.
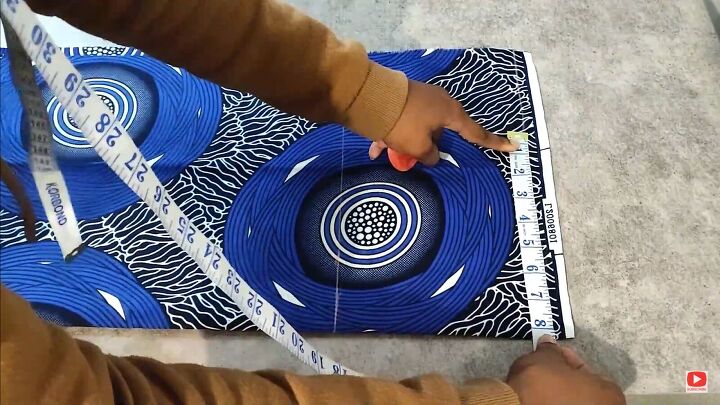
Working your way down the length of the skirt, mark the hip measurement less than one inch to give you that pencil effect.
Connect the hemline with the bottom seam allowance. Connect the waistline to the hip line and hip line down to the end line with chalk.
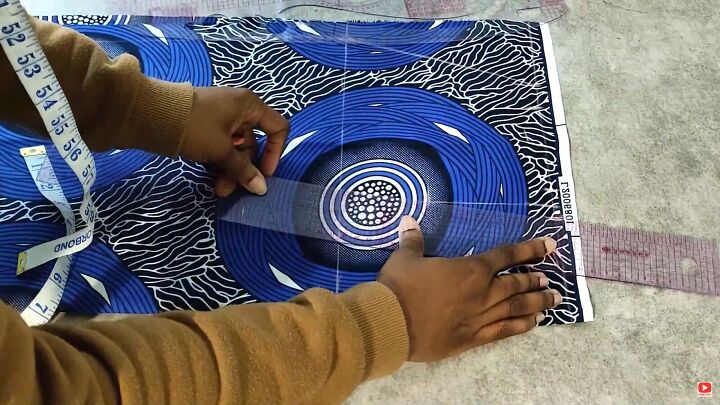
Mark the darts. The dart length is 4 inches. Mark ½ an inch on either side of the dart line and connect into a “V” shape with the point going downward on the hip.
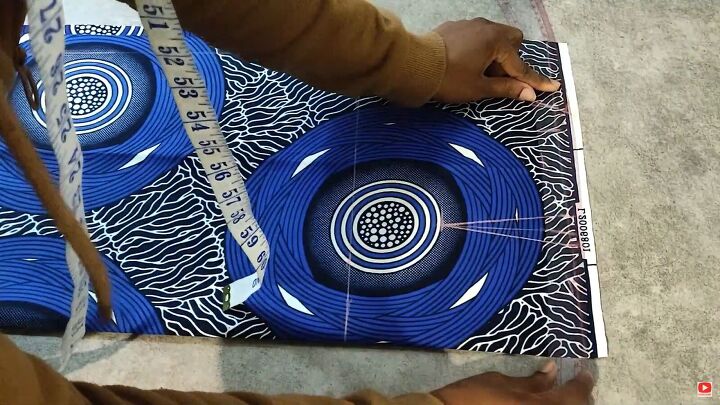
Extend the waistline by ½ an inch and connect to the other side using a stylized design ruler.
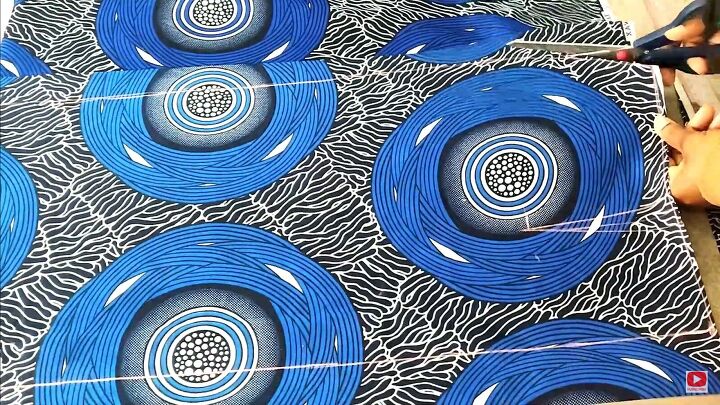
Add ½ inch seam allowance on the entire pattern.
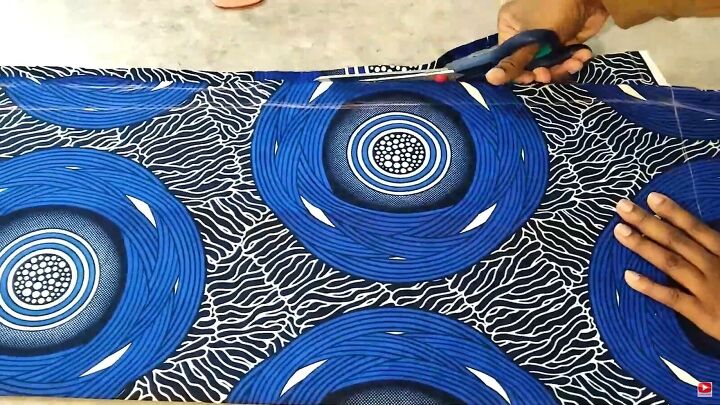
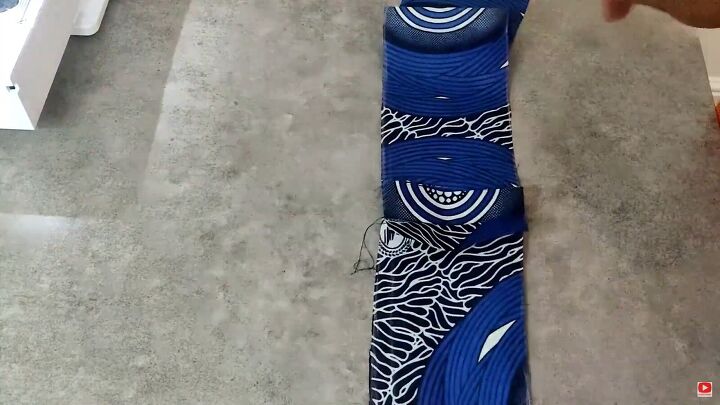
Cut out the fabric for the front piece.
2. Make the back of the skirt
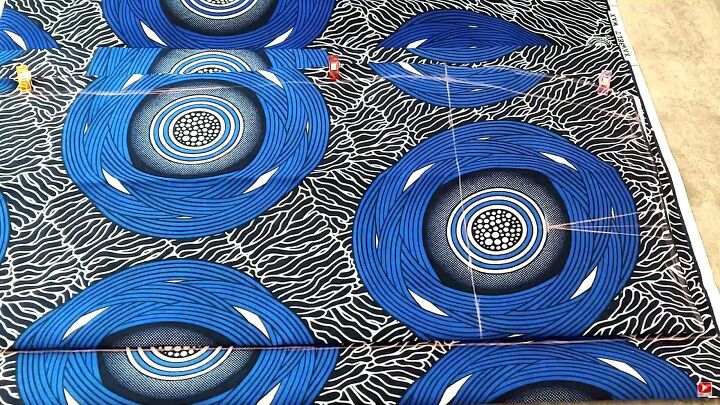
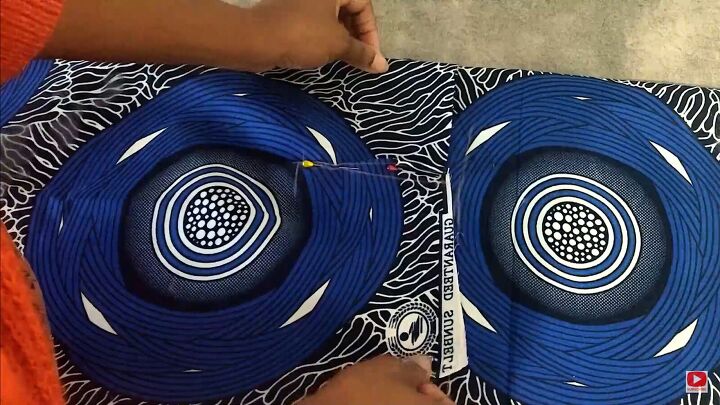
Put the front piece on top and trace the pattern.
On the back piece of the skirt, section off 1-2 inches for the zipper allowance.
Mark the dart position but add an additional 1½ inches to make it longer.
On the back waist, mark ½ an inch lower and connect it to the top on the waist with the stylized design ruler.
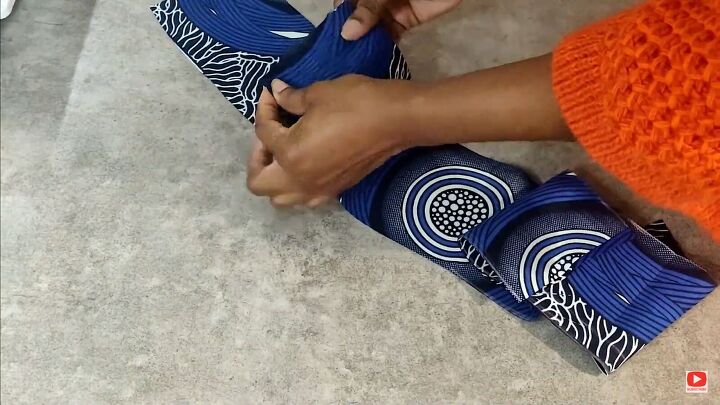
Cut out the back piece. Then cut on the fold. You should have 2 back pieces.
3. Make the waistband
Pin the darts. Lay the front and back of the skirt on the fabric to cut the waistband.
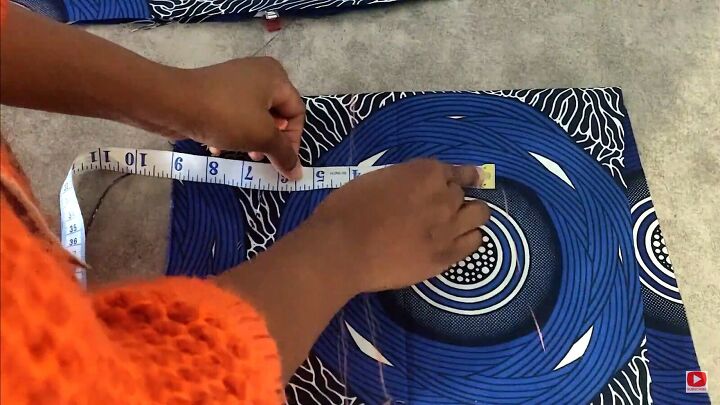
Trace that slight curve of the waist on the skirt’s front and back on to the fabric. Mark out your desired waistband width and cut.
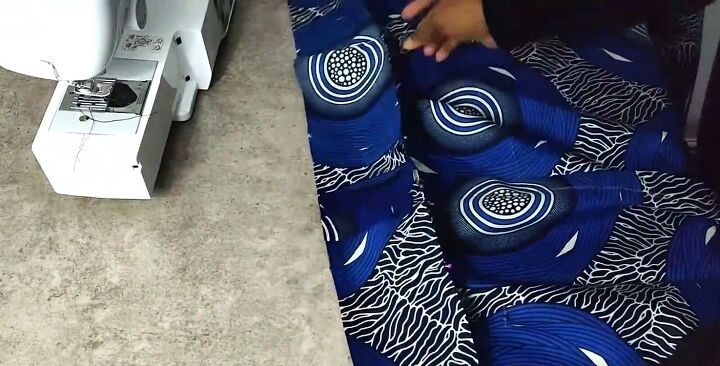
Repeat for the other pieces. You should have 3 pieces: one long piece for the front, and 2 shorter ones for the back to accommodate the zipper.
Pin them right sides together. Sew the waistband pieces together.
4. Sew the skirt
Pin and sew the darts on the wrong side. Then pin the side seams and sew both back pieces to the front, leaving the back center seam open. Attach the waistband, matching up the seams, sewing it to the skirt on the wrong side.
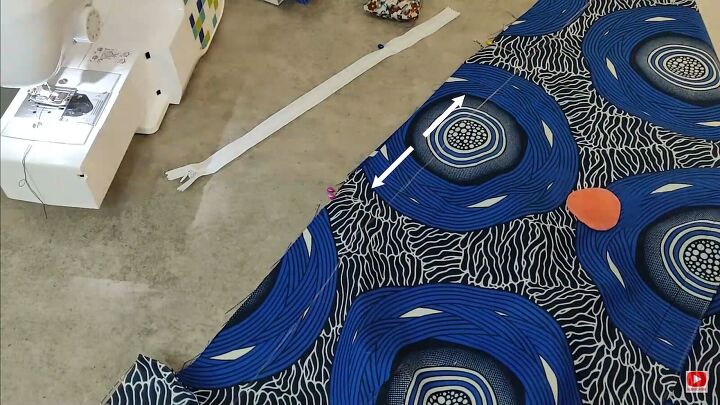
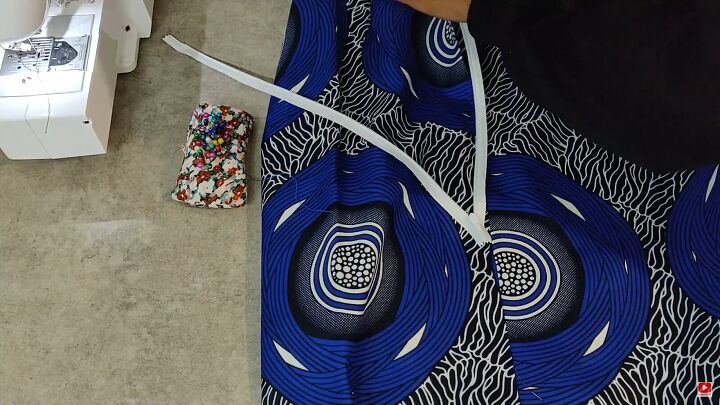
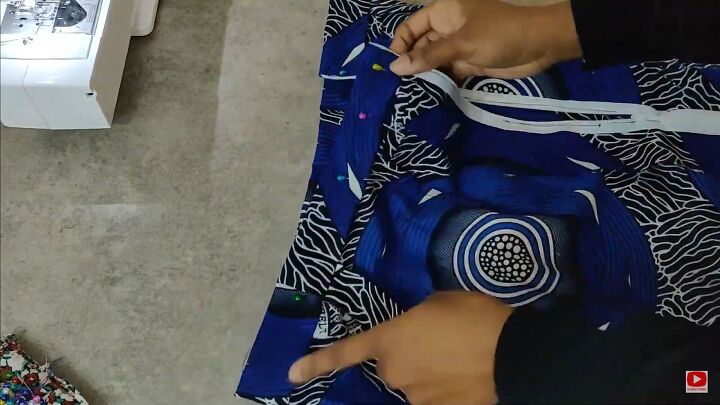
5. Insert the zipper
On the open back center seam, mark the position for the zipper 1½ inches down on the waistband. Place 2 pins at the bottom zipper mark. Mark the length for the back slit and pin above that area for sewing. Stitch only the area in between the zipper and the slit.
Attach the zipper right side facing the fabric and the zip opened. Sew one side down.
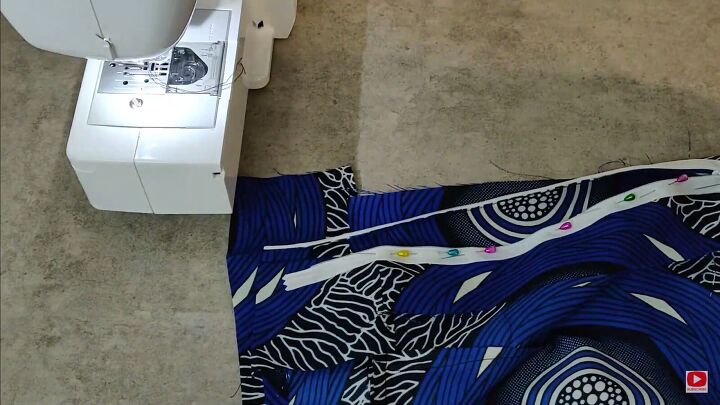
Then position the zipper on the other open side, pin in place and stitch it in.
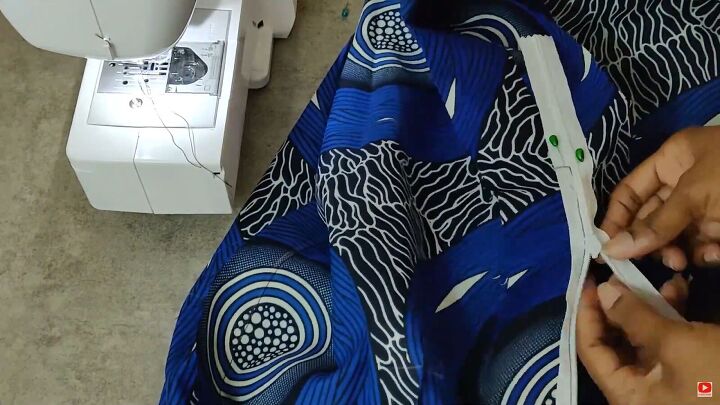
Secure sew the bottom of the zipper tape on the wrong side of the fabric. Fold in the slit area fabric and press for a smooth finish.

The zipper is installed 1½ inches below the top of the waistband.
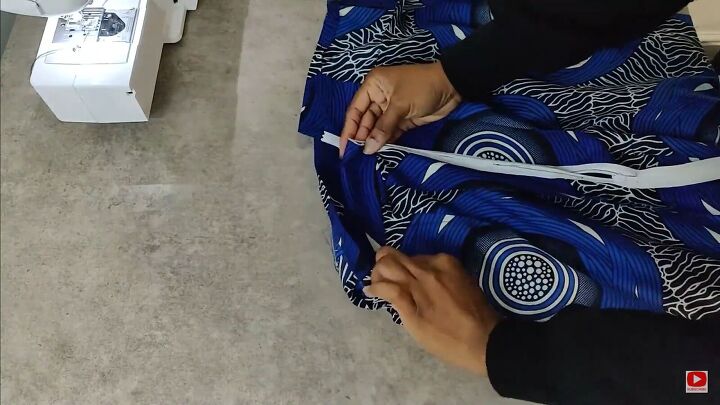
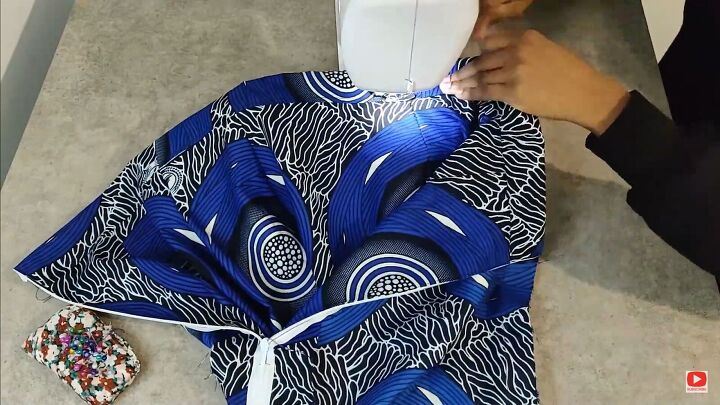
Fold over the waistband, pin, and sew on the right side. Hem the skirt with a single fold hem.

How to sew a pencil skirt for beginners tutorial
You’re done with this fashion staple! Let me know what you think of my tutorial on how to sew a pencil skirt for beginners in the comments! I would love to hear from you!
The author may collect a small share of sales from the links on this page.


Comments
Join the conversation
Hey there, nice technique on putting in the zipper! As a clothing/textile major, I'm impressed 😎
Thank you, Sharon 😊