How to Sew a Pencil Skirt With Lining & a Zipper, Step by Step

There’s just something so elegant about a pencil skirt. It is ultra-feminine and a classic fashion statement, especially when worn with a tucked-in top and pearls.
If you wanted to know how to sew a pencil skirt with lining, then this tutorial is for you. Below you’ll find my pencil skirt sewing pattern, which you can draft based on your own measurements.
I’ll show you how to sew a pencil skirt, perfect for any occasion. Let’s get started!
Tools and materials:
- Pencil skirt sewing pattern tutorial
- Fabric: outer and lining - 1½ yards each or more depending on the length and size
- Zipper
- Tailor’s chalk
- Measuring tape
- Scissors
- Pins
- Iron
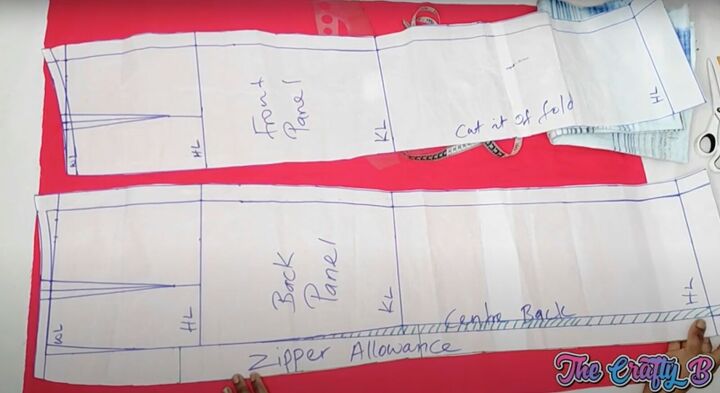
1. Make the pattern
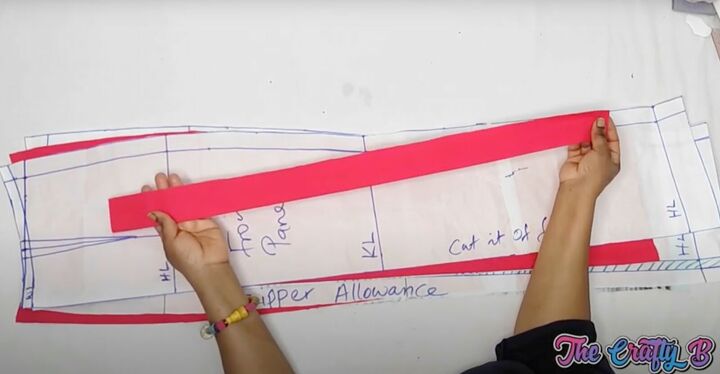
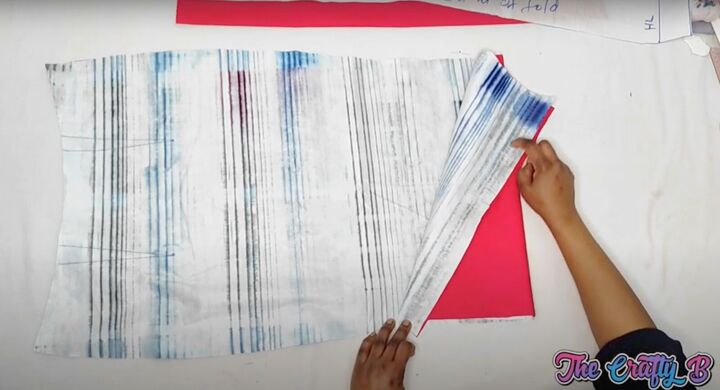
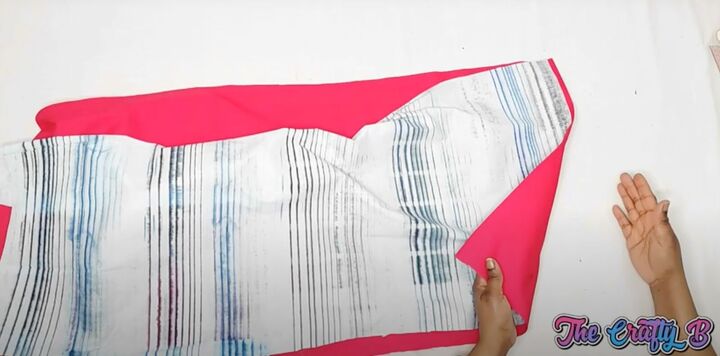
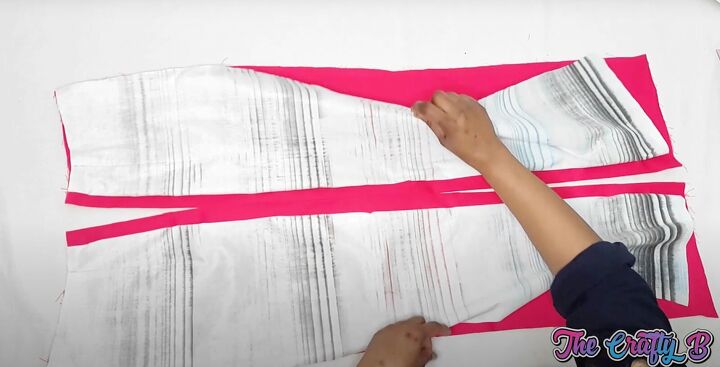
After drafting the pattern from the linked tutorial to your desired length and size, lay the fabric flat. Cut the front piece on folded fabric on both the outer layer and lining fabrics. Cut 2 back pieces in the outer fabric and lining.
Cut the waistband based on your measurements following the pattern directions.

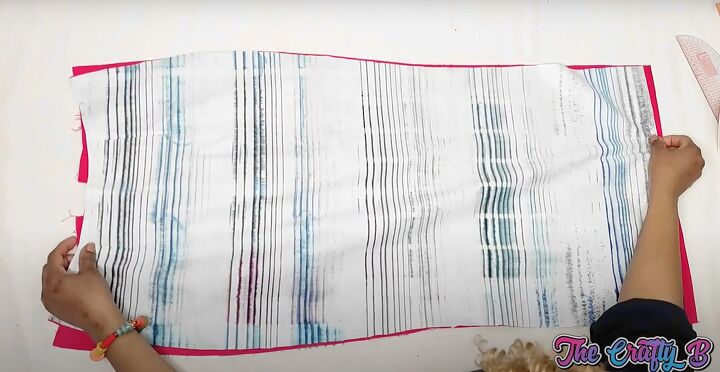
Place the darts, following the pattern directions on the wrong side of the fabric with the tailor’s chalk on the front and back pieces, on both the outer and lining fabric.
On the back piece, mark the zipper allowance, center seam sewing area, and the space for the back center slit.

2. Start sewing the front
Follow the dart marks and sew the darts into position on both fabrics.
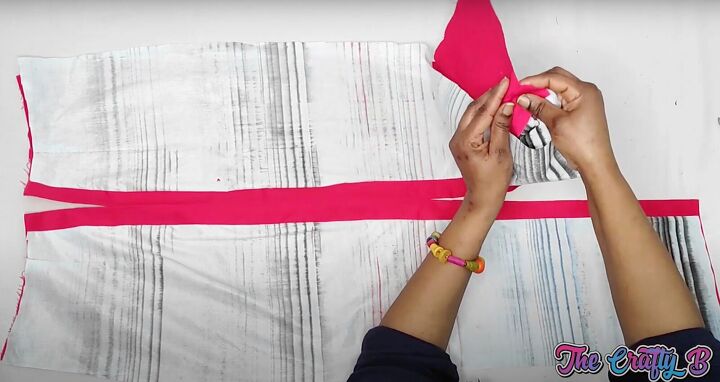
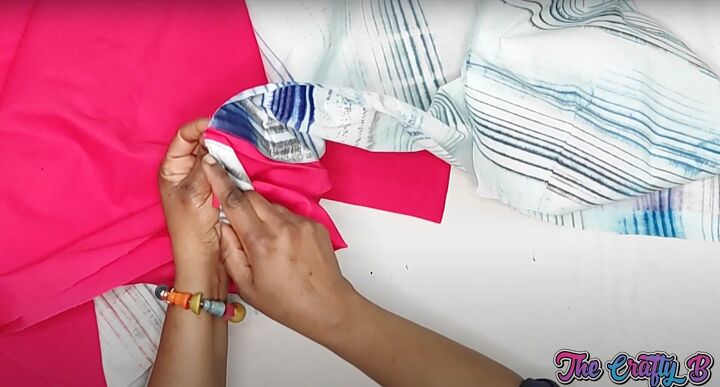
Place the front lining and outer fabric right sides together and sew the hems together. Fold the outer fabric in towards the lining by ½ inch. This prevents the lining from peeking through.
Topstitch the bottom on the lining side. Give everything a good press.
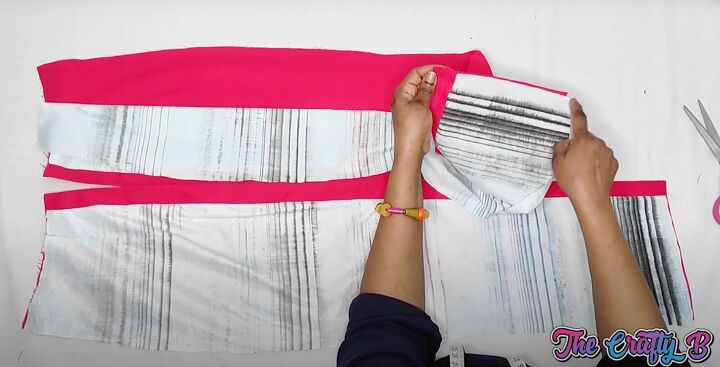
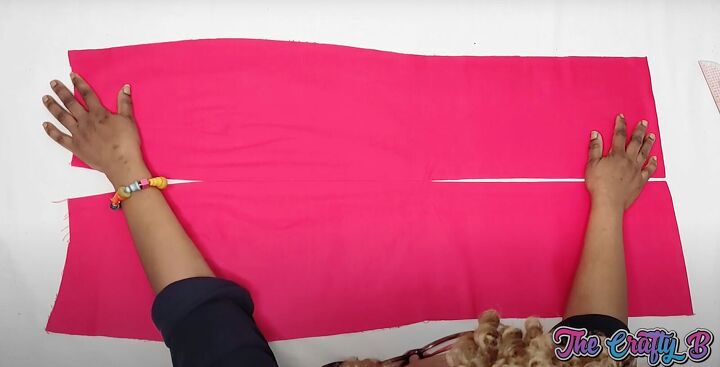
3. Sew up the back
Mark the back center seams with a ¾-inch seam allowance on each side for a total of 1½ inches on both the outer and lining fabric. Mark the space for the zipper and slit with pins to mark the area to sew.
Sew the center back seam with a straight stitch in between the pinned areas, starting and ending with a backstitch for extra security. Press the seam allowance flat. Sew the back darts into position on the back piece.
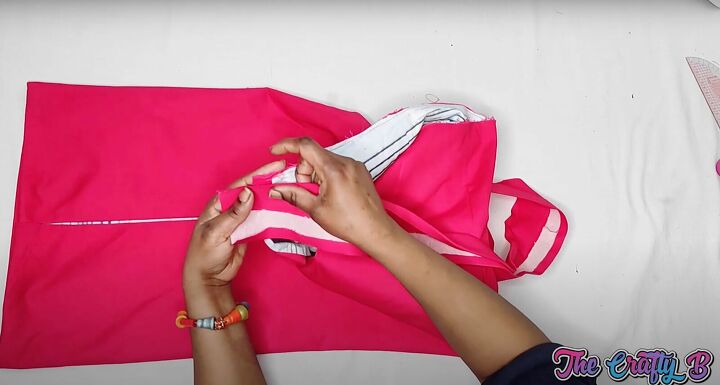
Sew the lining darts down on each piece of the lining. Place the lining into the folded seam allowance. Pin in place. Sew the lining down inside of the seam allowance to secure.
At the bottom hem, cut a small notch at the seam allowance fold.
Fold the lining the other way. Sew across the hem to secure. Fold the outer fabric up into the lining by ¼ or ½ inch and topstitch on the lining side.
Press everything well.
4. Sew the skirt together
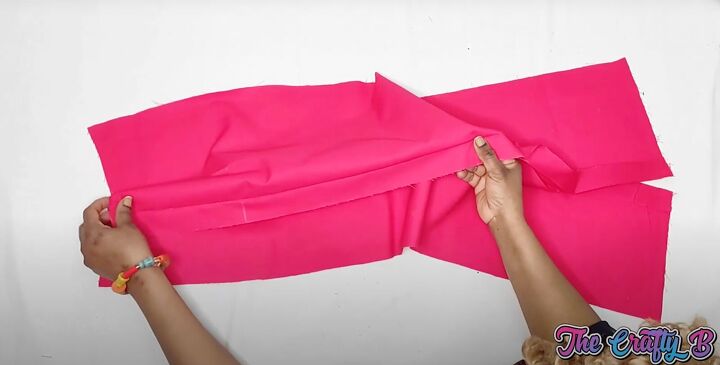
Place the front and back right sides together.
Move the lining to one side and the outer skirt fabric to the other.
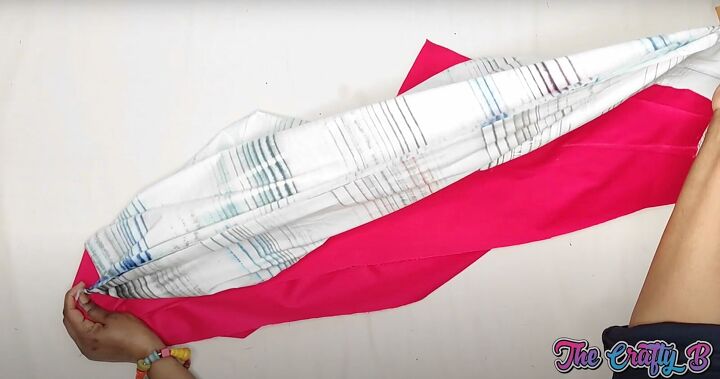
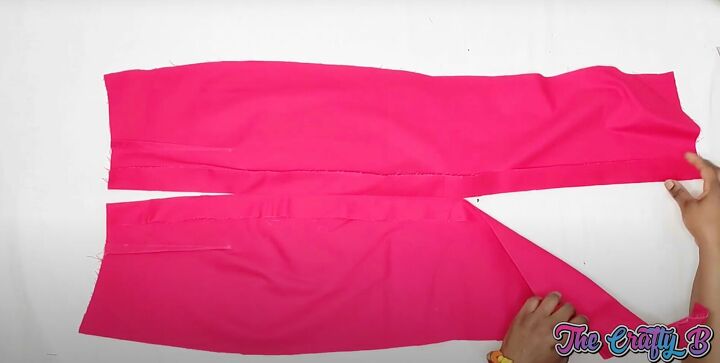
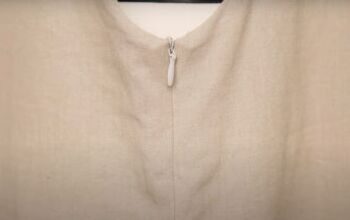
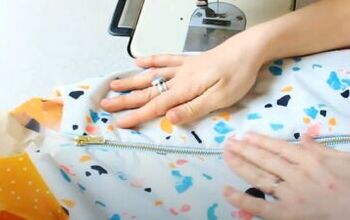
Sew the outer skirt fabric side seams with a 1-inch seam allowance down either side. Continue the same with the lining side seams. Insert the zipper.
Place the waistband’s right side on the inside of the skirt. Leave 1-inch excess on either side of the zipper space. Pin in place and stitch into position.
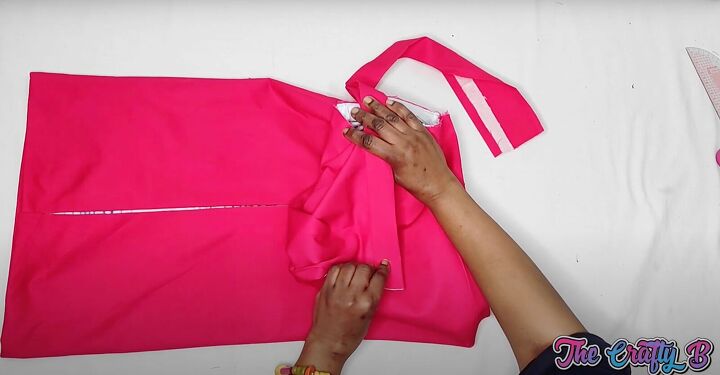
Fold in the waistband for a perfect finish at the beginning and end of the waistband. Then fold the waistband over to the right side and topstitch across.
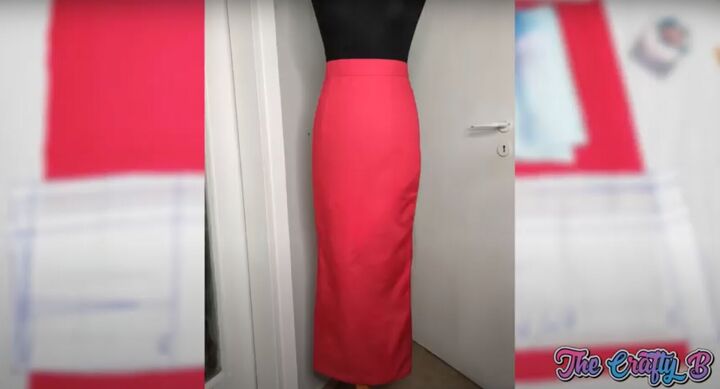
How to sew a pencil skirt
I hope my tutorial showed you how to sew a pencil skirt. This silhouette is so flattering.

I love hearing from you so please leave your comments below!
The author may collect a small share of sales from the links on this page.


Comments
Join the conversation