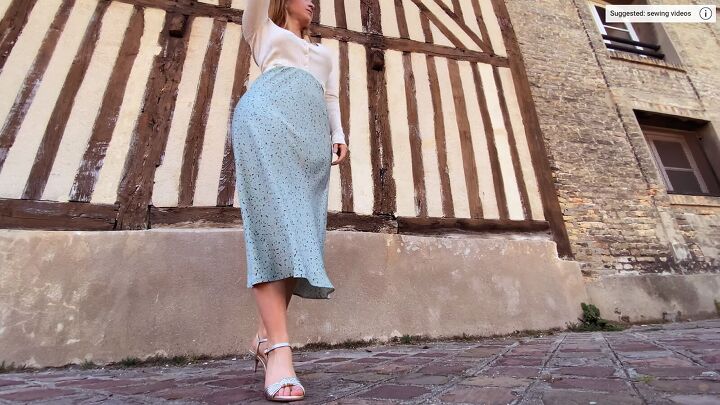
How to Sew a Slip Skirt Using a Free Pattern, Step by Step

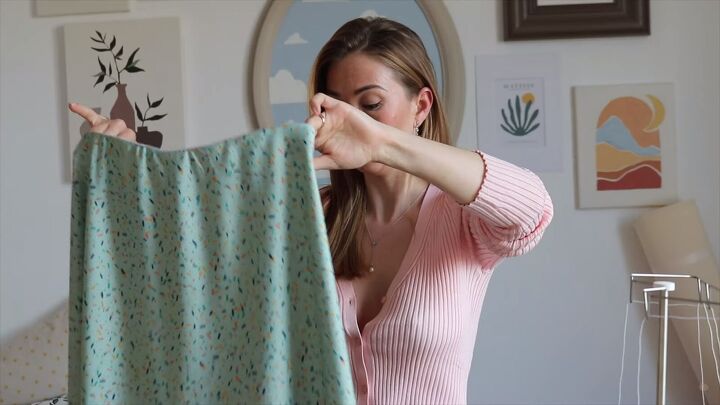
I recently realized that I don’t make any staple garments! So, I decided to make this simple bias DIY slip skirt with an elastic waistband.
Join me as I show you how to sew a silk skirt of your own with this free silk skirt sewing pattern that I found on the Internet. Let’s get started!
Tools and materials:
- Iron
- Elastic
- Fabric
- Sewing machine
- Pins
- Scissors
- Slip skirt pattern
- Matching thread
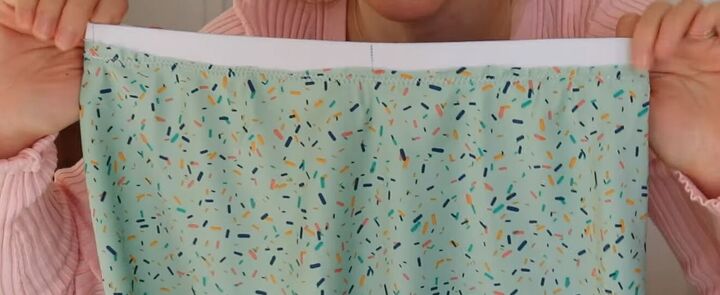
1. Get the materials ready
Download the silk skirt sewing pattern. Then, cut out the pattern and get your elastic ready. When cutting the fabric, try doing so with a rotary cutter, as silky fabric can get slippery.
Also, place the silky fabric on top of a layer of cotton fabric. Like this, it won’t slide when tracing out the pattern.
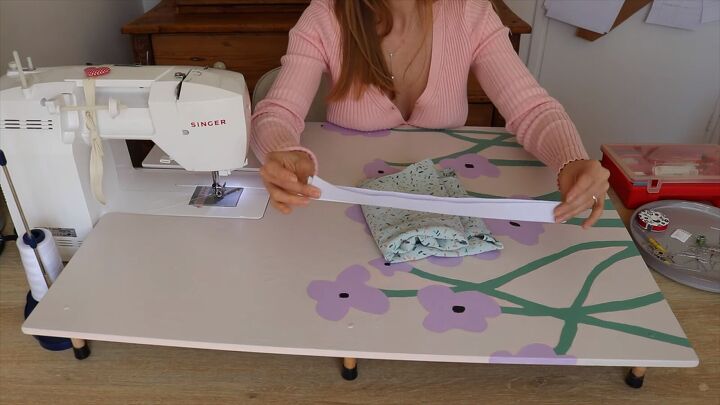
According to the instructions, the elastic needs to be the length of your waist with a little extra for seam allowance. Ensure you have two elastic pieces.
Tip: Be careful working with a bias cut pattern; it can easily get misshaped. Try not to pick it up too much.
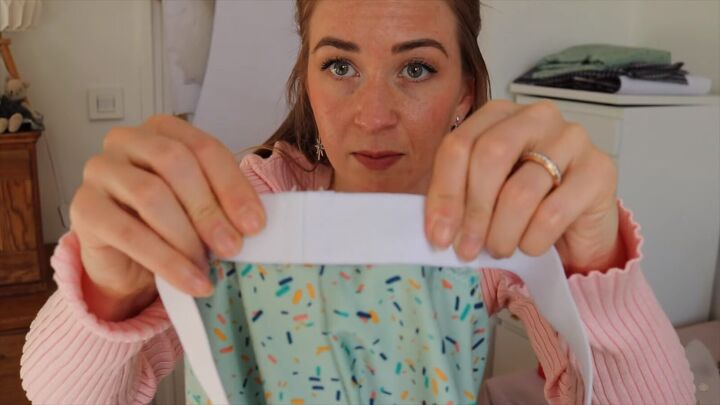
2. Gather the top edge
Since the elastic waistband is shorter than the top edge of the skirt, you’ll need to hand-sew two basting stitches along the top edge. Like this, you can gather the fabric after.
Note: I would like to say that I found the basting stitch unnecessary. I could be missing something important, but I feel it’s more annoying than helpful.

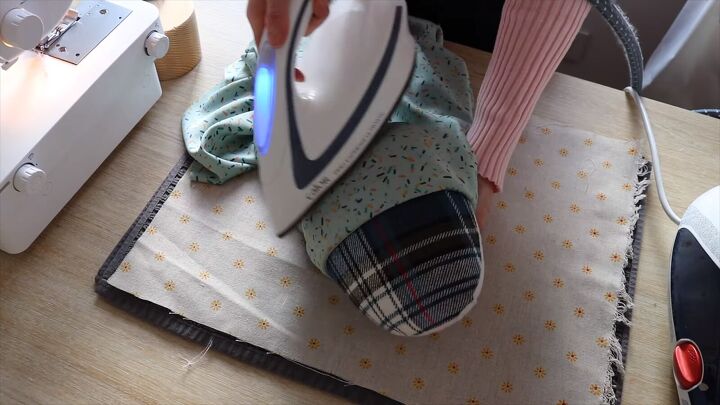
Then, shrink the fabric by going over it with an iron.
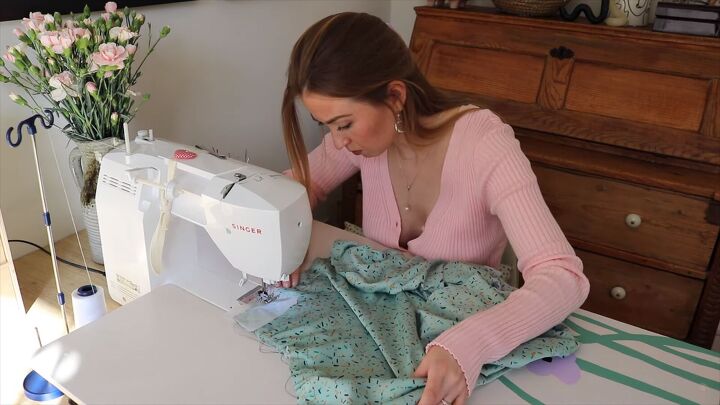
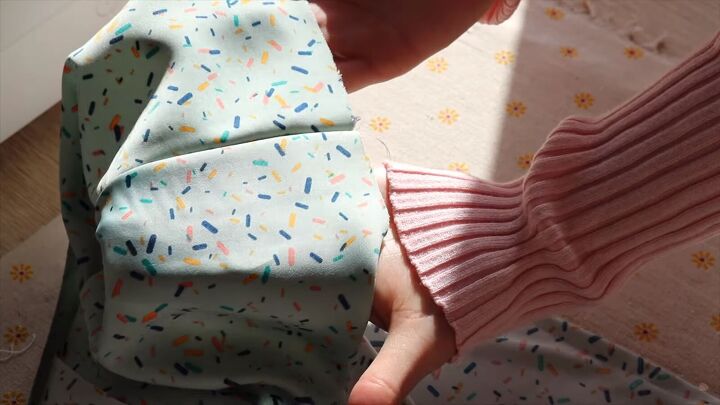
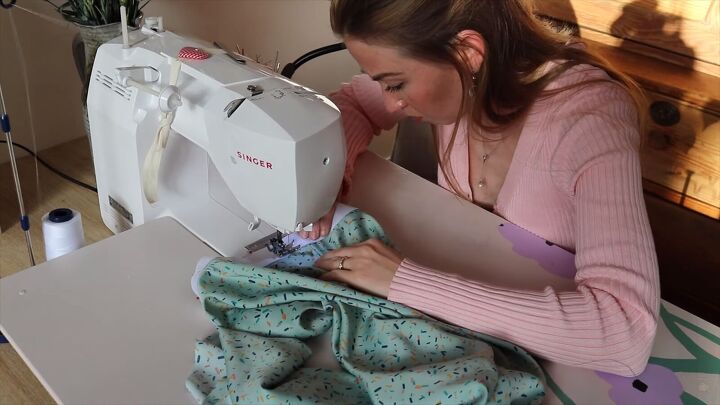
3. Sew the raw edges
Now, close the skirt by sewing a French seam along the raw edges. So, stitch the raw edges with the right sides facing each other.
Tip: Pin the first part with some paper. If your fabric is too thin, the machine's needle tends to push it down and can potentially get stuck.
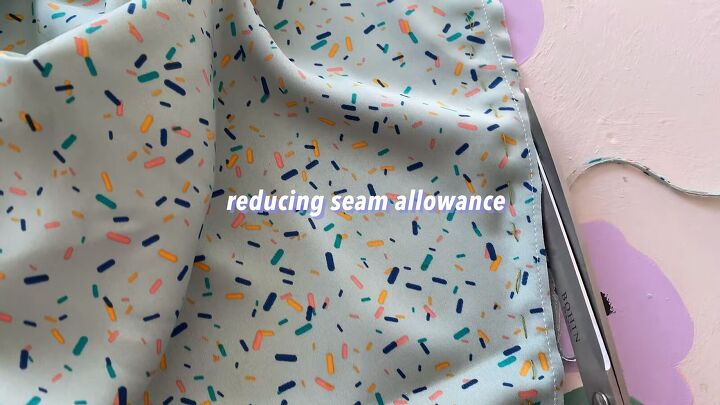
Reduce the seam allowance by cutting off the excess fabric.
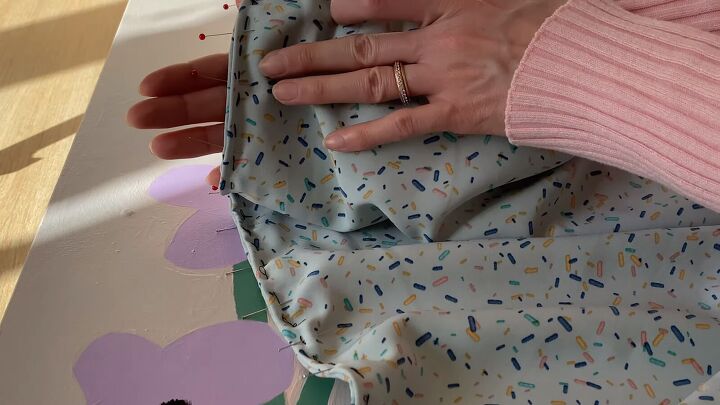
Turn the fabric to the right sides and pin it along the seam. I also secured the seam with a row of stay stitches. This will definitely help keep the fabric in place when stitching.
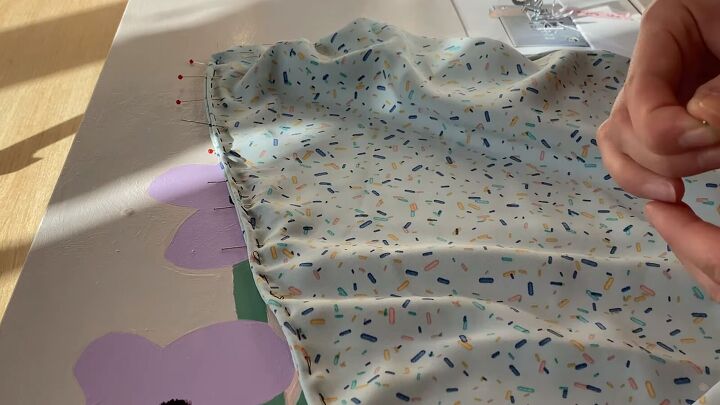
Remove the pins before sewing.
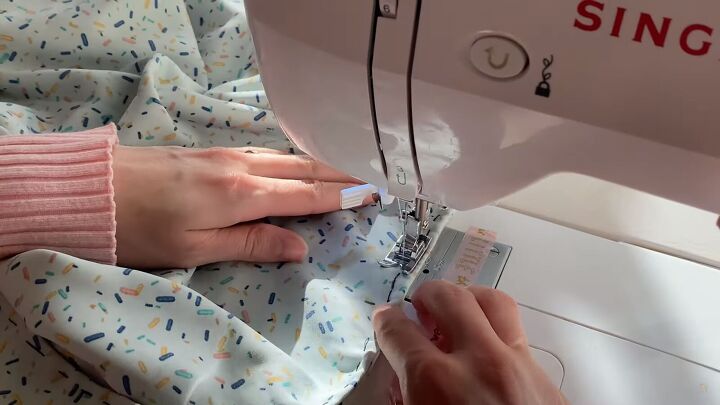
Sew along the stay stitches.
Done! Can you see how there are no raw edges, and the seam looks beautiful and clean from the outside?
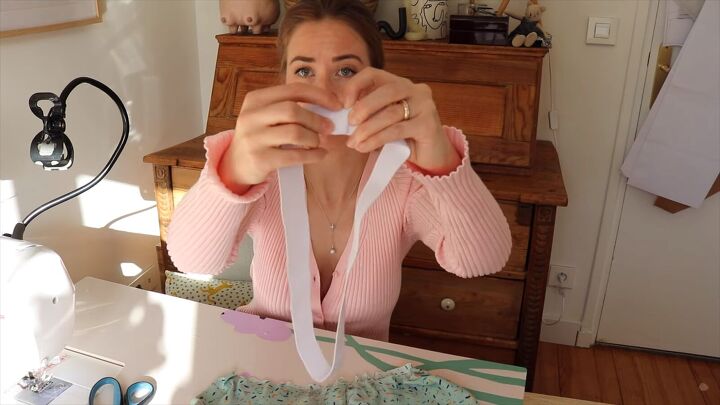
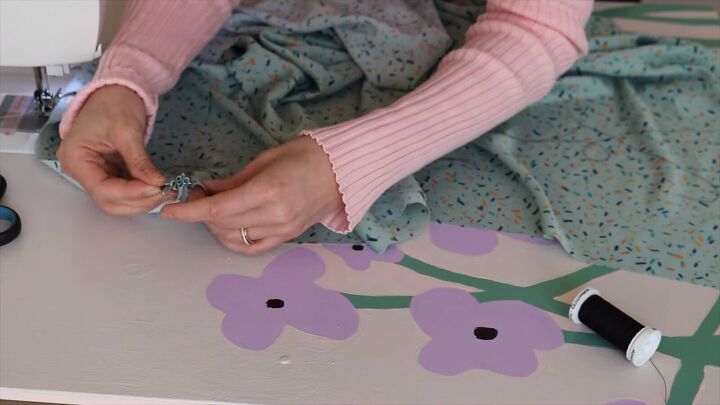
4. Attach the elastic
Stitch the ends of your elastic together to create one full piece. Then, stitch down the seam allowance, so the ends don’t stick out.
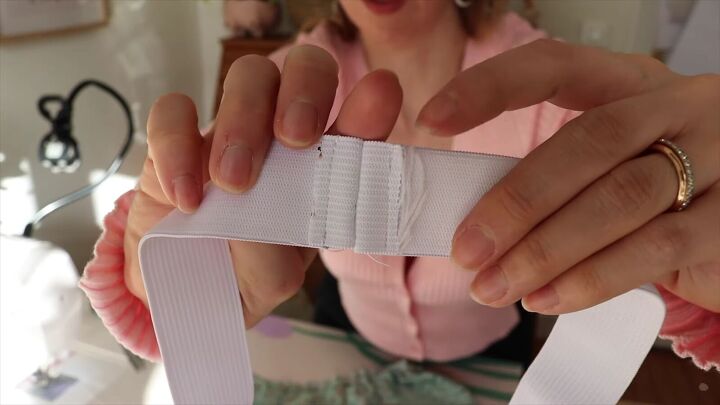
This is what you should have.
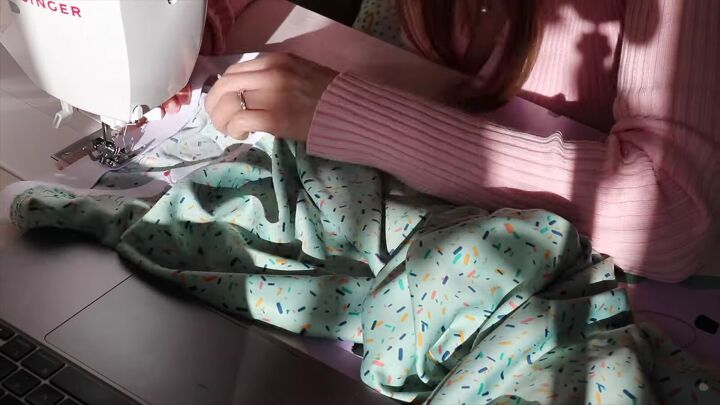
Sew the elastic to the DIY silk slip skirt. Ensure it’s sewn on the wrong side and that the elastic’s wrong side is also facing the skirt’s wrong side.
Here it is!
Now, take your second elastic piece and align its seam to the sewn elastic’s seam. So, both elastics should be the wrong sides facing. Pin the second elastic to the first all around.
Now, sew the bottom edge with a zigzag stitch.
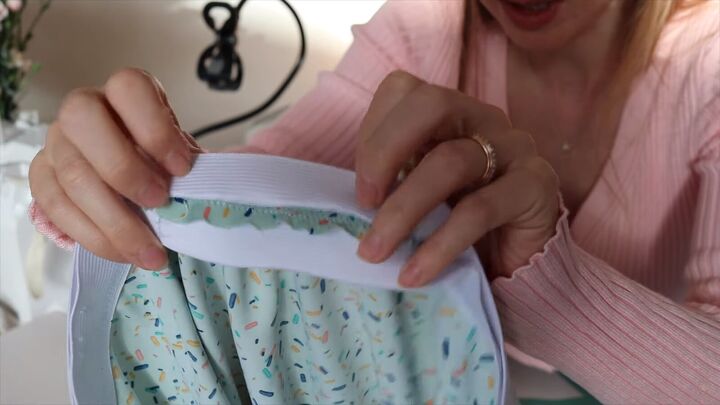
This is what you are supposed to see; the raw edges in between two elastic pieces.
Fold both elastic pieces inside and press the edges. Stretch the elastic when pressing it down.
5. Hem the DIY slip skirt
Before you go ahead and hem the skirt, let the skirt hang for a couple of hours. This is because the fibers of the fabric are going to stretch out. If you skip this, your hem will end up being wonky.

How to sew a slip skirt
Thanks for joining me on this tutorial on how to sew a slip skirt. It was so much fun making this staple piece. Let me know what you think of this DIY slip skirt and whether you’ll give it a go yourself!
The author may collect a small share of sales from the links on this page.


Comments
Join the conversation
Absolutely Gorgeous, just like you!!!!!!!👍️🤩
I will be making this skirt for my granddaughter. She loves it. Thank you for the tutorial.