How to Sew on a Zipper: Easy 4-step Tutorial

Today's tutorial is on how to sew a zipper into a jacket.
I'm sewing my Whitney Raincoat pattern for this project, but this is a universal technique that works for any jacket pattern that needs a separating zipper.
This tutorial only covers sewing in the zipper itself!
Upstyle Recommends!
Tools and materials:
- Jacket zipper
- Scissors
- Pins
- Tailor's chalk
- Pliers (optional)
- Zipper foot or narrow zipper foot
- Sewing machine
1. Adjust the zipper length
The zipper I purchased has half inch wide tape on either side of the teeth and the zipper itself is the exact length I need for the jacket.
If you need to shorten the zipper, always do it from the top by removing some of the teeth with pliers.
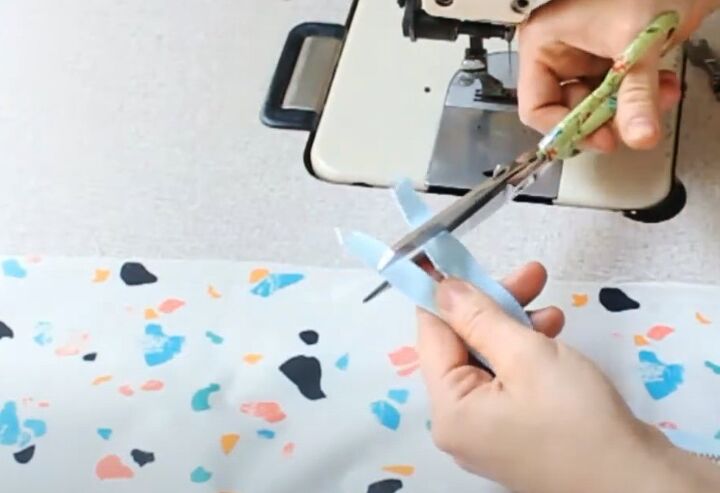
Trim the top of the zipper tape so that it is slightly longer than the seam allowance. I cut my tape to 5/8 inch above the top of the teeth and my seam allowance is half an inch.
Cut straight across the tape, making sure that both sides are even.
Cut the tape off at the lower edge, level with the bottom zipper stop.
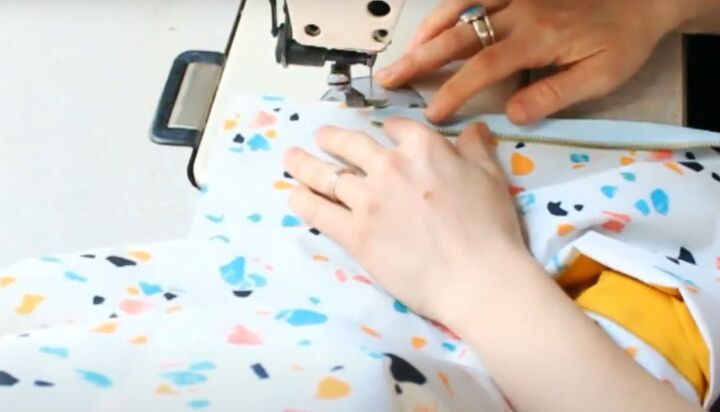
2. Left side
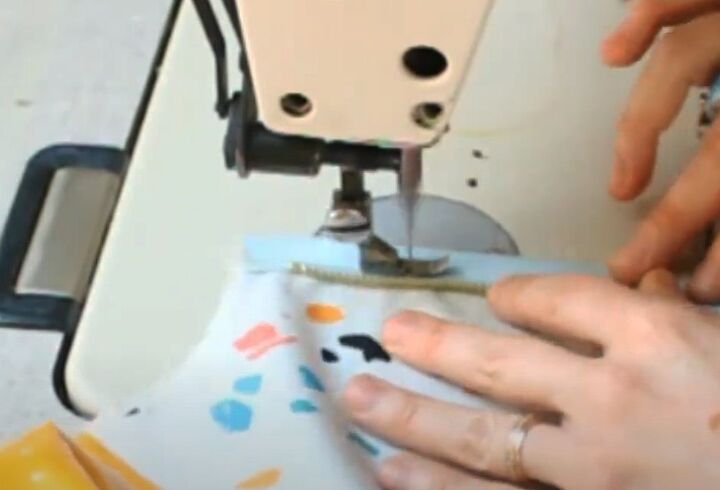
Swap your standard presser foot for a zipper foot.
Separate the two parts of the zipper.
Place the tabbed side of the zipper wrong side up on the right side of the fabric.
Line up the tape against the left front edge, so that the teeth are facing the garment and the stitch line comes within the seam allowance.
Place the top edge of the tape to the neck edge and ensure the bottom of the zipper aligns correctly at the lower edge.
Optionally pin or baste the zipper in place before sewing.
Lower the needle into the zipper tape, about 1/8" to 1/4" from the teeth. Make sure the zipper tab can slide past the needle when the zipper foot is raised.
Sew along the length of the zipper tape, moving the tab out of the way when necessary.
3. Right side
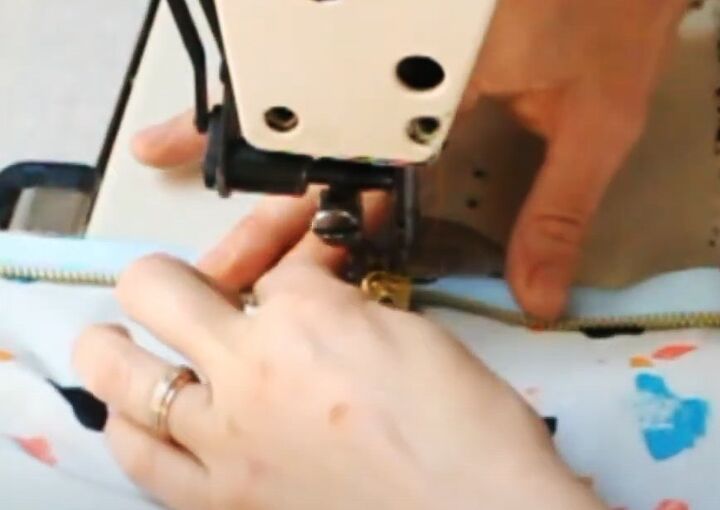
To avoid having to crush the jacket inside the arm of the sewing machine, sew the second side from the bottom up.
Line up the lower edges of the jacket and mark the position of the bottom of the tape.
Place the second zipper tape on the jacket with the right sides together.
Align the lower edge of the tape with the mark, and the edge of the tape with the right front edge of the jacket.
The zipper teeth should be facing the garment.
If you prefer, pin or baste the tape in place first.
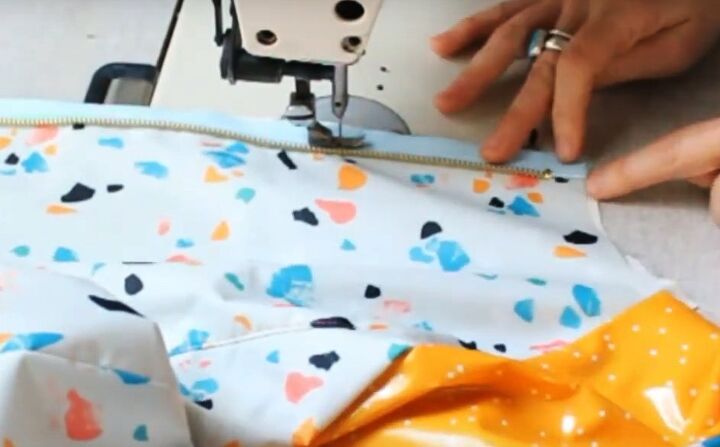
Sew along the tape as before, 1/8" to 1/4" from the teeth.
Check that the top of the tape lines up with the top edge of the jacket.
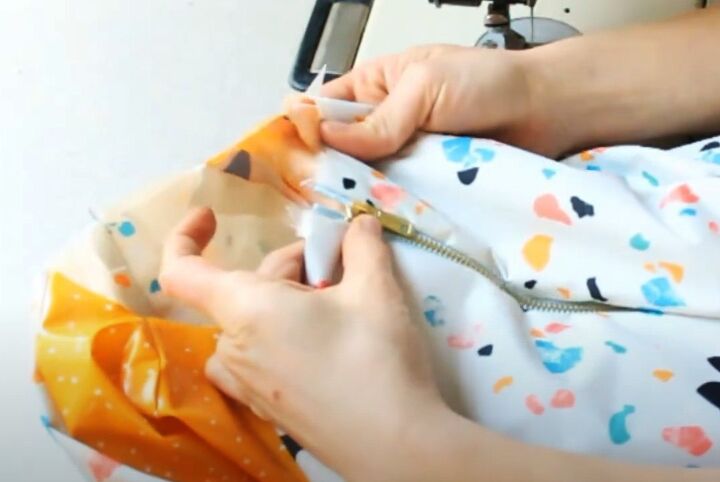
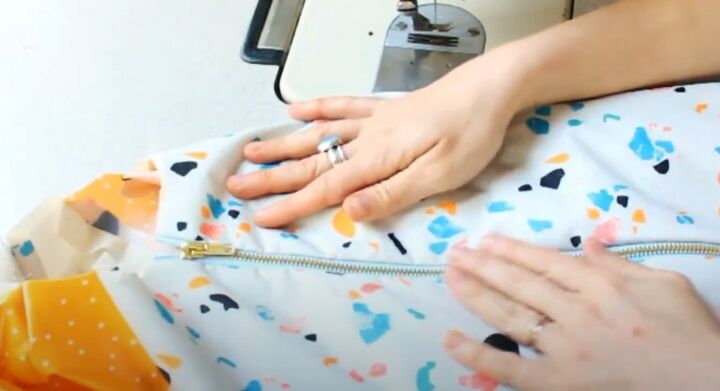
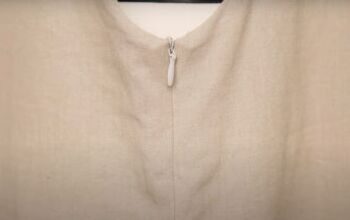
4. Finishing
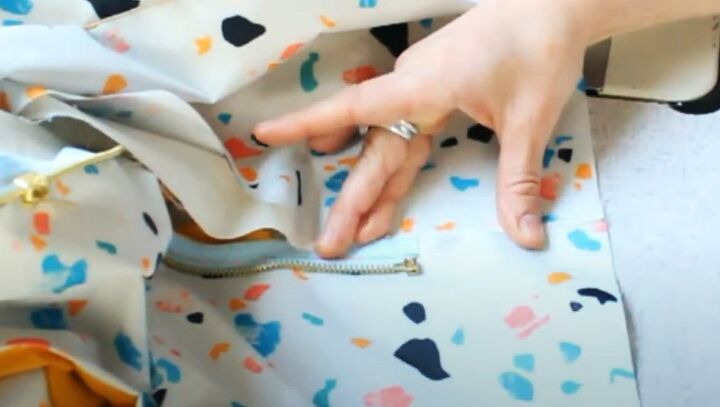
Zip up the jacket.
Make that the zipper closes smoothly without catching in the fabric and that the top edges of both sides are aligned precisely.
How to sew on a zipper
And that is step-by-step how to add a zipper to a jacket. Other tutorials in this series cover adding the lining and attaching the zipper to it (see my Upstyle or YouTube).
As you can see, this is a straightforward technique and easy to do successfully. There's no need to be afraid of this part of the sewing process anymore!
I'd love to know if this has helped you get over your fears of inserting this type of zipper. Please leave me a comment below and tell me how you get on.
The author may collect a small share of sales from the links on this page.


Comments
Join the conversation