How to Sew a Facing on a Neckline For Beginners: Step-by-Step Tutorial

Want to learn how to sew a facing on a neckline? Easy! This neckline facing tutorial will cover the basics for you so that the next time your sewing pattern or project requires you to add neckline facing, you’ll already be a pro.
This guide is excellent for beginners and even those who have more knowledge of sewing - it’s always great to brush up on your neckline-facing skills. Let’s get started!
Tools and materials:
- Neckline facing
- DIY item for the neckline facing
- Pins
- Scissors
- Thread
- Sewing machine
- Iron

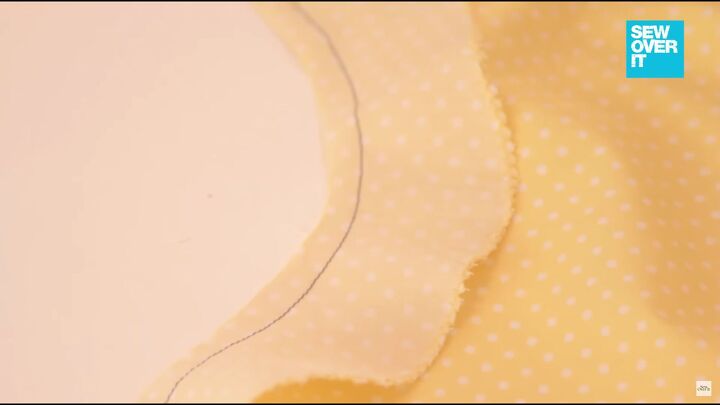
1. Sew a zigzag stitch
The neckline facing is almost always joined to the shoulder seams. Keep that top rule in mind. Before you attach your facing, sew a zigzag stitch along the bottom edge of the facing- this will prevent your fabric from fraying.
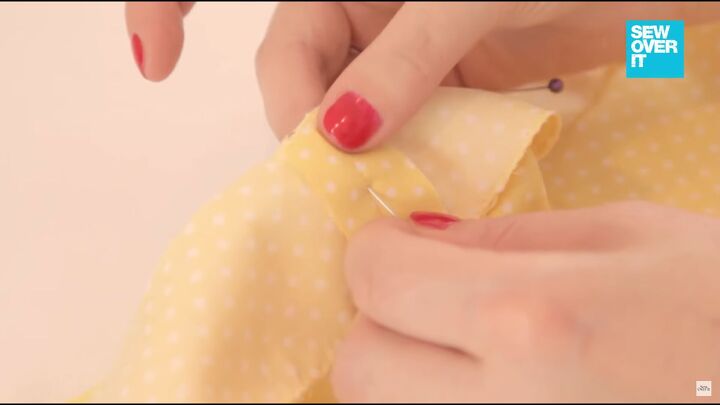
2. Pin the neckline facing
Lay your facing to the top edge of the neckline. Make sure the fabric is right sides together. Then, start by lining up your shoulder seams and pin both layers in place.
Pin the rest of the facing to the neckline, and be careful not to stretch it.
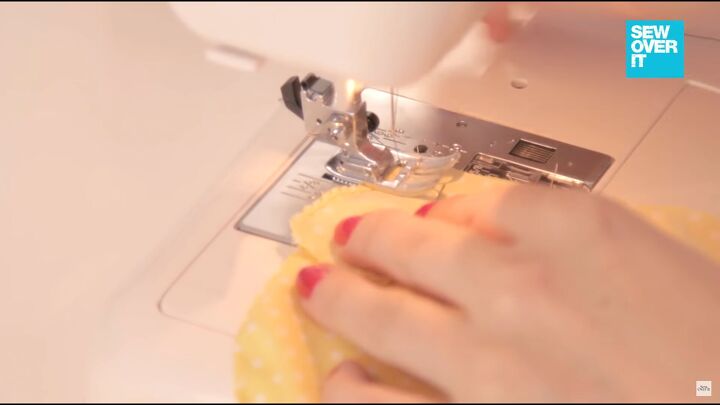
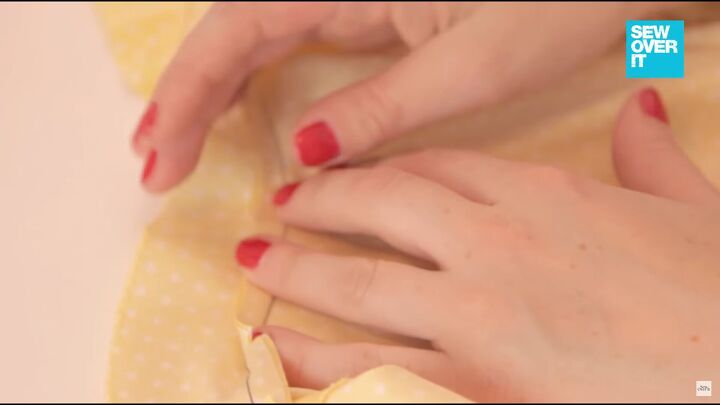
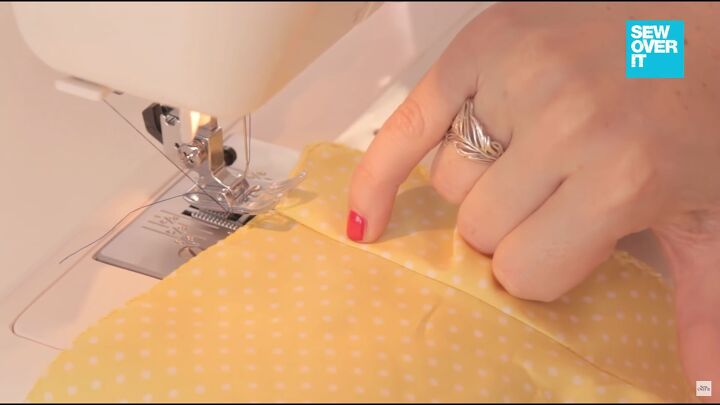
3. Sew the neckline facing
My dress pattern requires a 1cm (0.4 inches) seam allowance; be sure to check what seam allowance you need to consider for your specific sewing DIY project.
Align your fabric to the 1cm (0.4 inches) marking on the base of your sewing machine, and start with a quick reverse stitch before continuing along the edge.
Tip: Take your pins out as you get to them; don’t sew over the pins as it can damage your needle and footer.
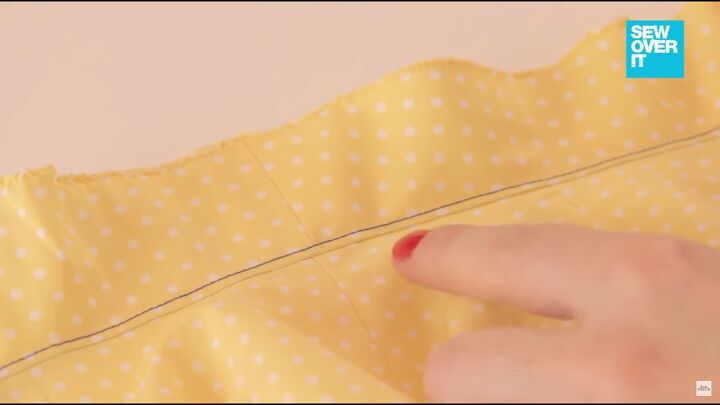
Stop at regular intervals to help you go around the curved parts of the neckline. Always keep an eye out for the seam allowance and that you are following it with your guide.
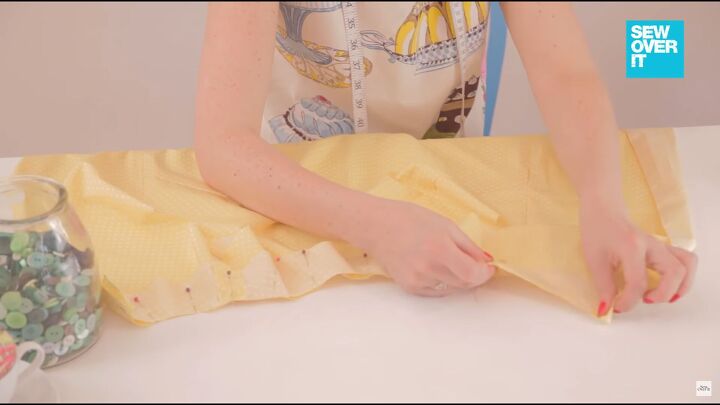
This is how it looks, stitched all the way around. Trim off your loose threads afterward.

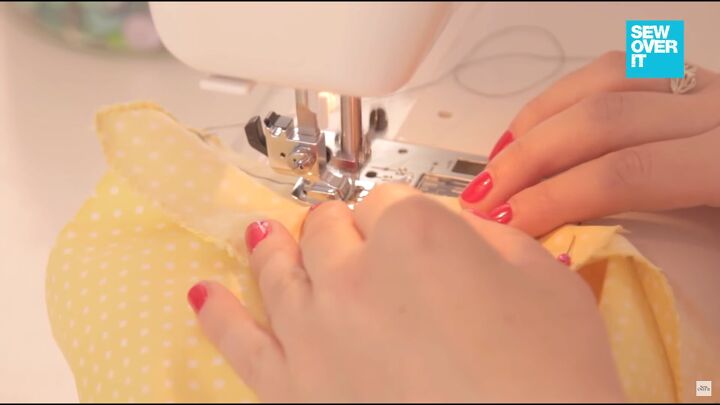
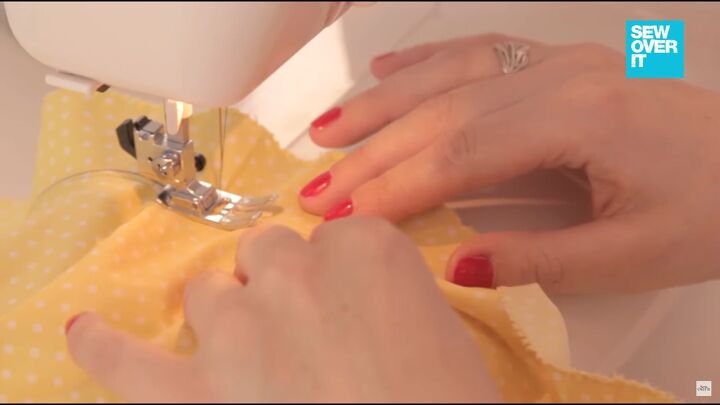
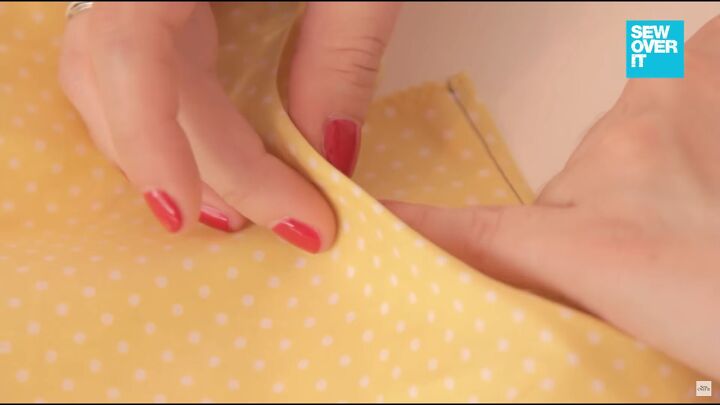
4. Snip into the seam allowance
Because my facing is curved, I want it to lay flat when flipped over. The best way to ensure a flatter look is to snip into the seam allowance at regular intervals, about 2-3cm (1 inch) apart. If your neckline is not as curved as mine, you’d only need to snip the curved points.
Tip: If you are doing facing on a v-neck, then clip a “V” shape into the v-neck
5. Press your seam allowance
Give your seam allowance a good press and make sure it’s facing up towards the edge and not facing down.
6. Understitch the neckline facing
The point of understitching is to help the facing sit inside the neckline and to stop it from rolling out. So, on the right side of the main fabric and neckline, stitch 2mm (0.01 inch) from the seam line on the facing’s side. Remember to reverse stitch, too.
Tip: Line up the groove on your presser foot with the seam
As you're stitching, ensure that the seam allowance on the reverse side is still facing upwards towards the seam.
Here’s how your understitching should look.
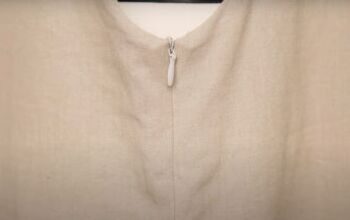
Now, give the facing a good press, and tuck the facing inside the neckline. Also, make sure the understitching is inside so that the stitch line is not visible.
How to sew a facing on a neckline tutorial
Your neckline facing should sit nice and flat, and there shouldn’t be any pulling; those tiny snips sure do work. Sewing neckline facing is easy, and with a bit of precision, it gives your garment a lovely finish! Let me know what you think of this tutorial in the comments below.
The author may collect a small share of sales from the links on this page.


Comments
Join the conversation