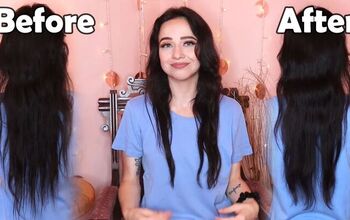
Easy At-home V-shaped Haircut Tutorial

Today, I'm showing you my updated hair trimming routine for a simple v-shaped haircut with a little bit of face-framing.
This tutorial will work for medium to long hair. I did not invent these techniques, nor am I professional, this is just what works well for me to cut off my dead ends. Let’s jump on in!
Tools and materials:
- Hair straightener
- Hairbrush
- Hair elastic
- Hair cutting scissors

1. Straighten hair
Start with very well-conditioned hair that is dry and straight. This will allow you to see exactly how much you’re cutting and help ensure you don’t cut any more than you need to.
If you don't feel like straightening your hair or don't have a hair straightener, you can do the cut while your hair is damp.
However, when you do cut your hair damp, it's harder to tell how much exactly you're taking off because when your hair dries it will bounce back a small amount.

2. Make a ponytail
Once your hair is completely straight, flip your head upside down and brush all of your hair into a ponytail in the top center of your forehead. Secure it with an elastic.

3. Cut the ends
Cut off the ends where they start to get see-through. Be sure to use hair-cutting scissors because it really makes a huge difference.
Brush your ponytail all together and trim the ends off straight across. If you have thick hair, you might need to do this in sections.

4. Thin ends out
The ends will be very blunt, so thin them out by cutting up into them with the scissors parallel to your hair.
I have very fine hair, so I don't need to do very much of this to soften my ends, but if you have thick hair, you will need to do more and probably do it in smaller sections.

5. Even out the sides
Take out your ponytail and grab small pieces from either side of your face in the front to make sure the lengths are even on both sides. If they are not, trim any uneven pieces.

6. Brush the ends
The last step is to trim the actual ends because the longest part of your hair probably wasn't cut in the ponytail, depending on how high you made the cut.
Part your hair evenly down the middle and brush all of your hair forward on either side.

7. Trim the ends
Now, bring the two sides together and brush your hair straight down under your chin.
Grab the ends firmly together and cut them straight across where they start to get see-through.

8. Thin the ends
Let your hair down and brush both sides to check if they are even and make any adjustments.
The thinning of the ends is totally optional this time. If you like them to be thick and blunt, you can just leave them, and then eventually, they'll look thinner as they grow out.
But I decided to do a tiny bit on my ends by cutting up into them.

At-home v-shaped haircut
Even though I didn't lose very much length at all, it does look significantly healthier as we have got rid of the dead ends.
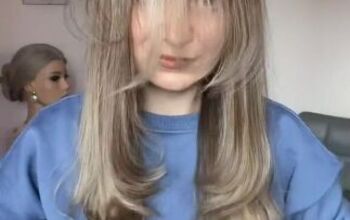
At the front, we also added some face-framing layers. I hope you found this tutorial helpful! If so, leave a comment!
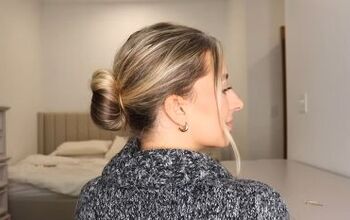
Next, learn How to DIY a Hair Donut + 3 Cute Ways to Wear It.
The author may collect a small share of sales from the links on this page.


Comments
Join the conversation