Sew Along Faux Wrap Dress

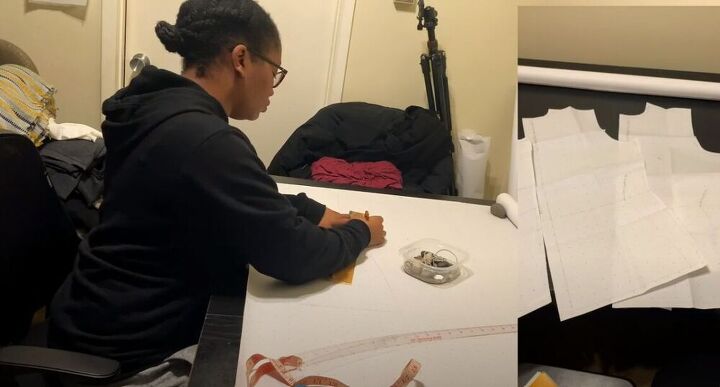
Hey guys! I will show you a step-by-step guide to creating a faux wrap dress. I created a pattern and used some gorgeous knit fabric to make a fun, faux wrap dress. Check out this tutorial and get started on making your own!
Tools and materials:
- Pattern
- Fabric
- Interfacing
- Scissors
- Pins
- Sewing machine
- Overlocker
Create pattern pieces
The first step to this faux wrap dress was creating my pattern pieces. To self draft this pattern I referenced a pattern book and adjusted it for my size and style.
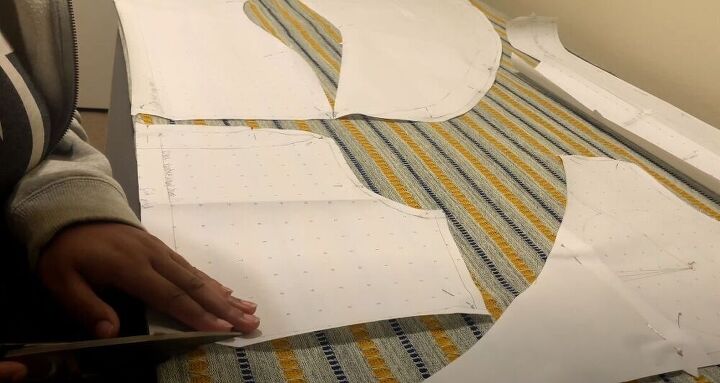
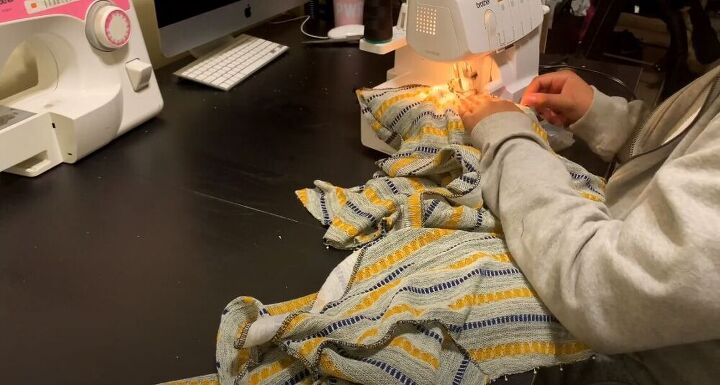
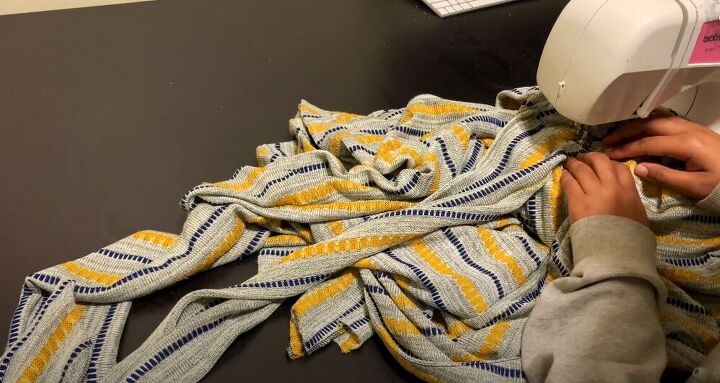
Once I had all the pattern pieces, I pinned them to my fabric and started to cut. To make this wrap dress, I decided to use a sweater knit fabric. I’ve had this fabric in my stash for a couple of years now and this was the perfect project to use it for. Working with sweater knit, it was important to have all the notches marked so that everything would line up as it had to.
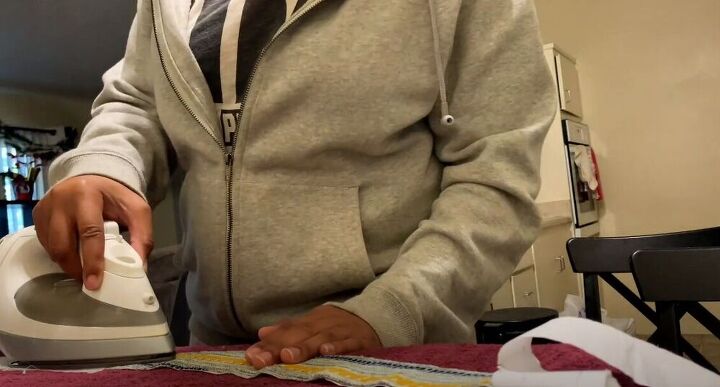
Add interfacing
Once all my fabric was cut out, I went ahead and pressed interfacing onto all the facing pieces for the faux wrap dress.
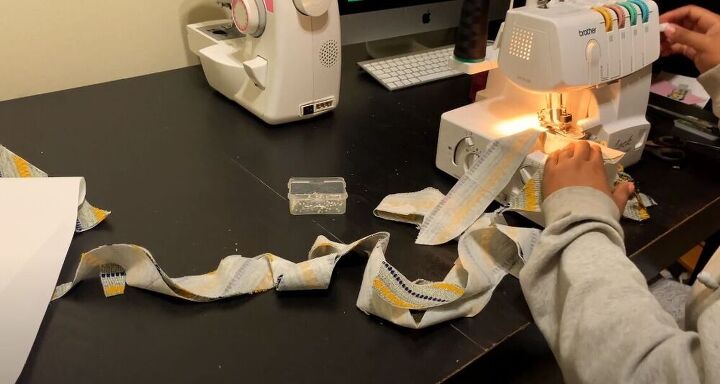
Attach the facings
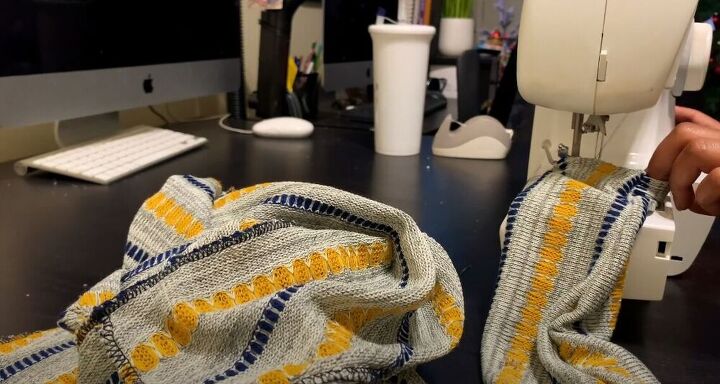
I then went ahead and sewed the facing pieces together, right sides facing. Afterward, I made sure to overlock the exposed edges of the facing piece to get a clean finish.
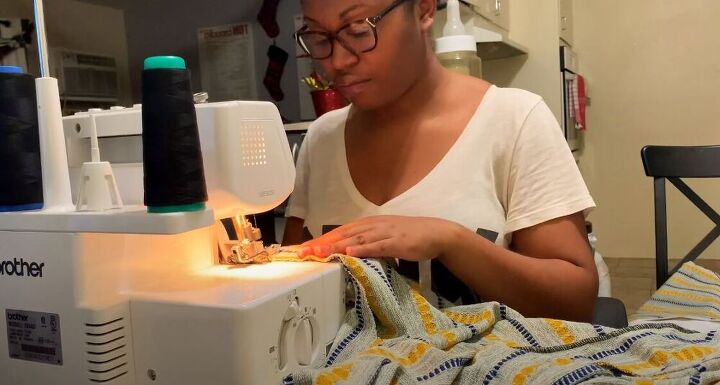
Next, I joined the front and back pieces together so that I could put in the facings. I realized that I didn’t cut enough material to make a wrap skirt and so I decided the project would become a faux wrap dress.
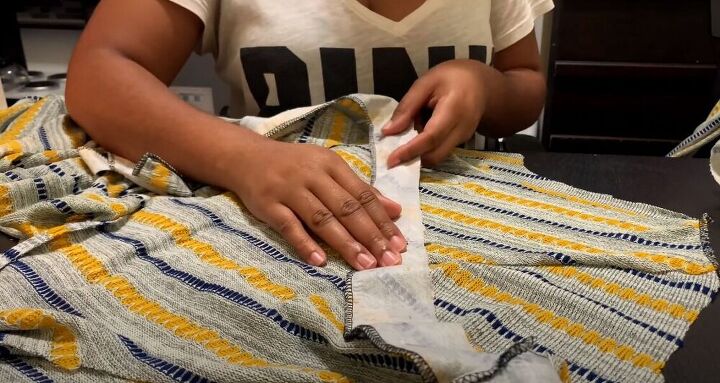
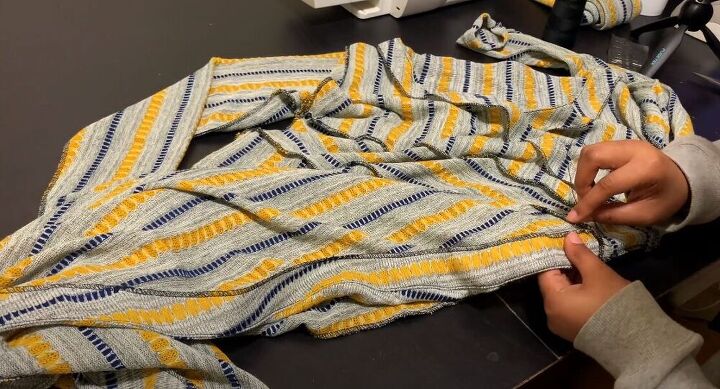
To accommodate the faux wrap dress changes, I had to cut the facing. I then pinned the facing to the front and back neckline, making sure not to stretch anything or change the shape. Once it was pinned in place, I did a little overlocking.
I repeated the same steps for the front skirt opening. I was very careful not to stretch the fabrics because I was working on a curve.
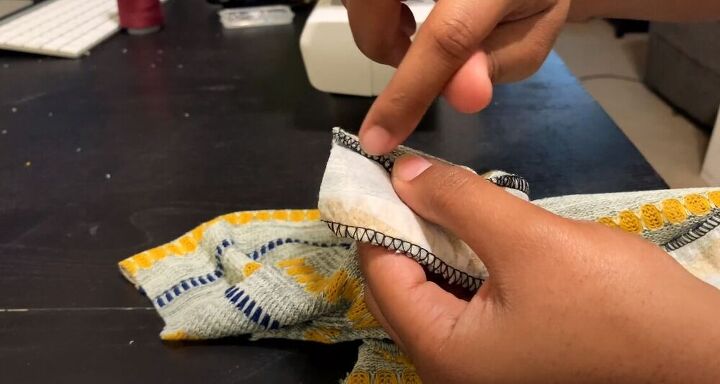
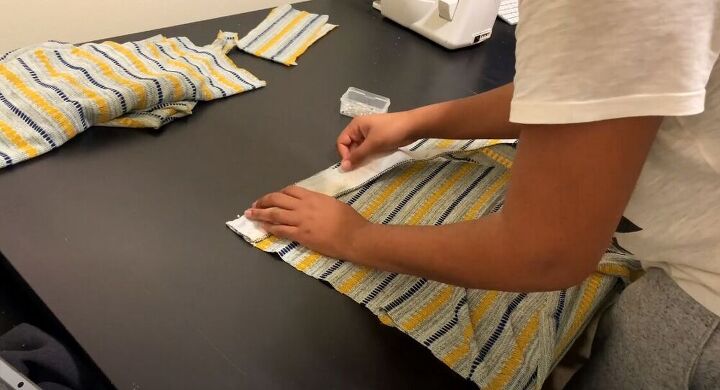
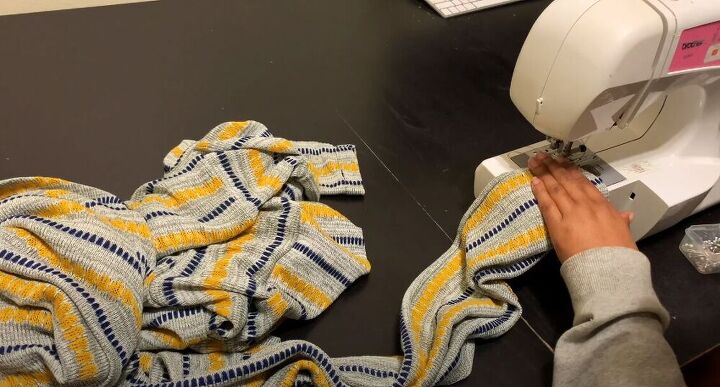
To get a professional finish, I suggest pressing the seam allowance towards the facing and then edge stitching it in place. This will make it easier for the facing to remain on the opposite side.
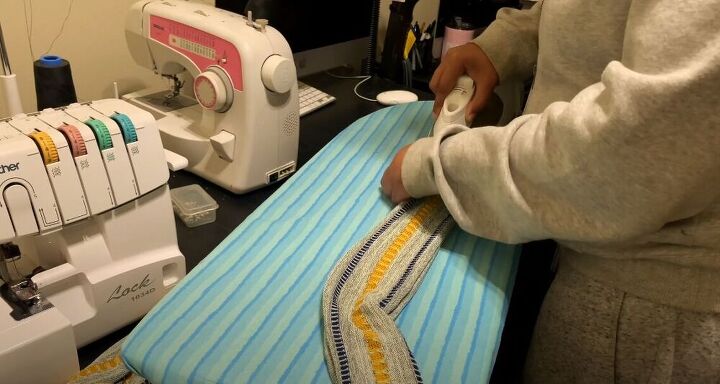
Press the fabric
Next, I pressed the skirt and neckline facing and then also pressed the belt seam.
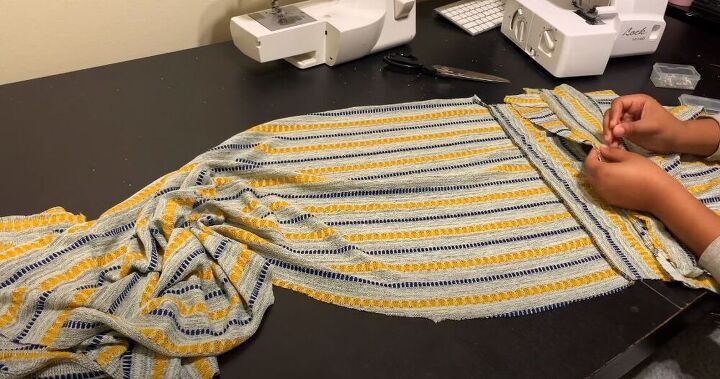
Pin and sew the dress together
Next, I lined up the front bodice to the only remaining waistband. I was really careful in this step to line up the notches.
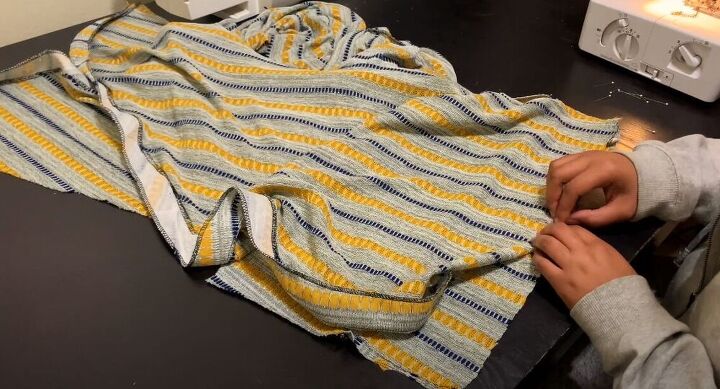
Once that was done, I lined up the skirt pieces and pinned them on. I made sure they were pinned in the right order since one of them was supposed to open up. Once the front and back of the dress were together, I went ahead and pinned the sleeves on along the shoulders. This is a great cheat way to attach sleeves for knit fabrics.
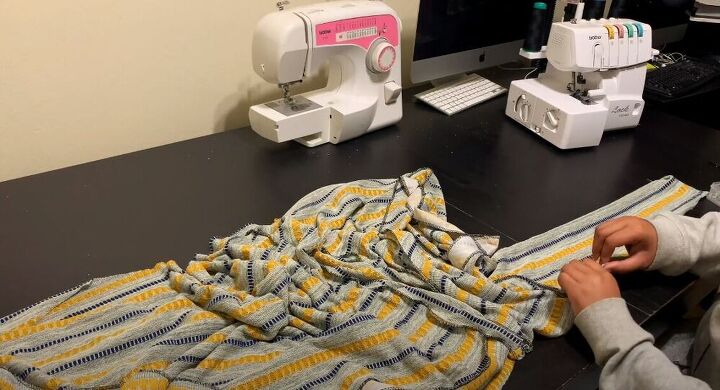
Attach sleeves
I then went ahead and pinned the sleeves and side seams of the dress.
Sew closed the dress
Next, I sewed from the shoulder down the sleeve to the underarm and down the side of the dress. I of course did the same on the other side.
Finish the dress
To finish up, first, I hemmed the sleeves with a ¼ inch fold and I then moved on and hemmed the bottom of the dress with two ¼ inch folds.
To finish off the facing I could have used my machine but I just hand sewed with a simple whip stitch.
For the belt, I had to cut the pieces down a little and I then sewed them right sides together.
I then sewed the belt onto the dress.
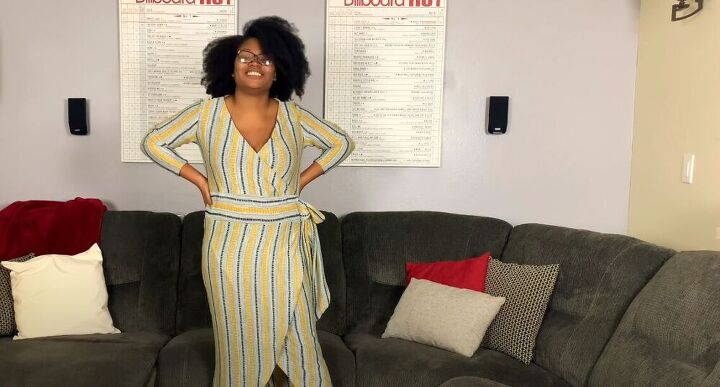
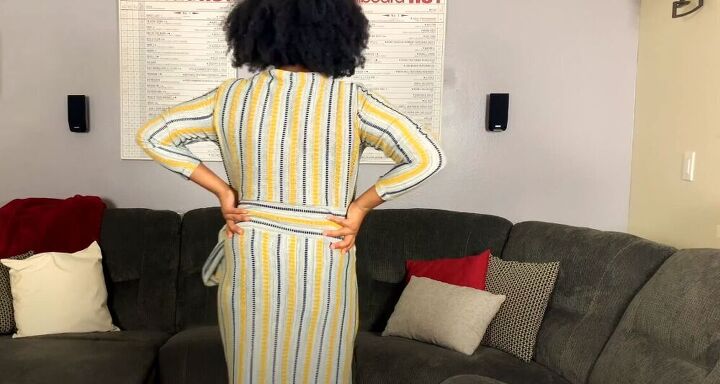
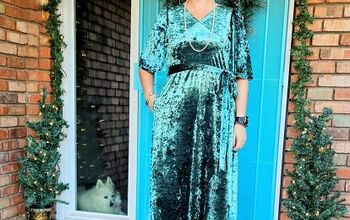
I really love how this faux wrap dress turned out! I will have to wear a slip with it because of the knit fabric I used but I am still super excited to wear this dress! Share your thoughts on this DIY in the comments below!
The author may collect a small share of sales from the links on this page.


Comments
Join the conversation
I love the pattern of this fabric :)