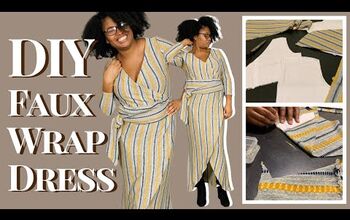
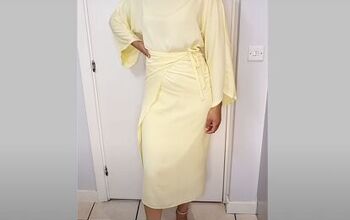
How to Make a Faux Wrap Dress

In this tutorial, I will be showing you how to make an elegant faux wrap dress that’s fitted at the waist and hips, with gorgeous full balloon sleeves. First things first, you will need the sewing pattern. You will get an instructional booklet along with the pattern, and in this booklet, I discuss how to choose a fabric for this dress. For my dress, I am using a navy Ponte di Roma fabric.
Tools and materials:
- 2.5-3 yards medium weight 2-way stretch knit fabric
- Clear elastic
- Matching thread
- Pins
- Tape measure
- Scissors
- Pattern
- 4 thread serger & sewing machine

Back neckline
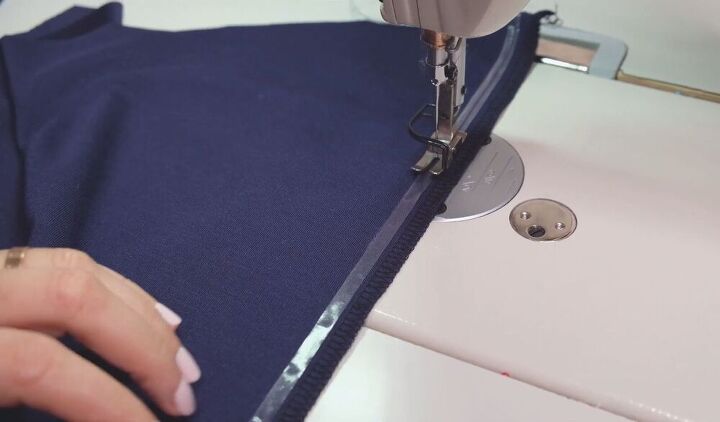
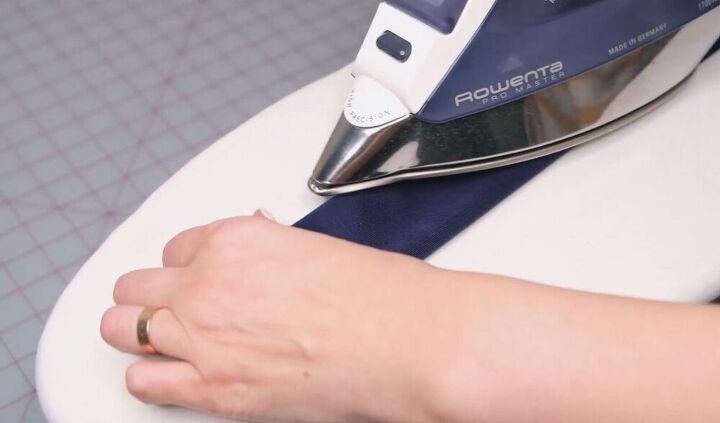
Serge the back neckline edge. I always recommend stay stitching your neckline before sewing so that it will hold its shape better. Fold the serged edge to the wrong side ⅝ of an inch and pin. Press with an iron. Then topstitch (remove the pins while you’re stitching) and press again for a professional look.
Shoulder seams
Serge the front neckline edges. On the front bodice pieces on the wrong side, draw a guideline from the mark at the shoulder to the mark at the waistline, parallel to the neckline edge. Take a clear elastic and sew it right next to the guideline, close to the edge. Remember not to stretch the elastic or the fabric. The elastic will prevent your neckline from over-stretching and opening up. Pin the shoulder seam, matching the back neckline with the mark on the front piece. Fold the front edge of the neckline over the back neckline and pin. Sew the shoulder seam and serge. Turn out the corners of the front neckline. Pin along the neckline and press with an iron. Topstitch the front neckline, half an inch from the edge at the right side. Press and cool it down with a clapper or your hand so the waviness of the fabric will go away.

Front waist seam
Overlap the front pieces of the skirt and pin, matching the center front marks. Baste or sew together. Pin the skirt to the bodice, right sides together, matching the center marks and the edges on the bodice and skirt. Sew the waistline and serge. Press.
Side seams
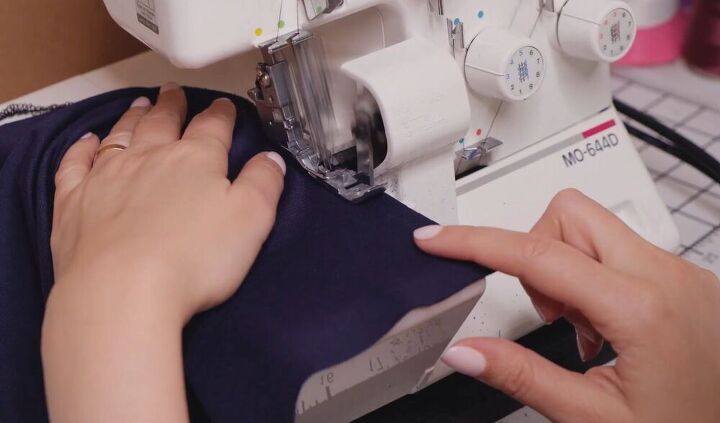
Serge the edges of the slits on the front and the back skirt. Serge the hem as well. Pin the side seam, matching the marks of the waistline, and sew one inch below the start of the slit.
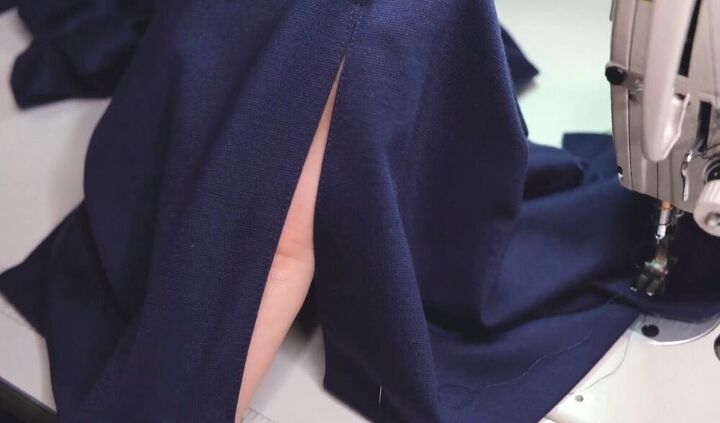
Hem & side slits
On the wrong side, fold 1.5 inches at the slit edge and sew right next to the serged edge. Do the same for all the corners of the slits. Turn out the corners to the right side, pin the hem, and press. Pin and press the slit opening as well. Fold the top corner of the slit to one side and press. At this step, press the side seams as well. Topstitch the slit opening 1/16th of an inch and press. Hem it by hand or topstitch. Here you can use your favorite method, choosing the best one for your fabric. Press.
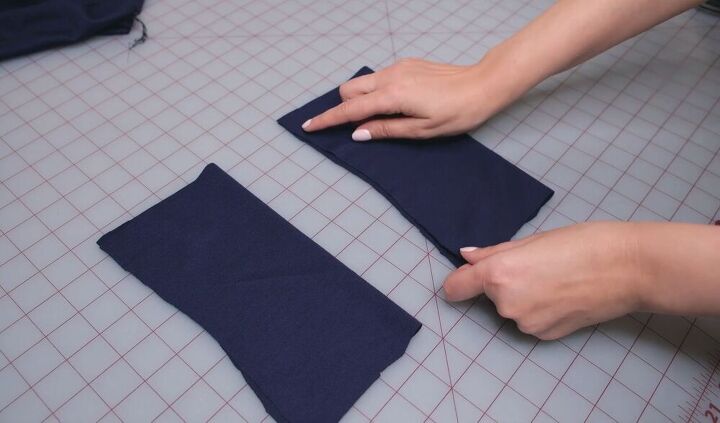
Sleeve cuffs
Fold the cuff in half and sew up the long side. Turn it over itself to form a cuff. Place the cuff inside the sleeve. Match the side seams of the cuff in the sleeve and also match the center of the cuff with the center seam of the sleeve. Fold the sleeve fabric into small pleats around the cuff. You can play around with the size of the pleats, making them small or big. Pin and sew. Repeat for the other sleeve.
Belt
Fold the belt in half and sew to one side starting from the center. Leave a 2 inch opening at the center and sew to the other side starting from that point. Turn it out and press. Hand sew the opening closed. Give your dress a finishing press, and we are done!

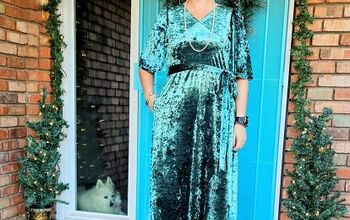
I hope you enjoy your comfy knit faux wrap dress. It is elegant and stylish and feels fabulous on. The wrap tie around the waist accentuates the waist line and the balloon sleeves are a stunning feature that give the dress a lot of character. Happy sewing!
The author may collect a small share of sales from the links on this page.


Comments
Join the conversation