Learn to Make This Jaw-Dropping Vintage Inspired DIY Wrap Dress

A DIY wrap dress is just superb! It’s such a versatile fashion item that can be worn for so many occasions! Today, I’m going to show you how to make a DIY wrap dress, vintage style. It’s elegant, flowy, and of course, feminine! So, if you want to make a DIY wrap dress from scratch, follow this step-by-step tutorial as I walk you through each step.
Tools and materials:
- Cotton fabric
- Sewing machine
- Paper
- Marker
- Ruler
- Measuring tape
Make the bodice pattern
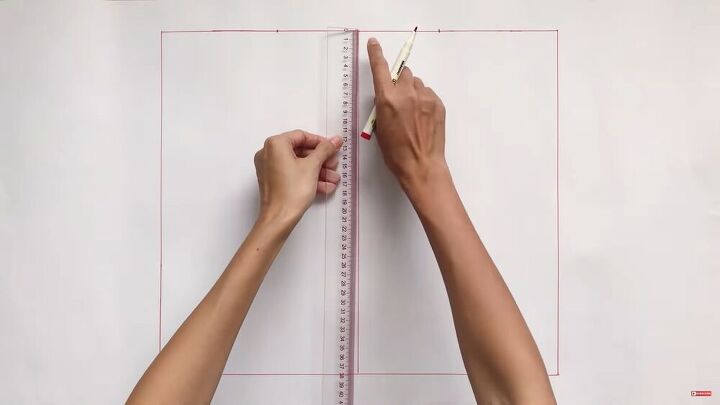
Let’s start by making the DIY wrap dress pattern, and the first step is to make the back bodice. There’s a lot of measurements and center points to consider. To see exactly how I do this, follow my video tutorial above and skip to the 0:44 second mark for the whole process.

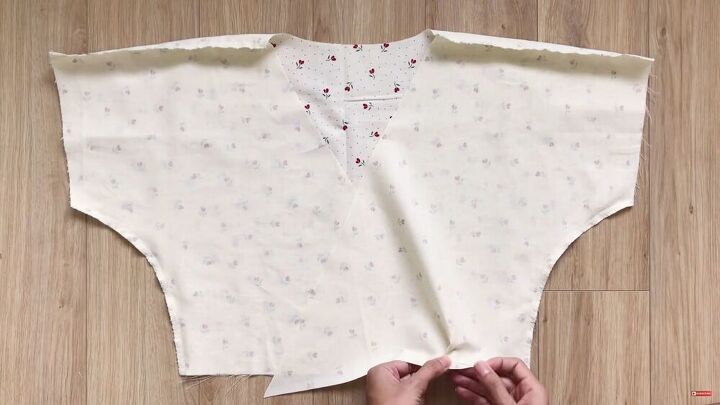
To make the front bodice, simply take in the length at the shoulder line by 2 cm (0.8 inches). Do this on one side.
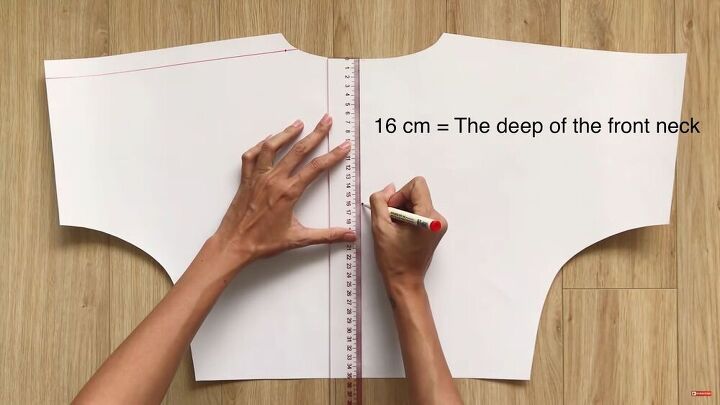
From the center of the neck, move down 16 cm (6.3 inches) and make a mark. This will be the deep curve for the v-neck in the front. Make sure it’s not deeper than your armpit line.
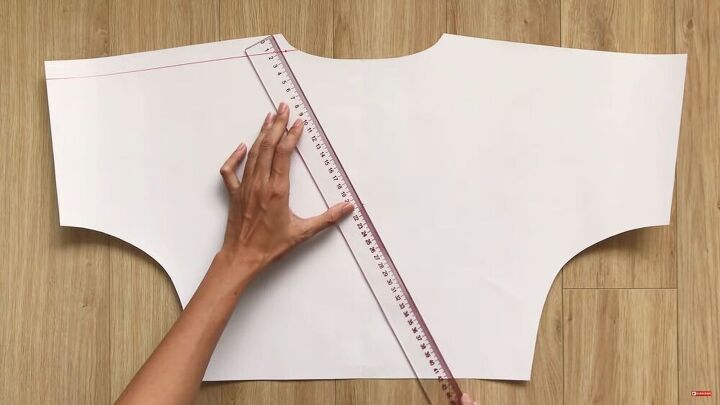
Connect the new shoulder line to the middle mark and draw a straight line.

Cut along the line, and cut out the 2 cm (0.8 inches) line on the shoulder line. This is what it should look like.
TIP-
To convert these measurements to inches, use this online tool.
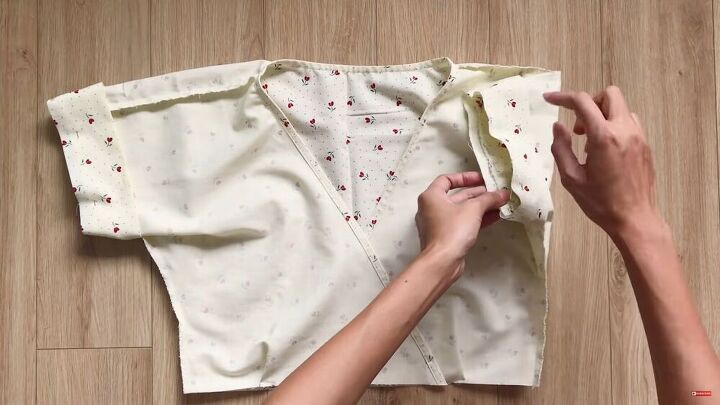
Assemble the bodice
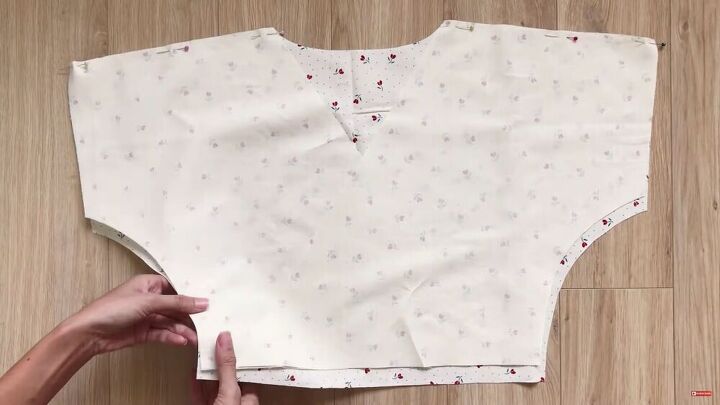
Cut the patterns and layer the front and back bodice pieces as shown above. Pin the shoulder seams and the curved underarm seams and sew to secure.
Make two small darts at the bottom, on either side of the neckline. If your bust is big, make a bigger dart. If it’s small like mine, create a smaller dart. Sew the darts to secure in place.
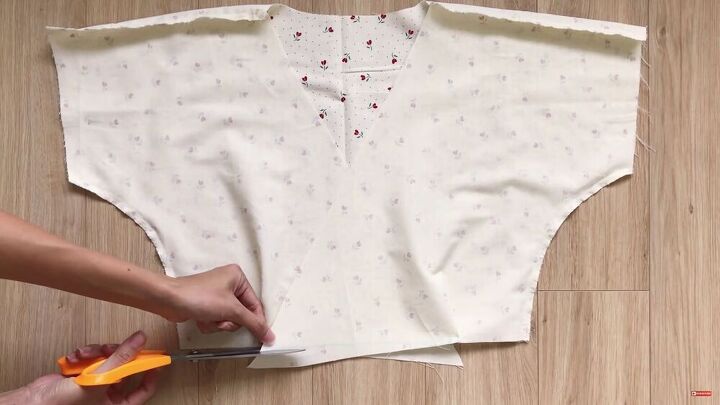
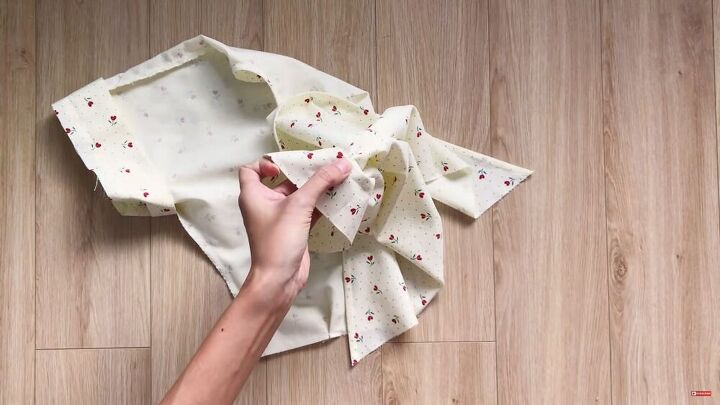
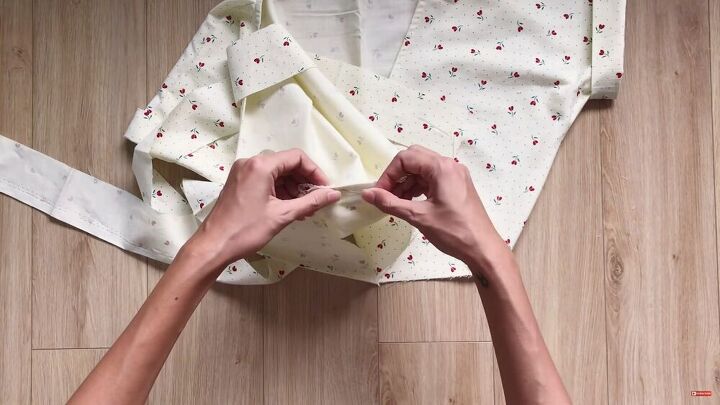
You’ll notice the bottom tails of the wrap are not straight anymore, so go ahead and cut off the excess and straighten up the lines.
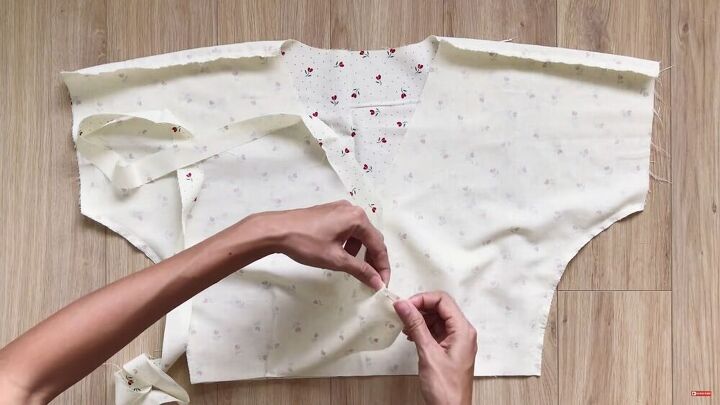
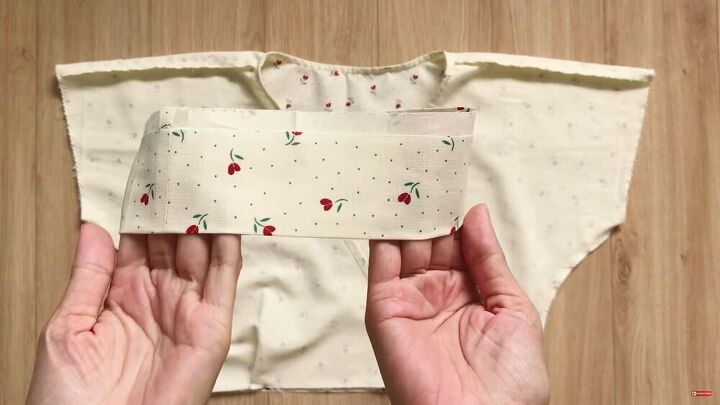
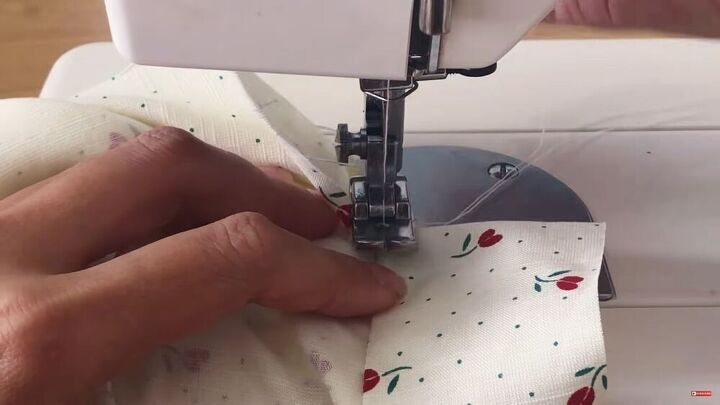
Hem the neckline, starting from the bottom of the wrap piece. For this, simply cut a long strip and pin it along the raw edges. To see how I do this, follow my video from 4:29 minutes.
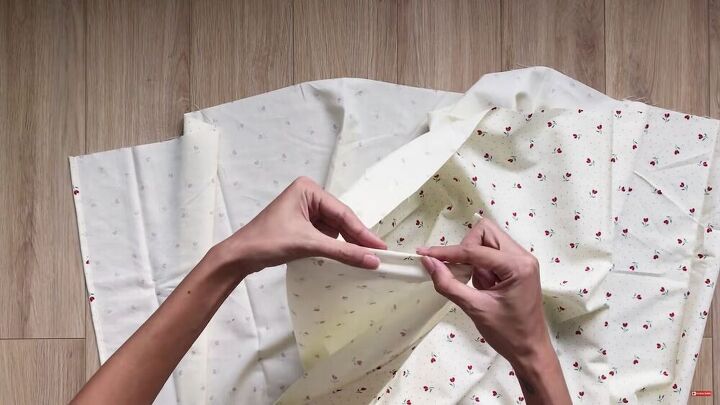
Make the folded sleeve
Cut out two rectangles, 8x36 cm (3.1x14.2 inches) each. Then, pin and sew the short ends together.
Now, fold the folded part widthways. Don’t fold it evenly. Keep the edges away from each other by 1 cm (0.4 inches). Also, make sure to match the seams.
Connect the folded piece to the end of the sleeve, matching the seams accordingly. Then, sew all around to secure.
Next, fold the tail of the folded piece (on the right side) inside, and stitch on top. This will ensure a lovely, finished look. Repeat the process on the second sleeve.
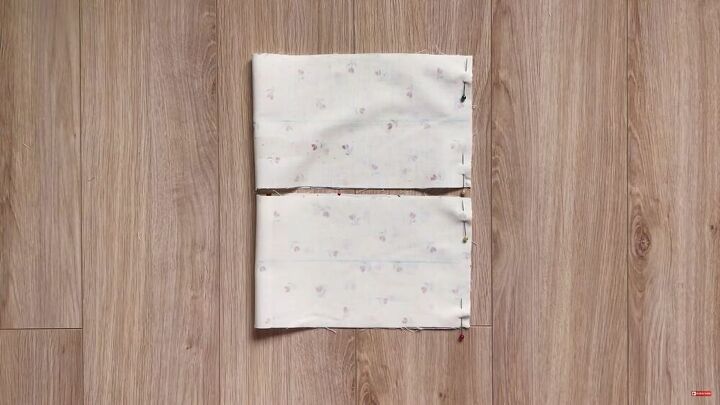
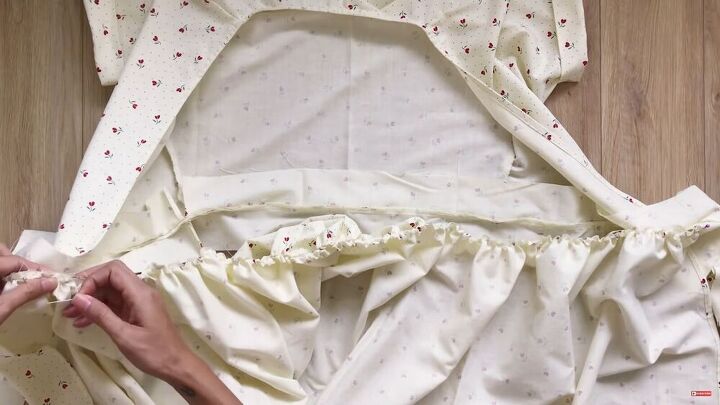
Make the waistband
Cut two strips of fabric with a 5 cm (2 inches) width and make it 100 cm (39.4 inches) or longer. Then, connect the waistband to the waistline, right sides facing. Pin all around, as shown. Make it a double waistband by pinning both pieces to either side of the bottom waistline.
Fold one side of the stitched waistband over and understitch the fabric, making sure the inner seam is placed on one side all around.
Make the dress
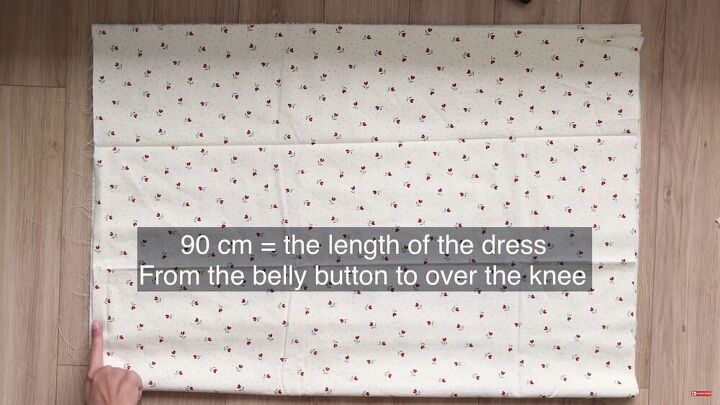
Cut a big rectangle of around 90 cm (35.4 inches) in length. This is the length of the belly button to over the knee. The width is 200 cm (78.8 inches).

Stitch a loose seam across the top part of the dress.
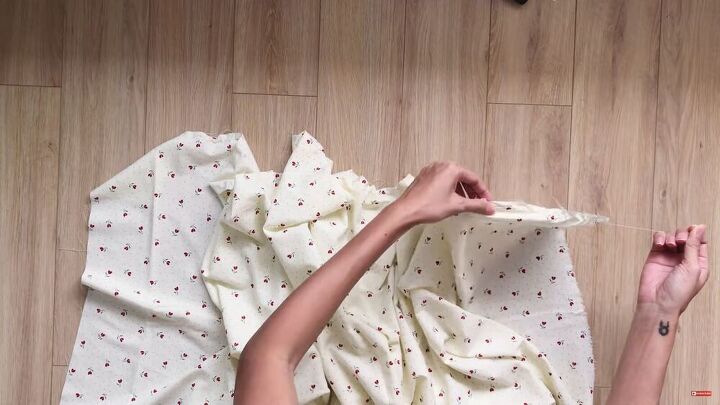
Gather the stitching by pulling the thread lightly. The top gathered seam should be the same length as the bodice.
Hem the sides of the dress with a small fold, as shown.
Also, hem the bottom of the dress.
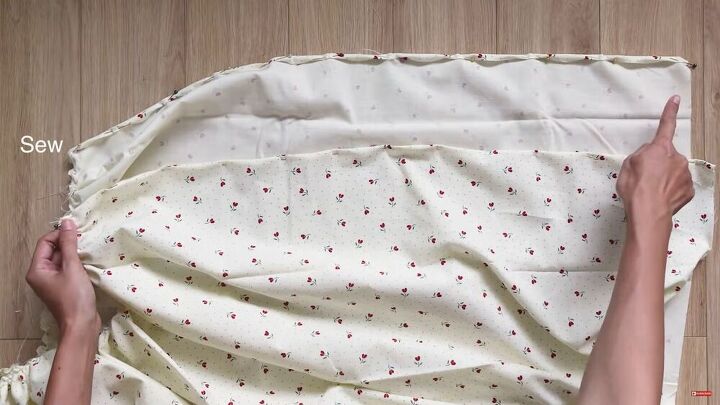
Connect the top and bottom of the dress
Connect the dress to the bodice at the waistline. Lay out both pieces and pin the back piece of the waistband to the top of the dress. Then, sew to secure.
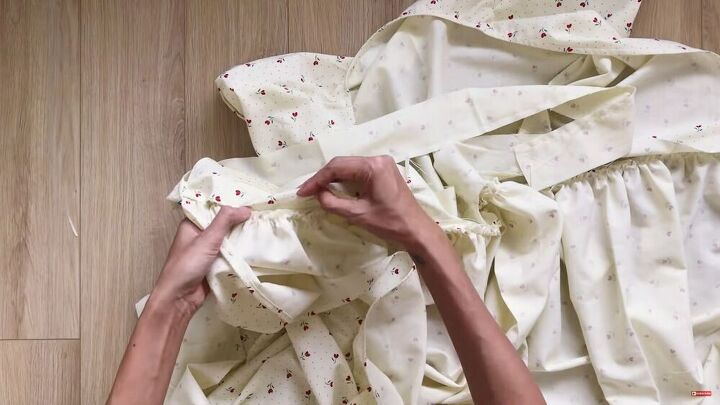
Now, pin the other half of the waistband to the top of the dress. Sew all around to secure.
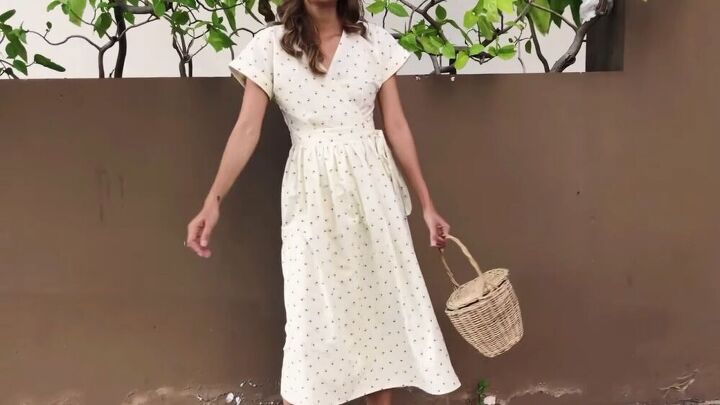
The DIY wrap dress is complete. It looks so beautiful. I also love the vintage vibe it gives off. I hope you enjoyed sewing with me and that you seriously consider doing this simple DIY wrap dress for your next sewing project because it’s totally worth it!
The author may collect a small share of sales from the links on this page.


Comments
Join the conversation
Lovely!!!