Sew a Balmain-Inspired DIY Maxi Skirt & Matching Crop Top

There’s nothing more elegant than a DIY maxi skirt and a matching crop top! This ensemble is so sophisticated and jaw-dropping. It can be worn to a dressy, formal function, and trust me; it’s sure to get heads turning. My inspiration for this easy DIY maxi skirt and crop top outfit comes from Balmain, and it cost me around $10 to recreate this look. So if you want to see how to sew a DIY maxi skirt with a trendy turtleneck crop top, keep on scrolling!
Tools and materials:
- 3 yards of stretch fabric
- Long-sleeve top
- Skirt
- Buttons
- Pins
- Scissors
- Measuring tape
- Chalk
- Elastic
- Fabric paint (optional)
Easy DIY maxi skirt
Make the DIY maxi skirt pattern
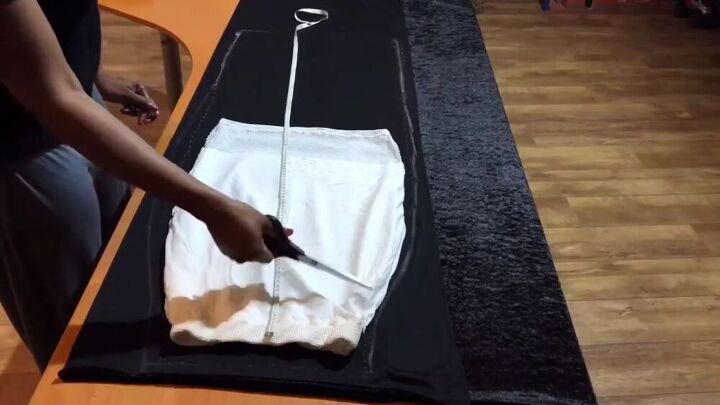
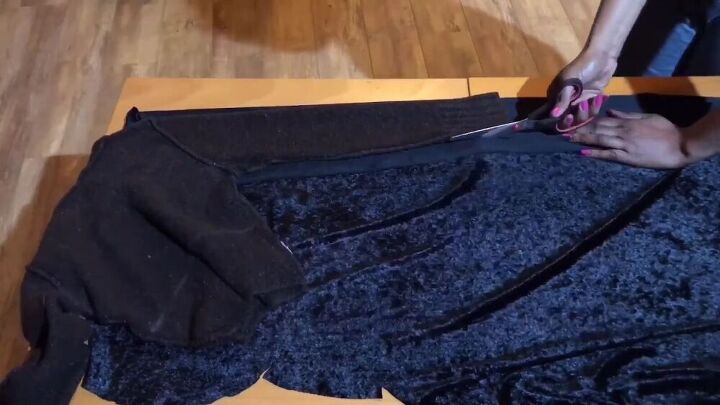
Fold your fabric and place your skirt on the fold. Trace around the skirt with a ¼ inch seam allowance.
TIP-
Extend the length of the skirt if you are using a short skirt.
Once your pattern is traced, pin the skirt and cut around carefully. Make sure you land up with two pieces.
Sew the DIY maxi skirt
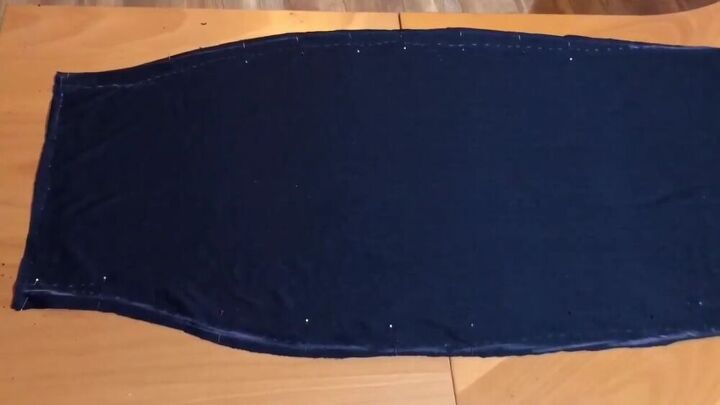
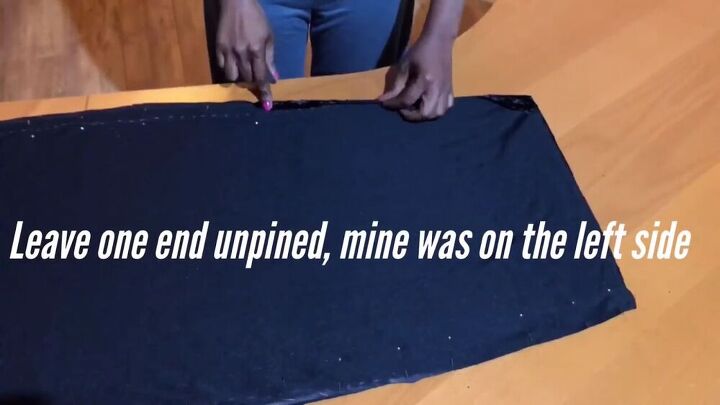
Layer the front and back pieces, right sides facing, and pin the side seams. Leave the bottom part of one side unpinned so that you have a nice slit.
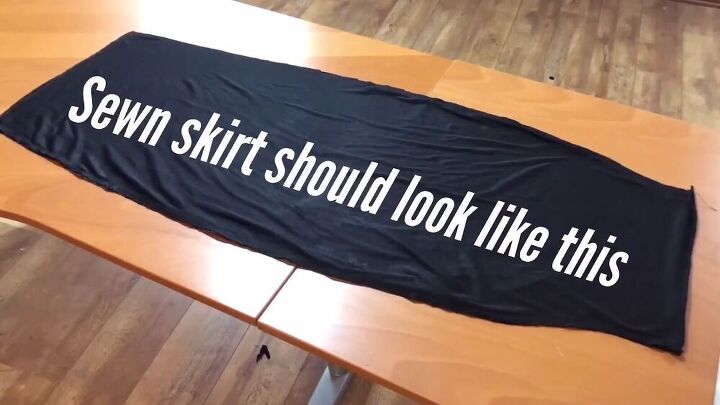
Sew the side seams; this is how it should look.
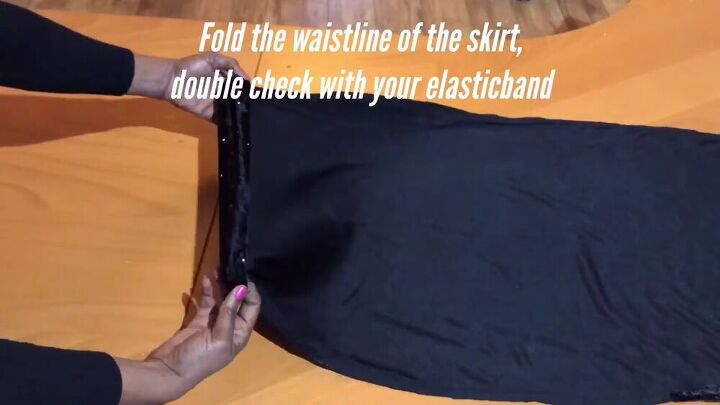
Now for the elastic tunnel, fold the skirt’s waistline over and pin all around, as shown. Pin all around, and sew with a zigzag stitch. Remember to leave a gap to feed through your elastic.
TIP-
This is an excellent time to cut your elastic to size. Place your elastic around your waist and cut accordingly.
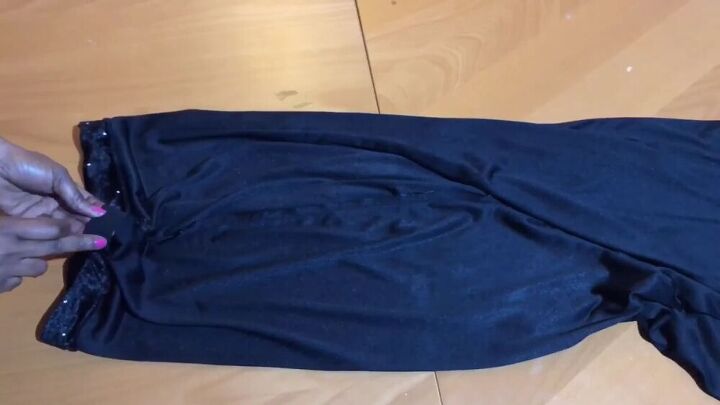
Feed the elastic through the gap, sew the ends, and close the gap.
Finally, hem the slit and the bottom of the skirt.
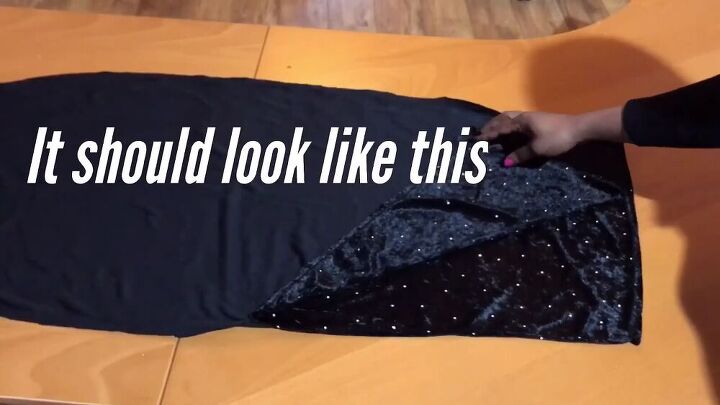
Add three buttons to the top part of the skirt, right on the side seam. Be sure not to add them on the side where your slit is. Place them evenly and manually sew each button by hand.
Turtleneck crop top
Make the pattern
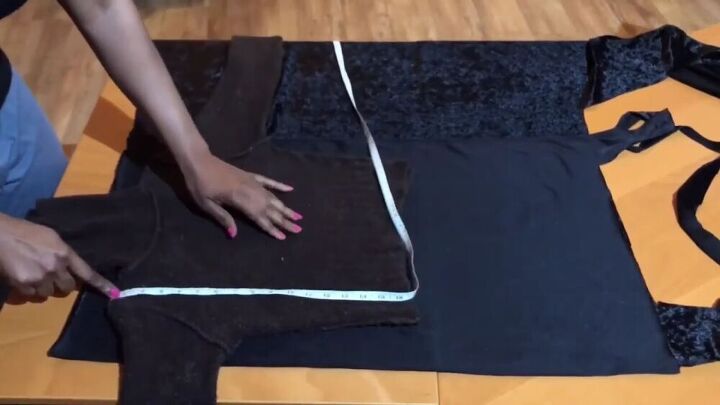
Let’s make the turtleneck crop top that will match your DIY maxi skirt. Fold your fabric, place the top on the fold and measure how long you’d like your crop top to be.
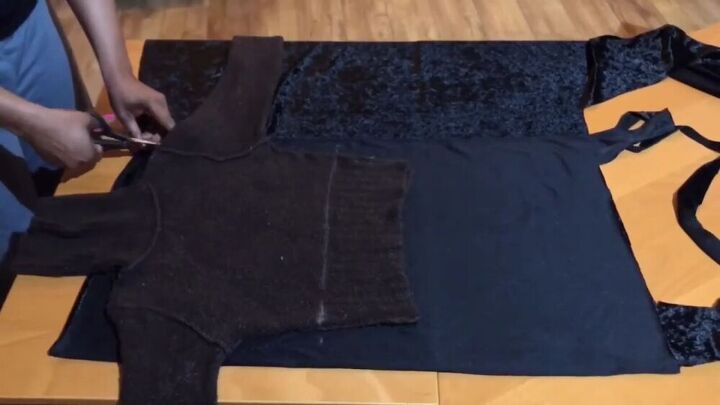
Trace out the neckline, armhole, side seams, and bottom with a ¼ inch seam allowance and cut.
Afterward, pin the shoulder and side seams, and sew accordingly.
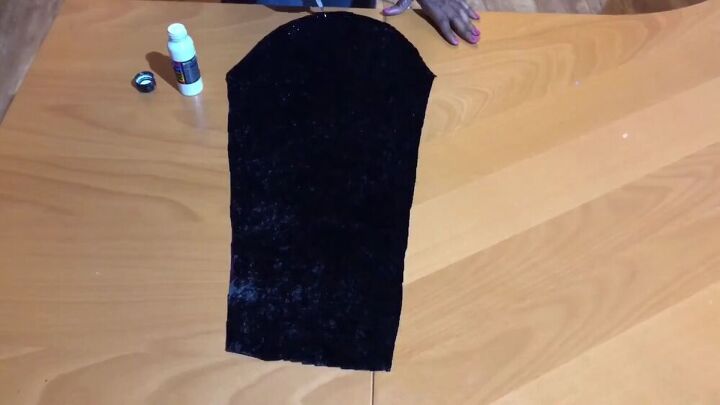
Make the sleeve
Place the sleeve on the fold of the fabric. Trace around the edge with a ¼ inch seam allowance and cut.
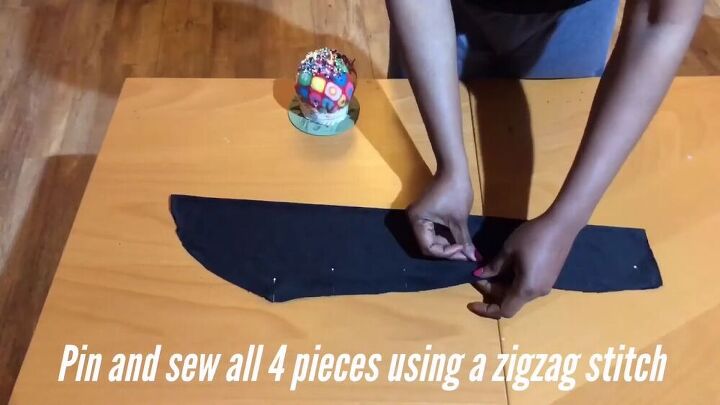
Fold the sleeve and pin the long end. Sew and repeat on the other sleeve.
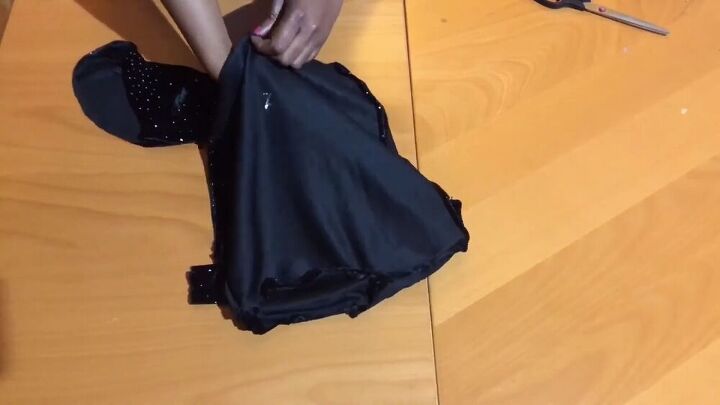
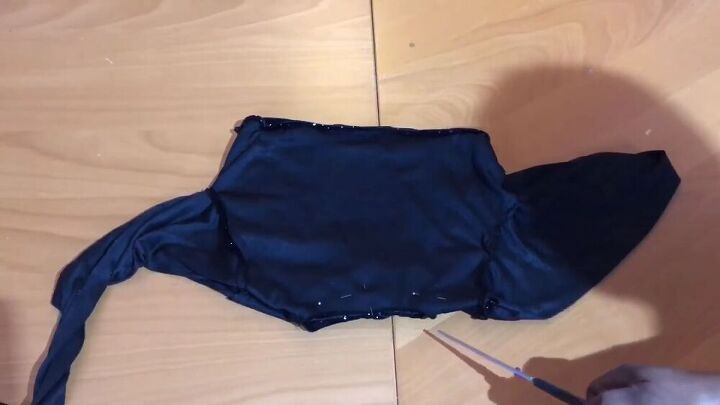
Assemble the crop top
With the sleeve turned with right sides facing out, insert it into the armhole. Match the seams of both the sleeve and armhole and pin all around.
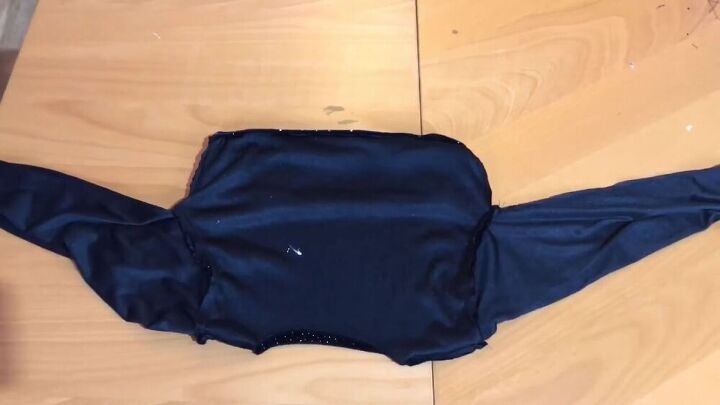
Then, sew the pieces together using a zigzag stitch.
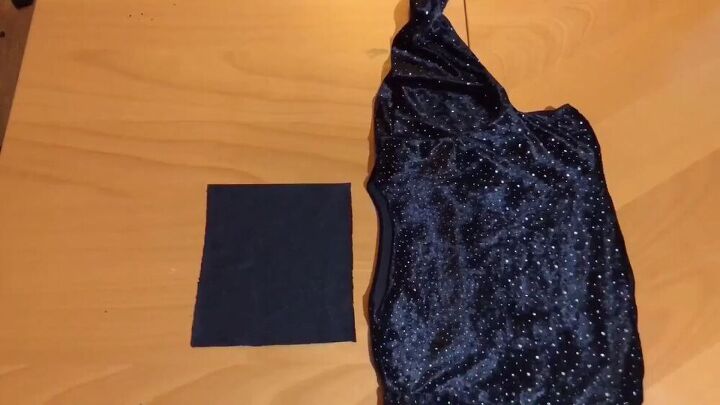
Make the turtleneck
On the fabric’s fold, cut a rectangle that is the exact measurement of the neckline with a ¼ inch seam allowance. Pin and sew the short ends together.
Then, pin the turtleneck to the neckline, and sew using a zigzag stitch.
TIP-
Remember to align the turtleneck’s seam to the shoulder seam.
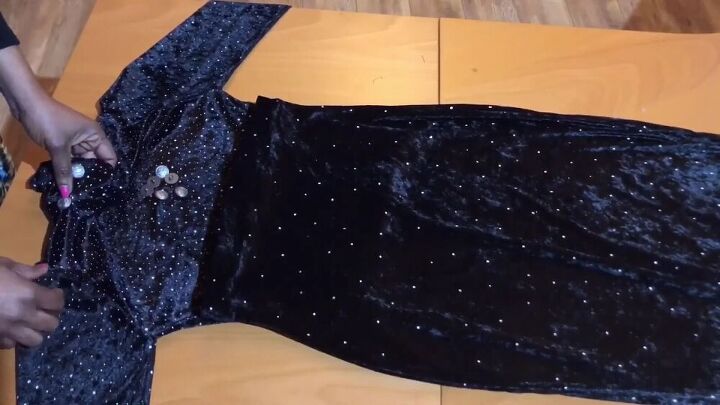
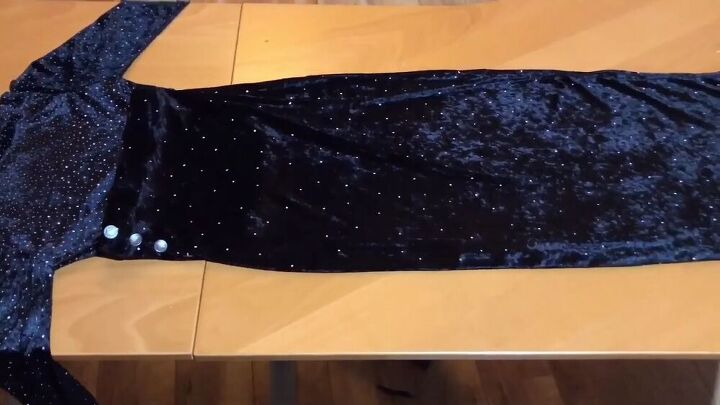
Add buttons
Line the buttons from the top seam of the turtleneck down to the end of the shoulder seam.
Hand sew the buttons in place. When done, hem the bottom of the turtleneck crop top.
Optional step- Adding fabric paint
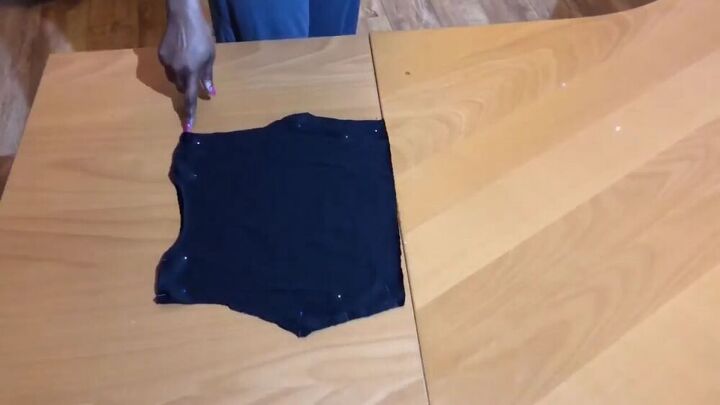
You’ll notice throughout my DIY maxi dress tutorial; I suddenly had some lovely silver dots on my fabric pieces. I did this by myself with the help of fabric color and a dotting pen. The fabric color is made especially for dark colors. If you want to do the same and add an extra touch of shine to your outfit, simply add dots to each of your pieces.
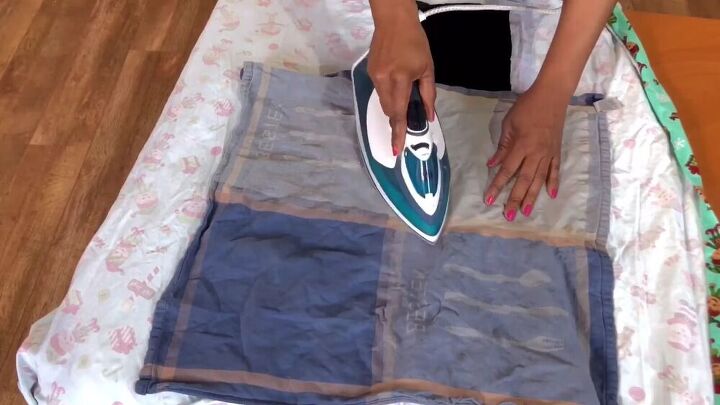
After adding the dots, set the paint by pressing each piece at the back. Use a napkin when doing so and set your iron to the cotton setting without any steam.
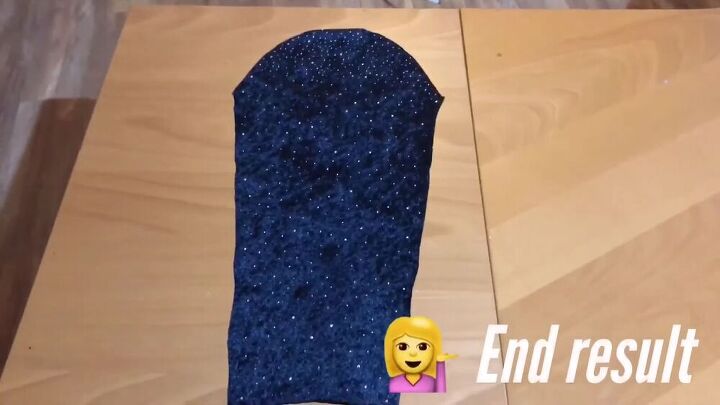
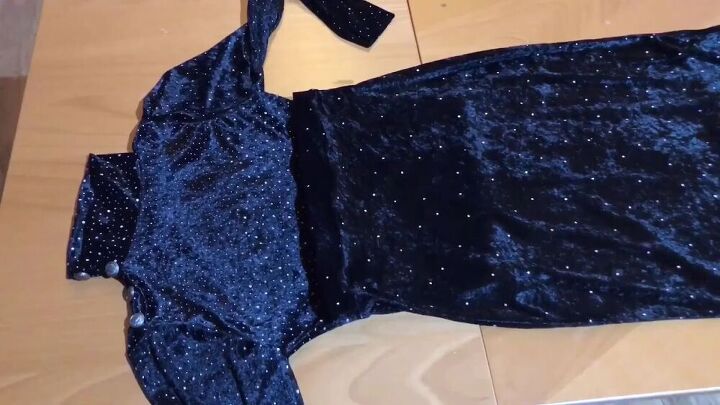
Here’s the result!

Ok, we are done! How easy was this DIY maxi skirt tutorial? The result is absolutely breathtaking! It reminds me of a lovely midnight vibe. It is effortless, classy, and simply stunning. I can’t wait for you to try this rocking ensemble yourselves. Good luck!
The author may collect a small share of sales from the links on this page.


Comments
Join the conversation