How to Sew a Half Apron With Pockets in 9 Simple Steps

If you are new to sewing, like so many people during this pandemic period, this tutorial for a DIY half apron will be a perfect project for you. Especially if you have also become a pandemic cook or baker! Here's how to sew a half apron with pockets.
Tools and materials:
- 1 Yard of linen fabric
- Half-apron sewing pattern
- Scissors
- Sewing pins
- Thread
- Bias tape maker (optional)
- Sewing machine
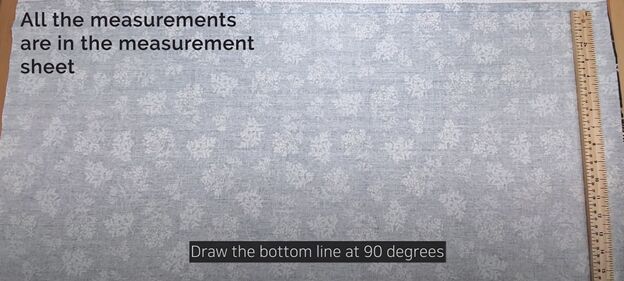
1. Create the half apron pattern
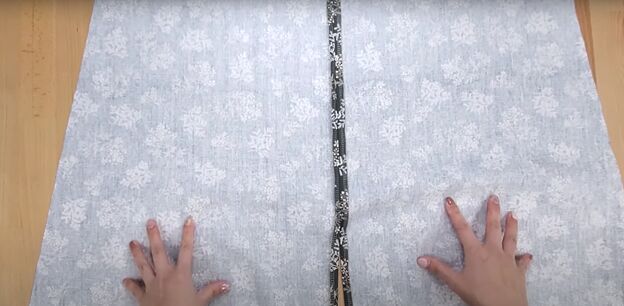
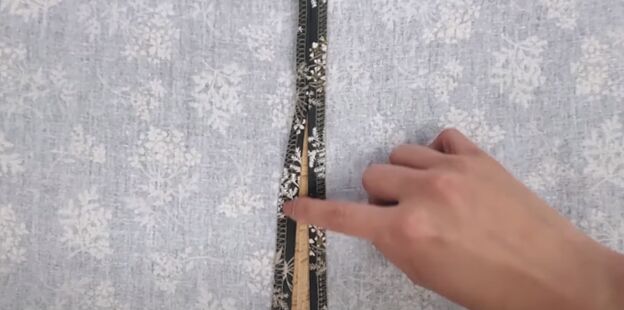
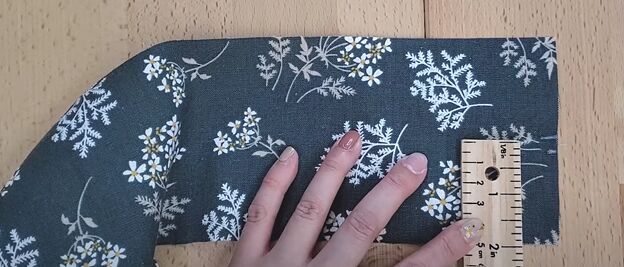
Fold your fabric in half and lay your fabric on your work surface with the wrong side facing up and the wide edges at the top and bottom. Use this half-apron sewing pattern for measurements and draw the pattern onto your fabric.
Make sure the bottom line of the half apron is drawn vertically on your fabric, parallel to the short edge.
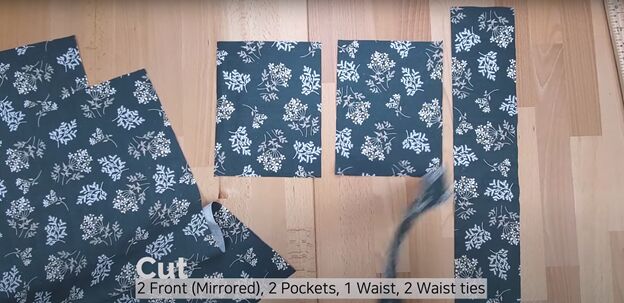
Cut your pattern pieces out. You should have 2 front pieces, 2 pockets, 1 waist piece, and 2 ties.
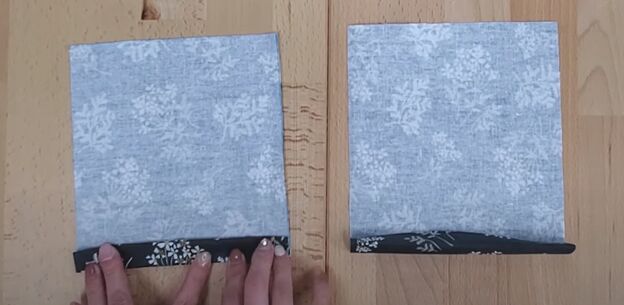
2. Make the half apron pockets
Double fold the top edge of each pocket 0.5 inches and iron down.
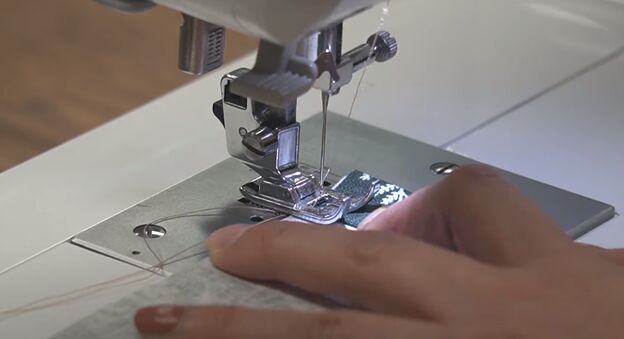
Edge stitch along the folded edge.
Serge and then fold in the other three sides of each pocket. Tuck in the corners to make them neat and the pin down the folds. Now set the pockets aside for the time being.
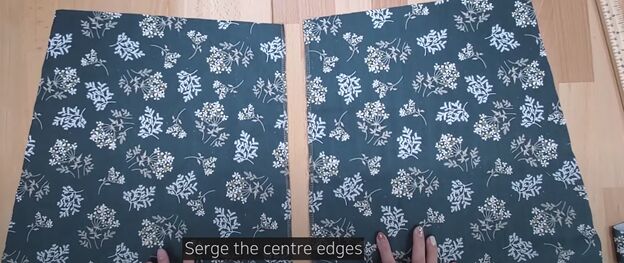
3. Sew the front of the half apron
Serge the inside edges of each half apron front piece.
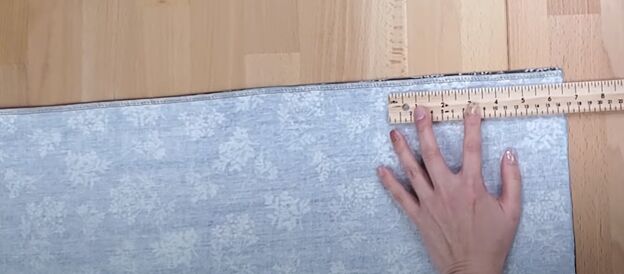
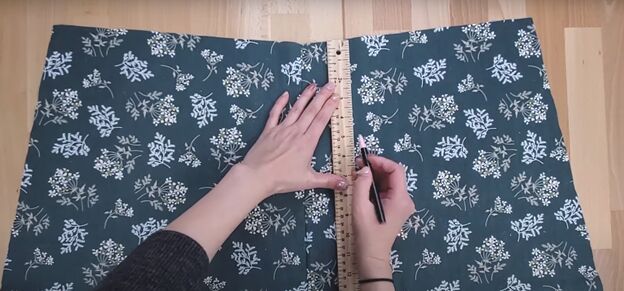
Now pin the two front pieces together along the center seam, with right sides facing in. Place a mark on the center seam 6.5 inches from the bottom hem of the half apron. That is where the front slit of the apron will begin.
Sew the center seam from the top of the half-apron to the mark you just made.
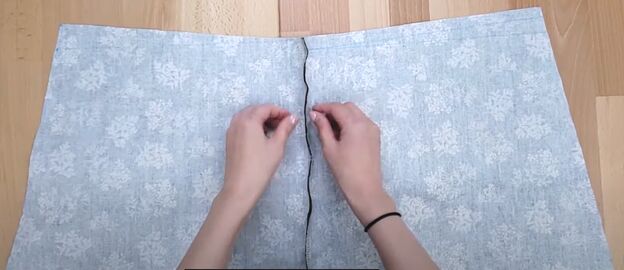
Open the center seam and iron it flat.
Now fold in and sew all the way around the slit with a continuous stitch, starting at the bottom of one side, going up, across and down the other side.
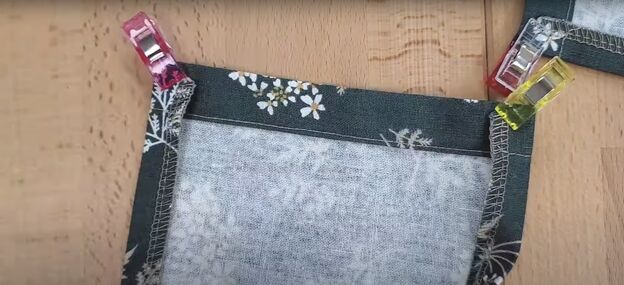
4. Attach the pockets
Use the measurement sheet that comes with the pattern to mark the position of the two pockets onto the front of your half apron.
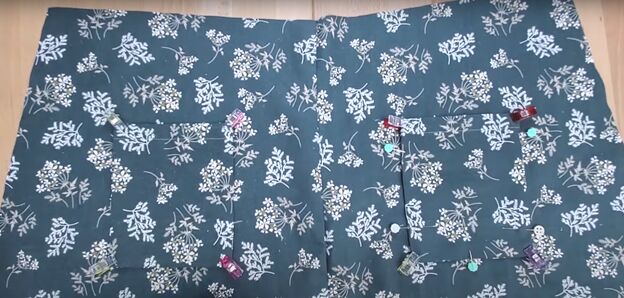
Pin the pockets in place and edgestitch them to the half apron on the two sides and bottom.
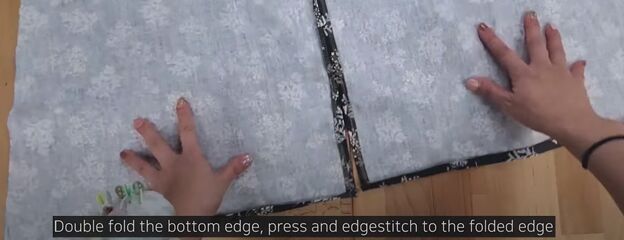
5. Finish the front panel
Double fold the bottom hem of the half apron and edgestitch the folded edge.
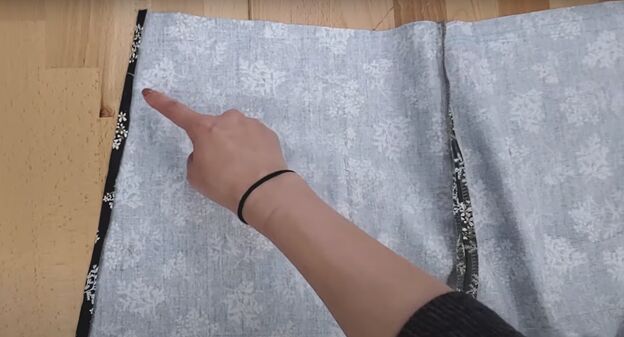
Now, double fold and pin both side edges, folding in the bottom corners to make them neat. Edgestitch the sides.
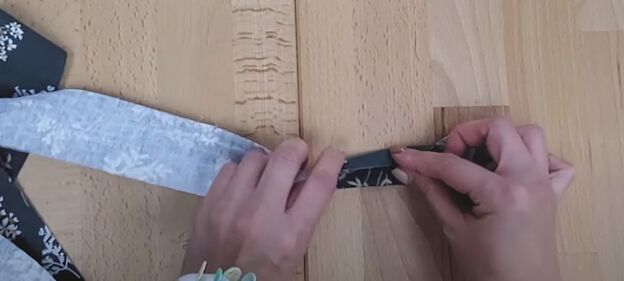
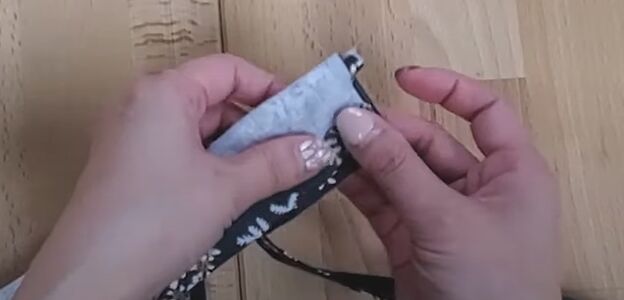
6. Make the ties
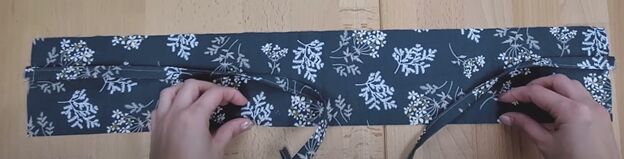
On each tie, fold in both long edges to the middle of the tie. Now fold the tie in half along the middle. You can use a bias tape maker to make this easier.
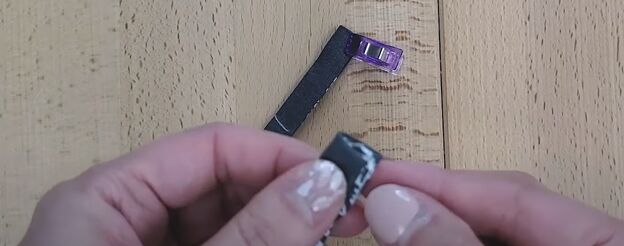
Fold in one short end of each tie to make it clean and neat.
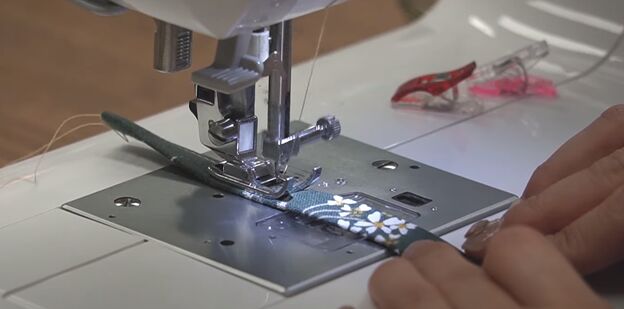
Edge stitch along the open long edge of each tie.
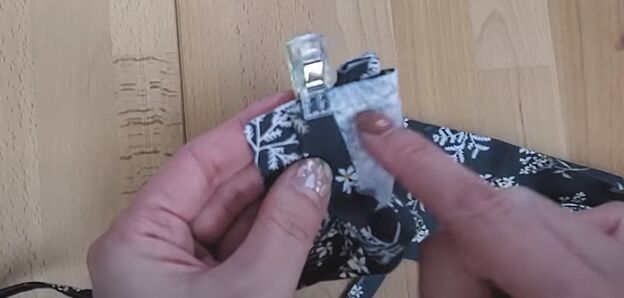
7. Attach ties to the waistband
Lay the waistband piece on your work surface with the right side facing up. Measure ¼ inch below the center of the piece and make a mark on the fabric at that point. That is where your ties will attach to the waistband.
With right sides facing, pin the raw edge of each tie to each side of the waistband at the ¼ inch mark, leaving a tiny bit of the tie extending beyond the waistband. Sew the ties to the waistband with a 1/8-inch seam allowance.
8. Sew the waistband
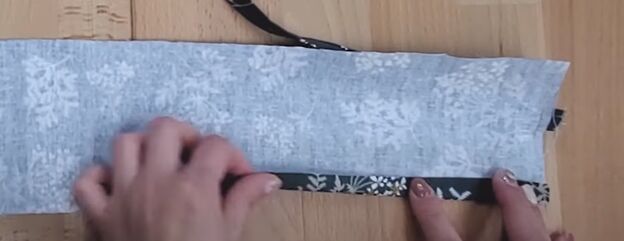
Fold in one long edge of the waistband and press flat. Make the fold on the edge that is farthest from the ties, so that once folded, the ties will be the same distance from both edges.
Now fold the whole waistband in half with right sides facing. The side with the folded edge will now be shorter than the other side.
Sew the two short edges of the waistband closed and turn the waistband right side out.
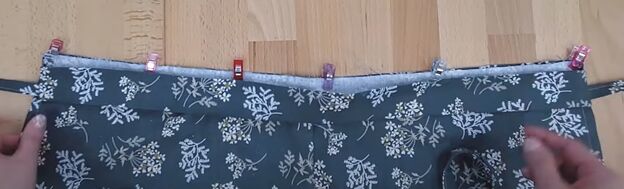
9. Attach the waistband
With right sides facing, pin the longer edge of the waistband to the raw edge waist of the half apron, positioning it so the ties extend on either side. Sew the inside of the waistband to the apron waist with a ½-inch seam allowance.
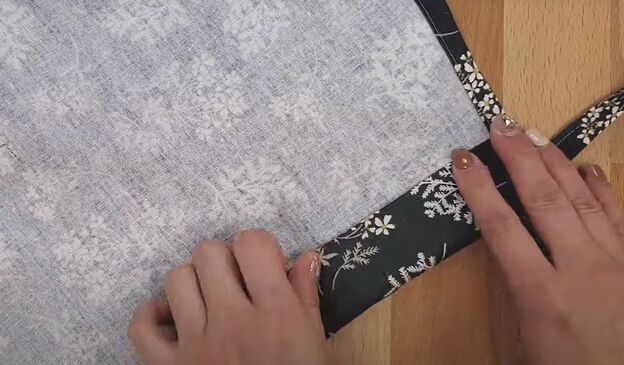
Now fold and iron the waistband in half. Pin and edge stitch the waistband in place along the lower edge.
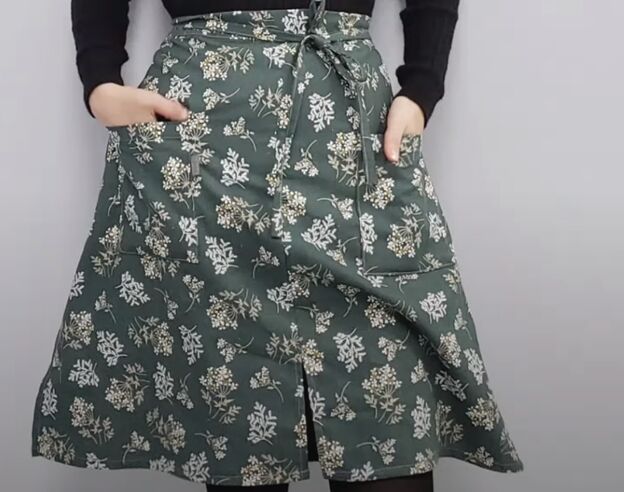
How to sew a half apron with pockets tutorial
You’re all done. What a cute half-apron you’ve just made for yourself. Now you are all ready to get crafting while you keep your clothes nice and clean. Leave a comment to let us know what you thought about this DIY half apron tutorial.
The author may collect a small share of sales from the links on this page.


Comments
Join the conversation