How to Make an On-Trend DIY Corset Belt Out of Old Jeans

In this tutorial, I’m going to show you how to sew a DIY corset belt. To make the corset, I’m going to be upcycling a pair of jeans that I got from the thrift store.
These are a gorgeous pair of jeans that unfortunately have a hole in them, but I’m going to save them from being thrown by repurposing them into this DIY denim corset belt.
Tools and materials:
- Pattern
- Jeans
- Scissors
- Rotary cutter
- Sewing machine
- Iron
- Interfacing
- Boning
- Casing
- Bias tape
- Grommets
- Grommet puncher
- Lace
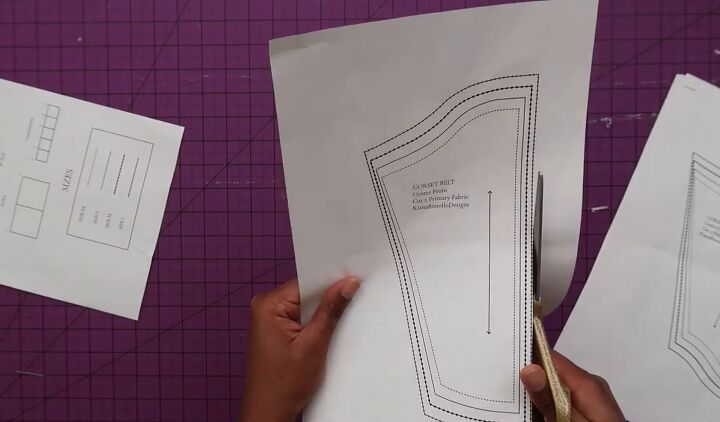
1. Cut the pattern
Start by printing off the pattern. Then cut the pattern out, choosing your size wisely.
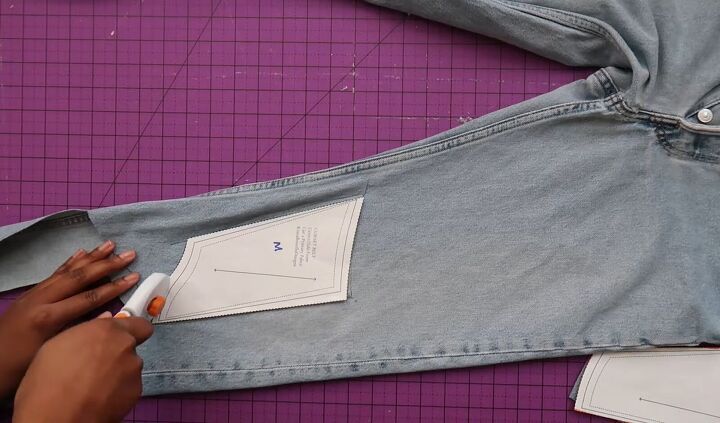
2. Cut the jeans
When cut, lay the pieces on the jeans, making sure they are aligned with the grain line, and cut everything out.
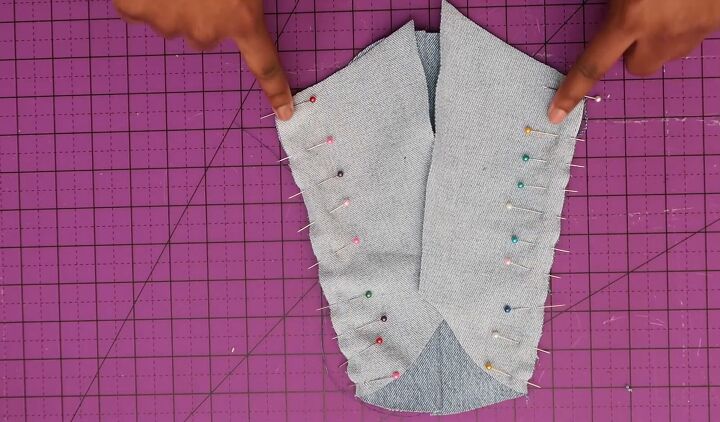
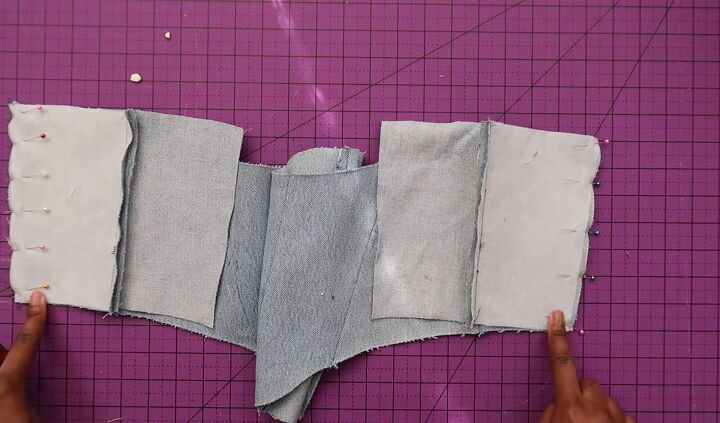
3. Sew the pieces together
The next step is to sew all the panels with the right sides together (unless you’re working with opaque fabric, in which case it’s the wrong sides together.)
So pin them with the right sides together and then continue to build up the pieces with a straight stitch. Make sure that you use a needle and thread that works with denim.
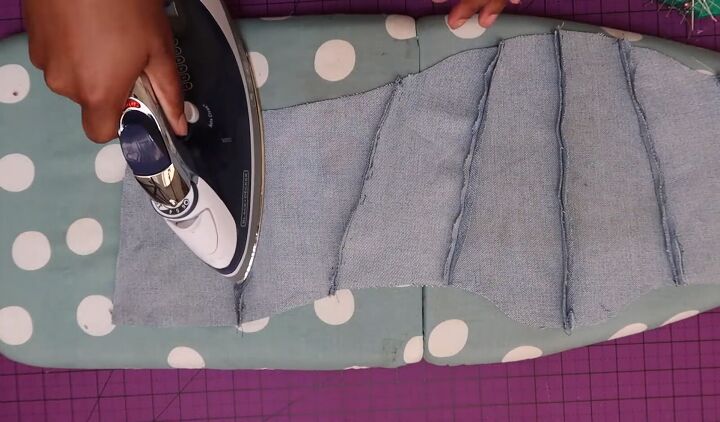
4. Press open seams
Once all your pieces are sewn together, press open the seams, making sure they are nice and flat.

5. Cut the interfacing
For your center-back panel, make sure you cut out your interfacing for your two interface pieces and then iron them onto your two regular fabric pieces.
6. Join interfacing to the bodice
Connect the two center-back pieces to the main bodice. Press in the seam allowance of the interfaced pieces and then press over that same amount of seam allowance on the regular piece. When you fold it over, it will meet right over that piece and cover it up. Pin it down and sew a straight stitch.
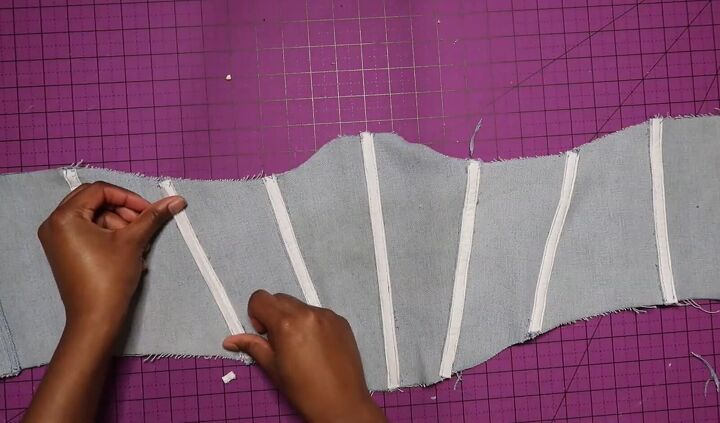
7. Add the casing
Pin and sew casing to each of the seams.
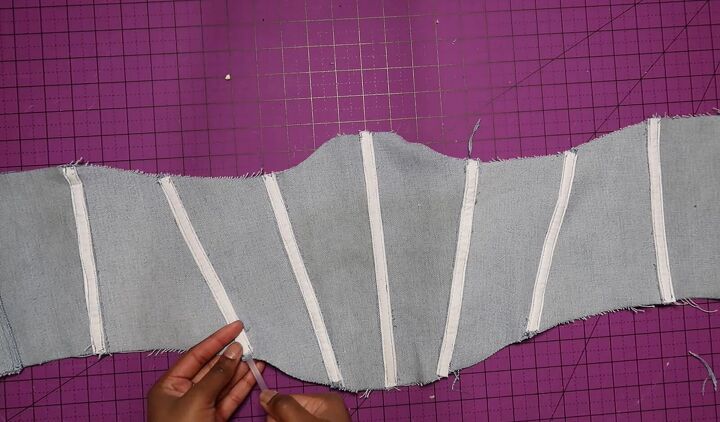
8. Insert the boning
Next, insert the boning into the casing. Make sure the boning is a little bit shorter so that you have seam allowance at the bottom and the top so that when you sew your bias tape, it’s not going to touch the boning as that will break your needle.
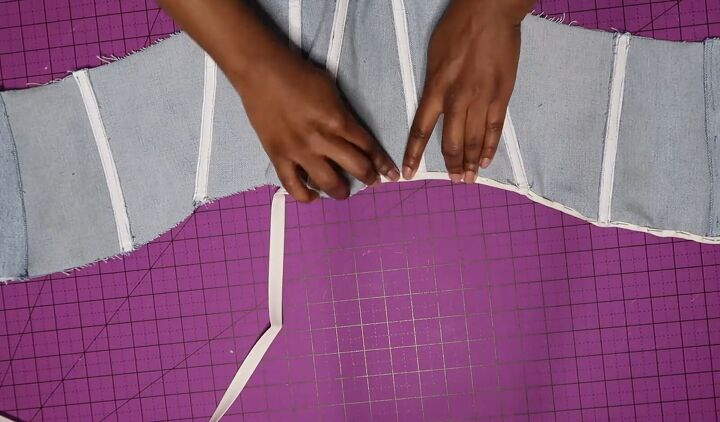
9. Add the bias tape
Take your bias tape and fold it over the edge on the top and bottom of the belt. Then do a straight stitch all the way around.
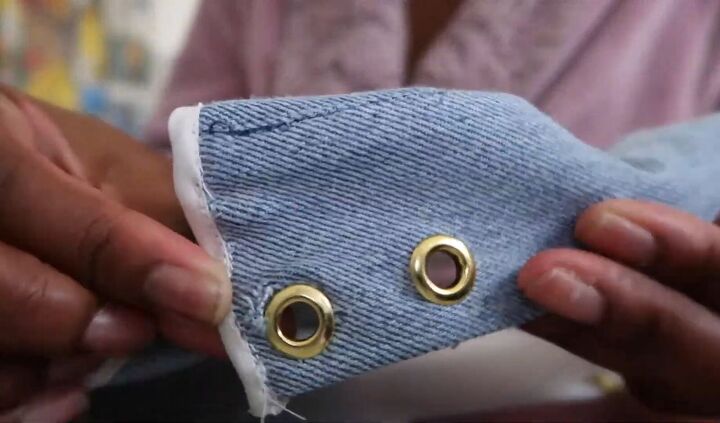
10. Add the grommets
The next step is to add the grommets. Mark the areas where you want them and cut open a little slit with the scissors, then put the grommets in and use the grommet puncher to insert them.
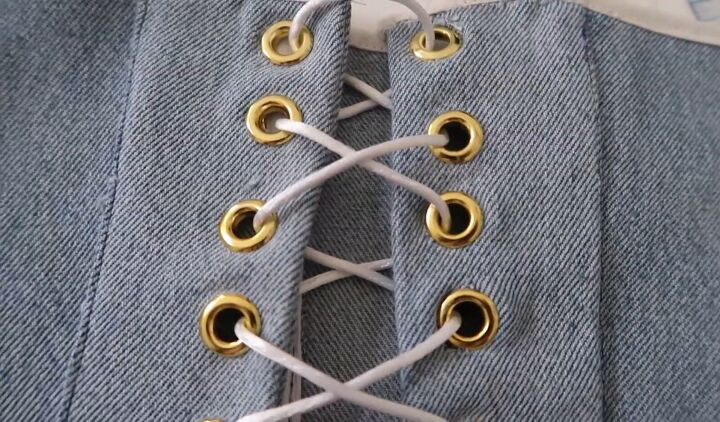
11. Add the lace
Finally, lace the corset belt up.

DIY corset belt tutorial
Here is the finished corset belt. I love how it’s such a statement piece and really transforms whatever I wear it with. It also cinches my waist, helping to give me an hourglass figure.
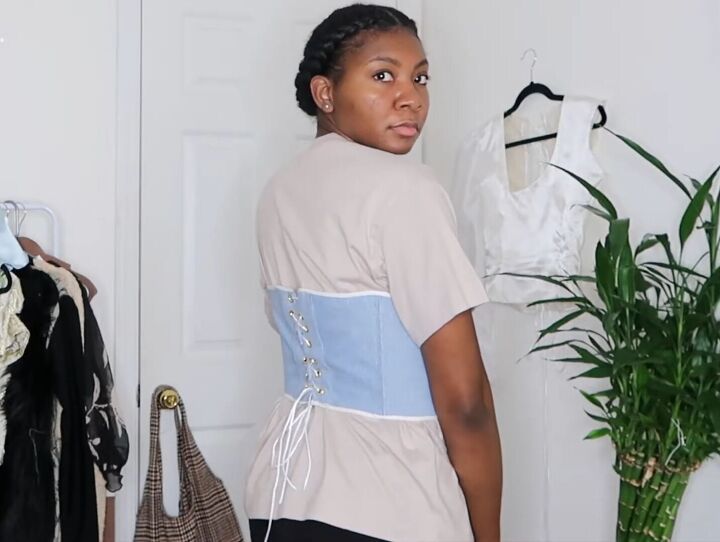
The lace-up detail on the back is a gorgeous added touch. I am so happy with this corset belt and know that I will get endless wear out of it!
The author may collect a small share of sales from the links on this page.


Comments
Join the conversation