This DIY Denim Corset Belt is Super Chic & So Easy to Make

A little while ago, I made a pair of shorts out of an old pair of jeans, so I had some scrap fabric left over. I decided a DIY denim corset belt would be a great way to use up my denim scraps since they are very on-trend right now.
I found a cute, asymmetrical corset belt online, and used that design as inspiration. If you’d like to learn how to make a corset belt of your own, follow along with my tutorial!
Tools and materials:
- Denim fabric scraps
- Canvas fabric
- Pencil
- Fabric glue
- Scissors
- Seam ripper
- Rivet buttons
- Hammer
- Needle and thread
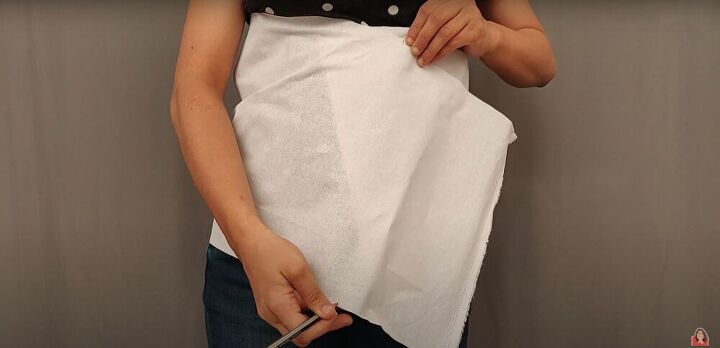
1. Measure and mark the corset belt shape
To begin, I wrapped my canvas fabric around my waist and marked the length of the belt.
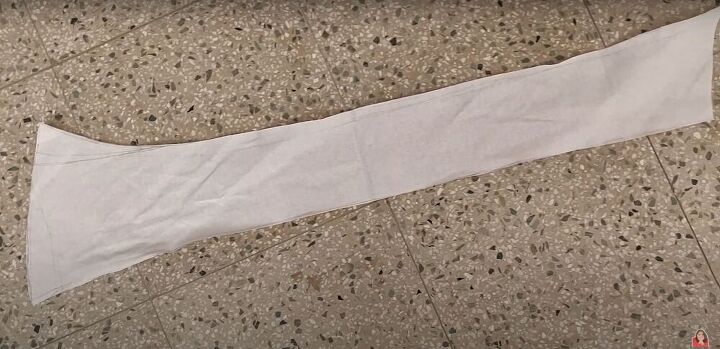
2. Draw and cut out the corset belt pattern
Once I knew how long I needed the belt to be, I simply drew an asymmetrical shape I liked on the canvas fabric, and then cut it out.
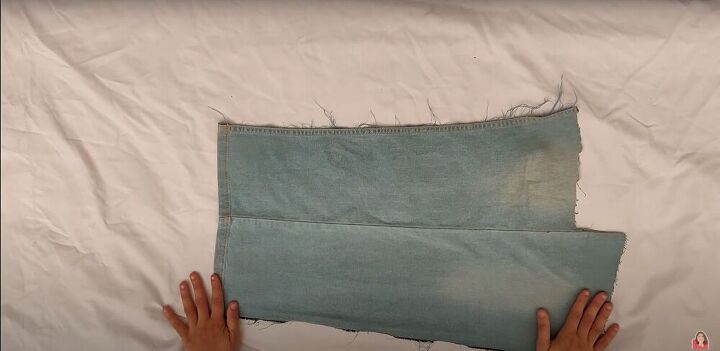
3. Rip the seams on the denim
Next, I took my scrap denim fabric and ripped any bulky seams.
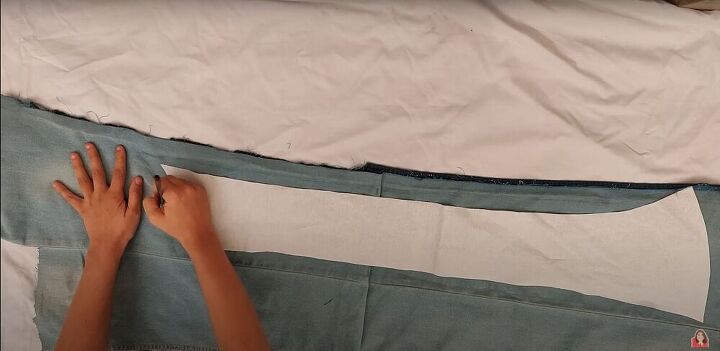
4. Trace the corset belt pattern
I needed to put two fabric scraps together to get the length I needed for the belt. I then laid the canvas on top of the denim fabric, and traced around the canvas, adding at least 1 inch extra all the way around.
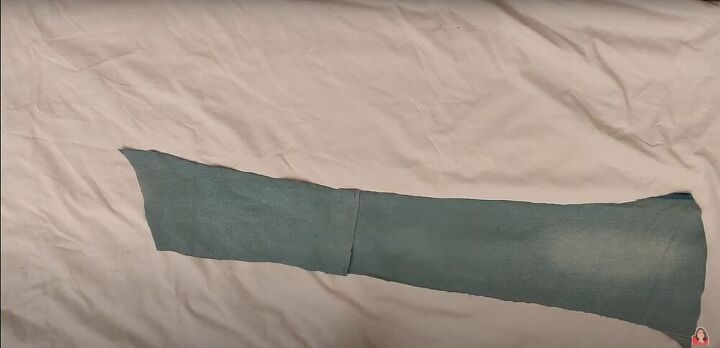
5. Cut the denim fabric
Then I cut the shape of the belt out of the denim fabric.
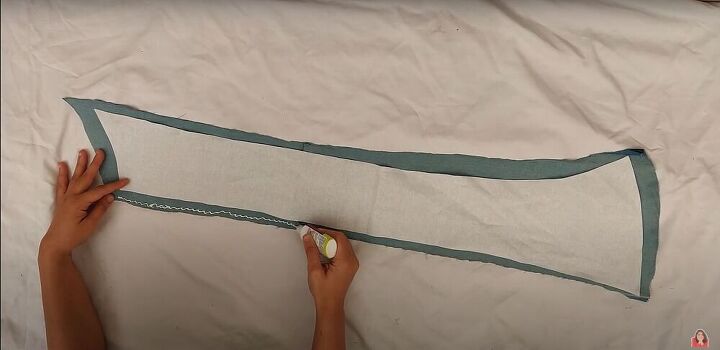
6. Glue the canvas fabric to the denim
Next, I laid the canvas in the middle of the denim fabric, and applied fabric glue on all the edges, and folded them over onto the canvas.
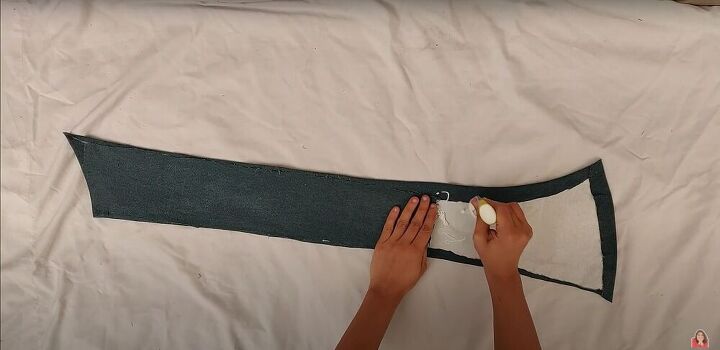
Then, I cut a few more pieces of denim to cover the rest of the canvas. This will be the back of the belt, so it doesn’t need to be as clean and smooth as the front.
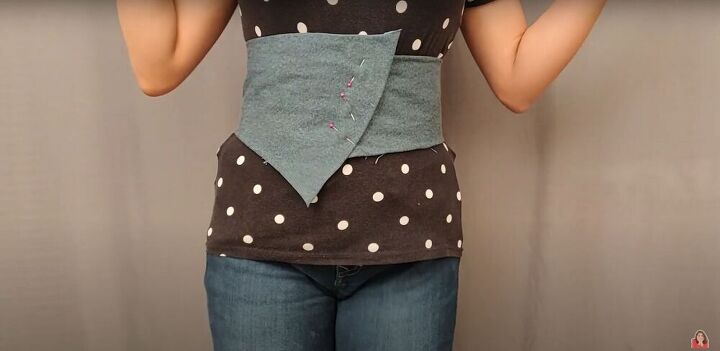
7. Try on and pin
Then it was time to figure out where to put the buttons. I wrapped the belt around my waist and placed pins where I wanted the buttons to be.
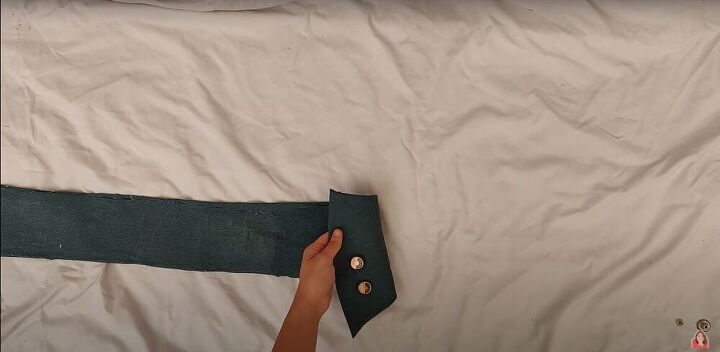
8. Attach buttons
Then, I removed the belt, made a little hole where each button would be, and attached the rivet buttons by inserting the hardware through the holes and hammering it together.
I chose rivets because I thought they would look really cool with the denim fabric, but you can also use regular buttons and sew them on.
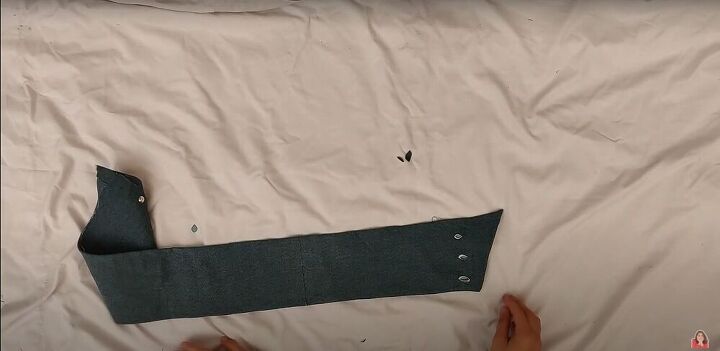
9. Cut buttonholes
Once the buttons were in place, I used them as a guide to mark where the buttonholes should be, and then cut a slit for each buttonhole with scissors.
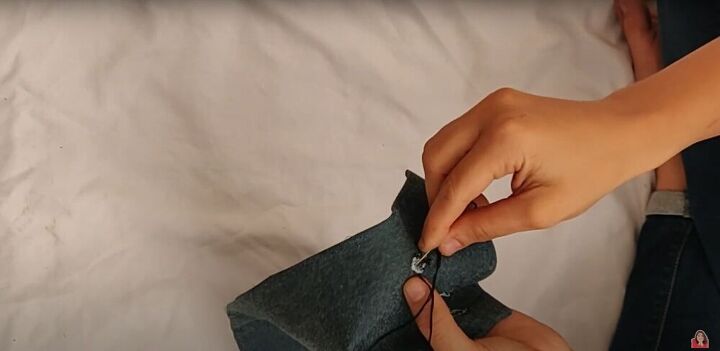
10. Finish the edges of the buttonholes
Finishing the buttonholes requires two steps. For instructions, see the video from 4:27-5:15, as it's easier when you can see the process.

DIY denim corset belt tutorial
It looks so good, I cannot wait to wear this again and again. It’s trendy, it’s sexy, and looks so chic with a white button-down shirt.
Tell me what you think of my corset belt idea! Do you like how it turned out? Will you be using this tutorial to make one of your own?
The author may collect a small share of sales from the links on this page.


Comments
Join the conversation
I love it! Is it washable?
Thanks!