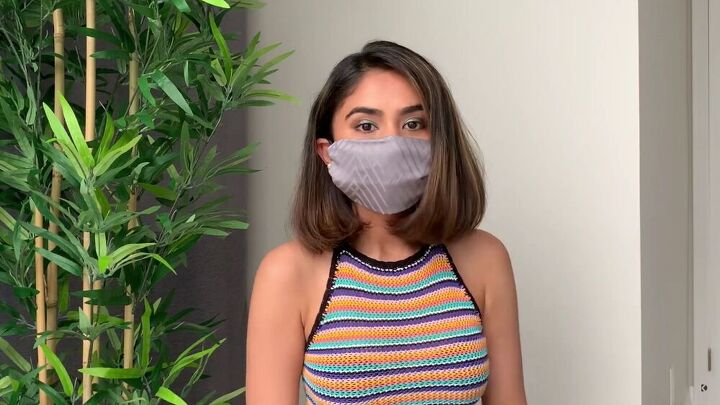
Get Inspired- 5 Quick Ways to Sew a DIY Face Mask

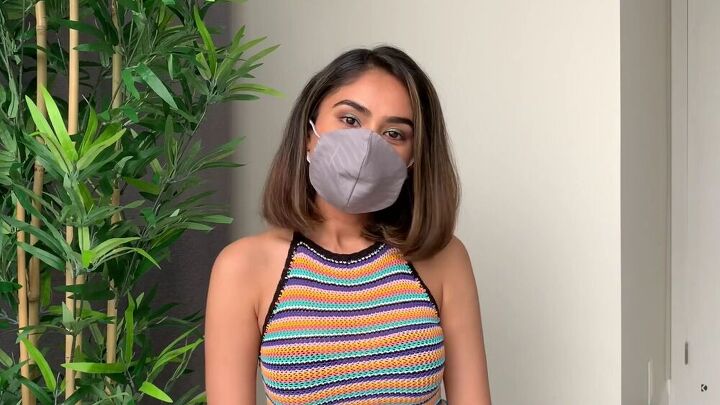
Face masks aren't going anywhere yet, but who says we have to wear disposable masks all the time? Why not make your own DIY face mask so that you look trendy and, of course, be kind to the environment. In this DIY face mask tutorial, I’ll show you five ways to make an easy DIY face mask. Ready to cover up in style? Let’s start!
Tools and materials:
- Tube top
- Elastic
- Sock
- Scissors
- Hair ties
- 12-inch wide plate
- Sewing machine
- Needle
- Thread
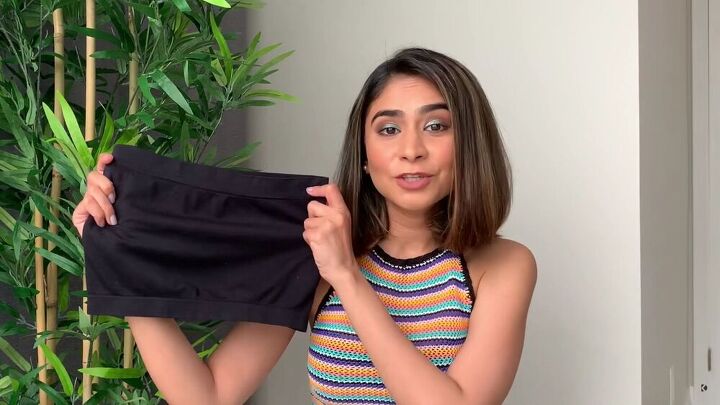
DIY face mask No. 1
This hack is super easy! All you need is a tube top, and you’re sorted! That’s right. You have yourself a basic DIY face mask with another clothing item. Cool huh?
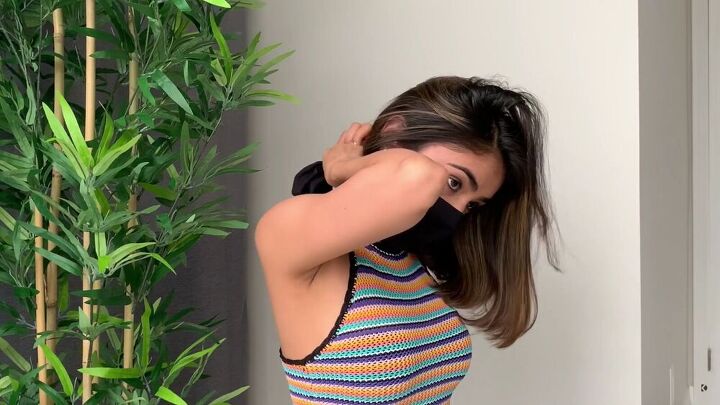
Put the tube top over your head, pull it up to your nose, and tie the excess fabric at the back, as shown.
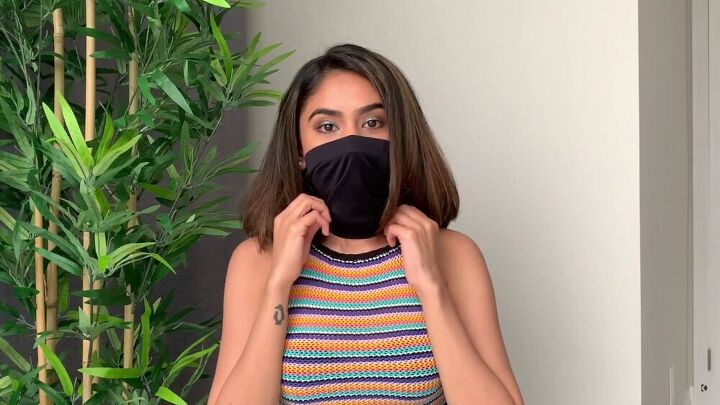
I covered the sides with my hair, and voila! I know this is not the ideal way to wear a face mask, but it is a cool hack, especially if you’ve run out of face masks and need a quick alternative.
DIY Face mask No. 2
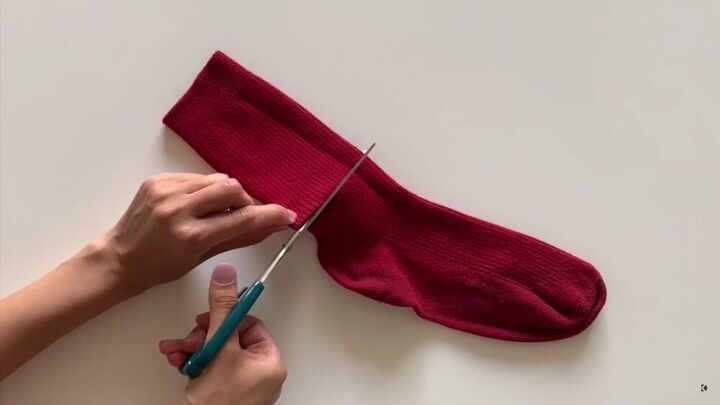
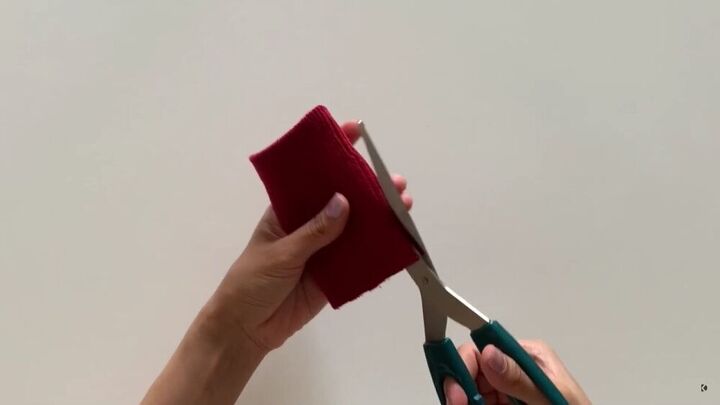
To make this face mask, all you need is a single sock and a pair of scissors. Take a long sock and cut 3 ½ inches away from the edge.
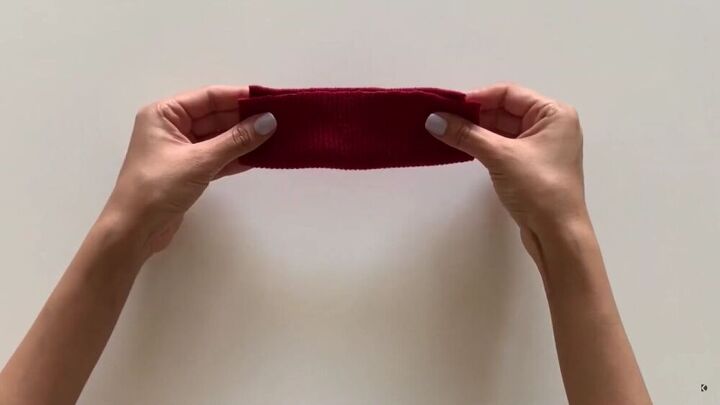
Now, cut straight through the sock in order to create a rectangular piece.
Fold the rectangle horizontally.
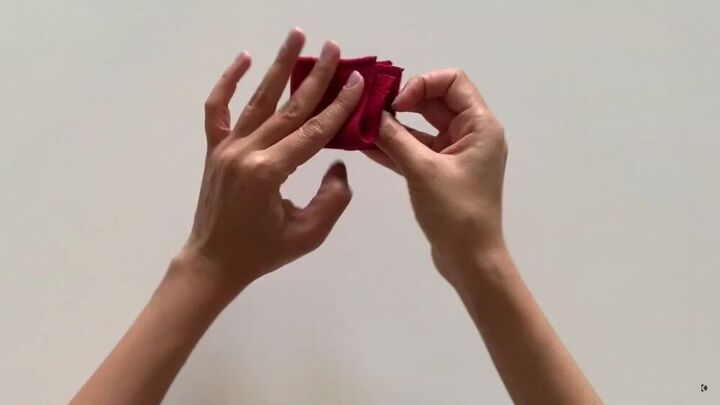
Then, fold it sideways again.
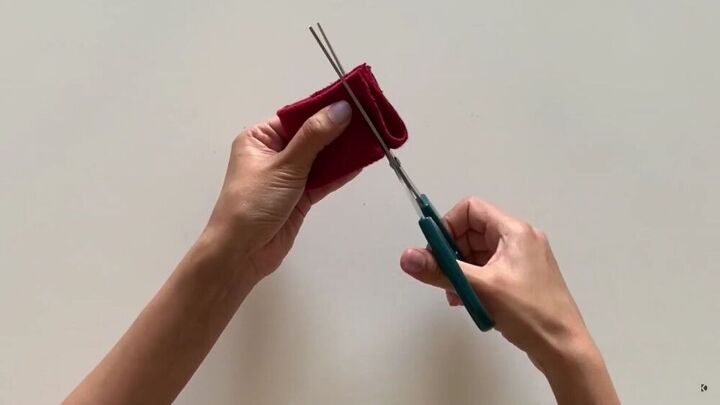
Cut a tiny slit ½ an inch away from the edge. This is what it should look like.
There you have it; all you need is a minute of your time to make this simple DIY face mask. Simple, easy, and an awesome upcycle! ( We all have a single, lonely sock, right?).
DIY face mask No. 3
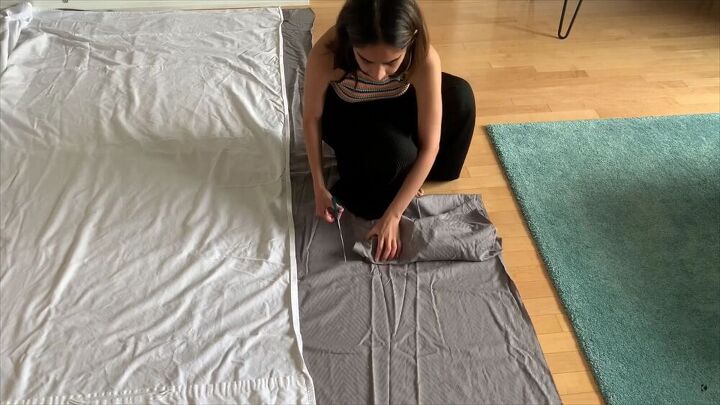
I had a bed sheet that was too wide for my bed. So, I decided to use the excess fabric to make a DIY face mask. You can totally do the same if you have scrap fabric lying around.
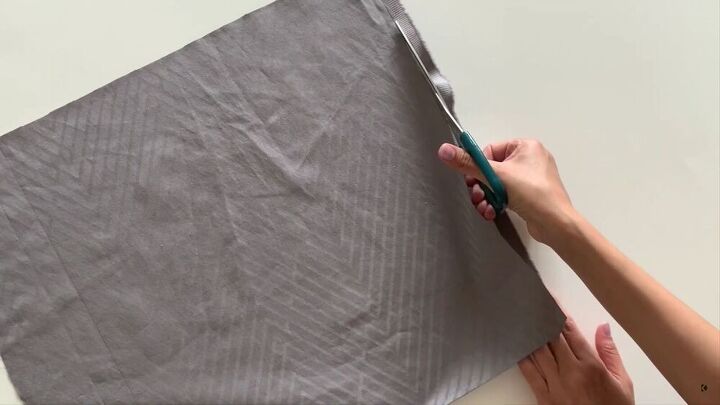
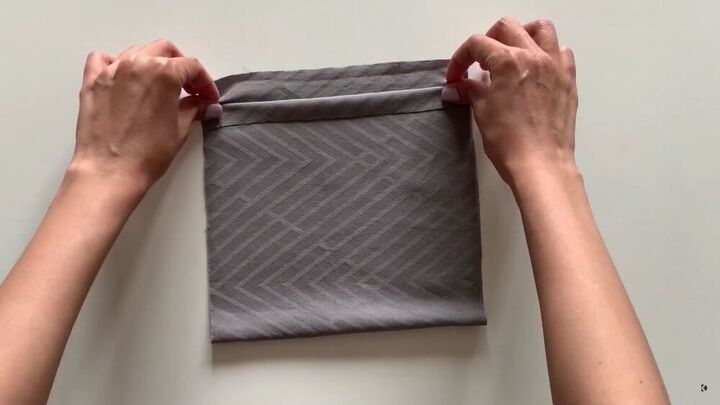
Now, cut a 15 inch square for the DIY face mask.
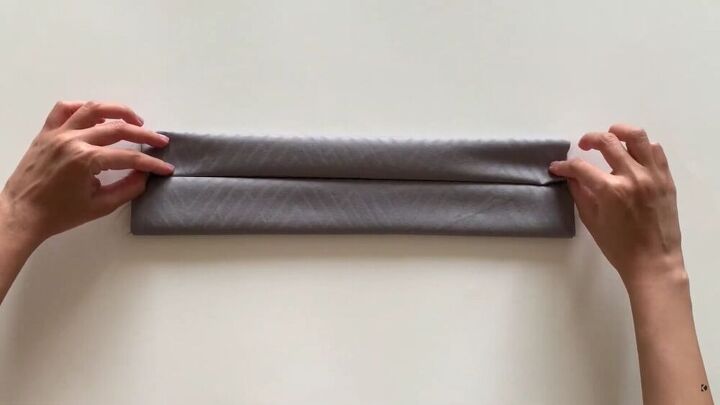
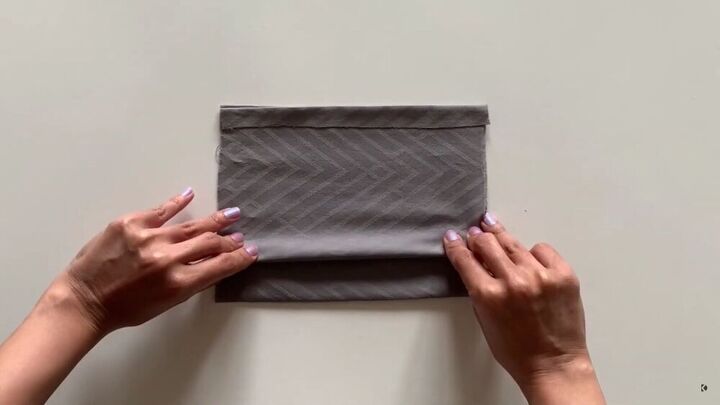
Fold the top and bottom edge of the fabric to the center. Then, repeat one more time.
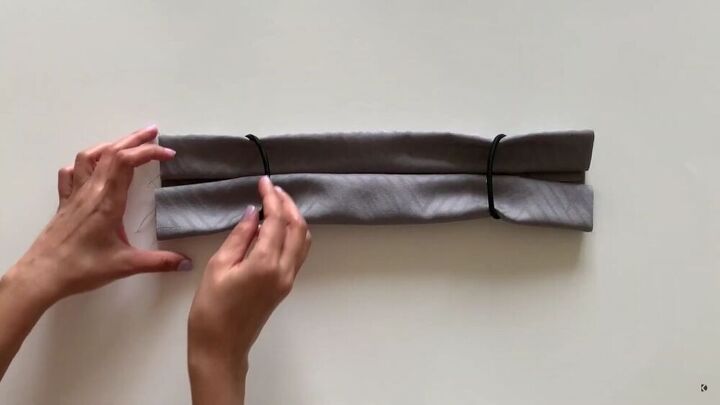
Take two pieces of hair ties and place them on the right and left sides of the fabric.
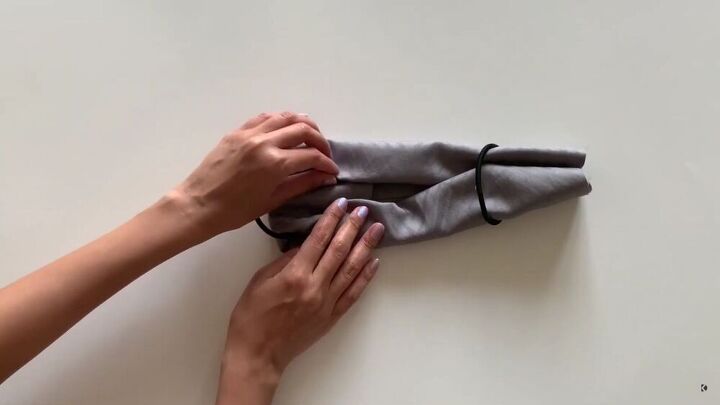
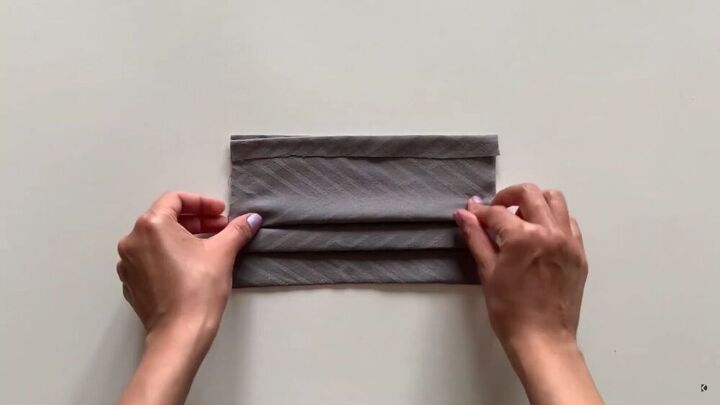
Now, fold the fabric from the left side, bring it toward the center, and tuck the ends into the fold you created earlier.
Repeat on the other side, too.
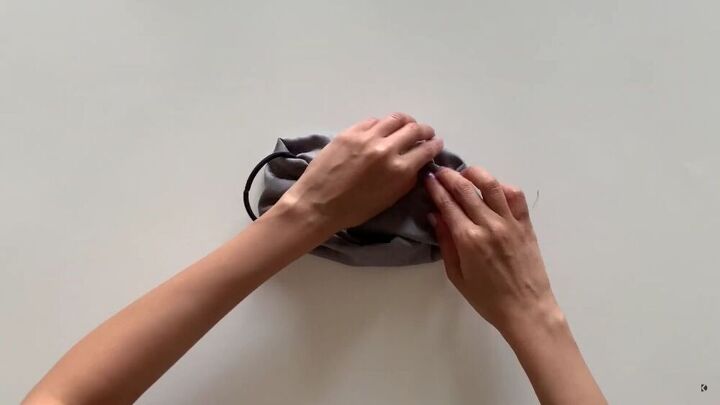
Yup, super easy, huh? I love that this basic DIY face mask doesn’t require a sewing machine, and I love that it’s upcycled from scrap fabric. What do you think about this particular DIY face mask? Also, you can unfold it, throw it in the wash, and refold it again. It’s so practical.
DIY face mask No. 4
This is my favorite DIY face mask because it has a filter. In order to make a DIY face mask with a filter, you’ll need to cut a fabric that’s 16 inches wide and 8 inches long. Then fold the fabric in half, and then fold the ends by ½ an inch, as shown.
Press the folds and then leave a gap 1 inch from the base and pinch ½ an inch of the fabric to create a pleat.
Repeat this step two more times.
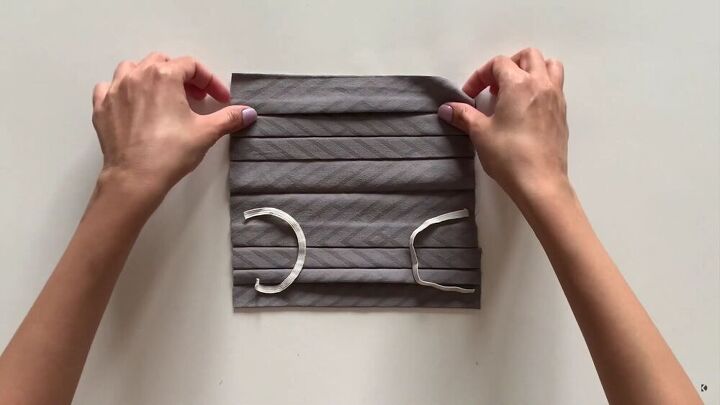
Open the fabric and place an elastic on either side of the DIY face mask, as shown. The elastic should be 5 inches long.
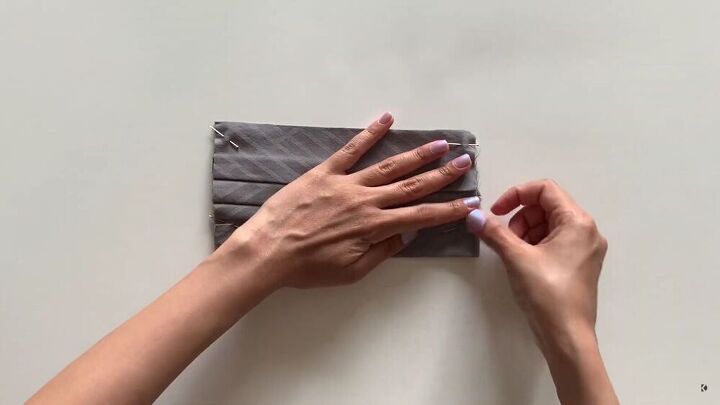
Now, fold the top section of the mask and pin the elastic in place.
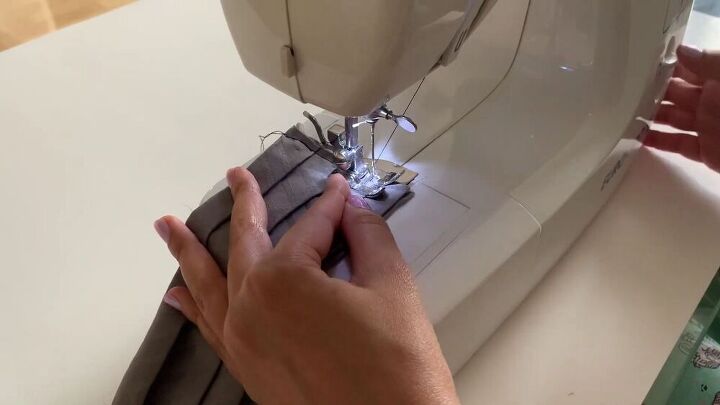
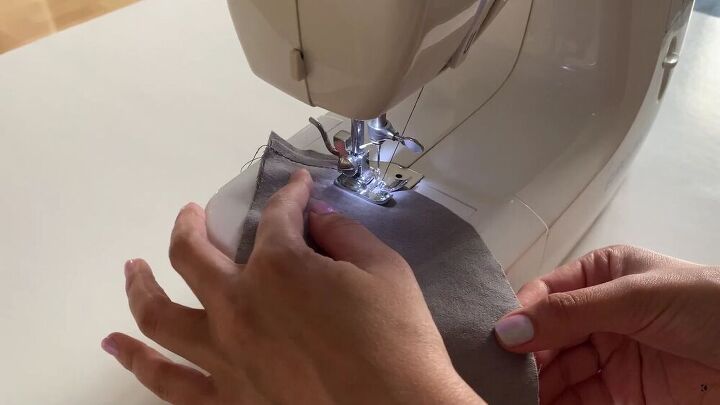
Stitch the sides with either a needle and thread or a sewing machine.
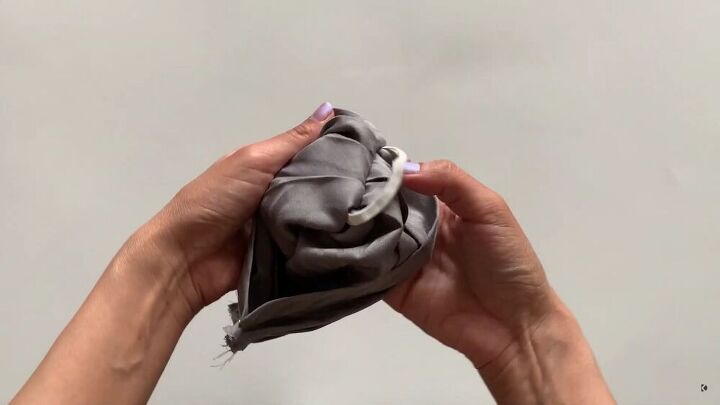
Now, fold the DIY face mask inside out.
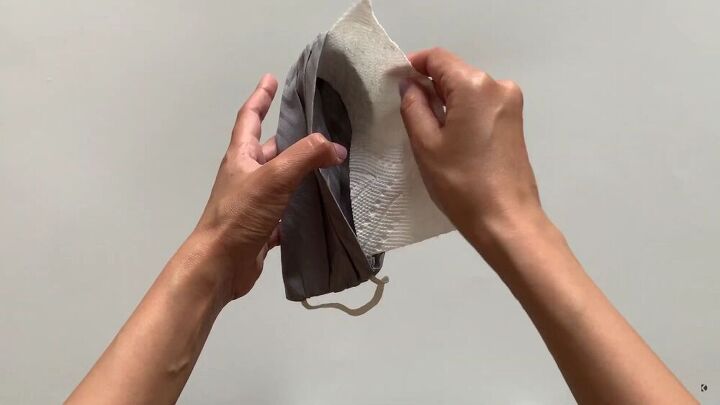
You can take a paper towel or a filter and place it in between the face mask fabric.

I really love this mask because I can use a replaceable filter, too. It’s really amazing and more so that you don’t even need a sewing machine to make this DIY face mask.
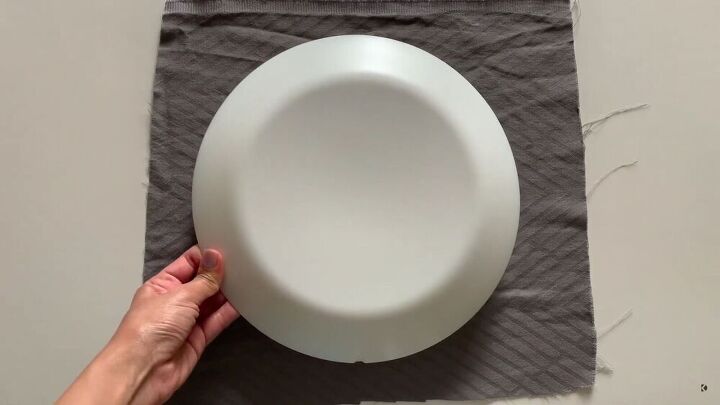
DIY face mask No. 5
For this cool DIY face mask, you’ll need a plate that’s 12 inches wide. Place it on top of your fabric, as shown.
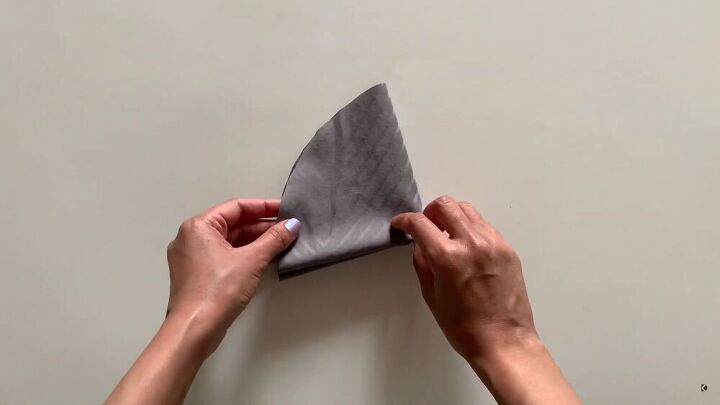
Cut around the plate and fold the circle in half, and fold it again, so that you have a pizza slice, as shown.
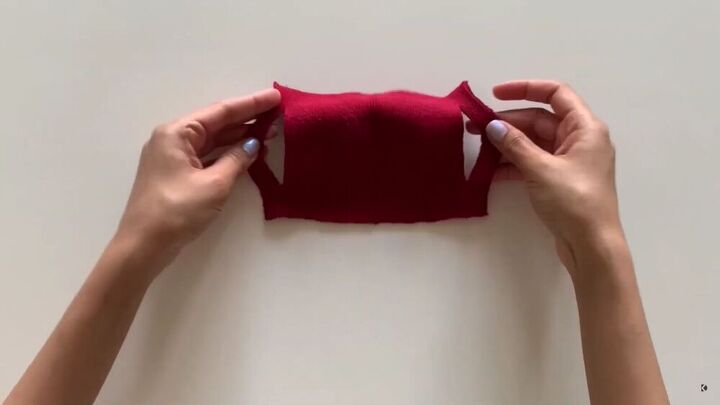
Cut the pieces so you have four separate pieces. Take two pieces at a time and stitch them together at the curved edge.
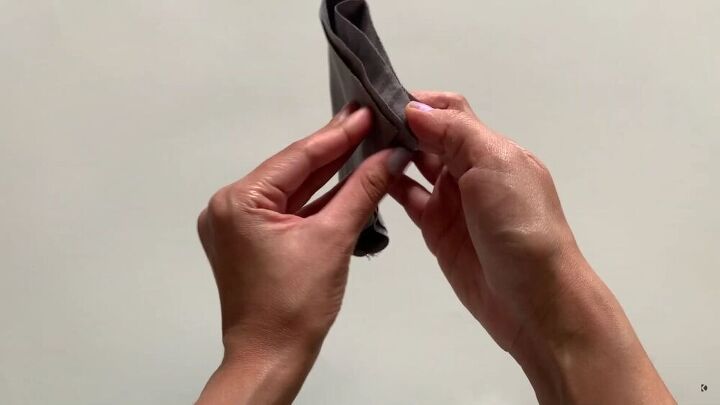
Fold one of them inside out and place them between the other one.
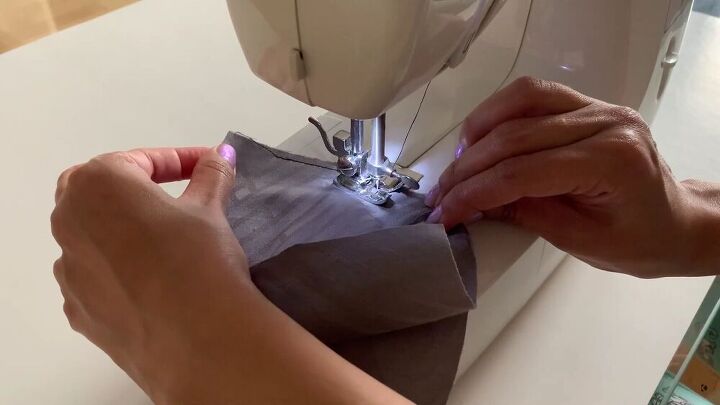
Leave a gap of 2 inches and stitch along the edges.
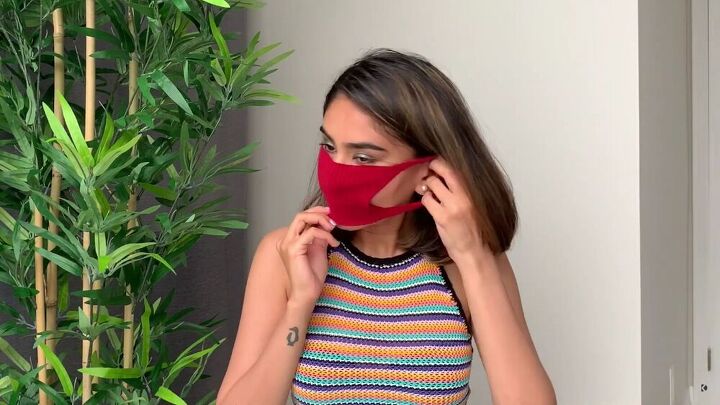
Invert the mask inside out and stitch the gaps on either end.
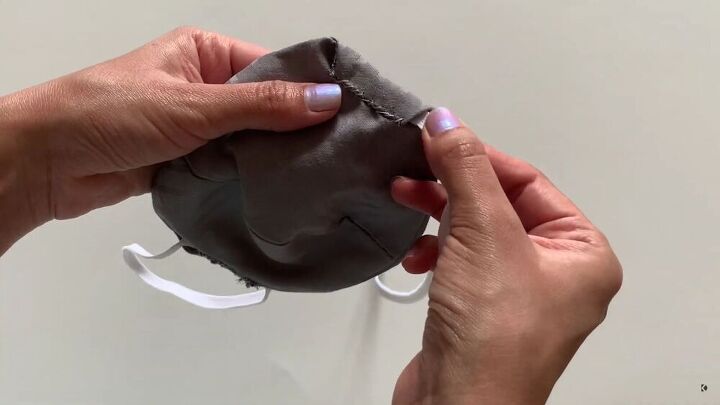
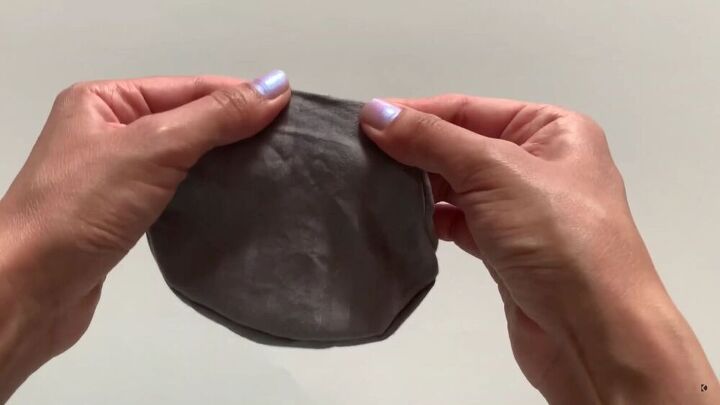
Once you’ve created the tunnel, insert the elastic. Tie a knot afterward.
Yeah! That’s it! Your beautiful yet basic DIY face mask is complete. So easy! This one will literally take you 30 minutes, tops! So there you have it, five inexpensive and quick ways to make a DIY face mask from scratch. Now you have no excuse to wear a face mask out in public. Stay safe and be healthy!
The author may collect a small share of sales from the links on this page.


Comments
Join the conversation
All these Bright young women with such great minds to look at a sock and think “hmmm bet I could make something usful of that”! Lol
good job getting even with those run away socks that leave their mate..