DIY No More Fog Facemask

The facemask fog struggle is real! Here is a DIY facemask with no gap and no more fog. Learn how to sew this breathable mask and stop worrying about wearing your glasses and facemask at the same time.
Tools and materials:
- Fabric
- Ruler
- Scissors
- Clips
- Elastic
- Sewing machine
- Marker
- Plate

Measure and cut the fabric
The first step to this facemask DIY is cutting two 9.4 by 7-inch pieces of fabric.
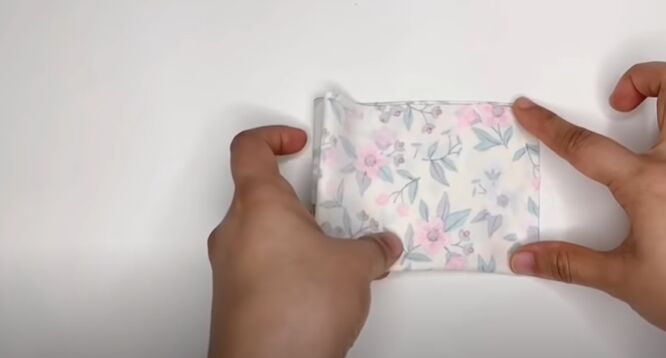
Next, fold the two pieces over twice.
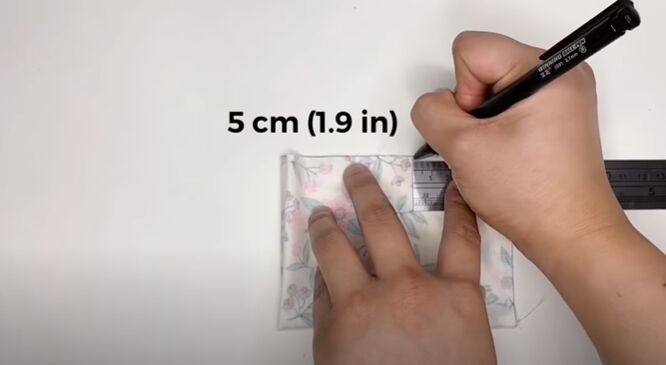
Mark 1.9 inches across and down from one corner of the folded fabric. Make sure it is the corner that’s not on the fold.
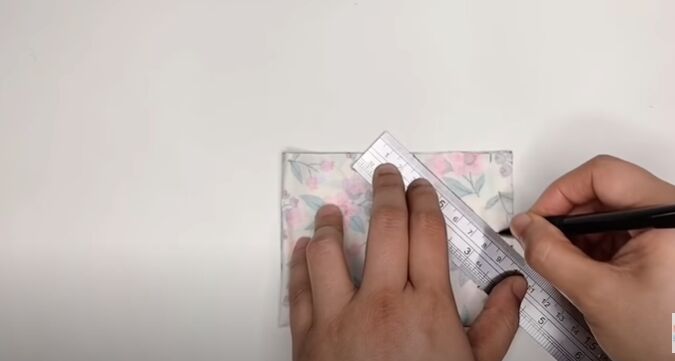
Grab your ruler and connect those to markings with a straight line.
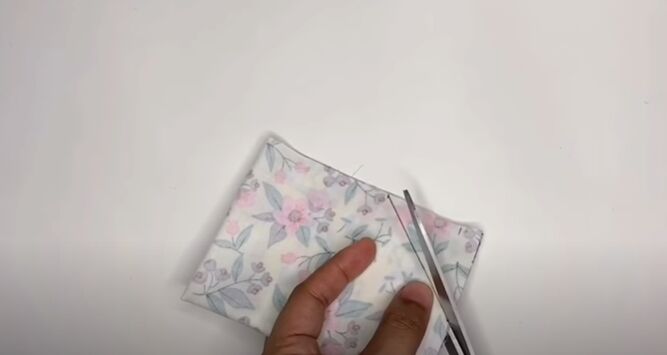
Then use scissors to cut across that line and get the right shape for your fabric pieces.
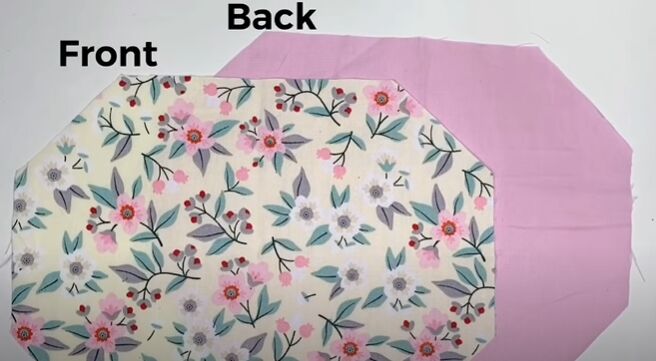
You will end up with two pieces. One piece for the back and one for the front of your new facemask. I chose to use two, different, very pretty fabrics for this mask. Feel free to pick any fabrics that work with your aesthetic.
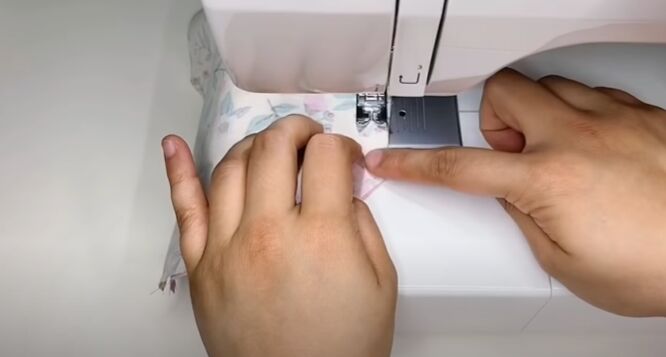
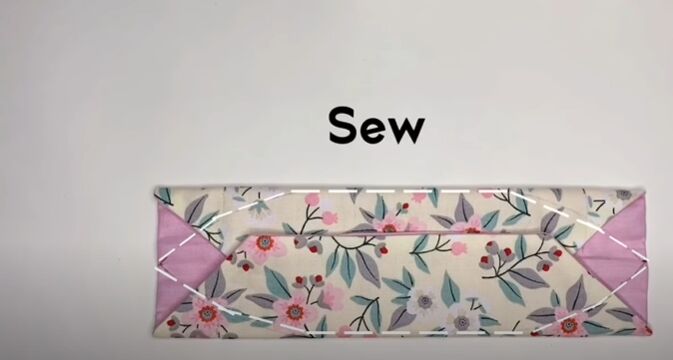
Sew the two pieces
Next, place the pieces right sides together and stitch around the edges, leaving a small gap in the center of one of the long sides.
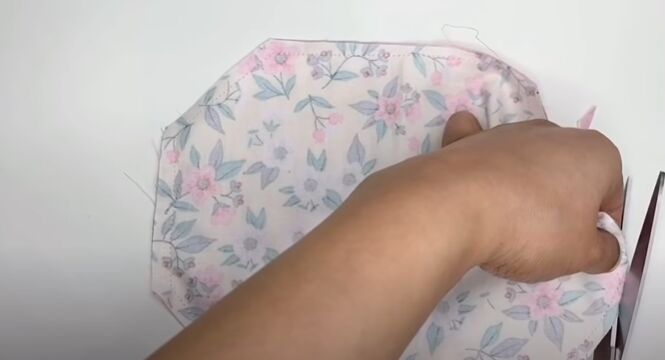
Once you have stitched, grab the scissors and trim the edges of each corner of the mask.
In the next step, turn the mask right side out through the opening on the one side.
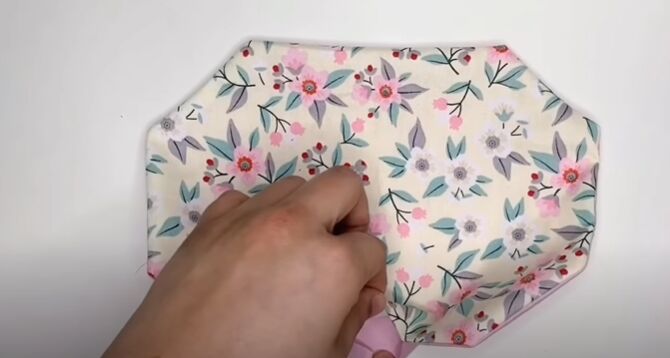
Once your mask is the right way around, sew closed the opening.
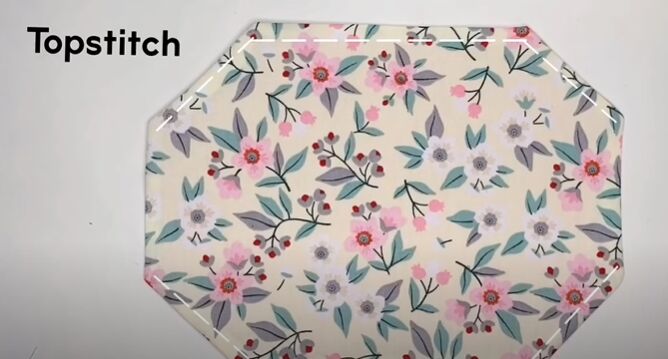
While you are next to your machine, topstitch around your mask.
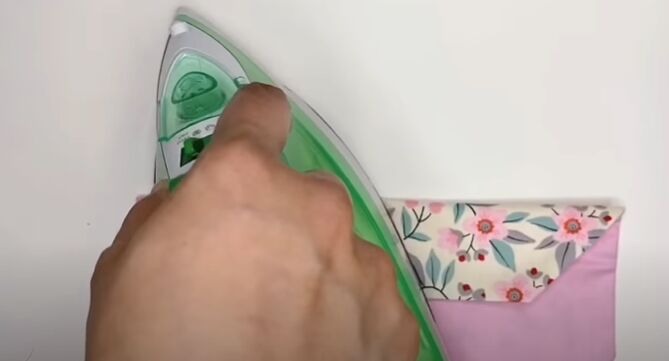
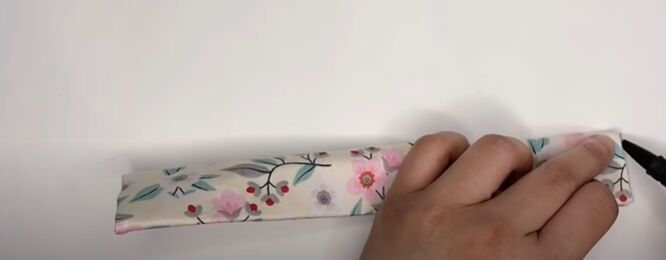
Create the folds
In this step, Fold down the top of the mask and press it.
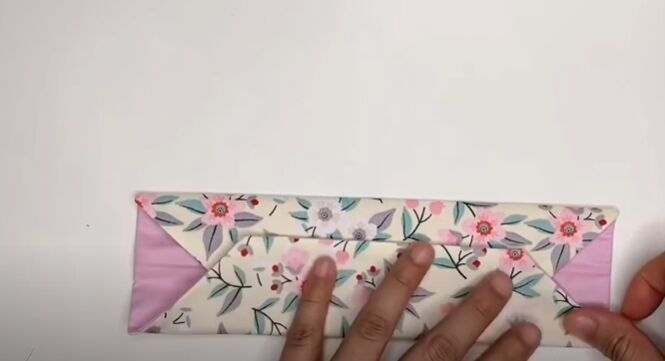
Then fold up the bottom to overlap the top fold and press it down as well.
Next, fold the fabric in half and use a marker to mark the center on each side.
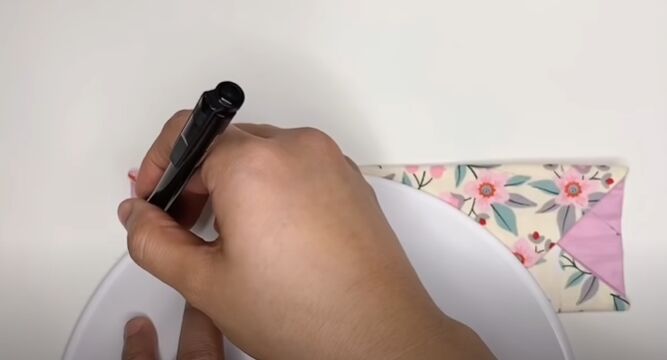
Draw and sew the curves
In this next step, you will need a plate to help you out. Trace a curve from the center marking on each side to the top of the mask by tracing the edge of the plate. Make sure to do this on the bottom of the mask as well.
Once you have the curved lines marked and connected, sew along the lines.
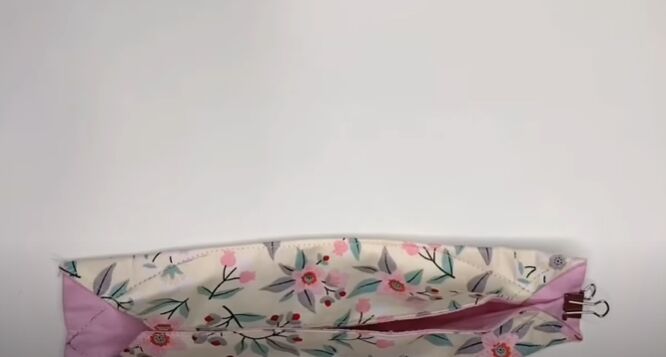
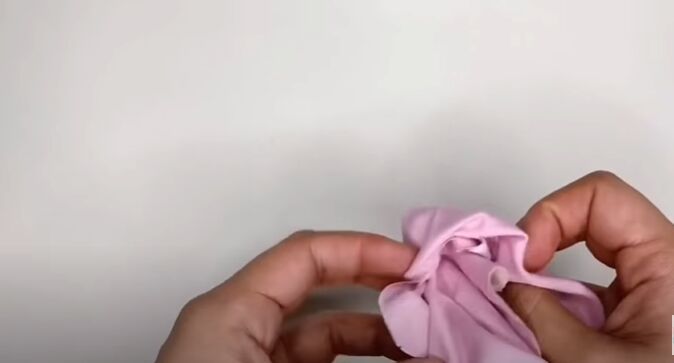
Add the elastics
Fold over the bottom sides of the mask so that the fold lines up with the center marking and clip the fold in place.
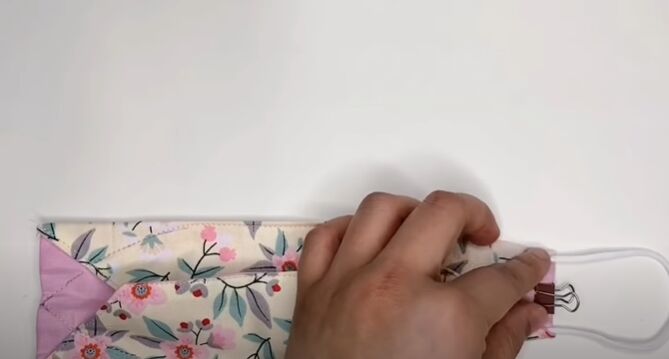
Cut your two pieces of elastic and slide the ends under the small folds on the top and bottom of the mask.
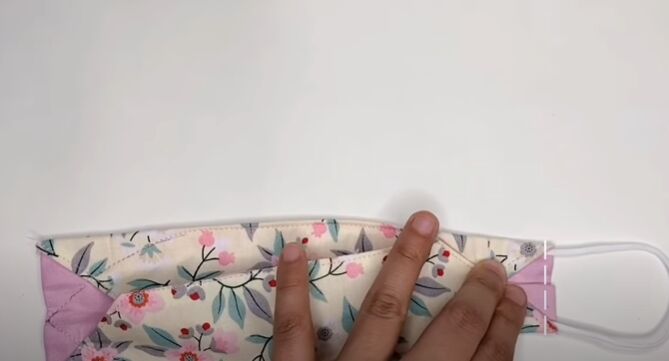
Lastly, stitch a straight line sewing the elastics and the folds in place on your new facemask.
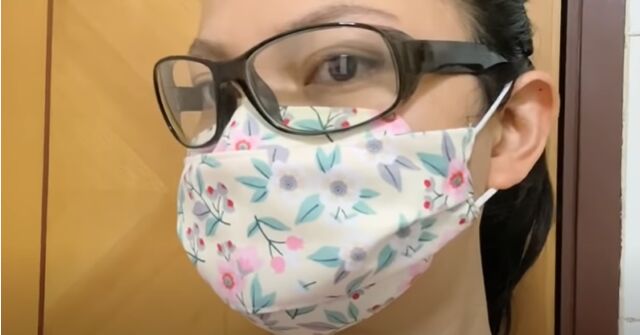
There is nothing better than being able to see properly while wearing a facemask! What do you think about this no gap and no fog facemask? Share your thoughts in the comments!
The author may collect a small share of sales from the links on this page.


Comments
Join the conversation
Looks like a lot of work!!
Looks great, but I would add a nose bridge. A 2.5" by .25" piece of aluminum. I usually cut mine from metal flashing, then double cover with interfacing and sew all around to enclose. Pin to the inside of mask and sew just below seam allowance. Then proceed with your great mask..!!