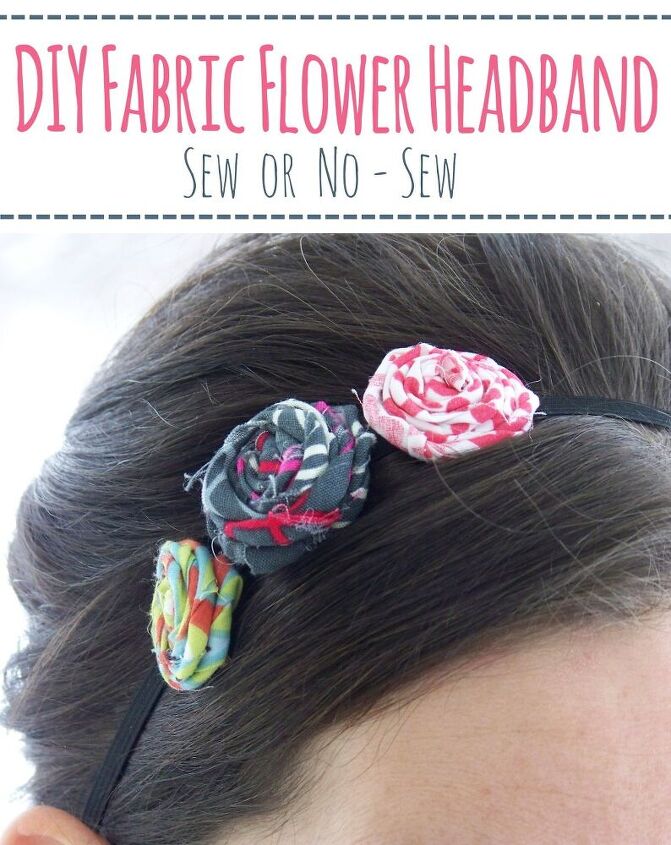
DIY Flower Headband [Sew & No-Sew Options]
One of my goals for this year is to take better care of myself, which for me means a lot of things. I want to take care of myself spiritually, mentally, physically. I’m going to talk a little bit about my physical goals today. What do physical goals have to do with a diy flower head band?
Well, I’m working on taking more care to put myself together more often. Many days I just wear sweats or the same jeans and t shirts and that’s ok, there is nothing wrong with that, but I feel so much prettier when I actually take the time to put together an outfit, do my hair, and accessorize.
One accessory I’ve had my eye on for a long time is the head band. I have had a few over the years, but they are always too tight. I have a BIG head. And THICK hair. So I decided to make a diy flower headband. For instruction, I used the tutorial for fabric flowers from Lovely Little Snippets. Her instructions are more in depth, so be sure to check it out.

DIY Flower Headband Tutorial
Here’s an overview of how I made my DIY flower headband:
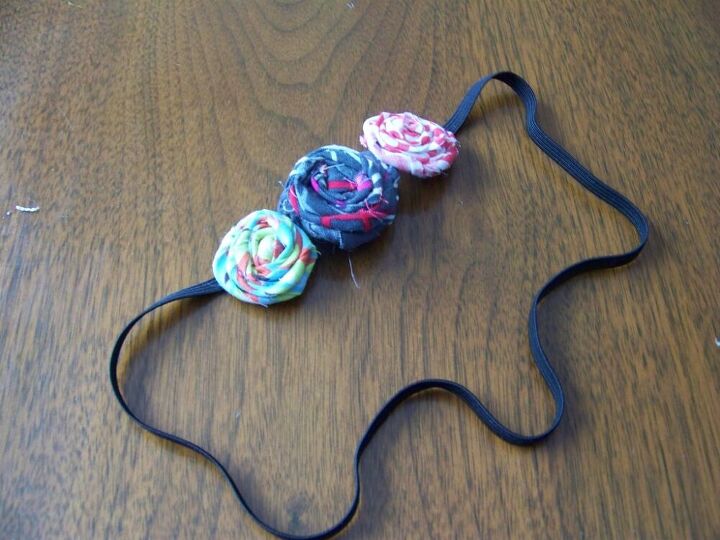
1. I measured my noggin with a tailor’s tape measure and then cut a piece of elastic to that measurement. I told you it was big!
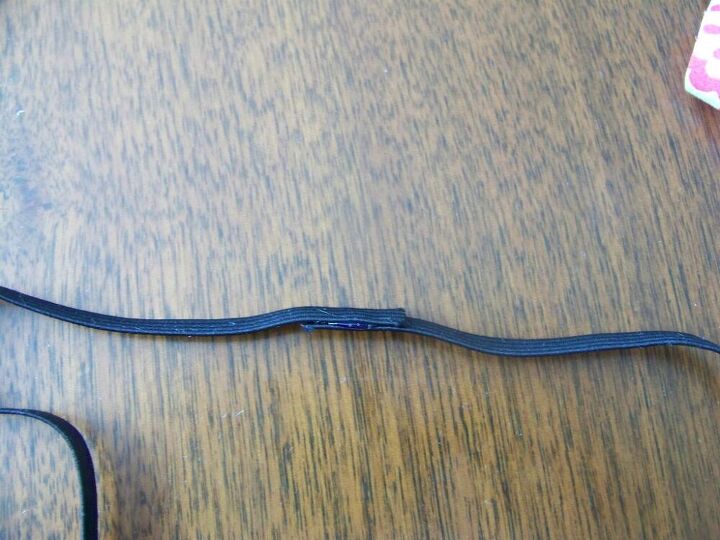
2. Then I overlapped about 3- 4 inches of the ends of the elastic and glued the top end down onto the bottom using my hot glue gun. If you are interested in crafting, I highly recommend getting a hot glue gun. I have a super inexpensive one from Joanne Fabrics ( similar to this one) that certainly isn’t anything fancy but it does the job.
If you do go to Joann, Michael’s, or Hobby Lobby, be sure to take a coupon with you. There’s always one on their websites that you can print out or show them on your phone.
For a little added strength I sewed back and forth over the overlapping area with my sewing machine, but I think the glue would hold just fine, so this step isn’t totally necessary.
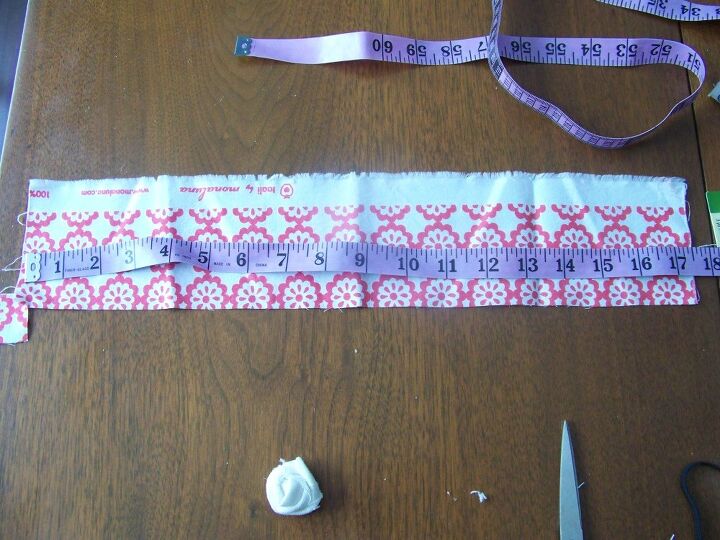
3. I cut my fabric into strips. Two of the strips were about 1.5 inches wide and 17 inches long. The grey fabric that I used to make the flower in the middle was longer than the other two, it was more like 20 inches long.
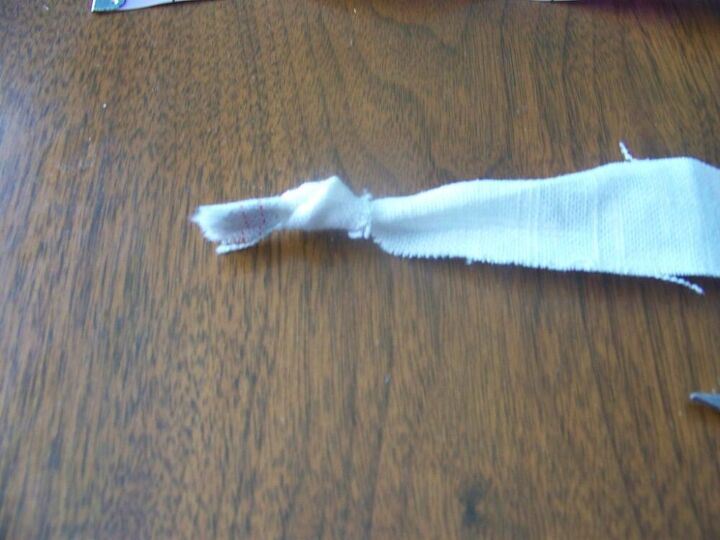
4. I folded each strip in half lengthwise and made a knot at the end of each one.
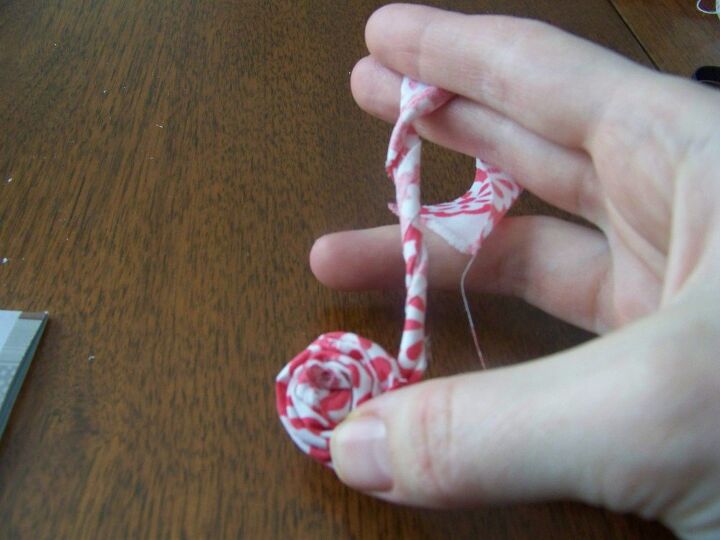
5. Then I began to twist the fabric around and wind it around the knot. Glue the fabric down periodically with the glue gun. I would just occasionally put a dot of glue down on the side of the growing round area of the knot. Keep twisting the fabric as you go. You can twist it loosely, or more tightly, depending on the look you prefer.
6. When I came to the end of the fabric strip I glued the little bit that was left over to the back of my flower. Then I cut out a little round scrap of fabric and glued it to the back to secure things a little.
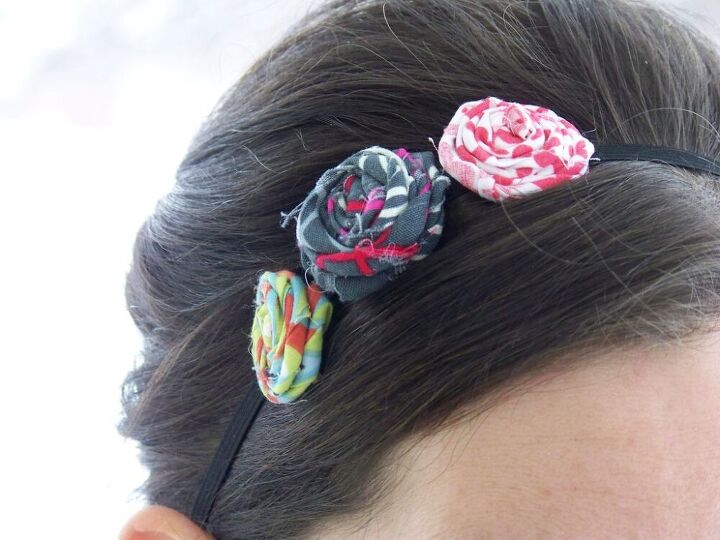
7. Finally, I put my flowers together to see how I wanted to arrange them, and then glued them down to the elastic. As you can see, I decided to nix the white flower I made. I was having more fun with mixing up the patterns and that one seemed too plain.
This was such a quick and inexpensive project. I already had the supplies on hand, so it did not cost me a thing, but even if you didn’t, you could still make your own diy flower headband for not too much.
I also like it because I pushed myself a little outside of my normal clothes comfort zone by mixing some patterns and doing something a little different with my hair. But hopefully I don’t look too much like all the toddlers out there sporting fabric flower headbands.
The author may collect a small share of sales from the links on this page.


Comments
Join the conversation
I love the idea of using stuff you already have to create something totally new & useful! Any kind of old clothes would work for the material, even a shirt that has a hole in it or a stain somewhere could work! This headband is just so cute and it's easy enough that even I could do it! Not having to use a sewing machine is a big plus for me! I have a cheap lil hot glue gun & that will work - thanks for sharing!!!
CUTE!!!! Thank you for sharing :)