DIY the Cutest Minnie and Mickey Mouse Ears

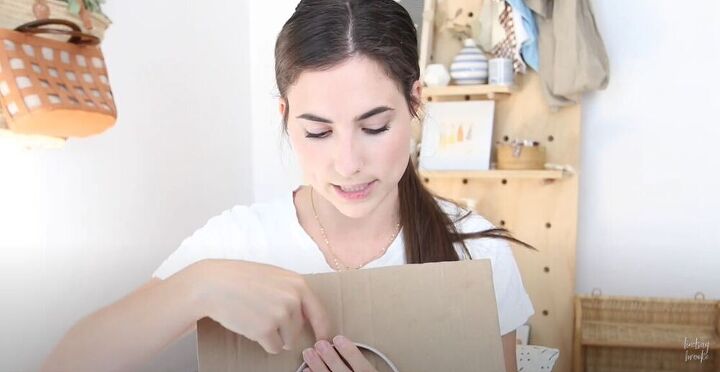
For my daughter’s birthday, my family and I took a wonderful trip to Disneyland. Before we left I decided that rather than spending a pretty penny on merchandise in the park, we would arrive in style ready for our fun family trip. I got super creative and made the cutest DIY Minnie and Mickey ears for the whole family. If you want to learn the ins and outs of this awesome project, my tutorial is definitely for you! Follow my simple step-by-step guide and get started on making your own pair of Disney ears.
Tools and materials:
- Headband
- Fabric
- Cardboard
- Cotton Balls/stuffing
- Glue
- Sewing machine/needle and thread
The first step is tracing the arch of your headband onto a piece of cardboard. This will help make sure that your ears will have the exact same arch as the headband.
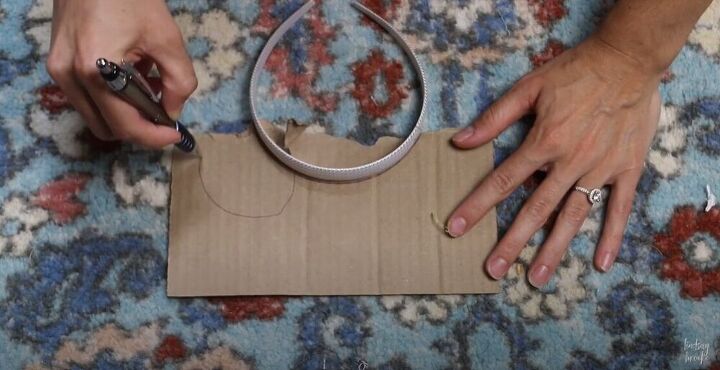
Next, it’s time to draw the ears. I just eyeballed it and drew them freehand but you can totally trace something round to get the perfect shape.
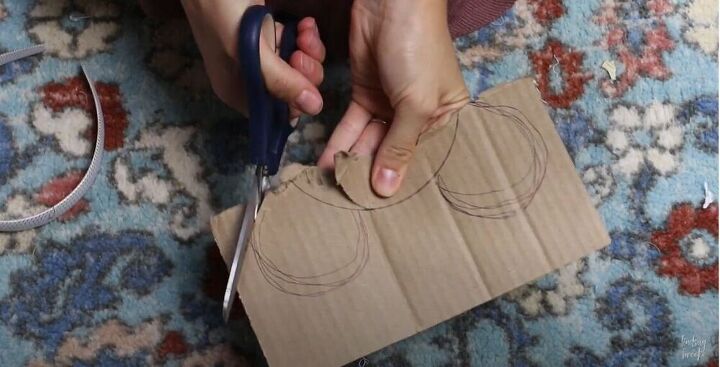
Use scissors to cut out the two ears from the cardboard. If you drew them freehand, like me, put them together and trim to make sure they are the exact same size.
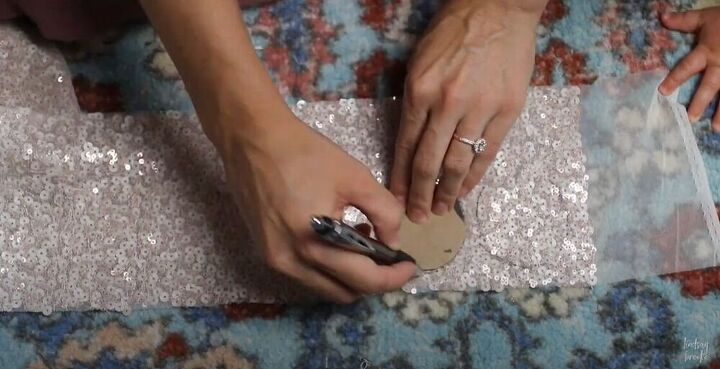
Next, place your cutouts on the wrong side of the fabric and trace 4 ears.
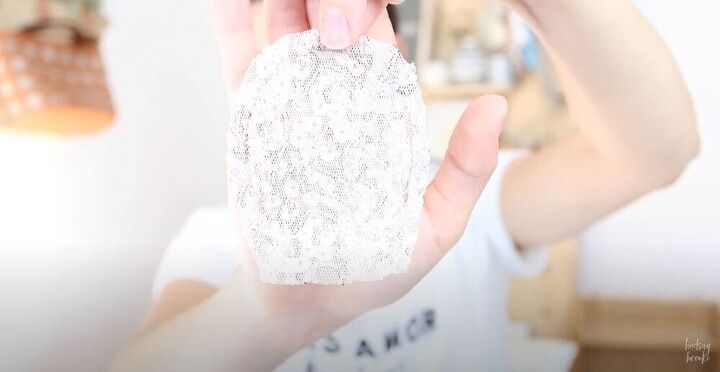
Make sure that you leave some seam allowance when cutting out your 4 pieces of fabric.
To make these gorgeous ears, place two pieces, right sides together, and sew along your tracing line, leaving the bottom unsewn. Then turn your fabric right side out.
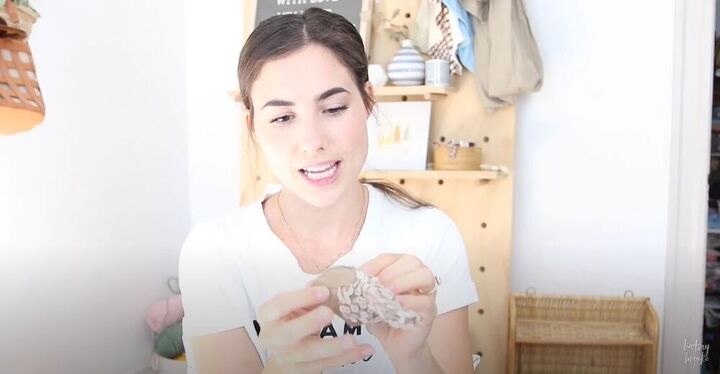
Next, insert your little cardboard ear into the fabric.
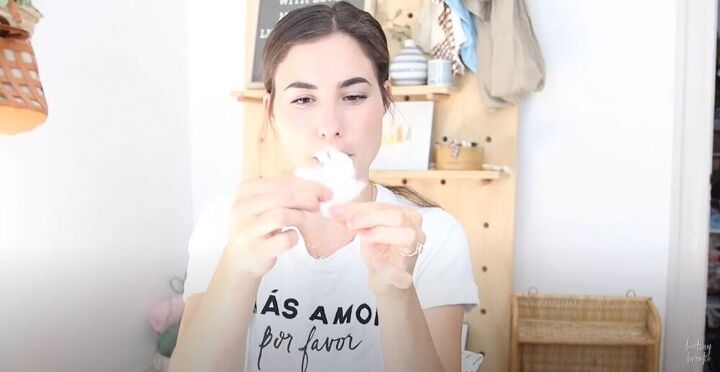
To plump up the ears a little, use cotton balls. Pull apart the cotton a little to give it a flatter shape so it won’t be one big clump.
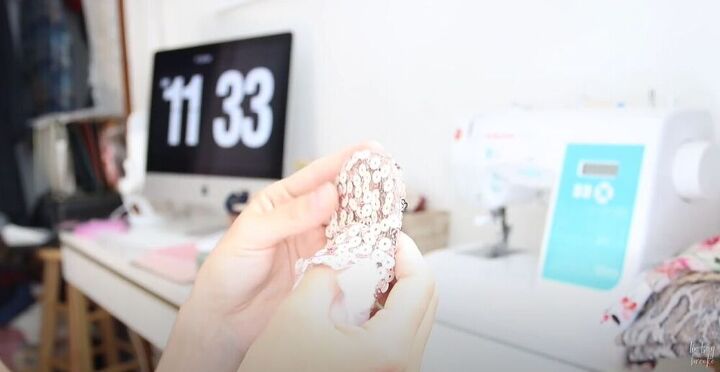
Add the cotton onto both sides of the ears to plump them up and create the perfect shape. Once the ears have been stuffed, tuck in the extra fabric on the bottom.
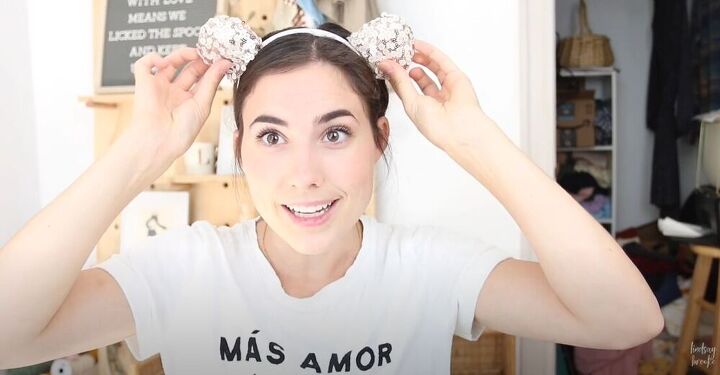
To get an idea about the position, put on the headband, and use a mirror to hold the ears in the perfect positions.
Finally, it’s time to glue on the ears! Put some glue on the headband and on the ears as well. Hot glue would work for this step but I actually used E6000 glue because I find it always holds well.
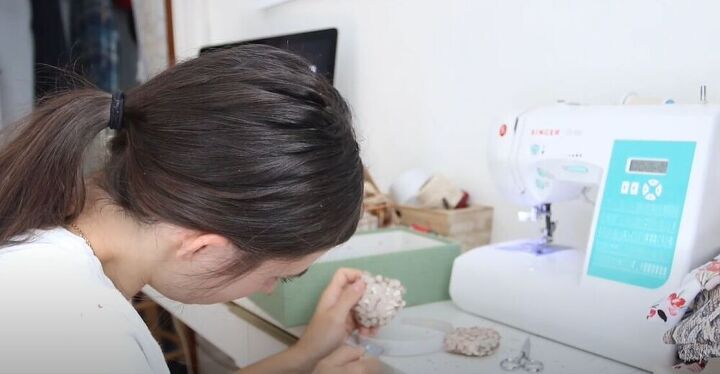
While you wait for the glue to dry, make a super cute bow to add in between the ears. I chose this gorgeous gold pleated fabric but you can pick any fabric color or design you like! To make the bow, start by cutting the fabric into a rectangle.
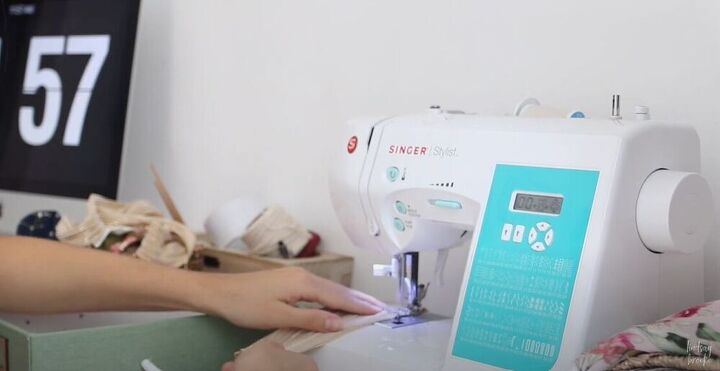
Fold the fabric in half, lengthwise, and then sew down the long edge. Once you’ve sewed, turn the fabric right side out.
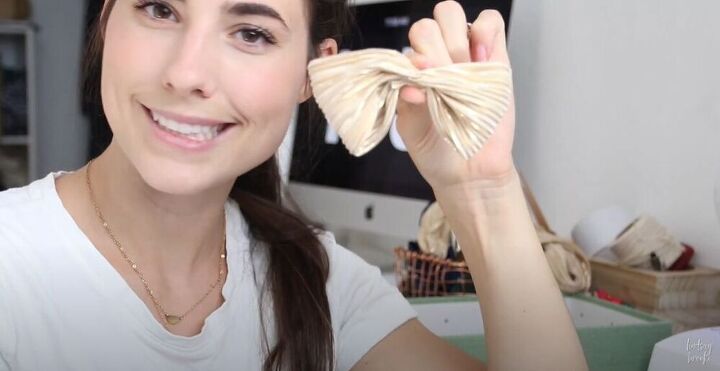
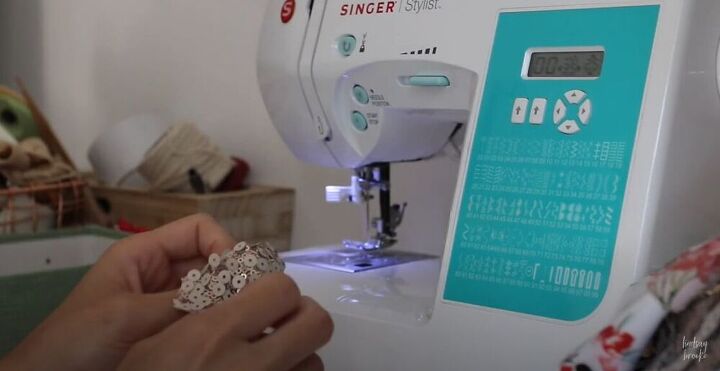
To create the gorgeous little bow, fold the two edges towards the middle and then scrunch up the center. Add a strip of fabric around the middle to secure the bow in place. I used a little strip of my pretty sequin fabric and hand sewed it at the back.
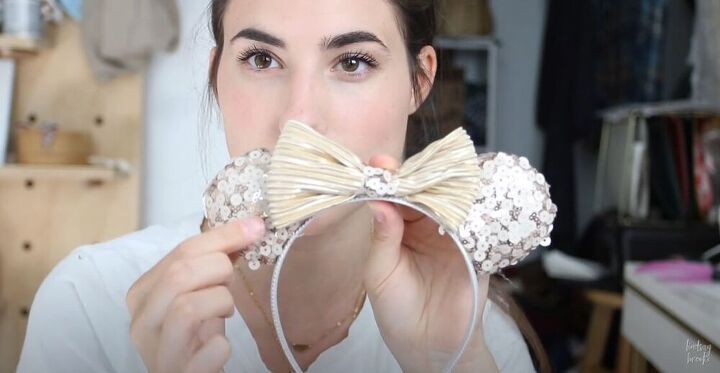
Add some glue to the center of your headband and stick down the bow. If you want to secure it a little more, glue the edges of the bow to the ears to hold everything in place.
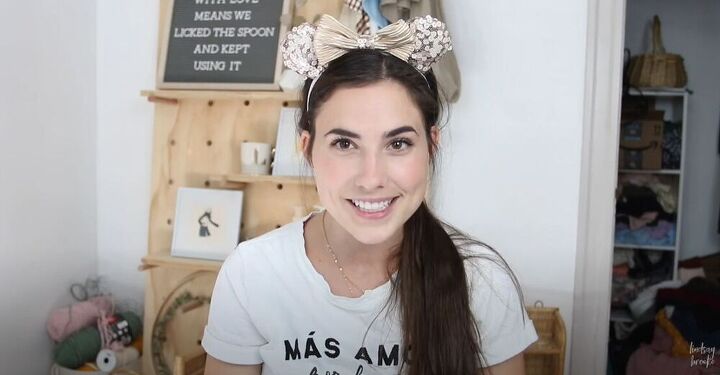
These Disney mouse ears are everything! What other fun Disney DIY ideas do you have? Let me know in the comments below!
The author may collect a small share of sales from the links on this page.


Comments
Join the conversation
Super Cute!
Hi Lindsay, I must say I have never like MM even as a child lol. My favorite was Goofy, That being said your ears came out lovely and I just had to tell you. Thank you for sharing your project :)