Tie Dye Hair Accessories
Ever wish you could design your own hair accessories? 🙂 What if YOU were able to pick the colors and designs of the scrunchies and headbands in your life?! In today’s project, we are going to do just that! First, we’ll go to the craft store to pick out the perfect tie dye kit (mine is from Tulip)! Next, I’ll share my latest recommendations for tie-dye-friendly hair products and walk you through the tie dying process! (It’s easy, I promise!) This DIY is so much fun, that it’s the perfect summer craft to do with your kids and friends! 🙂 Let’s get tie dying!
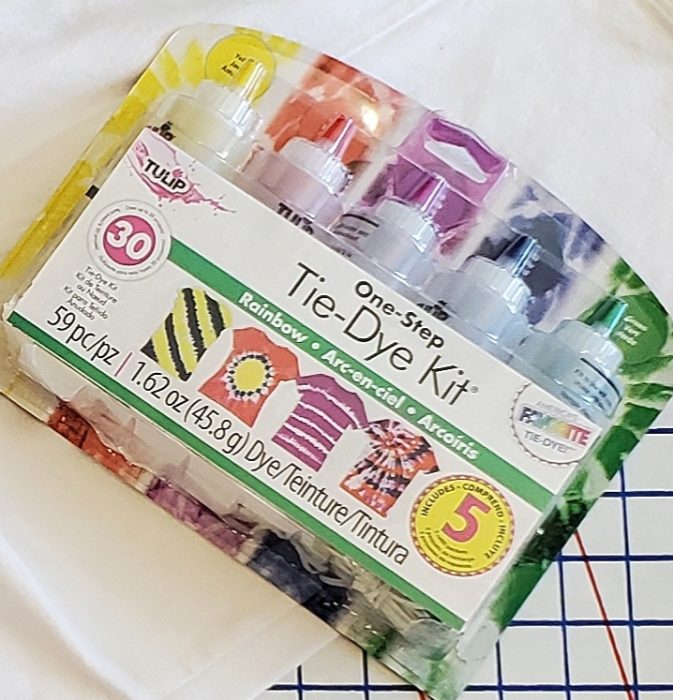
Speaking of tie dye kits- here is the one I picked! 🙂 Love the rainbow effect!
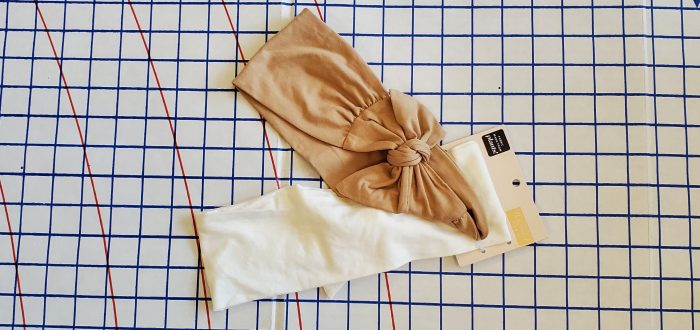
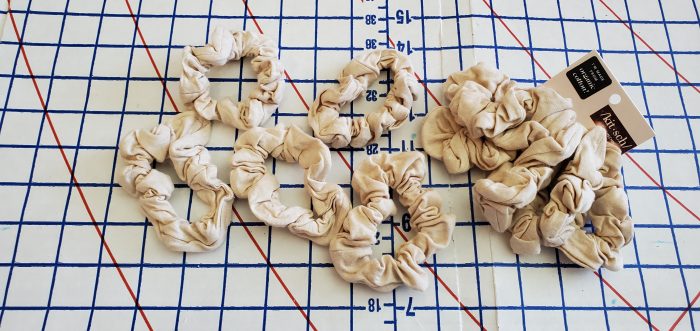
Our next step is to gather hair accessories that are made (or mostly made) from natural fiber fabrics, like cotton, linen, rayon, wool, etc. Finding this kind of hair products can be VERY difficult, but we need to use natural materials if we want our dye kit to work well! Thankfully, I recently discovered a brand called “Kitsch” at Ulta! They have headbands AND scrunchies that are COTTON! Yaaaaaaaaaay! 🙂
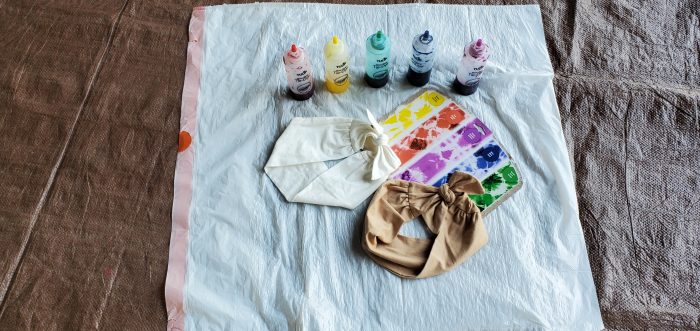
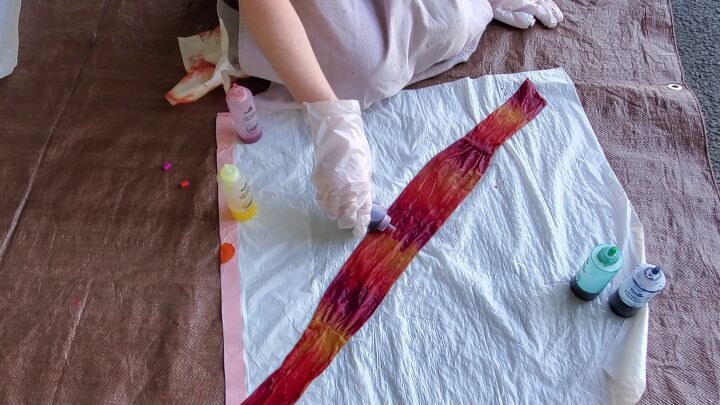
I brought all my supplies outside to my carport! I covered the ground with a tarp and laid out trash bags to catch dye drips. I made sure to have paper towel handy to clean up dye splatters and puddles. Don’t forget to wear gloves, or you will have tie dyed hands! 😉 As a last step, I got the headbands and scrunchies wet to help the dyes bleed across the fabric.
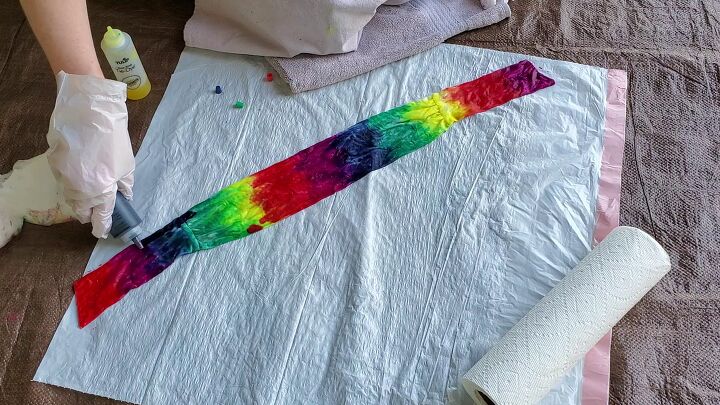
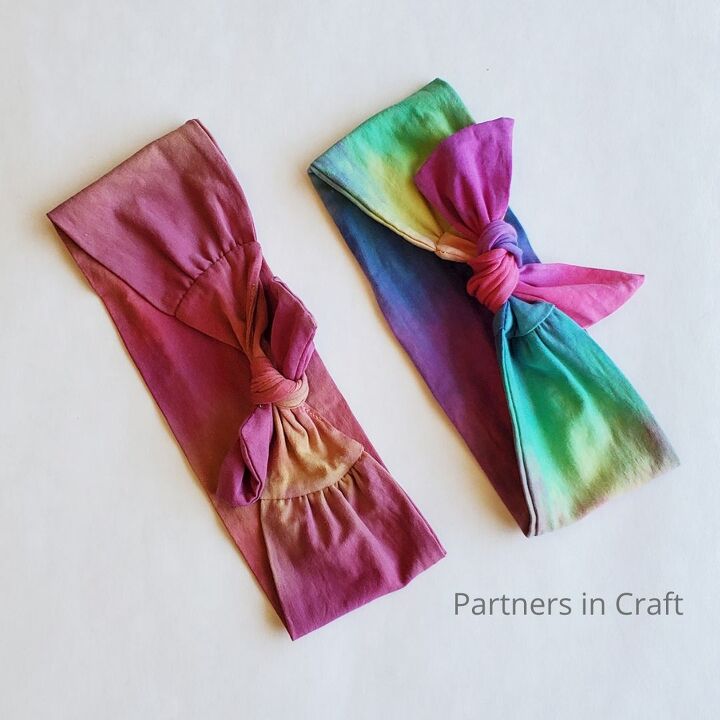
It’s dye time! I squirted dye onto the fabric in repeating bands of color. On the beige headband, I used warm sunset colors, but I went rainbow crazy with the white one! After applying dye to both sides of the headbands, I rolled the headbands in their white trash bags and put those into other bags. According to the package directions, I needed to wait 6-8 hours before washing out the dye.
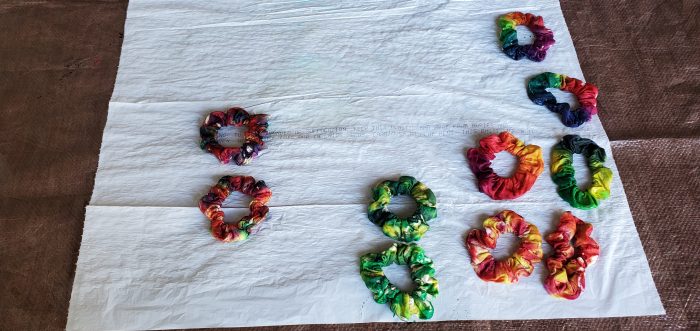
Next came the scrunchies! I experimented with color combinations and methods of applying the dye. For some scrunchies, I dripped and dotted dye over the fabric. For others, I tried to cover all the fabric with dye. The scrunchies went into the plastic bags for their curing time. When the time was up, I washed out the scrunchies and headbands using a little bit of laundry soap. I then air-dried them for the big reveal…
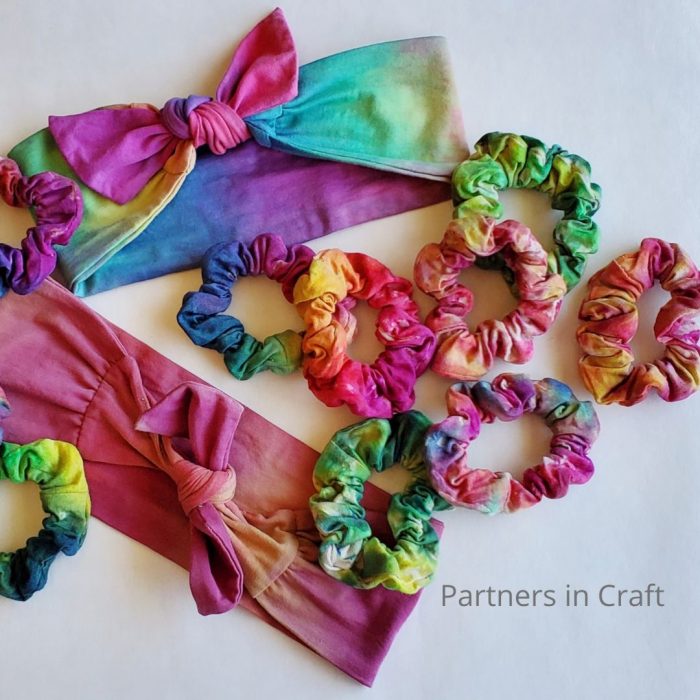
Ta-DAH!!!
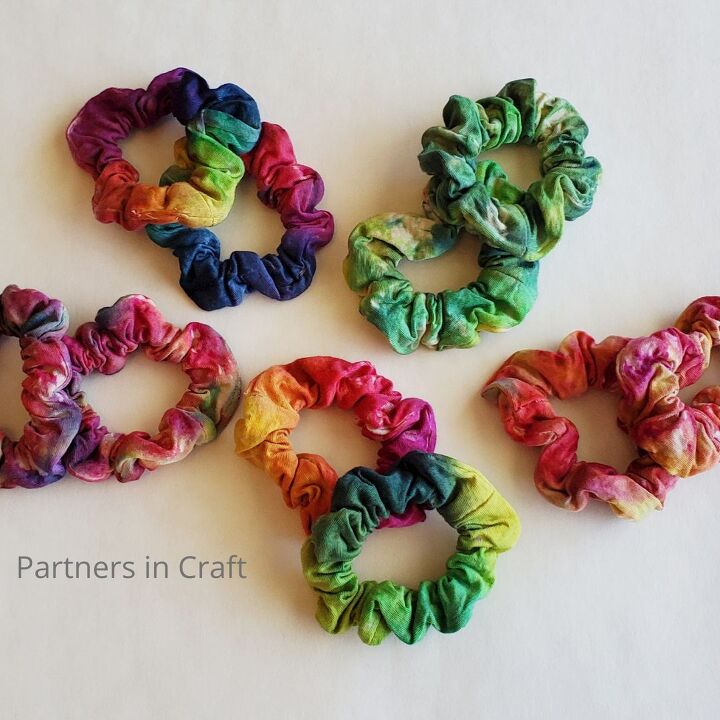
WOAH! Look at those colors!!! Both the headbands and the scrunchies took the dye very well! 🙂 I’d say that’s tie-dye-success!
You can watch the whole tie dye adventure in our Youtube video! 🙂 This was so much fun, that I’m already planning to make more…
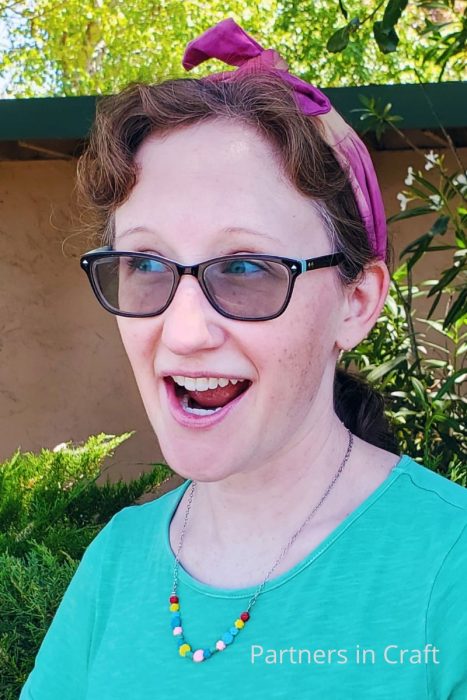
I’ve been loving wearing my tie dye hair things! They’ve turned out to be both comfortable AND so much fun to wear! 🙂 (Wouldn’t these make great gifts and/or stocking stuffers too?!) Hope you all enjoyed today’s project as well! Be sure to follow us and our Youtube channel for more crafty goodness coming your way soon! 🙂 Stay crafty, Everyone!
Follow us!
The author may collect a small share of sales from the links on this page.


Comments
Join the conversation
Cute colors!