Fun T-shirt Upcycle Idea: How to DIY Hair Scrunchies

If you’re looking for ideas of how to upcycle some old t-shirts, I’ve got one for you!
Follow along with me to create DIY t-shirt scrunchies in 3 sizes. There’s no sewing or gluing involved!
Tools and materials:
- Big t-shirt, tank top or pillow case
- Fabric scissors
- Ruler
- Elastic or stretchy headband
- Fabric chalk
- Safety pin
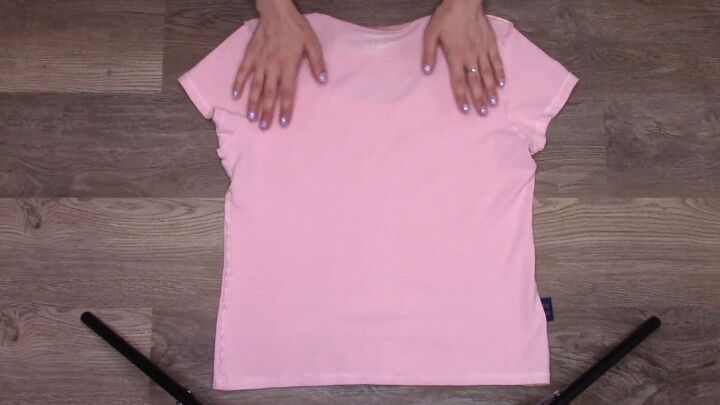
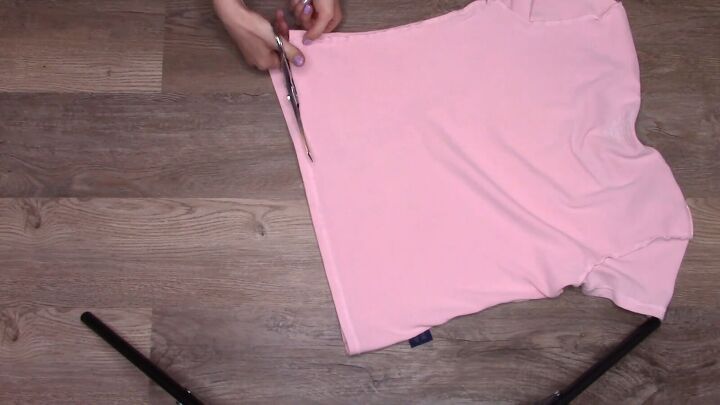
1. Reverse and cut off seam
Flip your chosen garment inside-out. Then lay it flat.
Cut off the bottom hem, leaving a clean edge.
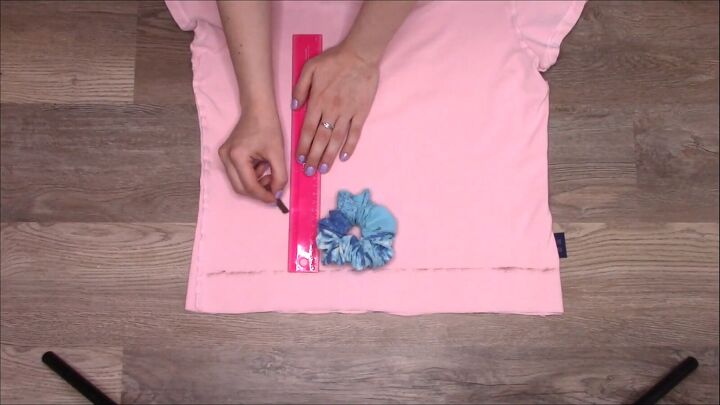
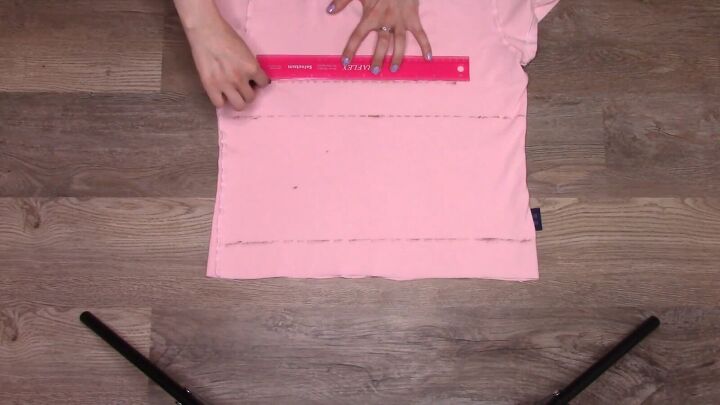
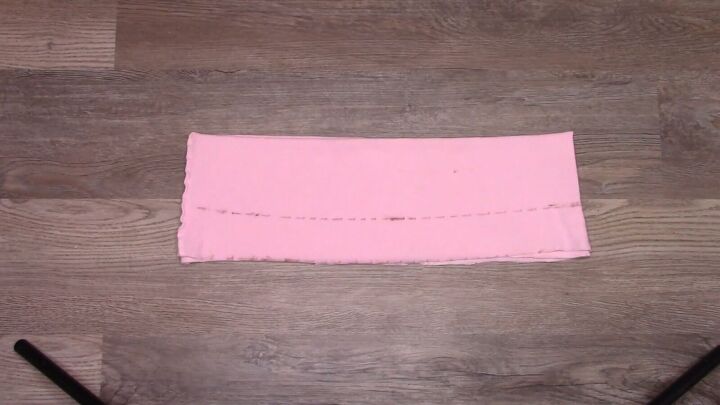
2. Mark at 2”
Make a few marks that are 2” from the new, bottom edge.
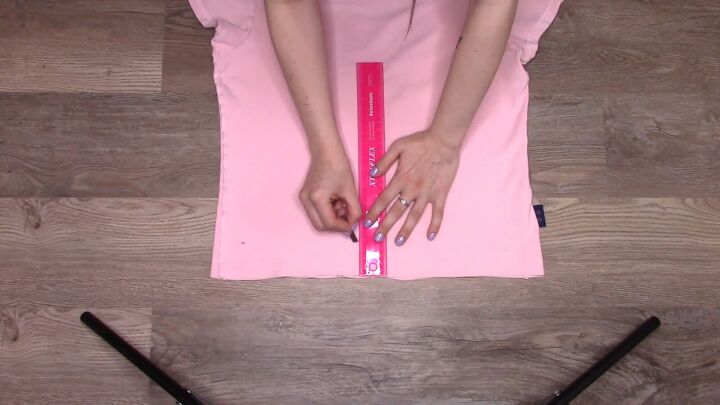
Then, use the ruler to make a straight line connecting those marks, parallel to the bottom of the garment.
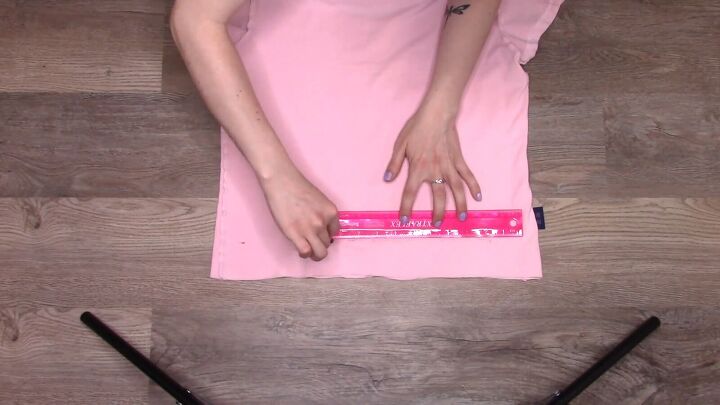
3. Choose scrunchie size, measure and cut
For a regular sized scrunchie, measure and mark 3” above the line you just drew.
For a large scrunchie, measure 5” above the line.
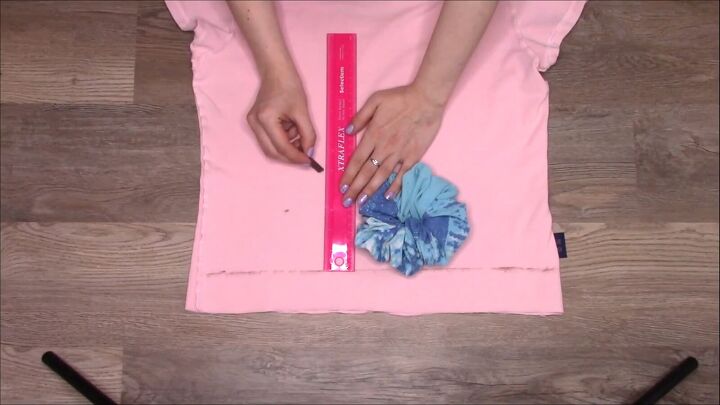
For an XL scrunchie, measure 7” above the line. For this tutorial, I’ll be making this size.
Add a few more marks at your chosen measurement across the width of the garment and then connect them with a straight line, parallel to the first.
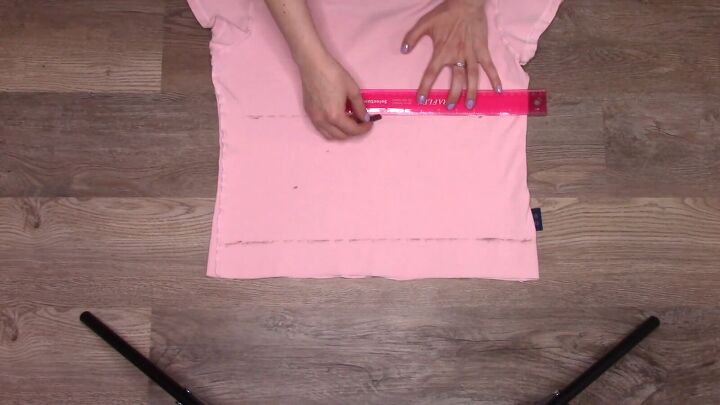
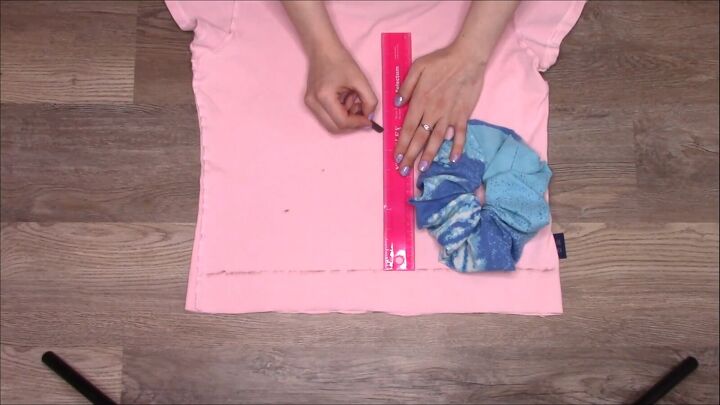
Then grab your ruler and make marks 2” above your last line. Connect them with a parallel line.
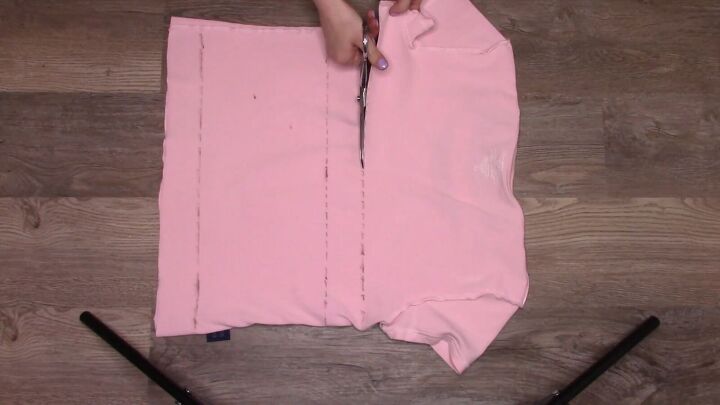
Cut along the top line.
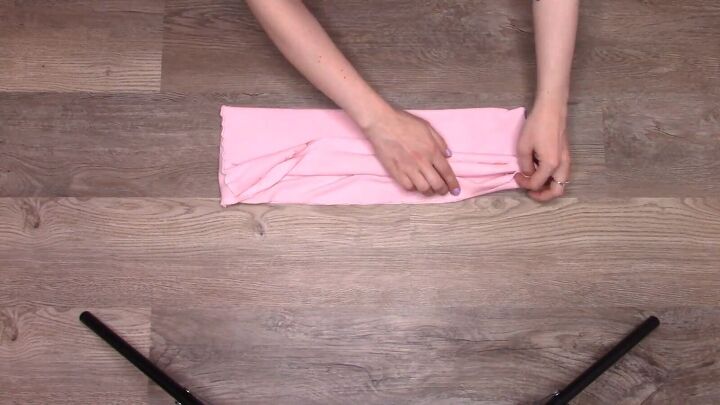
4. Fold and align
Now you should have a tube of fabric. Keep it flat and grab the top layer of fabric in the middle
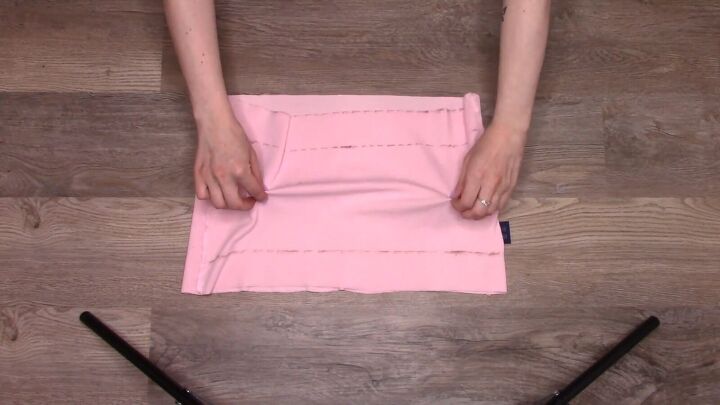
Then, fold the tube in half.
See the video at 3:20 -3:25 if you’re unsure how.
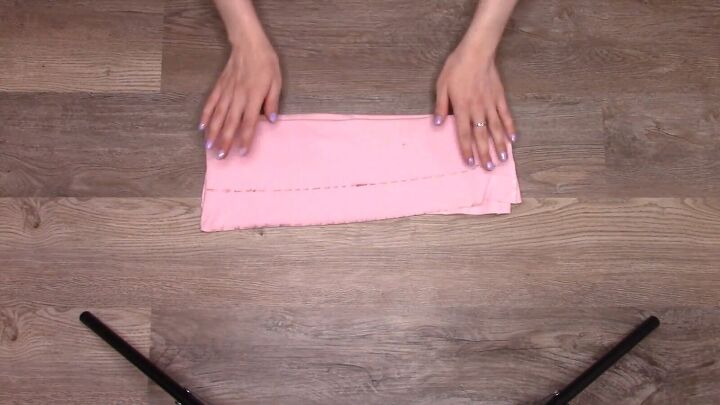
Adjust the layers so that all 4 edges are aligned on either side of the tube.
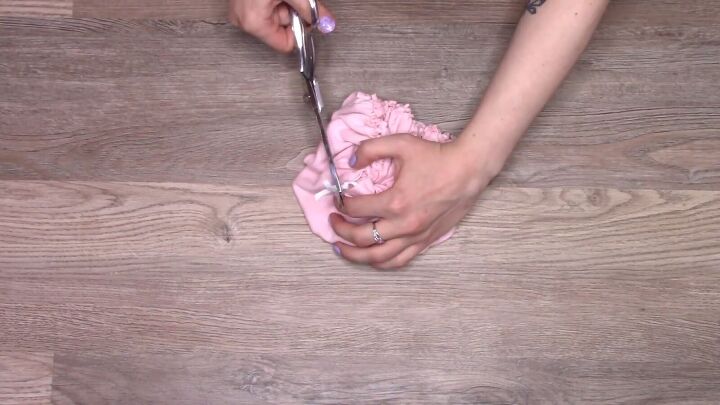
5. Cut strips
Lay it out flat with the remaining visible line facing you.
Now, starting about 0.8” inward from the seam, cut strips through all the layers of fabric, up to the marked line.
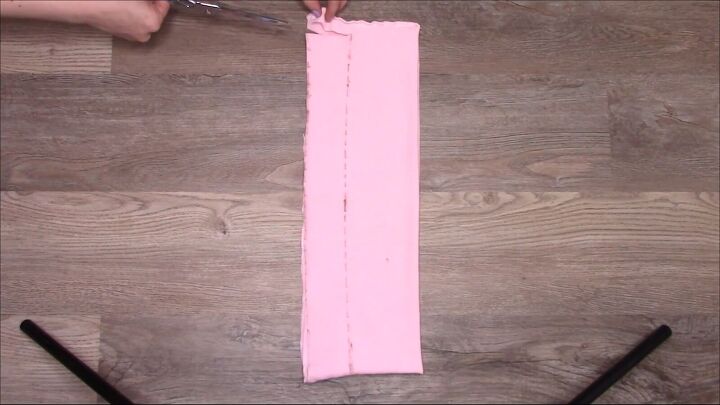
Your very first and last strips will have to be cut in half at the seam.
Continue cutting roughly 0.8” strips along the fabric.
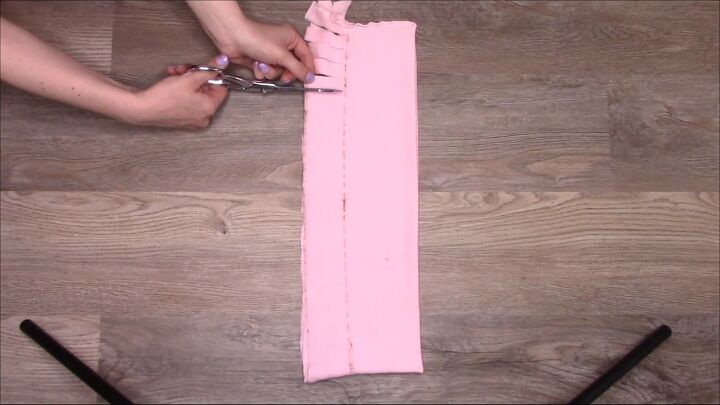
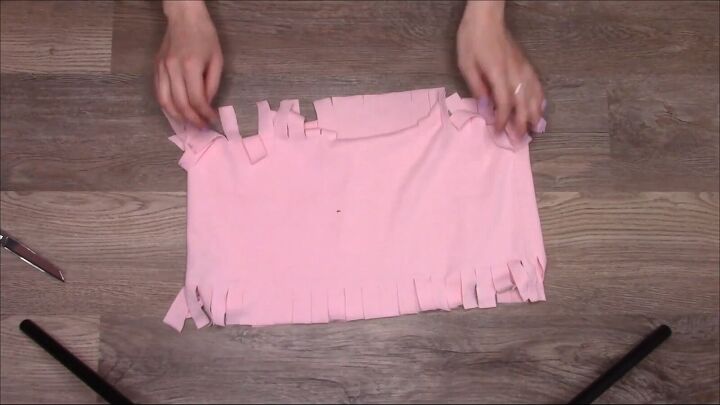
It should look like fringe. Don’t forget to cut that last strip in half.

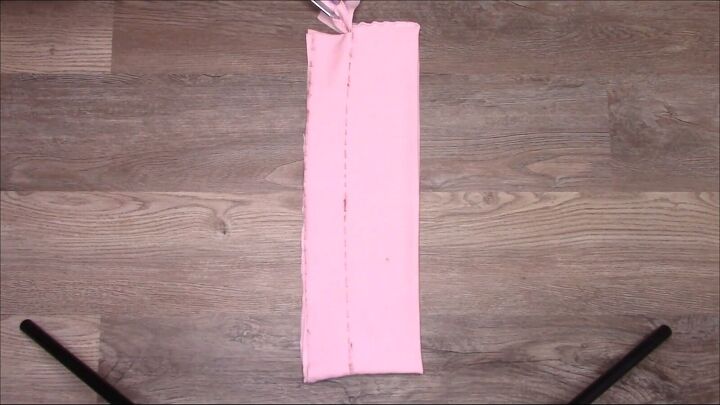
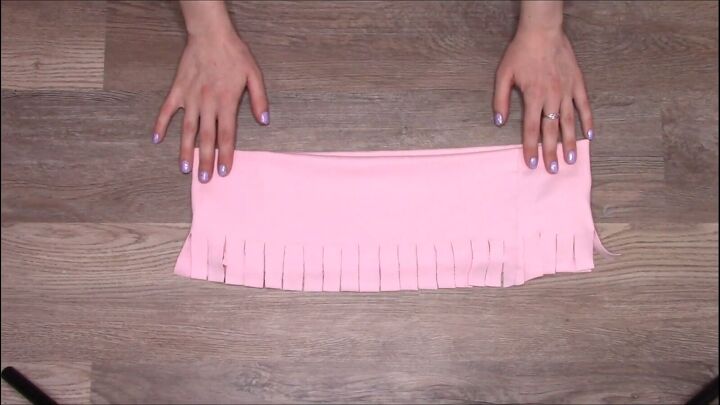
6. Fold the tube in half
Unfold the fabric and lay it with the seams and markings on the inside.
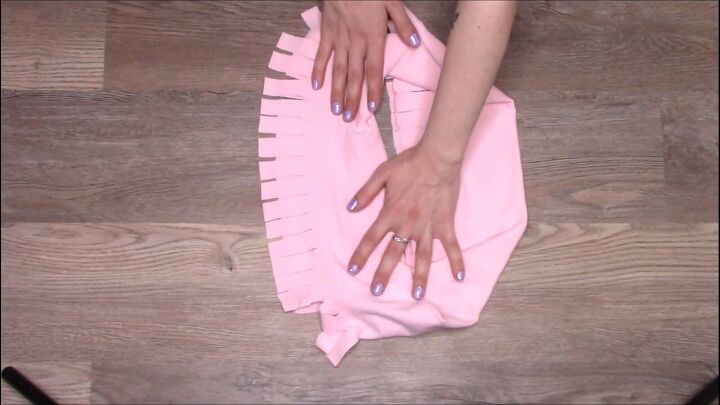
Grab the fabric at the center again and fold it in half like before, only this time, the seams and markings will be on the inside.
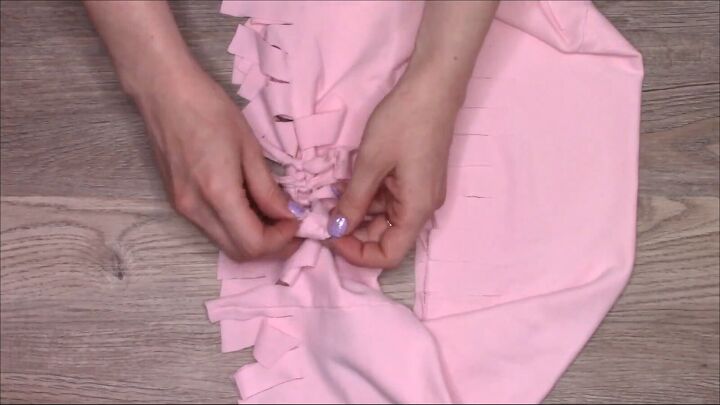
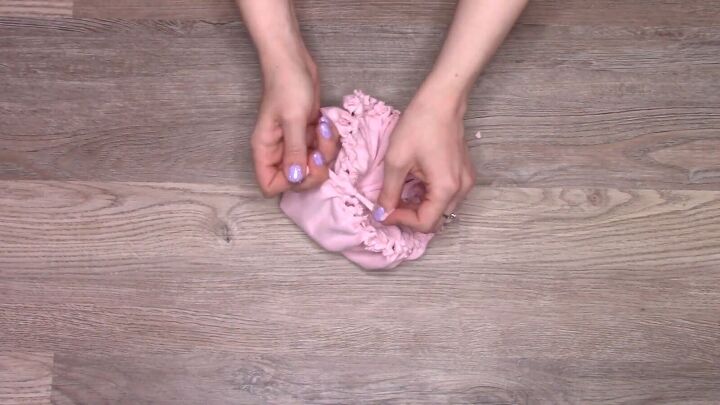
7. Tie square knots and trim ends
Open up the loop so that you have 2 layers of fringed fabric laying on top of another.
Then grab 1 strip along with the strip directly below it.
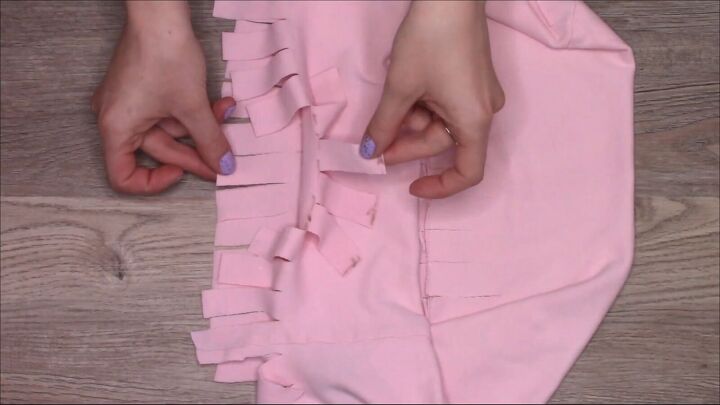
To make a square knot, grab the right side and place it on top of the other strip.
Fold it underneath, and then up through the hole. Then pull both pieces evenly to tighten.
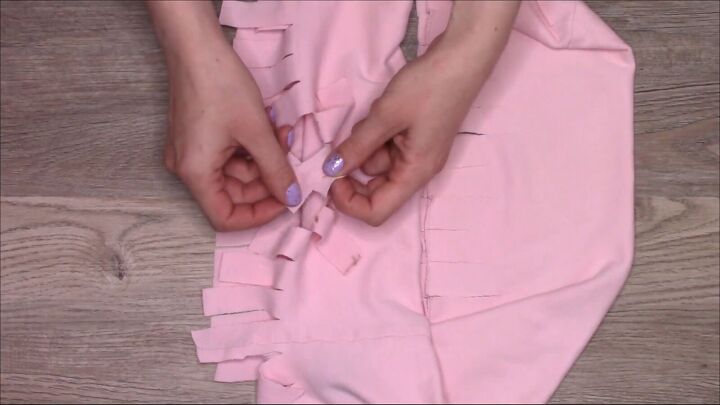
Now grab the opposite piece (the left) and cross it over the other.
Pull it up and through and pull each strip evenly to complete the square knot.
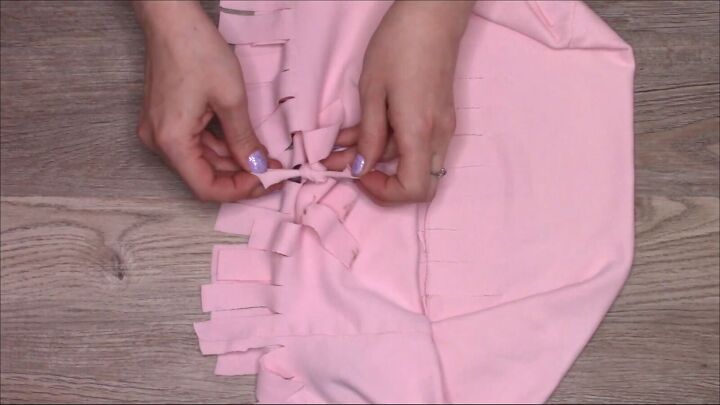
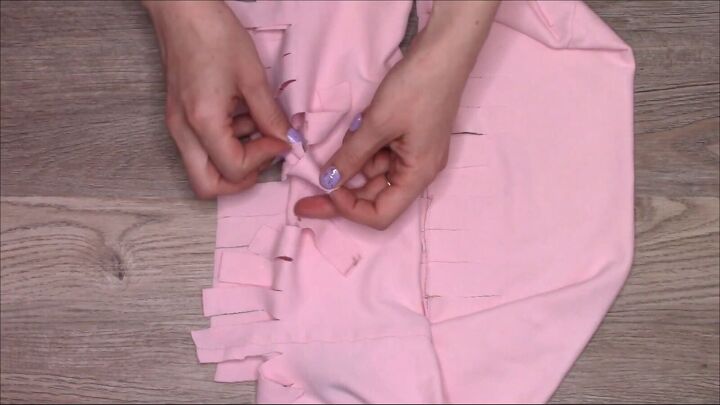
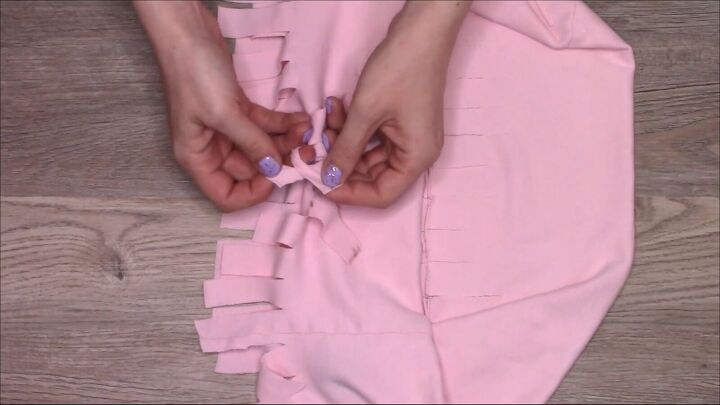
Continue making tight, square knots.
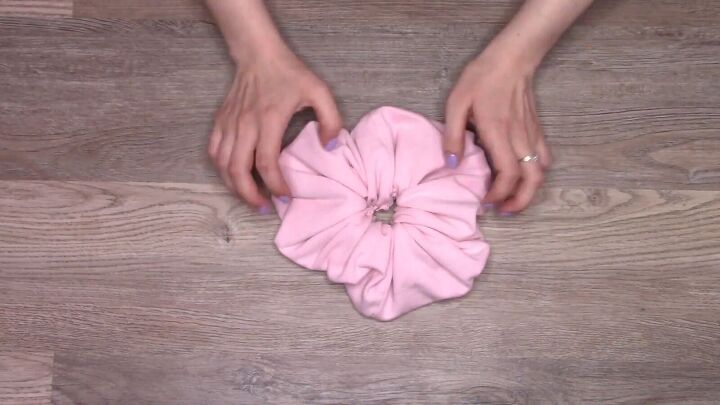
Once you get a long row of square knots, trim the ends so that they look like tiny bows.
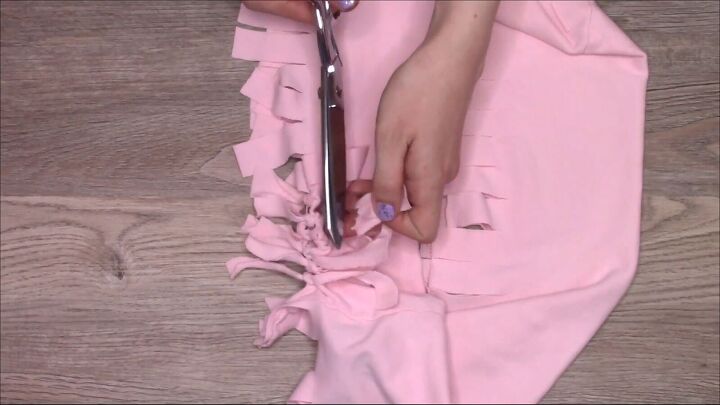
Continue this process all around but leave the last pair of strips untied.
8. Cut elastic and attach a safety pin
Grab your elastic or headband and wrap it around your wrist. Then cut it slightly longer than that length.
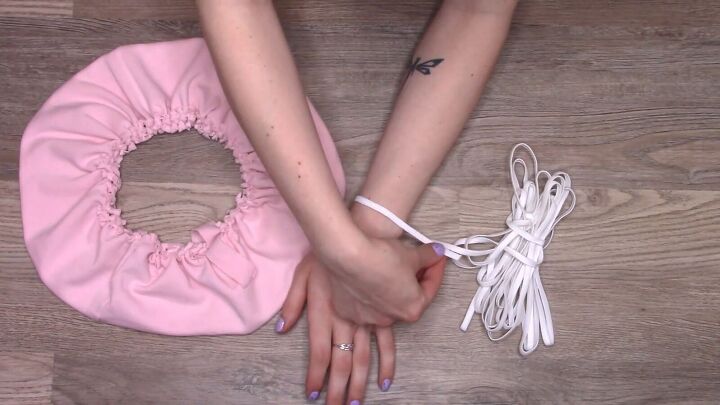
Then attach a safety pin to 1 end of the elastic.
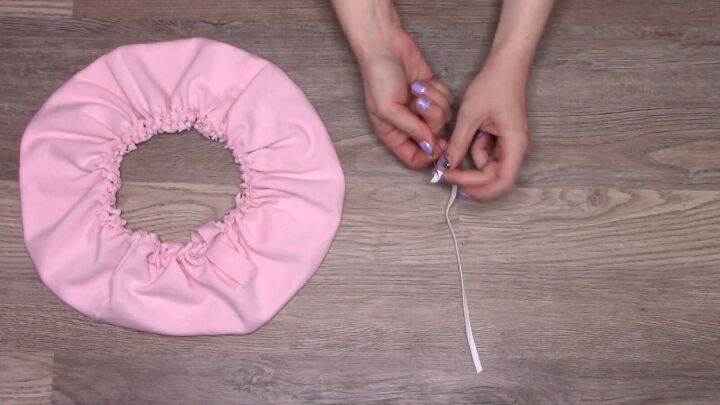
9. Insert elastic
Place the safety pin end into the scrunchie, where you left it open.
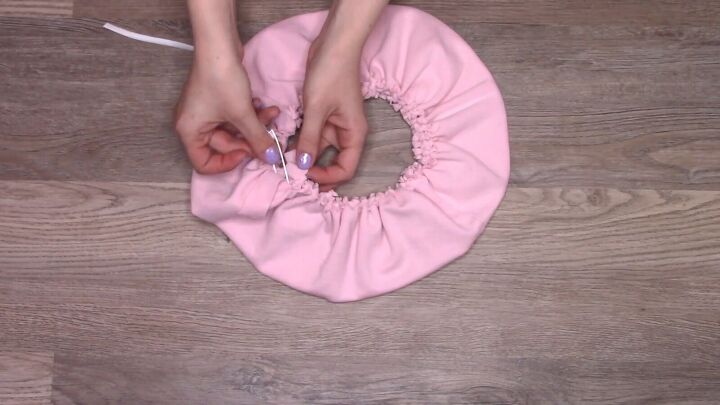
Weave it through while holding on to the other end of the elastic.

Once you get the safety pin all the way around, pull it back through the hole and remove the pin.
Tie the elastic ends together in a regular knot. Then cut off any excess elastic.
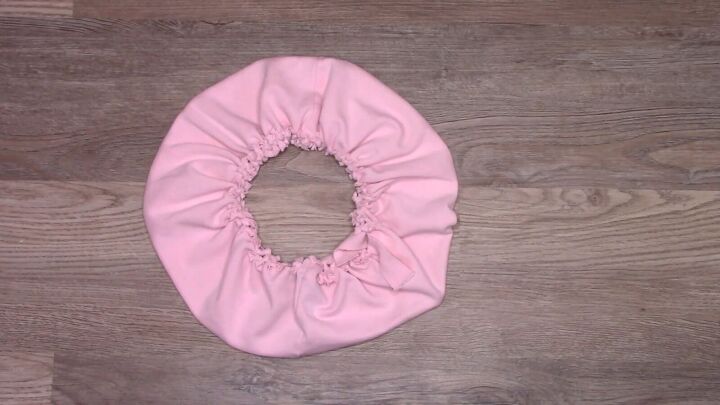
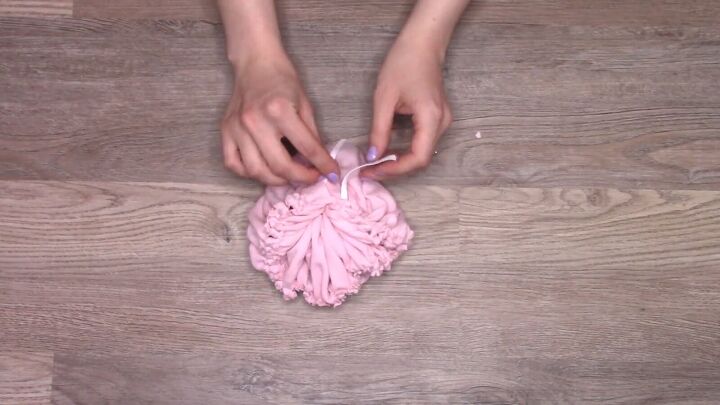
10. Finish the scrunchie
Tuck the elastic back inside the scrunchie. Then tie the last fringe pieces and trim the excess fabric.
Make adjustments so that the fringe sits on the inside of the scrunchie.
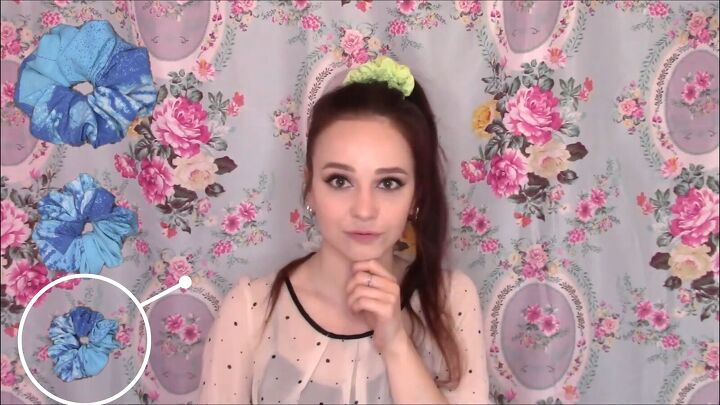
Now I’ll show you my favorite ways to wear each size scrunchie.
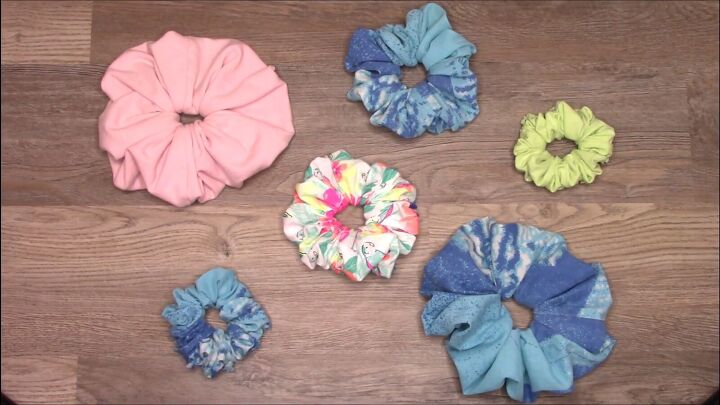
The regular size scrunchie I like to wear with ponytails as I find the other sizes make my hair look wimpy.
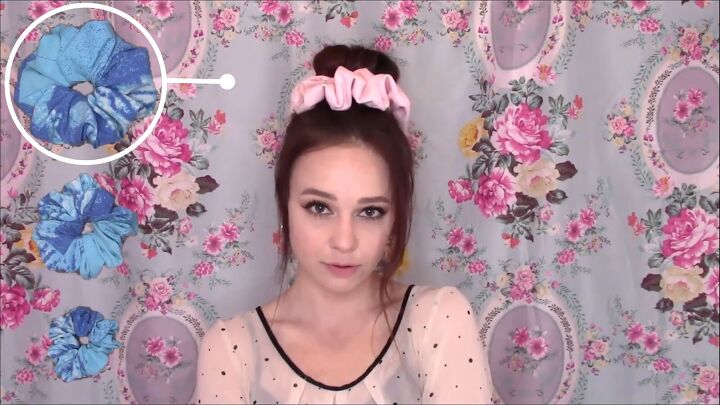
The large scrunchies I like to use with a messy bun to give my hair more volume.
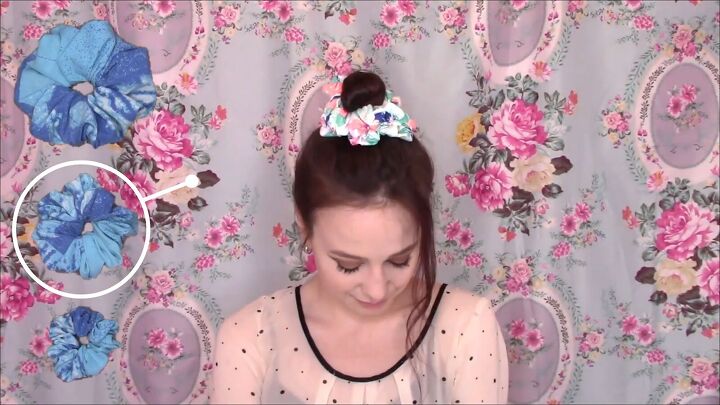
My favorite way to wear the XL scrunchie is as a topper over a bun.
See the video at 9:30- 10:00 to learn how I use a hair donut and an elastic to create this epic bun.
DIY scrunchie: Upcycle t-shirt ideas
I hope you enjoyed this upcycled t-shirt idea to make 3 different sizes of scrunchies. If so, leave a comment.
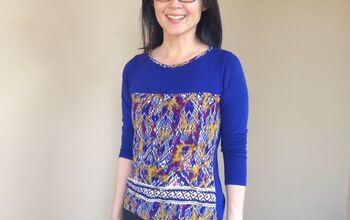
If you’re looking for more ideas, check out how I use a t-shirt to create gorgeous, heatless curls!
The author may collect a small share of sales from the links on this page.


Comments
Join the conversation