How to Make a Secret Zip Scrunchie in 6 Super-Simple Steps

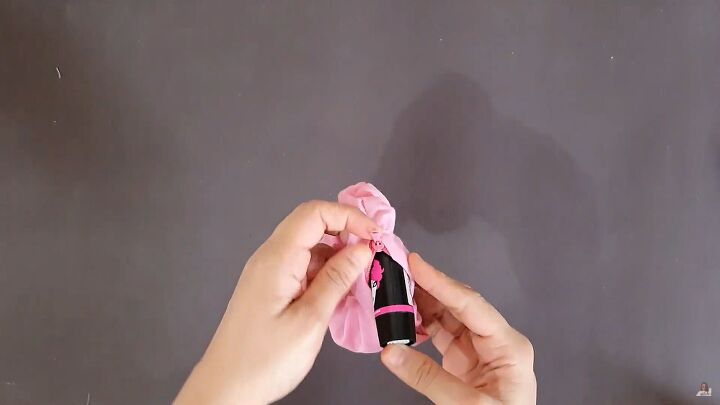
I’m back with more amazing tutorials, and this time I have a zip scrunchie DIY that I know you’ll love! This secret zip scrunchie will allow you to put small things inside it without anyone ever knowing. You can put cash, lipstick, hair clips, and anything inside, while also using it as a cute hair tie.
This is perfect for traveling or if you’re going to a party. Want a scrunchie with a zip pocket of your own? Let’s get started!
Tools and materials:
- Fabric
- Zipper
- Elastic
- Pencil
- Needle
- Thread
- Scissors
- Ruler
- Sewing machine
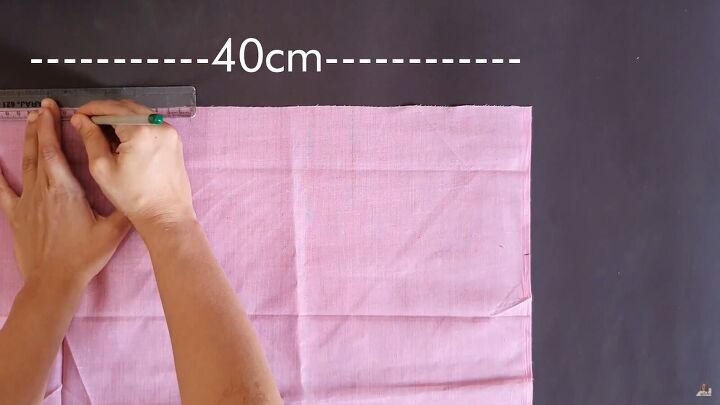
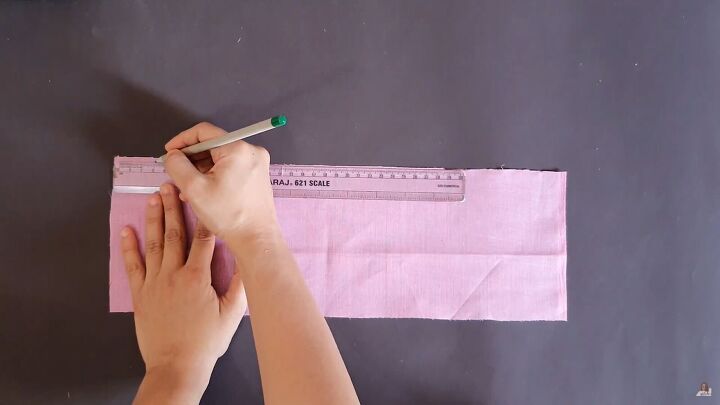
1. Make the zip scrunchie pattern
Lay out your fabric and measure 13cm (5.11 inches) by 40cm (15.74 inches).
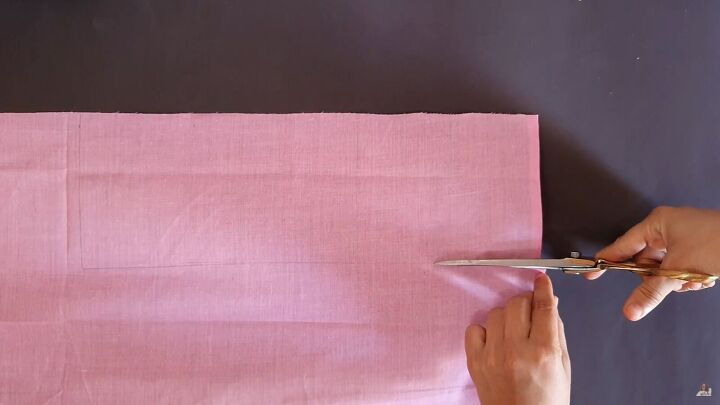
2. Cut your materials
Now, cut out your long rectangular shape.
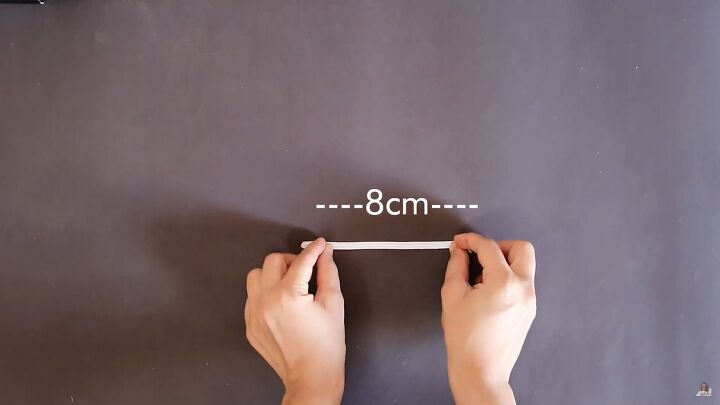
Measure and cut your elastic; it should be 8cm (3.14 inches) in length.
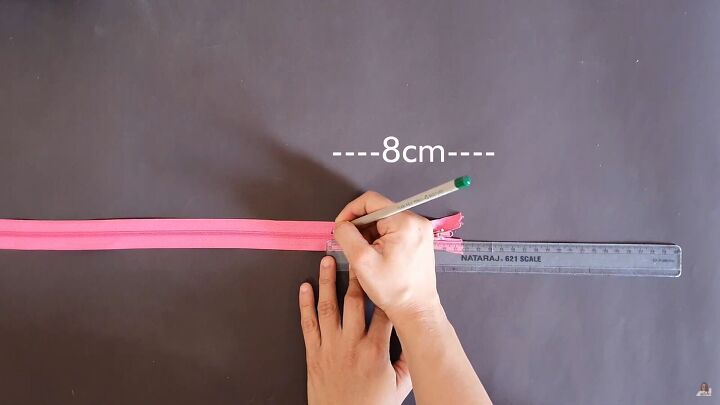
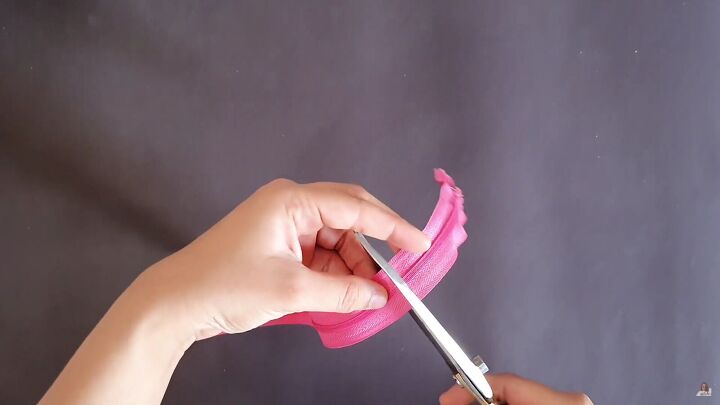
As for the zipper, I had a pretty long one. If you do too, that’s totally fine. Simply cut it 8cm (3.14 inches) from the top, making sure you keep a 1cm (0.39 inches) seam allowance.
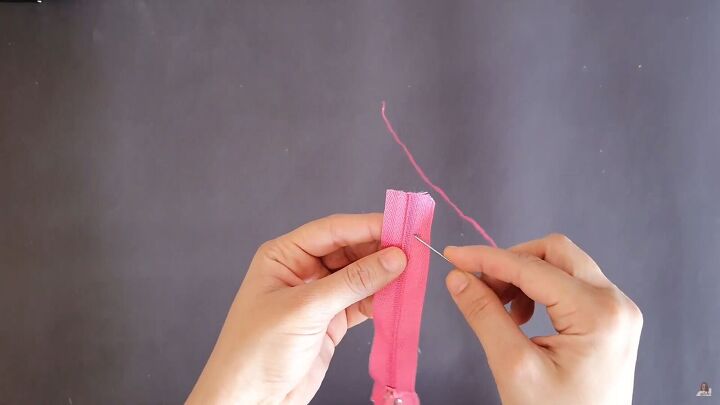
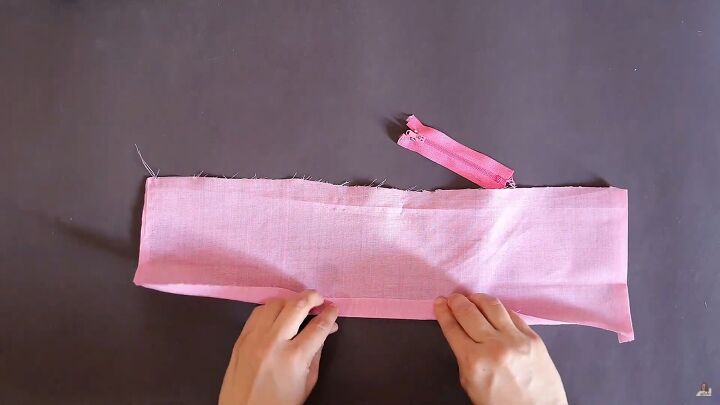
3. Close the zipper end
Now, you’ll need to close the end of the zipper (at the 8cm / 3.14 inches mark) with a needle and thread.
Sew 5-6 times around this mark and tie a knot when done.
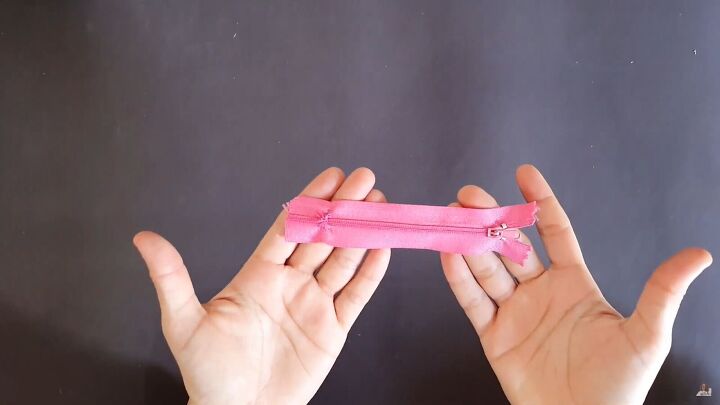
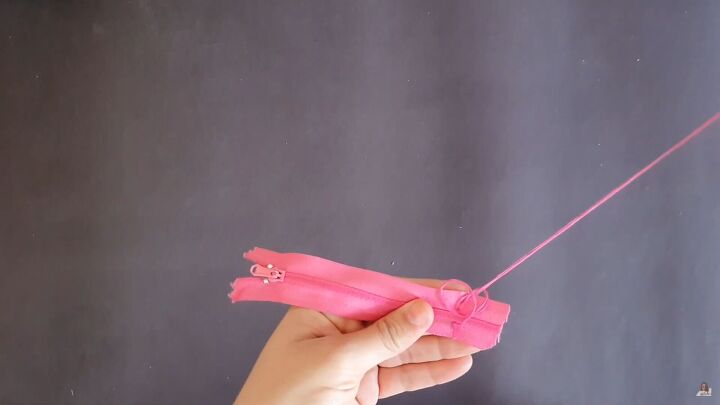
This is what your zipper should look like after making a few changes.
4. Make the scrunchie
First, mark 3cm (1.18 inches) from each side on the top.
Now, to make a secret zip scrunchie, you’ll need to attach the zipper on the fold. So, fold one edge of your fabric inward (wrong sides facing).
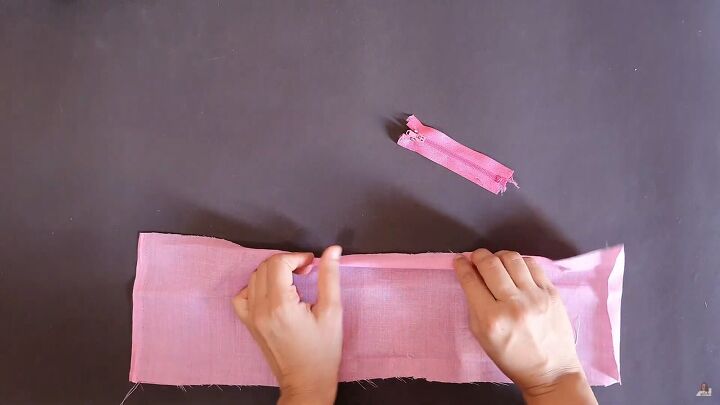
Flip the whole fabric around to the right side, and create another outward fold.
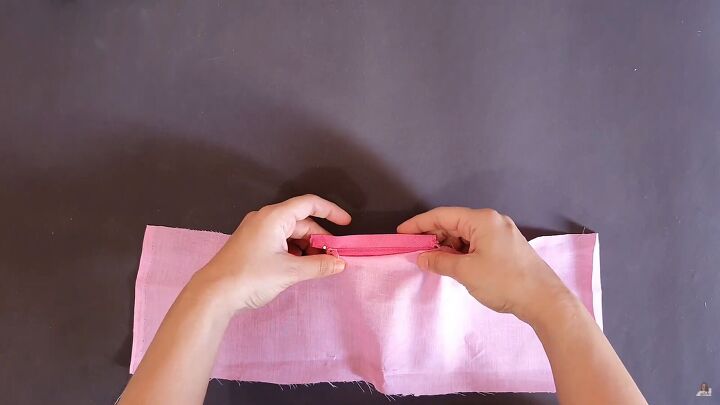
Then, place the edge of the zipper to that fold on the wrong side of the fabric. Make sure it’s centered.
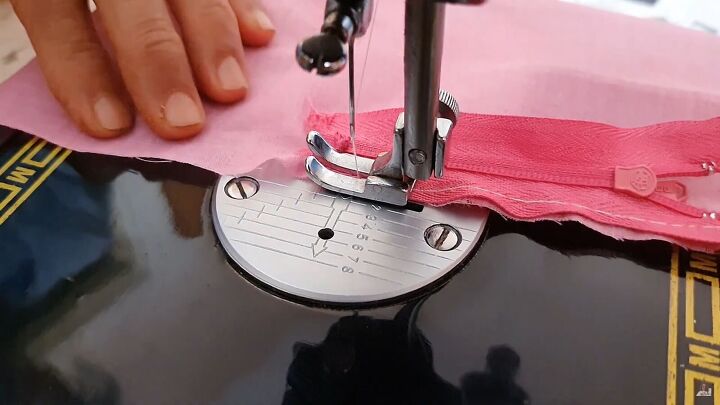
Sew on edge with a little seam allowance.
Repeat this on the other edge, as well.
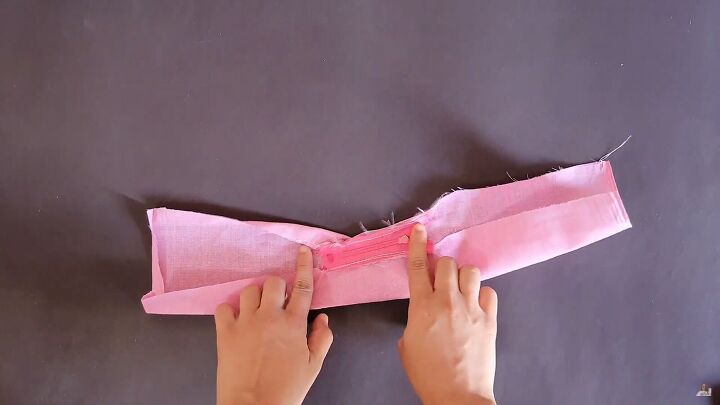
Stitch the rest of the hem and stop at the 3cm (1.18 inches) mark on either side.
Once I turn the fabric inside out, you can see how the zipper is totally hidden!
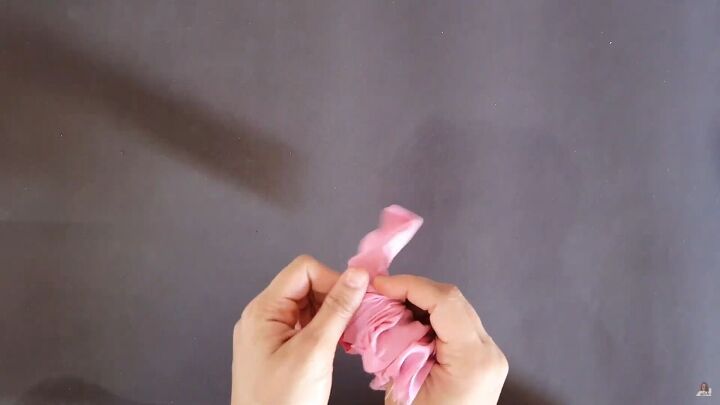
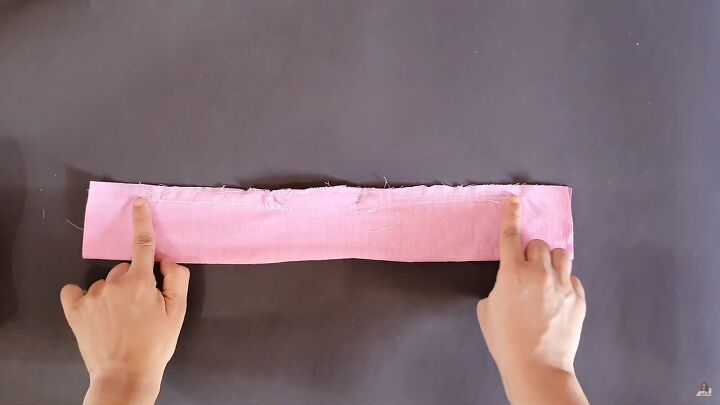
5. Insert elastic
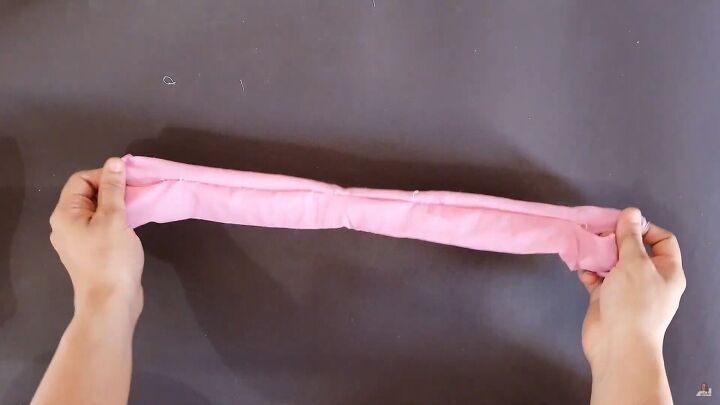
Now, insert your elastic inside the fabric’s tunnel, scrunching the fabric as you go along.
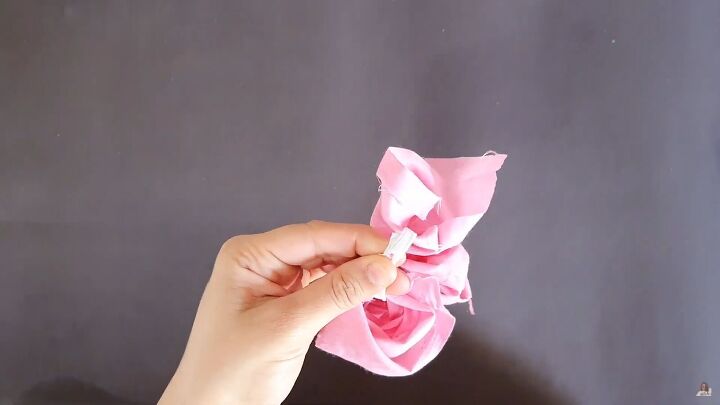
6. Finish off the zip scrunchie
Sew the ends of the elastic together with a needle and thread.
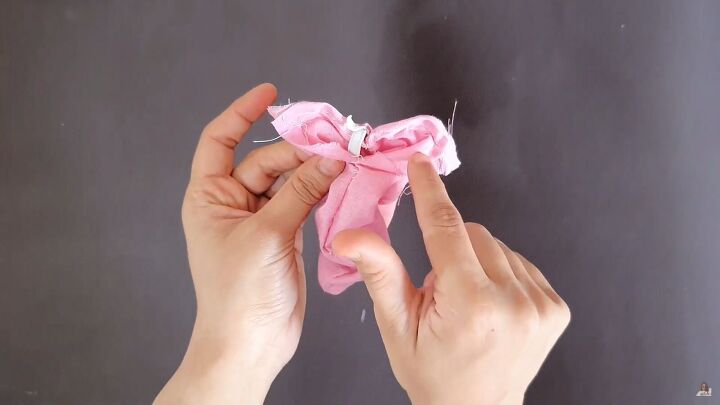
You’ll see you are still left with an opening. To close it up, be sure to stitch the folds vertically.
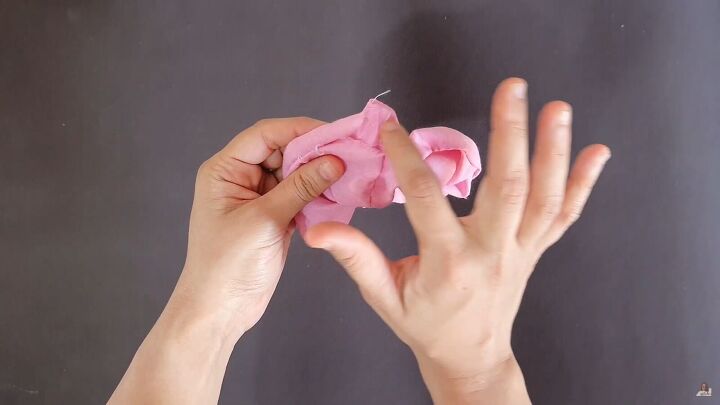
Then, close off the gap around the scrunchie. You can do this with a hand stitch.
Zip scrunchie tutorial
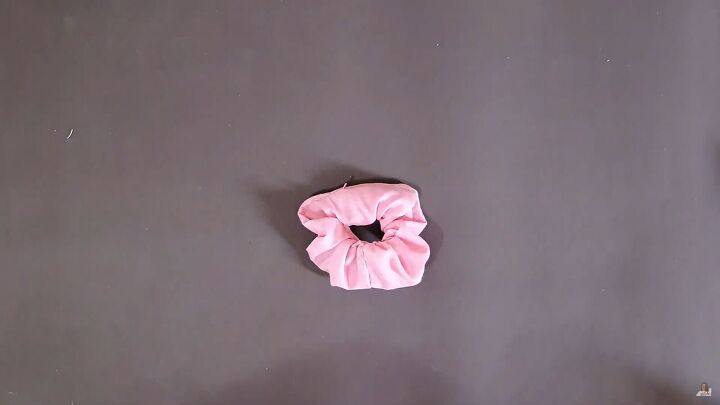
Yay! Your zip scrunchie is ready! How nifty is it? As I said, no one will ever know about it, thanks to the secret zipper we installed.
You can store your essentials without stressing about taking an extra bag with you.

Of course, it also works as an excellent hair tie! Thanks for joining me. I hope you enjoyed this scrunchie with a zip pocket tutorial. Let me know what you think of this DIY in the comments. Good luck!
The author may collect a small share of sales from the links on this page.


Comments
Join the conversation
Just a note. After sewing in zipper and finishing seam, you turn it RIGHT side out. It's already inside out when you make it. Great idea.
I am a volunteer chef for church events. I cannot carry a purse around all the time, and want to be able to keep track of my vehicle keys...this is an awesome answer as I do have long hair, use scrunchies and don't like things dangling around my neck or arms as I bake or cook. Thank you! Blessings.