Making a Fascinator Hat

On my previous post, you would have seen my 1950's gingham dress make. When my Mom gave me the buckram to make a fascinator, I knew I needed to make one to go with that dress. This post will walk you through how I made it.
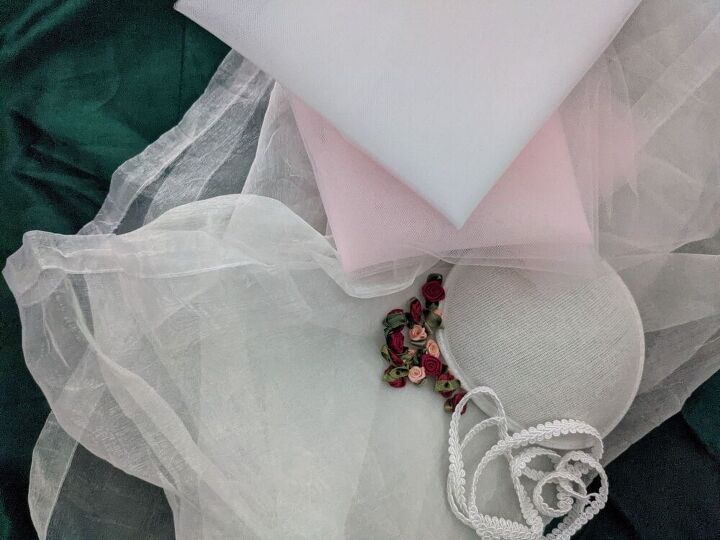
To make the fascinator I used a buckram (given to me from my Mom), some decorative ribbon flowers from Odds and Ends: https://www.facebook.com/Odds-Ends-259045531195308, and some lace ribbing from Fabricland: https://www.fabriclandwestern.ca/, and some thrifted fabric (a sheer curtain) from: https://mccthriftontario.com/hazelglen/.
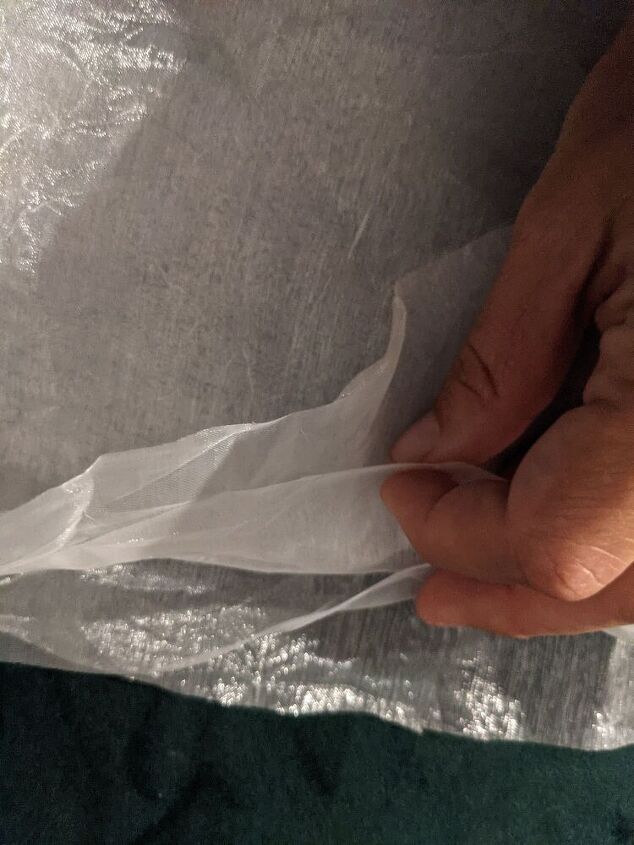
To start this make, I cut out four layers of fabric from the sheer curtain to cover the buckram. I just made sure the fabric would cover the outer part of the buckram enough for me to fold it over and sew it on.
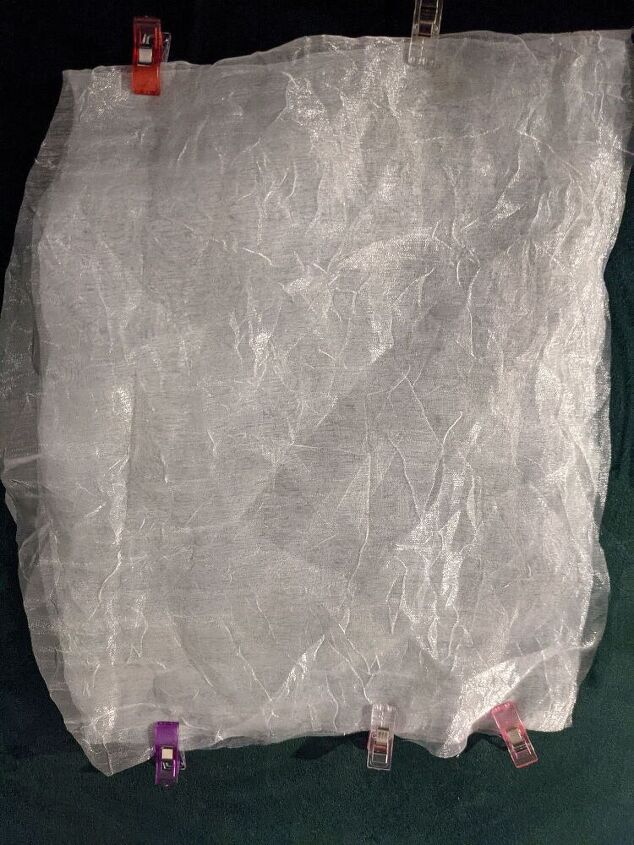
The four layers made a nice opaque and shimmery look.
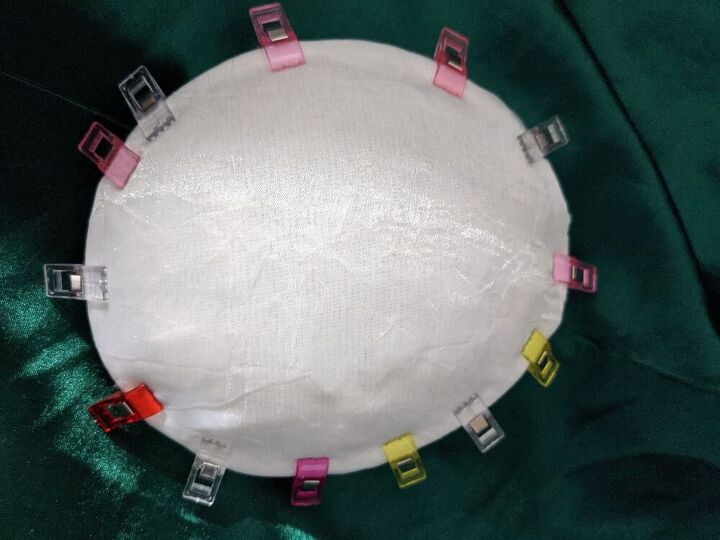
Then I used clips to hold down the fabric to the buckram, making sure the fabric was smooth across the whole top of the hat.
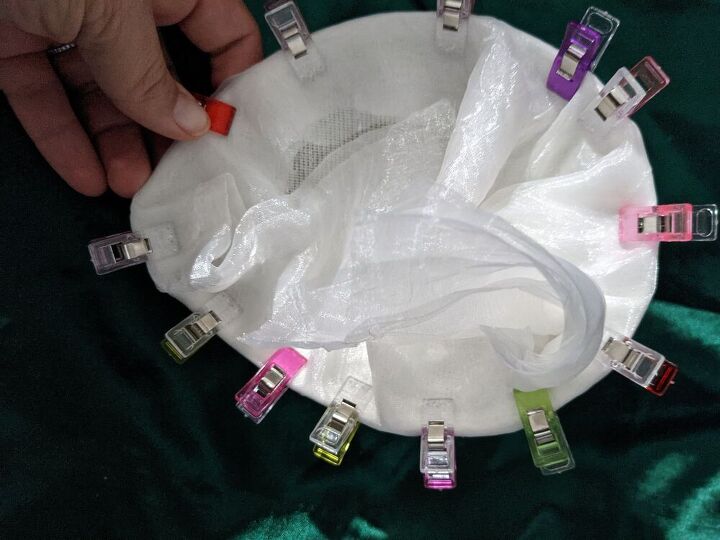
As you can see I had lots of extra fabric, I just cut this away once the fabric was sewn on.
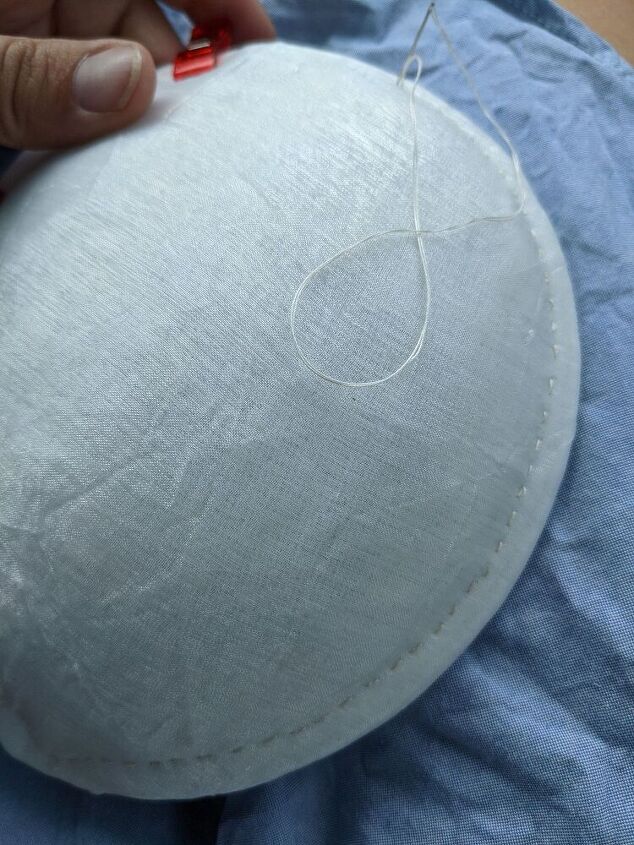
Next I hand sewed the fabric to the buckram.
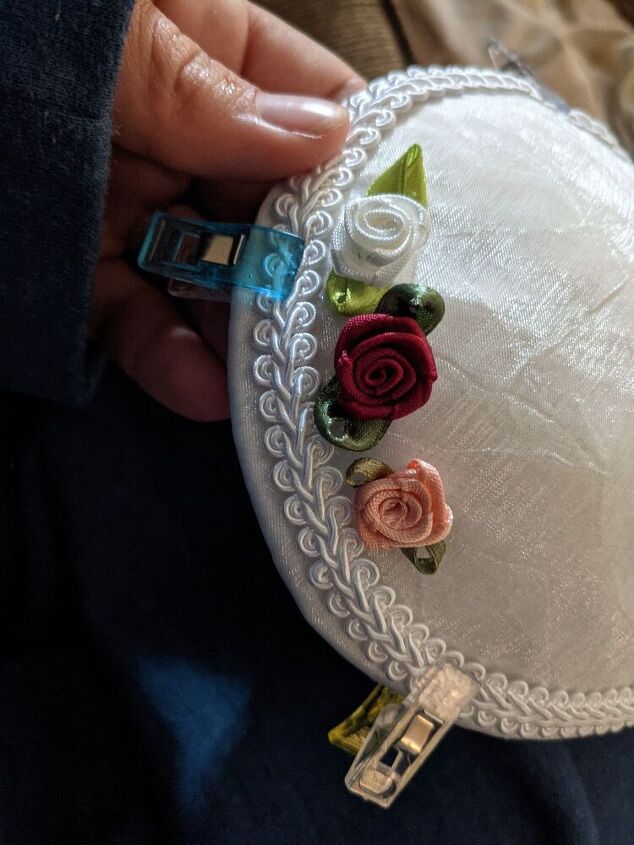
Then I glued on the beautiful lace edging and ribbon flowers with some fabric glue. The glue was from Stitch in Time: https://www.facebook.com/A-Stitch-in-Time-Leamington-280195305457949/.
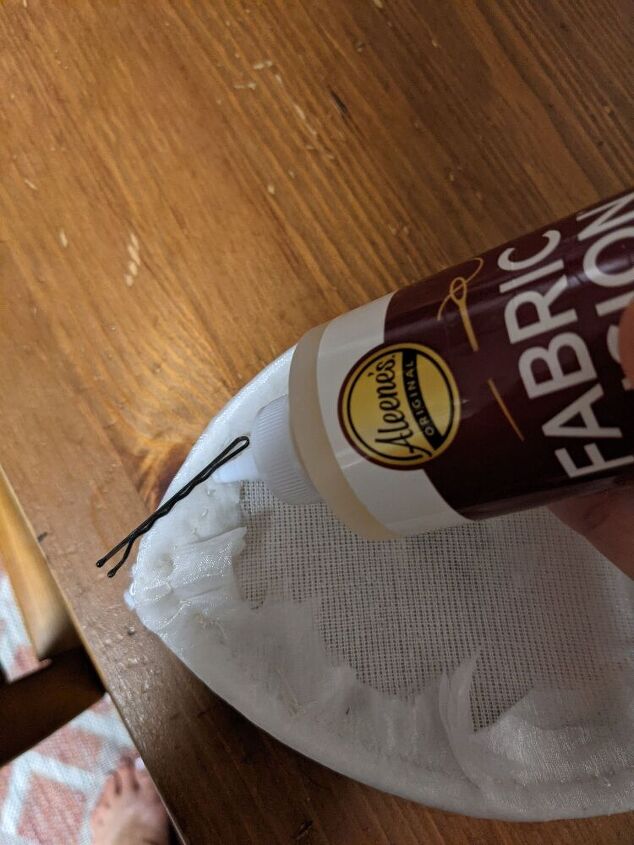
Usually with fascinators you attach the hat to your head with a comb, but combs just do not stay in my fine hair, so I decided to use bobby pins instead. I sewed on three, one for the side that would sat at the front of my head, and one for the front and back end of the hat.
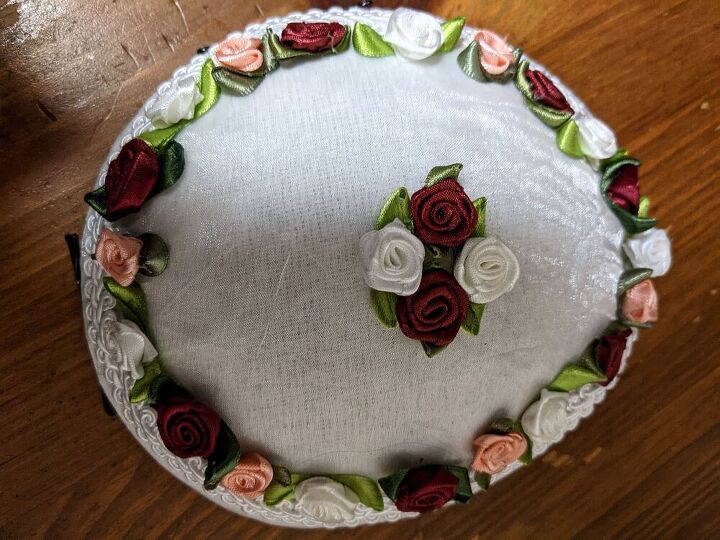
This is the completed hat!
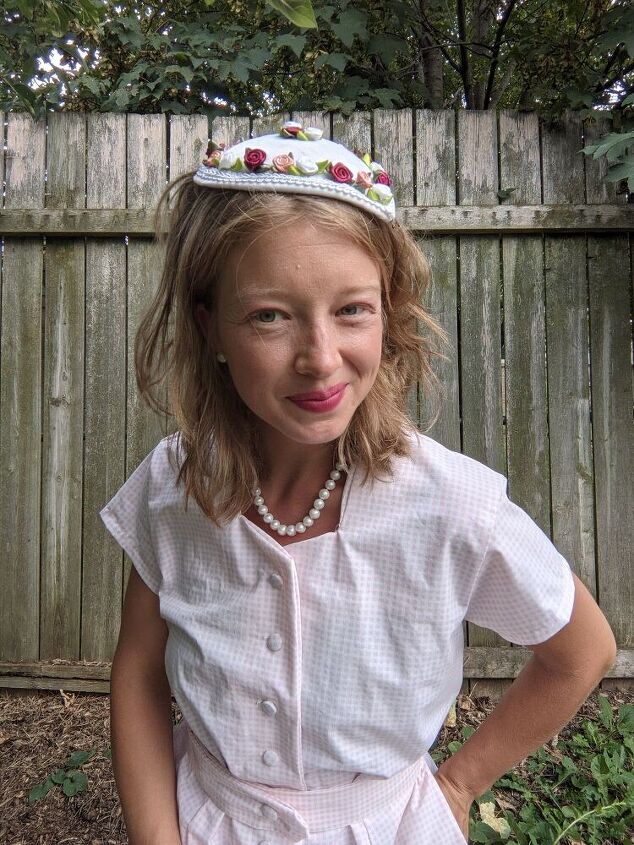
I think I need to find more ways to wear this fascinator than just with this 1950's dress. Have you made a fascinator before?
The author may collect a small share of sales from the links on this page.


Comments
Join the conversation
Really adorable. I can just see my granddaughters in it... Thank you!