3 Easy Ways to Make Cute DIY Fabric Headbands Out of Fabric Scraps

In this tutorial, we are going to make a DIY fabric headband. In fact, we won’t just be making one headband, I’m going to show you how to make three different types!
You can go out and buy fabric for this project, but I’m going to be using leftover fabric that I have from other projects. This is a great way to use up those fabric scraps that you otherwise might just throw away.
Tools and materials:
- Fabric
- Headband
- Glue gun (or fabric glue)
- Elastic
- Sewing machine or needle and thread
- Ruler
- Scissors
- Pencil
Headband 1 - Bow headband
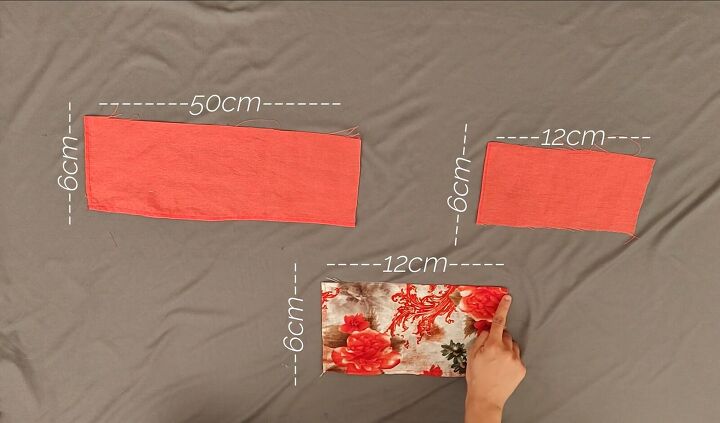
1. Cut the fabric
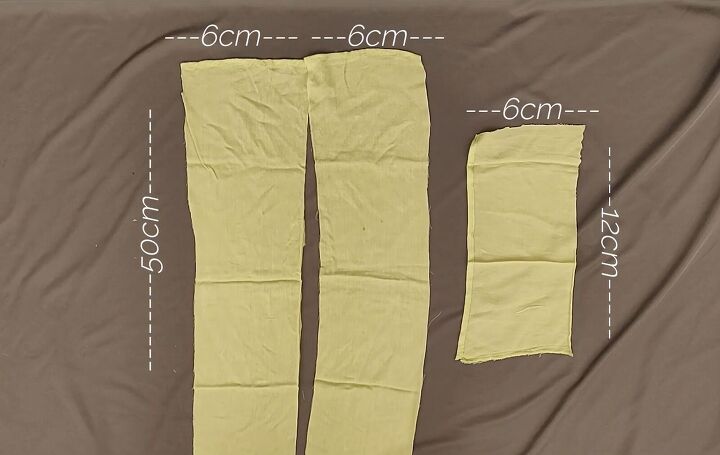
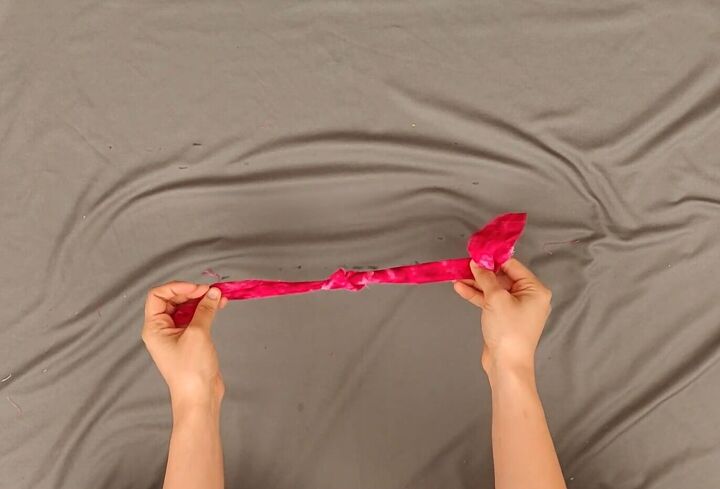
For the first headband, start by cutting out three rectangles, one measuring 6x50cm (2.4x19.7 inches) and the other two measuring 6x12cm (2.4x4.7 inches).
One of the smaller rectangular pieces should be a different fabric from the other two pieces.
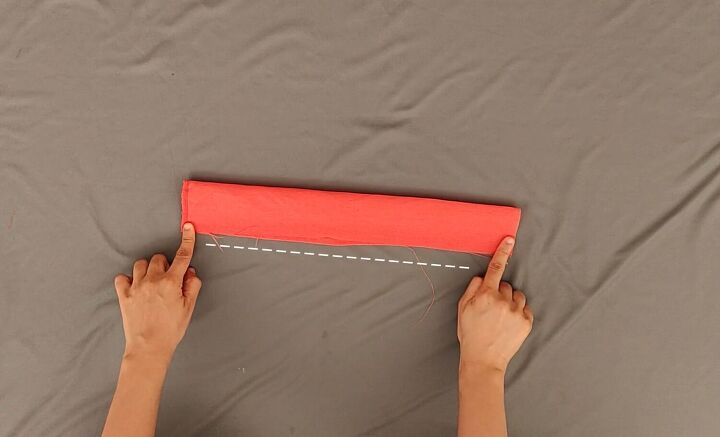
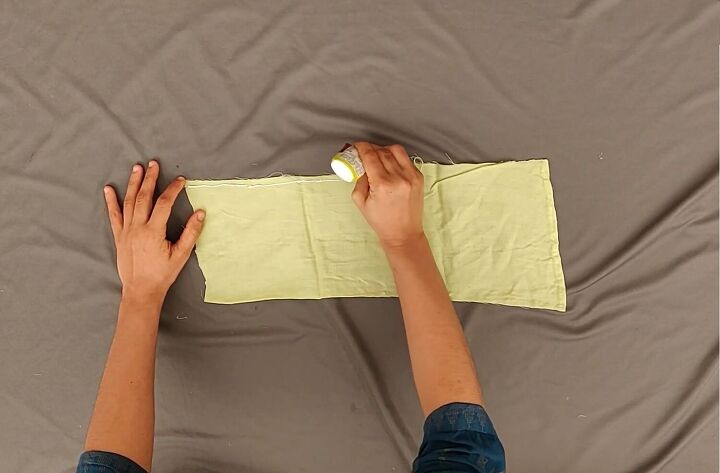
2. Sew the large piece
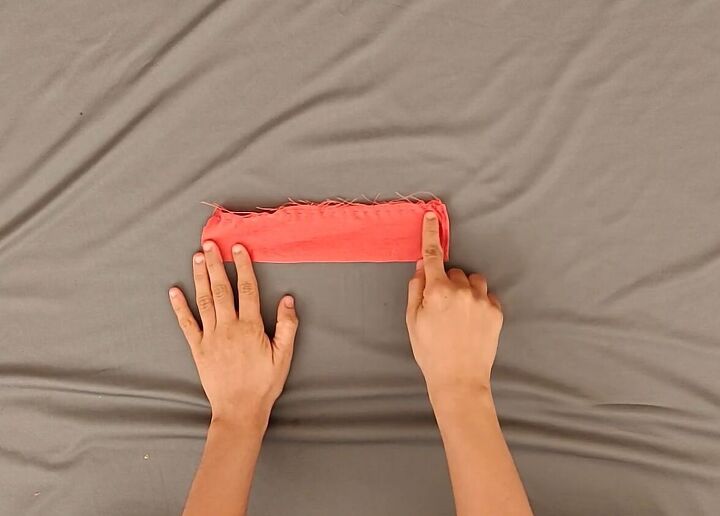
Take the largest piece, fold it lengthways and sew the long side. When done, turn the fabric inside out so that the stitching is on the inside. Set it to one side.
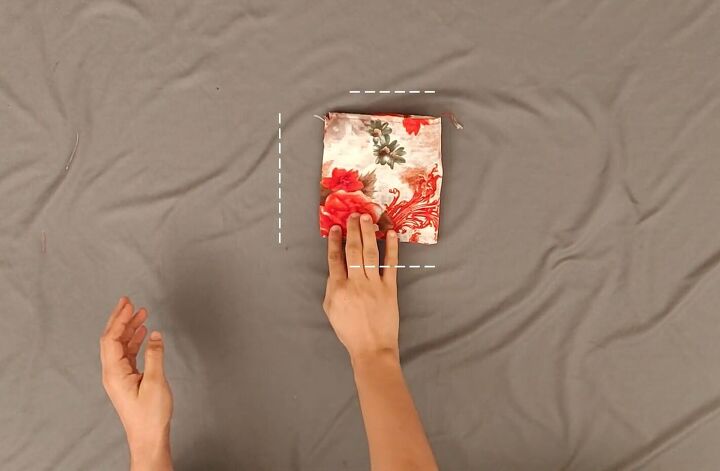
3. Sew a small piece
Take the smaller piece that is a different fabric from the other two and sew the open sides.
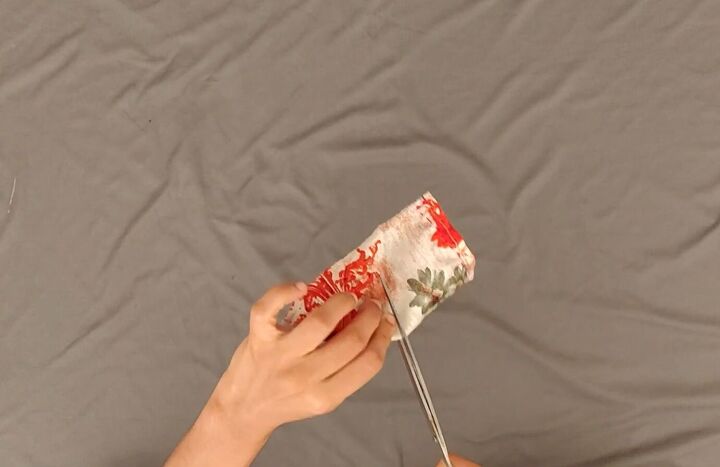
4. Turn inside out
Next, take the scissors, make a small cut in the center and then use it to turn the fabric inside out.
5. Sew the third piece
Take the third rectangle, fold it in half lengthways, and stitch the long side. Then, turn it inside out.
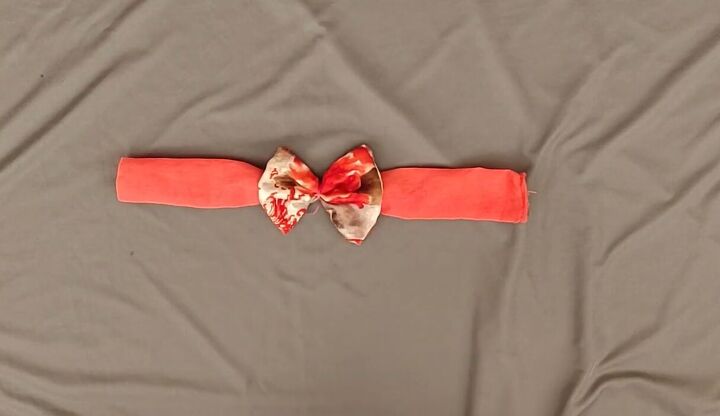
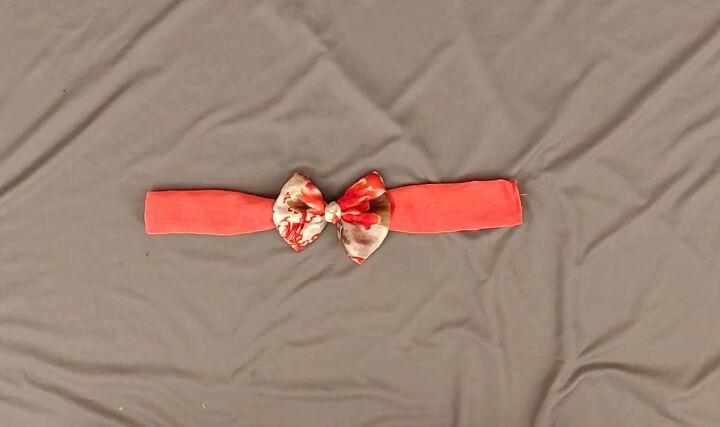
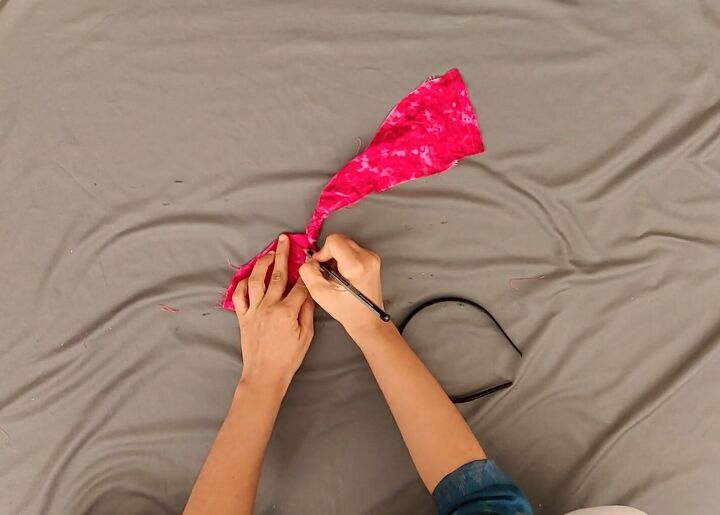
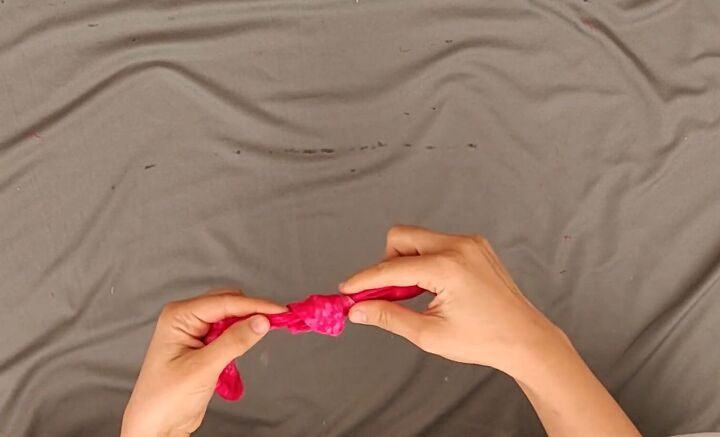
6. Create the bow
Place the square piece of fabric on top of the long piece and make a stitch in the center of the two.
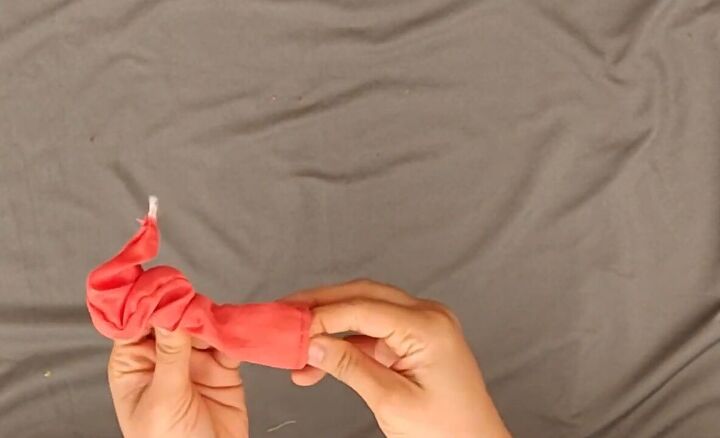
Then, pinch the square piece in the middle to create a bow shape. Proceed to take a thread and wrap it around.
7. Wrap fabric around the center
This step is optional. You can take a piece of fabric that is the same design as your bow and roll it to create a thin rectangle shape. Then wrap it around the center of your bow and tie it up at the back.
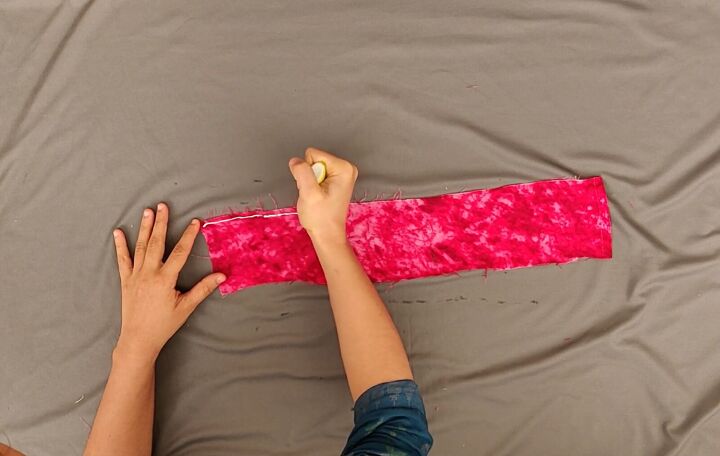
8. Sew the last piece
Now, take your last section of fabric. Insert the elastic inside and stitch one of the ends. Then, stretch the elastic to the other end of the fabric and sew that end.
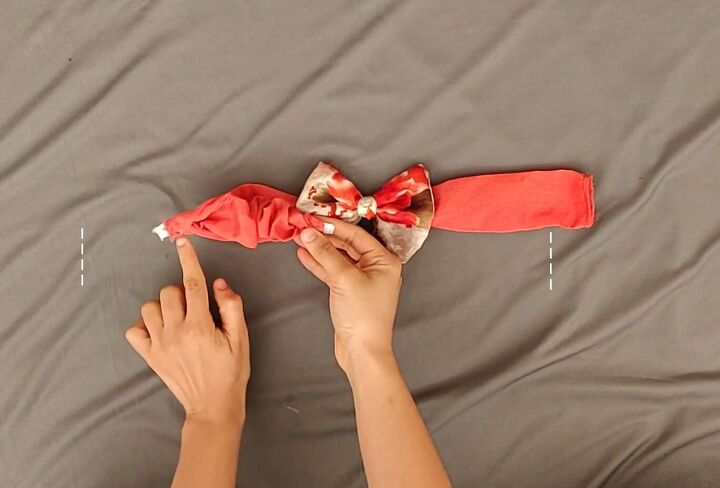
9. Connect the two pieces
To finish, you just have to sew the elasticated section to the main section. Cut off any extra bits of elastic, and your headband is ready!
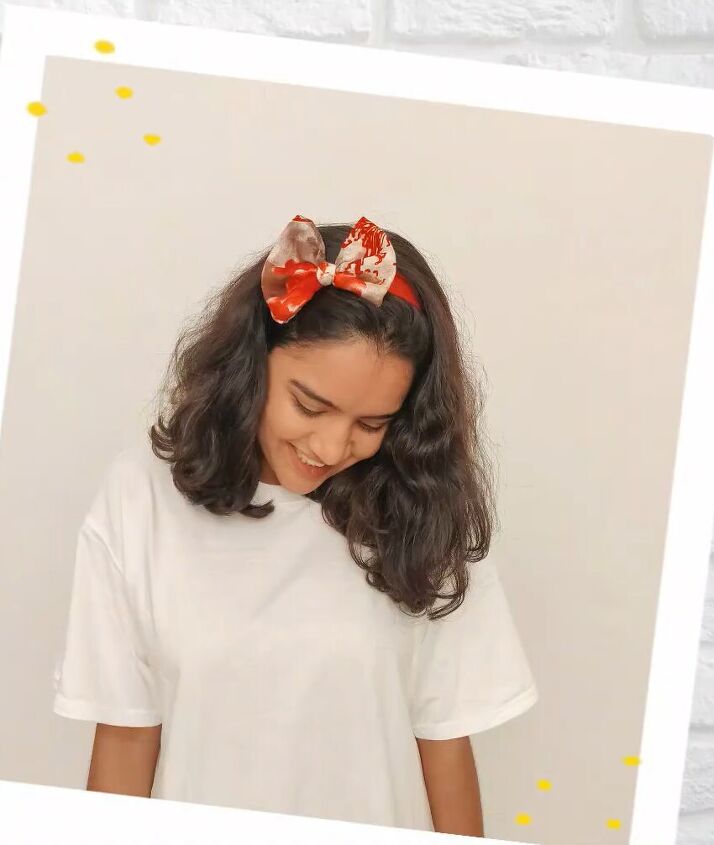
Here is the finished look! I love how the bow is so big and voluminous. This headband is a really cute accessory.
Headband 2 - Wrap headband
1. Cut the fabric
For the next headband, you need two pieces of fabric measuring 6x50cm (2.4x19.7 inches) and one piece that is 6x12cm (2.4x4.7 inches).
2. Stick the pieces in half
Fold all the pieces in half lengthways and stick them down with glue. When done, turn all of the pieces inside out.
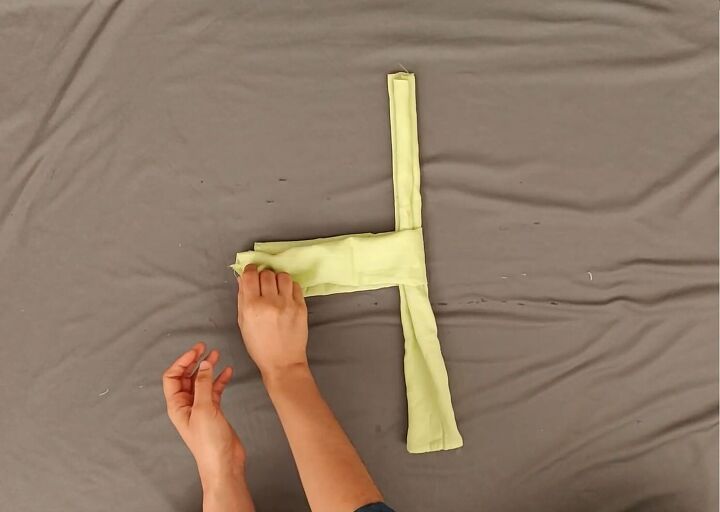
3. Loop the long pieces
Take the two long pieces of fabric and place one on top of the other to form a plus sign. Then fold one side over the other as shown and then fold the two other sides to create a loop.
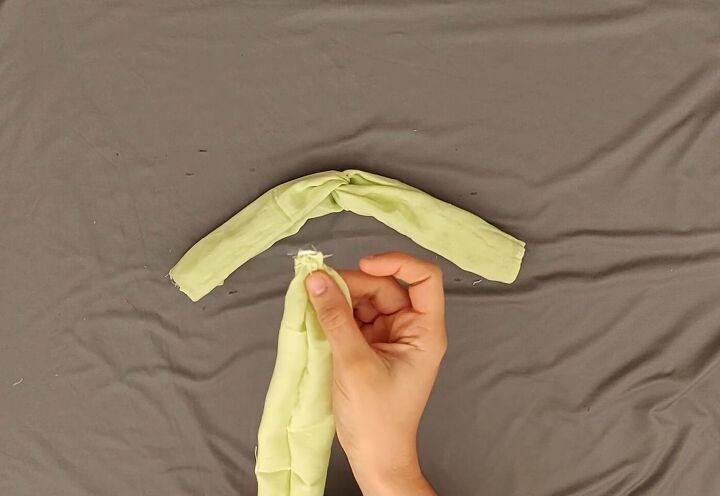
4. Add the elastic
Next, take the smaller piece of fabric, insert the elastic inside it and repeat the process that we did with the first headband to attach the elastic.
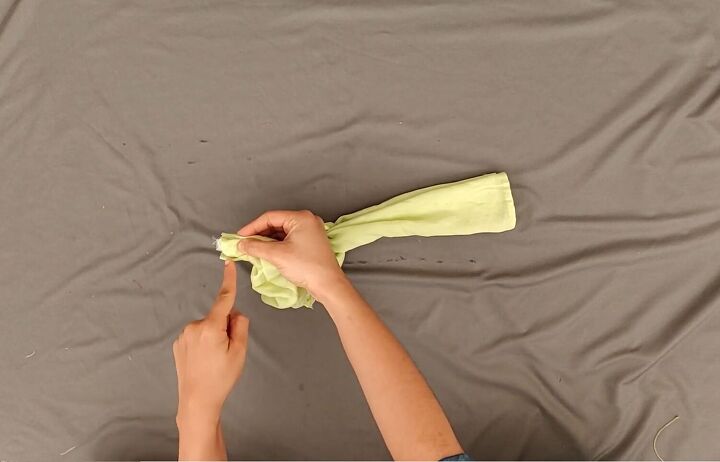
5. Join the pieces together
To finish, attach the elasticated section to the main part by sewing it to both sides, and your headband is ready!
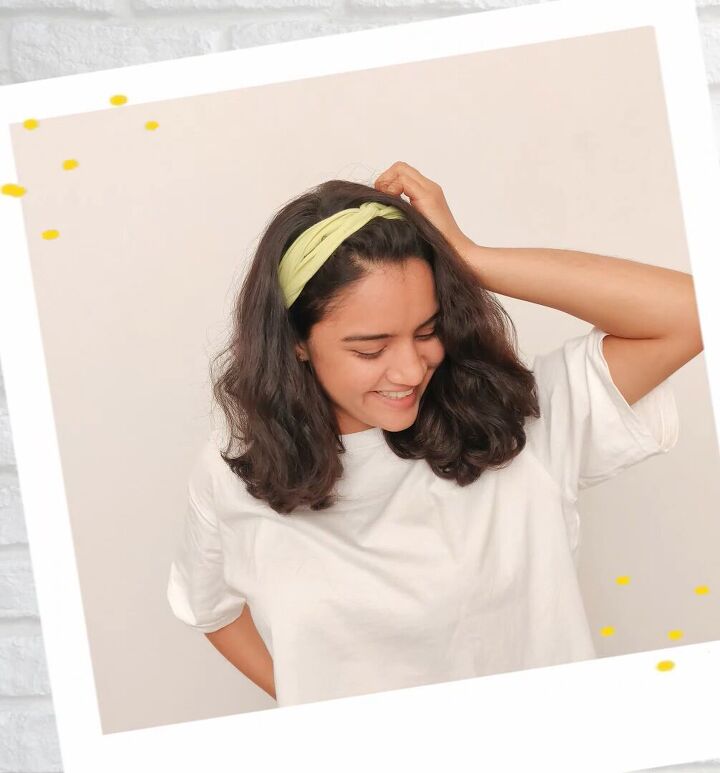
This is such a classic style, and it was so easy to make. I like the look of the two pieces crossing over in the center.
Headband 3 - No-sew
1. Cut and knot the fabric
This is the easiest headband of the three. Take a piece of fabric that measures 6x50cm (2.4x19.7 inches) and tie a knot in the center.
2. Mark the knot
Next, draw a mark on either side of the knot and then undo it.
3. Glue the sides
Now open the rectangle up and glue both of the long sides, leaving out the section between the marks that you made.
4. Tie the knot again
Next, flip the fabric inside out and make a knot again.
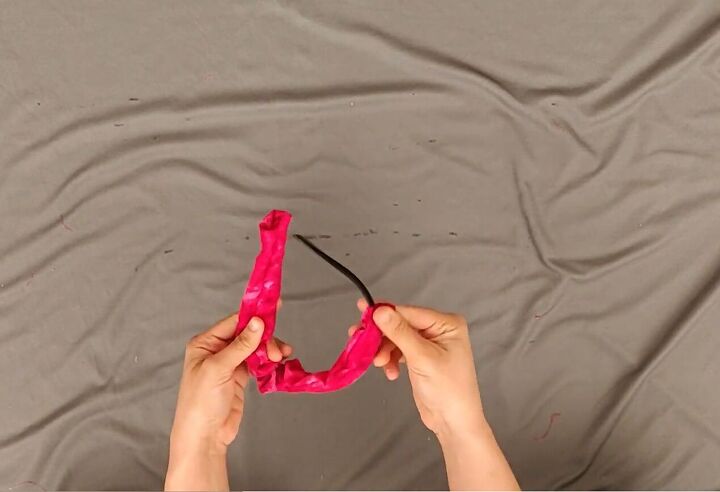
5. Insert the headband
To finish, insert your headband inside the fabric through the small opening that we created earlier. Fold the ends and stick them together with glue and your headband is ready!
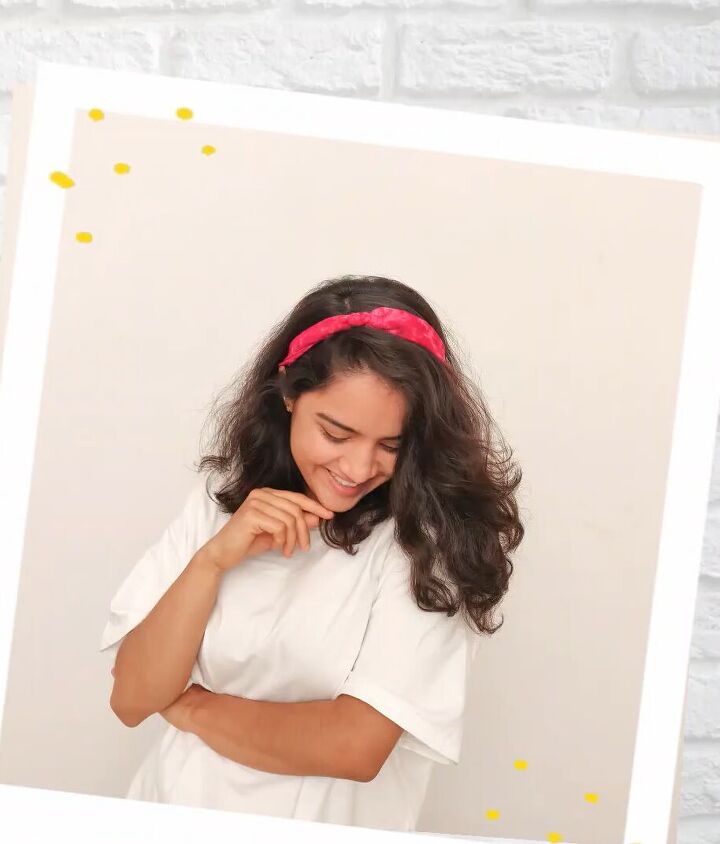
This is a great way to dress up a plain hairband!
How to make DIY fabric headbands
I hope you enjoyed those three DIY fabric headbands that are all super simple to make and help you to use up your fabric scraps. Let me know which style is your favorite!
The author may collect a small share of sales from the links on this page.


Comments
Join the conversation
So cute. Love these fabric headbands! ❤️