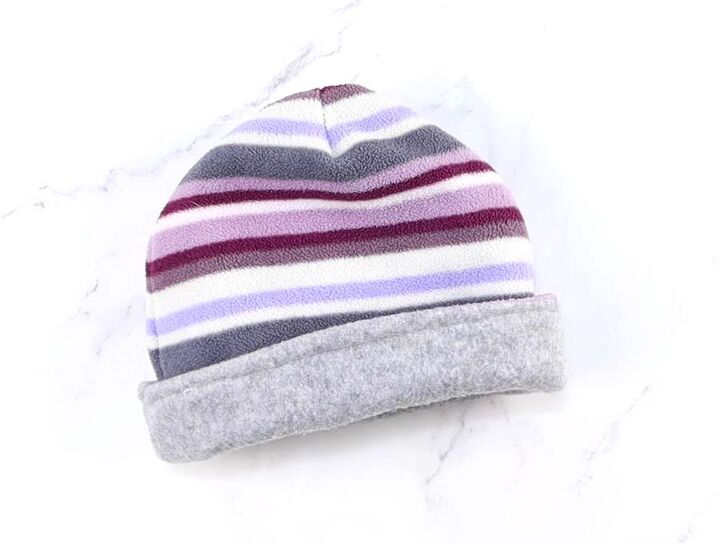
How to Sew: a Reversible Fleece Hat Pattern and Tutorial

Oh boy, it's still cold outside! This reversible fleece hat will keep you warm and cozy in style when the weather is cold!
A nice feature of this hat is that it’s reversible. When you make it, you end up sewing two hats for the workload of one!
This project is easy and beginner-friendly, which makes it a must-try for all sewing enthusiasts in the need of a new neat fleece hat.
Cut the fabric
Measure the circumference of your head (or the head of the person you are sewing for). Download thefree fleece hat pattern, adjust it to fit your measurements and cut it out.
Use the pattern as a guide to cut the fabric on the fold.
Cut two identical pieces from each of the fabrics, so that you have four in total.
Sew the hat
Place the lining fabric pieces over the outer fabric pieces with their right sides facing in and align the edges. You will have two double-layer hat shapes.
Sew each set along the bottom edge.
Spread the fabric and press the seam open. Fold the fabric in half so that the right sides are in and the curved edges align. Then stitch the two shortest edges near the corners. Repeat for the second fabric piece.
Finish the hat
Unfold each fabric piece and set them onto each other with their right sides facing in and stitch all around them. Leave a small gap unstitched for turning.
Turn the hat and sew the opening shut by hand.
Push in the side you want to be the inner one and you’re done!
Cold weather can give it all it’s got now that you have this new DIY reversible hat at your side! Get the free fleece hat pattern at HelloEwing and feel free to experiment with contrasting fabrics to make the hat even more creative. Don’t forget to make a few to give out as presents, everyone could use a hat like this so they’ll love the gift. Stay warm and comfortable!
Enjoyed the project?
Suggested materials:
- Fleece outer fabric
- Fleece for the lining
The author may collect a small share of sales from the links on this page.


Comments
Join the conversation