Make an Awesome Ruffled Shawl From Scratch With This Tutorial

Sometimes it’s all about the accessories. A good shawl or scarf can really bring your outfit up a notch. I wanted to make one out of a beautiful fabric that I would be really excited to wear. To make it extra unique, I added ruffles. I’m so happy with the way this project came out, so I made this tutorial to walk you through the steps. Grab some fabric and give it a try!
Tools and materials:
- Fabric (satin or organza)
- Scissors
- Measuring tape
- Marking chalk
- Sewing machine

The first thing you’ll need to do is mark the measurements for your shawl. My fabric was 110”, so I couldn’t go beyond that, but feel free to add more length to yours if you’d like. I wouldn’t recommend using less length, though, so if you don’t have enough length on your fabric, you can stitch together two pieces. The width I used was 20”, and I added an extra 0.5” for seam allowance. Once you have your measurements marked, go ahead and cut out the fabric.
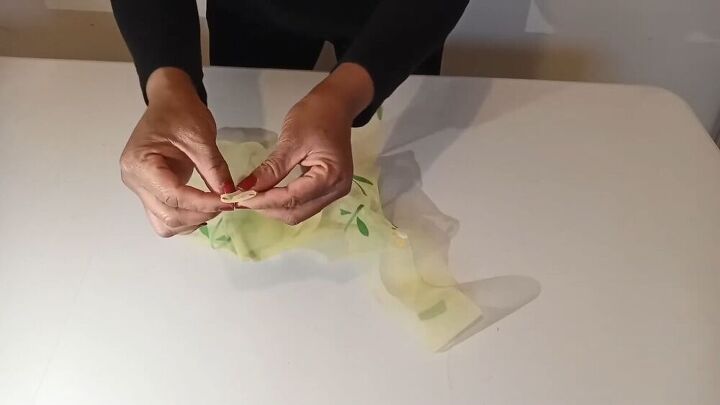
For the pull string, you need to cut out some fabric that is 1 meter (3.3’) in length and 2” in width. Now take one side and fold it to the center lengthwise, and then fold the other side to the center as well. Then fold the whole thing in half, and sew the edges together.
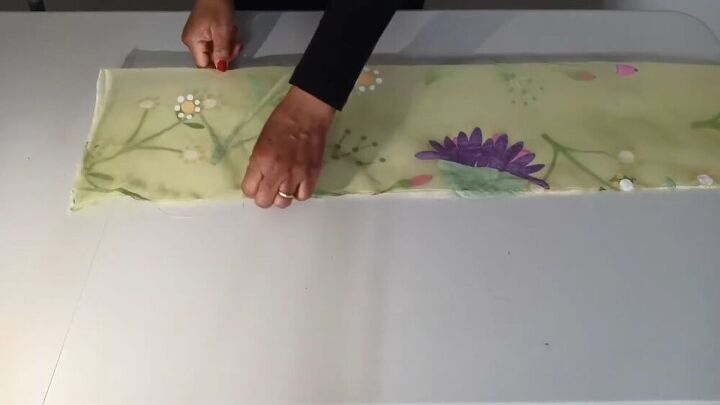
Fold the fabric in half lengthwise, and sew the edge ¼” down for the seam allowance. Then sew the side and overlock the edges. Leave 4” open on the end so that you can turn it later, and trim off the excess of the stitched edge. Now sew one of the sides closed as well, leaving 1” open in the middle for the pull string. Repeat this on the other side edge of the fabric.
Now that your edges are sewn, it’s time to turn the scarf right side out. Insert your hand through the opening you left and use it to grab at the inside of the fabric and turn it out so that the part that was inside is now on the outside. Then go back and hem down that 4” opening. Then iron the fabric so that it lies flat.
Make sure the stitched line is in the middle of the fabric. Place sewing pins down that line and find the midpoint, where you’ll have 5” on either side of it. You then need to sew ½” down either side of the line. This will give you the 1” casing you need for the pull string.
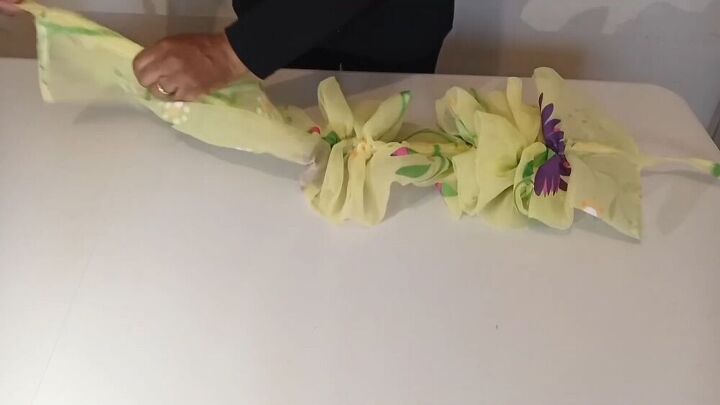
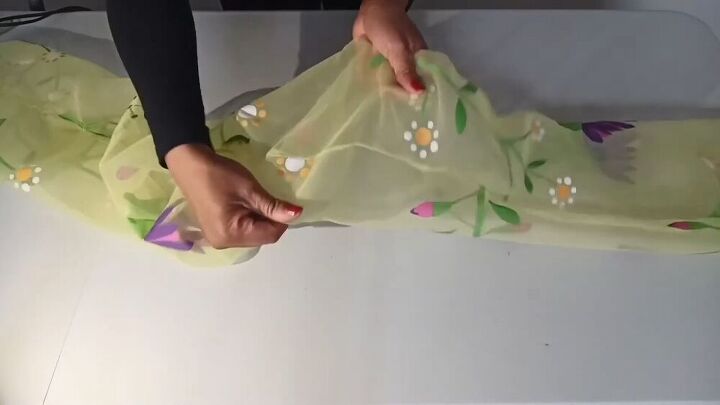
Pin a safety pin to the end of the pull string and use it to help you insert the pull string through the opening you created. Then pull on either side of the string, scrunching your fabric towards the middle, to create the ruffles. You can watch me do this at minute 8:00.
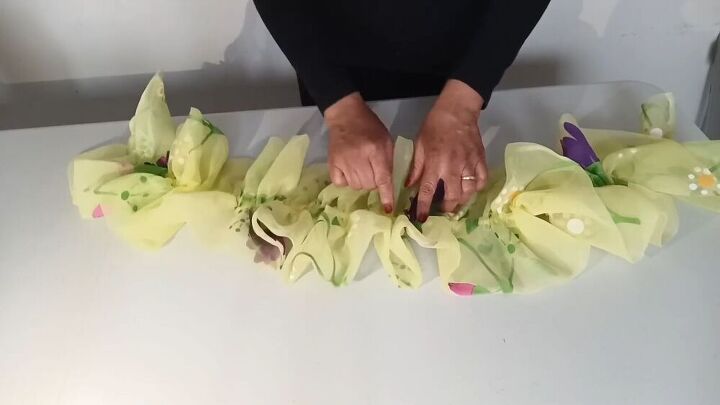
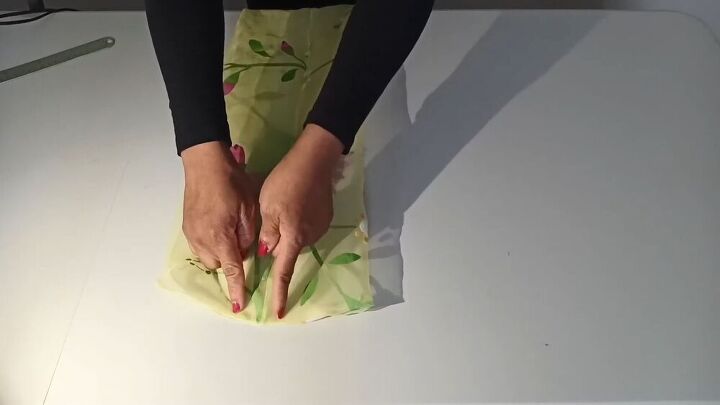
Find the middle of the scarf, where your neck is going to be, and sew that down. This will prevent the ruffles from getting messed up. You’ll still be able to play with their placement a bit, but for the most part, they’ll stay in the place you set for them. Then sew closed the gaps that you left open on the side edges.
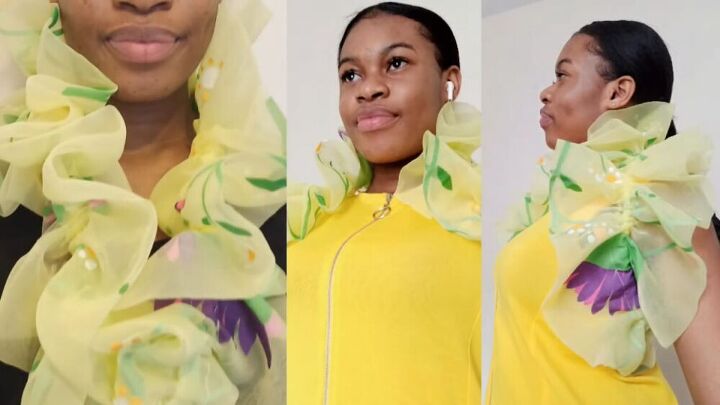
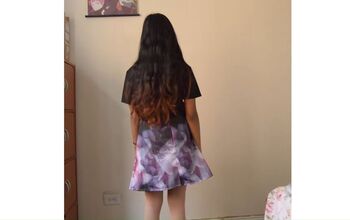
There you have it! I’m obsessed with how this scarf turned out—it’s so beautiful! I love the ruffles, and I can’t wait to wear this out and about. It’s such a great way to jazz up any dress and to really make your outfit pop. What outfit do you think this scarf would look best with? Let me know in the comments!
The author may collect a small share of sales from the links on this page.


Comments
Join the conversation
love it!
Hi Hannah, the fabric is beautiful. Great tutorial. I think a long white gauze sleeveless dress would look lovely with that and strappy shoes.