How to Do a Relaxing At-Home DIY Pedicure in 7 Simple Steps

When’s the last time you gave your feet the love and care they deserve? Today, I’m going to share my at-home DIY pedicure routine with you so you can have awesome nails and pretty, soft feet to go with them. Let's get started.
Tools and materials:
- Cuticle remover or orange wood stick
- Cuticle clippers
- Shower gel
- Bath salt
- Nail polish
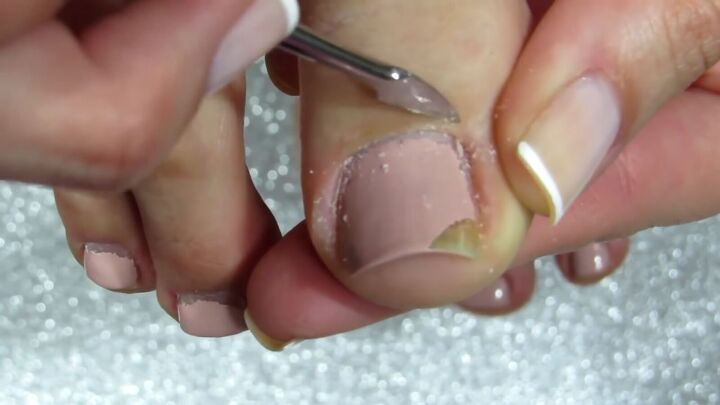
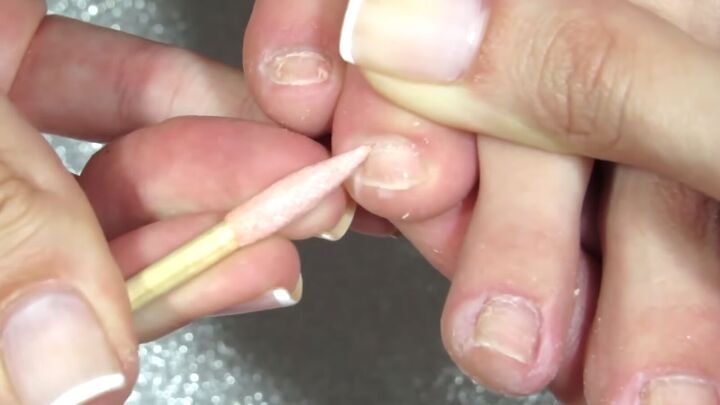
1. Remove cuticles and nail polish
To prepare my nails for soaking and painting, I’m using this cuticle remover to get rid of any cuticles, dry skin, or build-up on all of my nails.
This tool removes everything so nicely. It shouldn’t hurt at all, so don’t push too hard or scrape too harshly.
If you don’t have a cuticle remover or if you want a less harsh alternative, an orange wood stick works just as well.
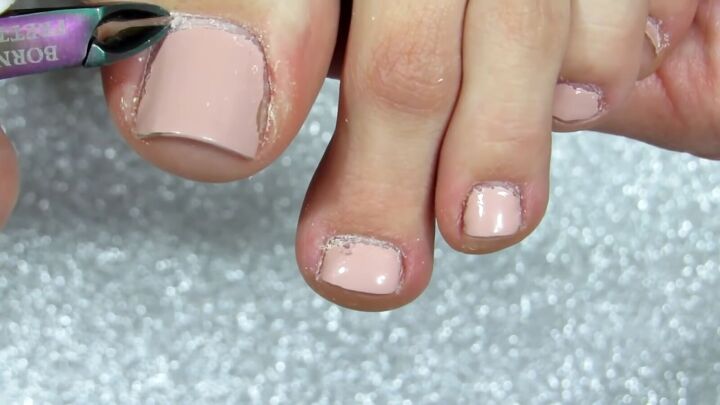
After scraping thoroughly, I used this cuticle clipper to cut off any remaining cuticles I couldn’t get with the previous tool, and then I’ll remove my polish as well.
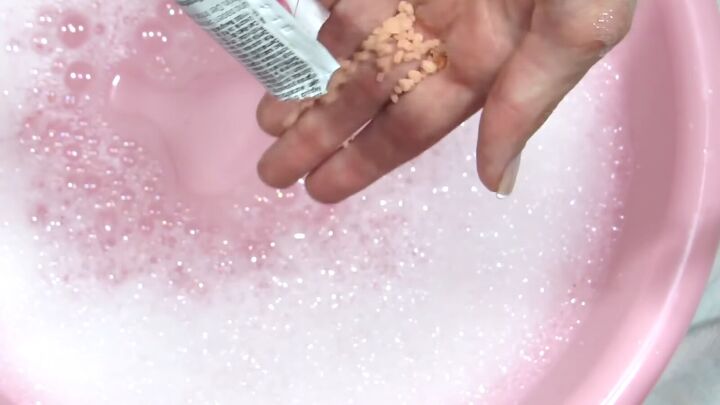
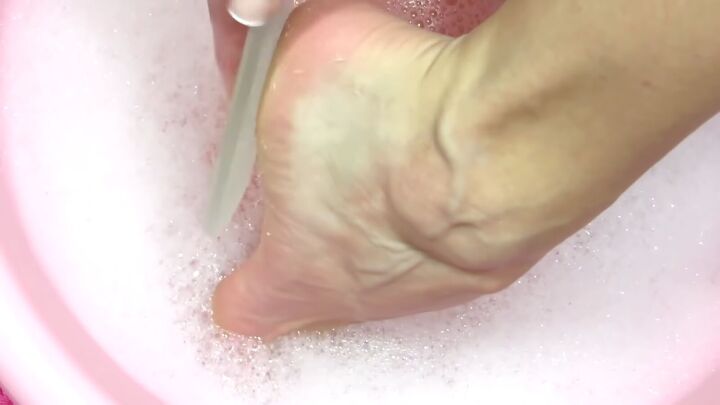
2. Prepare foot bath and soak
For the foot bath, I used a regular shower gel and mixed it around until it made some foam. Then, I added some pedicure bath salts specifically for the feet.
I love these because they’re so nice and relaxing and help get rid of dry skin on your feet.
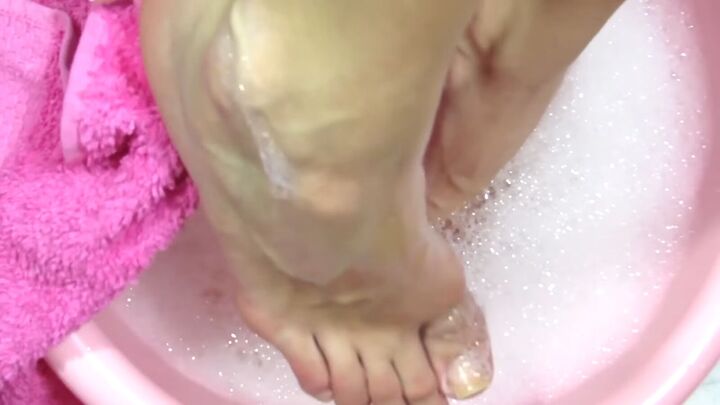
While I soak, I like to watch my favorite shows to aid in relaxing and making this DIY pedicure feel like I’m at the spa, even though I’m just at home. I soak my feet for about 15-20 minutes
3. Dry your feet
Dry your feet gently with a towel. Don’t dry them entirely, they should still feel a bit damp so they retain some moisture.
4. File the bottom of your feet
With this glass foot file, alternate between both sides - one should be harsher than the other - and remove any buildup.
I like to do this around my nails as well to make sure everything's extra smooth and polished.
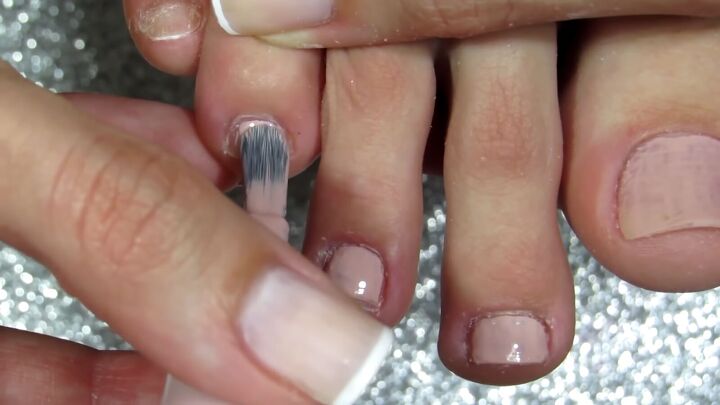
5. Remove any remaining cuticles
After the file, I like to go back in with the orange stick and remove any stubborn cuticles or dead skin that I’ve missed. Everything’s much softer after soaking, so it’s easier to remove this time around.
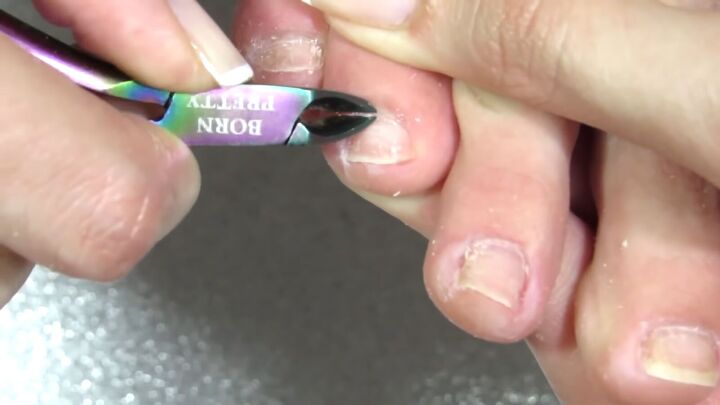
I do the same thing with the cuticle clipper as well.
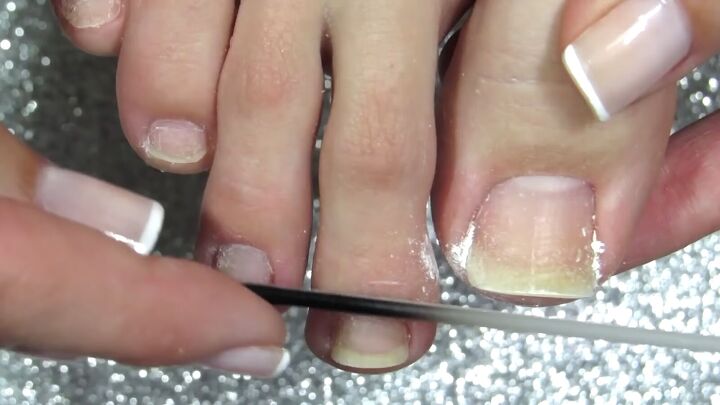
6. File your toenails
After I’m sure no more cuticles or dead skin is remaining, I continue to file my toenails with a small, glass nail file. You can use any nail file that you have, of course.
I like to file my toenails into a square shape, and I recommend not filing your nails too short. A longer toenail can make your feet look prettier.
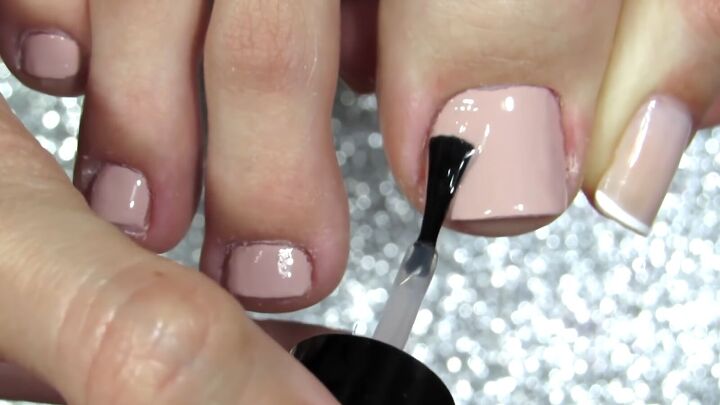
7. Paint your nails
Finally, it's time to apply nail polish. I went with this very light pink because I prefer nude tones, but choose whichever color you prefer.
There are certain patterns I like on my toes, but I prefer to keep my nails clean and sleek for a more classy look.
After your nails are dry, finish off with a top coat.
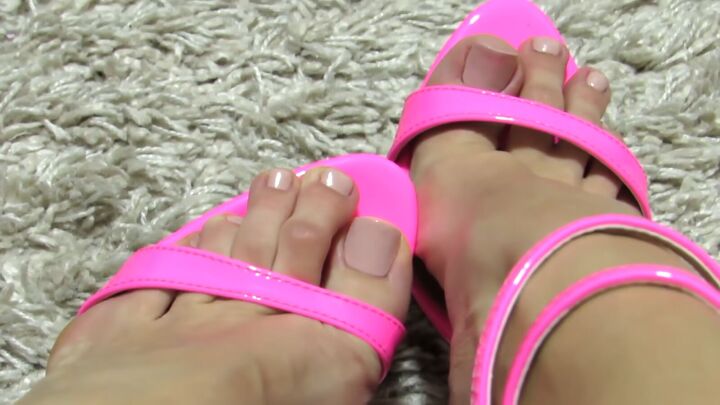
At-home DIY pedicure
That’s the end of my at-home DIY pedicure tutorial! Here’s what my feet looked like after everything was finished.
Now that you know how to do a pedicure at home, let me know how it turns out for you in the comments below!
The author may collect a small share of sales from the links on this page.


Comments
Join the conversation
Great tips. If I can reach my feet, I’ll try it. It’s an age thing.