At-Home Gel Manicure Tips: 10 Easy Steps to the Perfect Gel Manicure

Gel nails are really great because they don't peel or chip off that easily, leaving you with long-lasting wear. Instead of going to a salon, you can easily apply gel manicure at home, and I’ll show you the best at-home gel manicure tips in this tutorial.
You’ll have to invest in some tools, like a UV lamp, but it’s totally worth it as you won’t need to splurge on manicures at salons. So, enough talking, let’s jump right into these helpful, tried, and tested gel manicure steps.
Tools and materials:
- Acetone
- Cotton ball
- Nail file
- Cuticle pusher
- Cuticle trimmers
- Gel primer
- Nail polish of your choice
- Gel top coat
- Rubbing alcohol
- LED/UV lamp
- E-file (optional)
- Regular nail buffer
1. Remove old nail polish
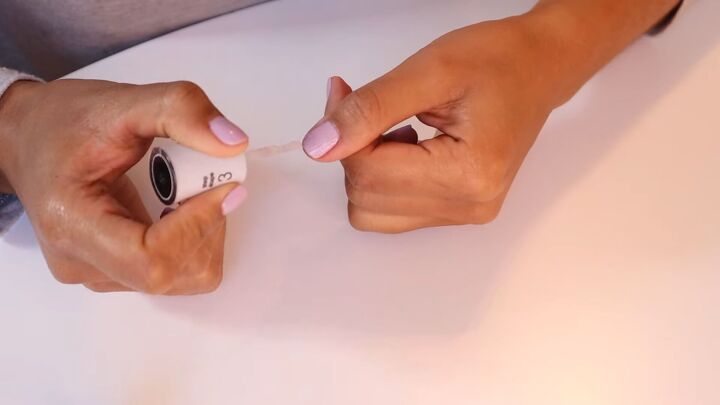
The first step is to remove any old nail polish. You want to work on a clean surface, so this step is essential. Do this with acetone, but if you have gel nail polish, you’ll have to remove it by dipping your fingers in acetone and using a scraper and buffer to get the gel off.
Read my tutorial on How to Remove Gel Polish at Home Easily & Safely Without Foil for more information.
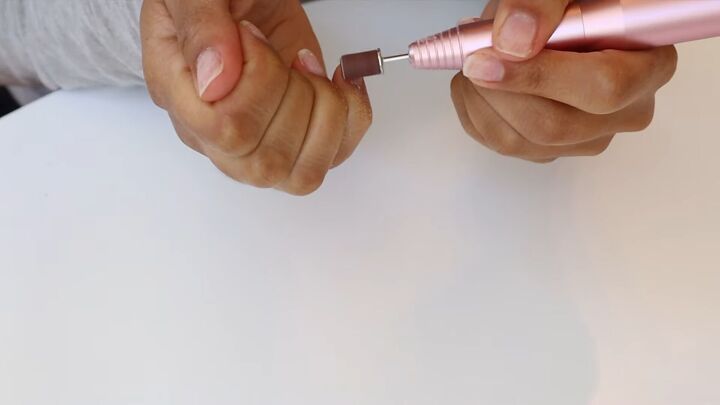
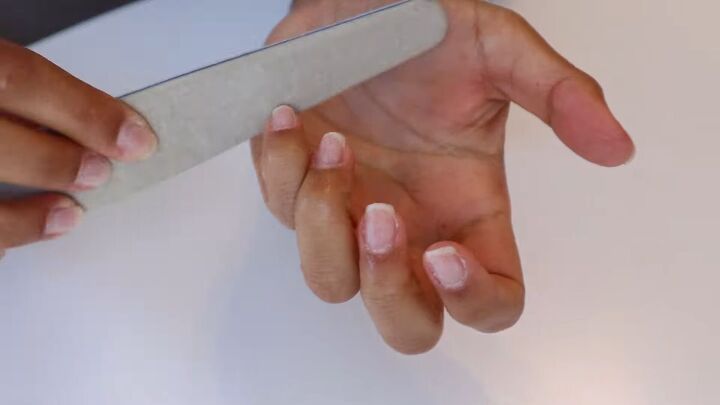
2. Buff your nails
You can either buff your nails with an e-file or if you don't have one, you can use a handy nail buffer.
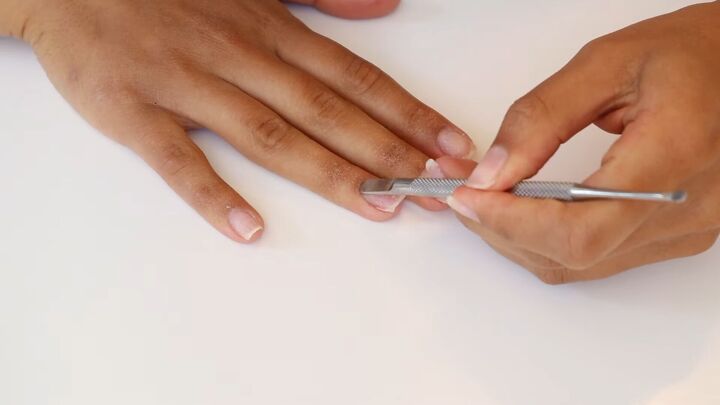
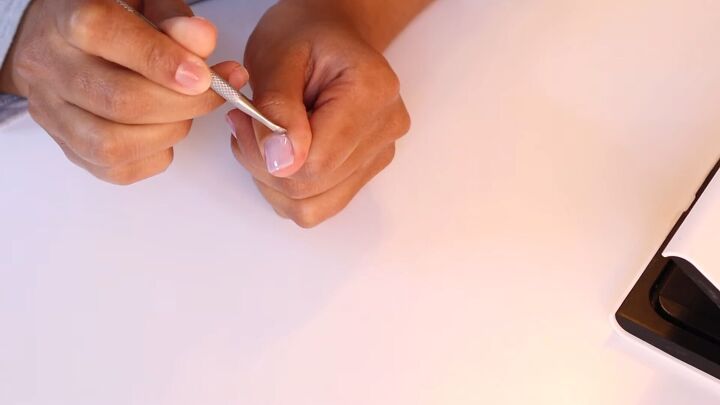
3. Push back your cuticles
Now that your nails are buffed, it’s time to push back your cuticles. I have this really convenient cuticle pusher that gets the job done efficiently.
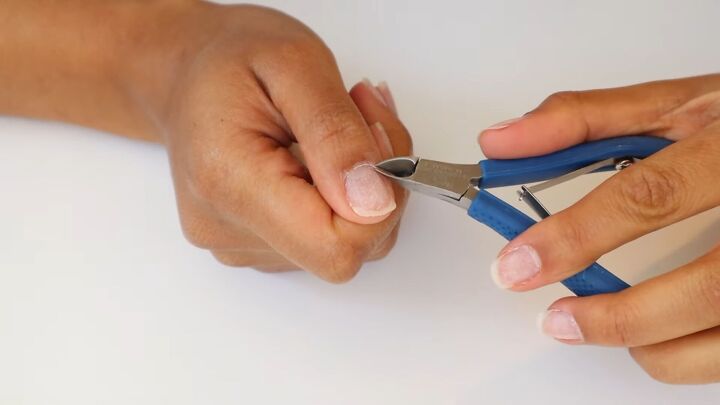
4. Snip your cuticles
I have to stress that this step is optional- you don’t have to trim or nip your cuticles if you don’t want to. But, if you want a cleaner finish, then simply nip the pushed-back cuticle with a pair of cuticle trimmers.
If you don't feel comfortable doing this step, just add some oil after completing your manicure.
Tip: Your manicure lasts longer with trimmed cuticles.
5. Clip and file your nails
If you want a shorter length, go ahead and clip your nails. If you are happy with your nail length, then simply file them down to your desired shape.
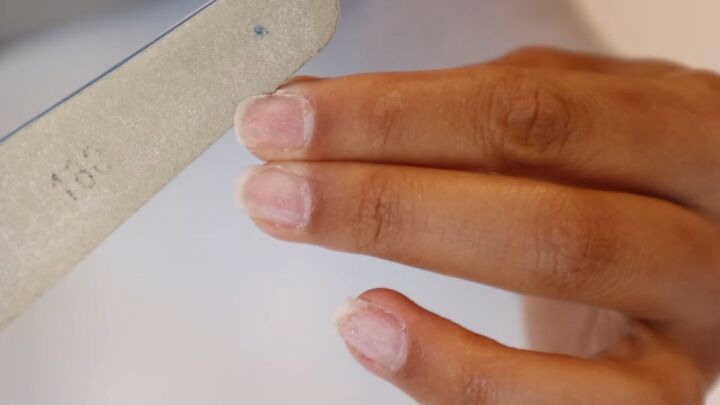
Round your nails on each edge- this will prevent them from breaking or chipping.

Wash your hands and nails to get rid of any debris.
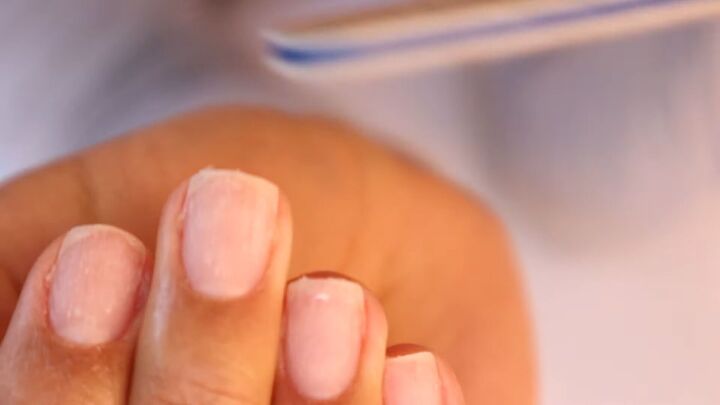
You may notice that after washing your hands, there could be a few spots that you’ve missed. So go on and file everything that’s poking out.
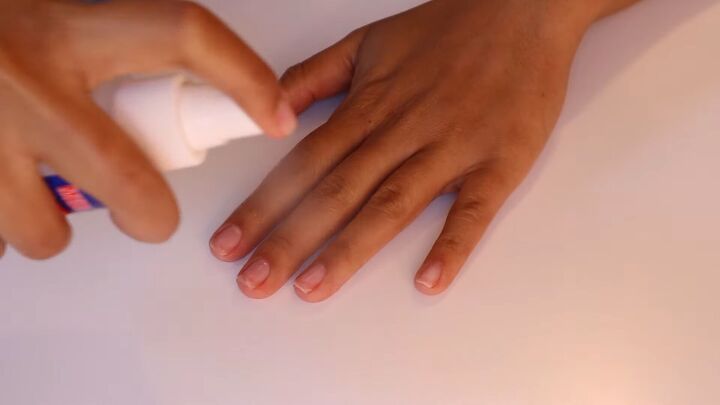
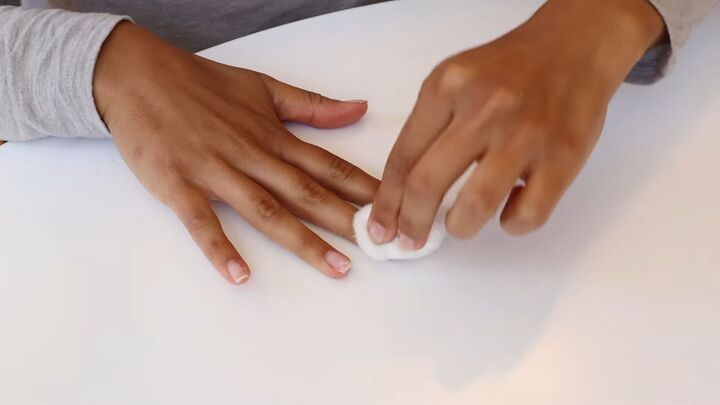
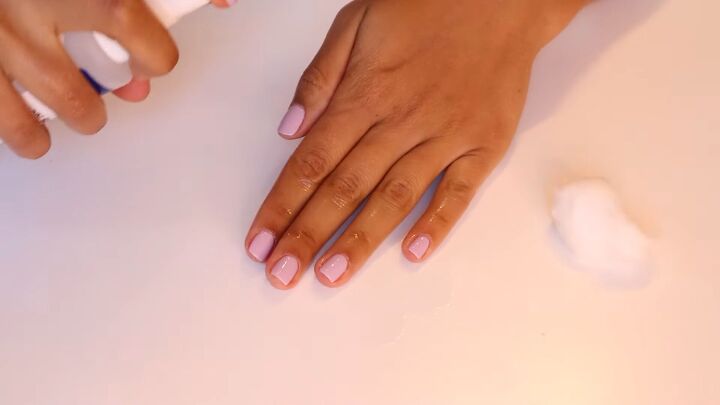
6. Clean your hands
Now, clean your hands with alcohol to remove any oil from the nails, and it will help the gel polish adhere much better. Here, I spritzed some alcohol on my nails.
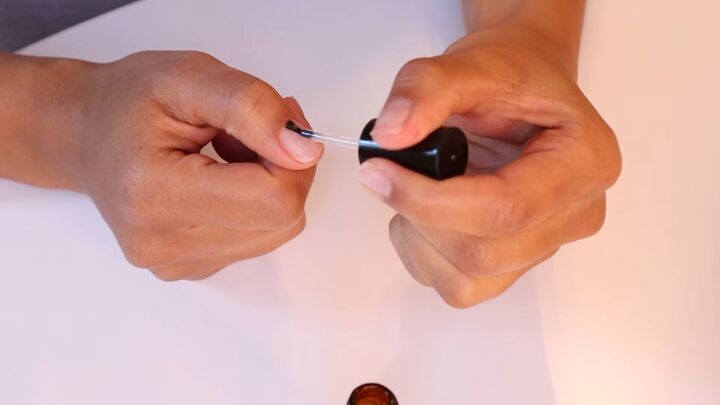
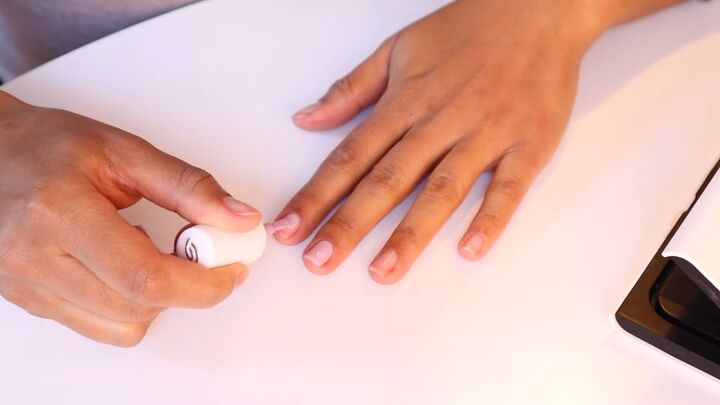
7. Apply gel primer
Now, apply a gel primer to your clean nails. This is one of the most crucial gel manicure tips, because, without this, your gel polish won't hold as well.
Next, cure this for 45 seconds under the UV/LED lamp.
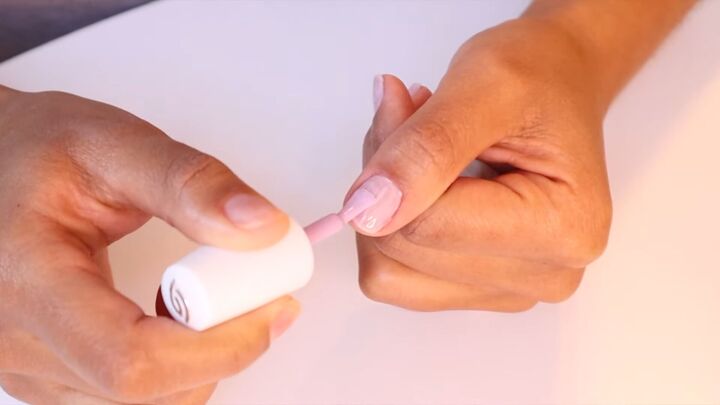
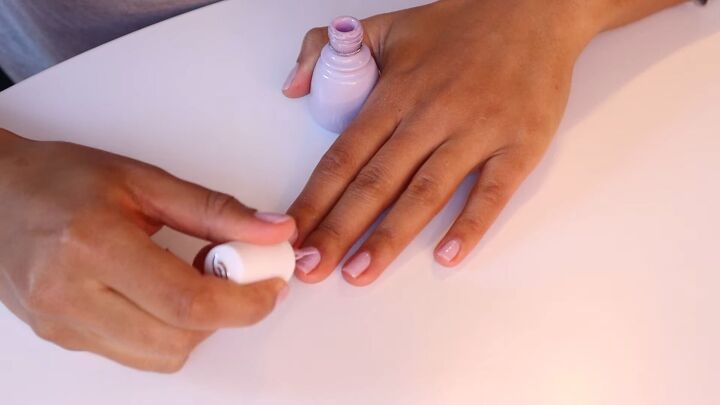
8. Paint your nails
Now, it’s time for the fun part, painting your nails!
Feel free to fix it with your cuticle pusher if you make a little mistake- this tool is like magic.
Apply multiple layers as you go along. The first layer never looks perfect. So don’t worry about that.
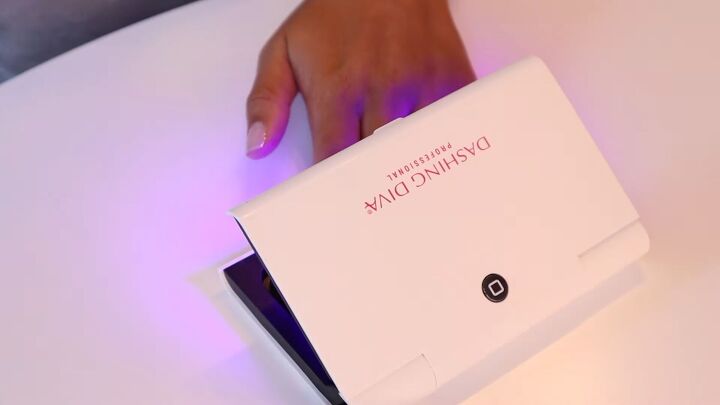
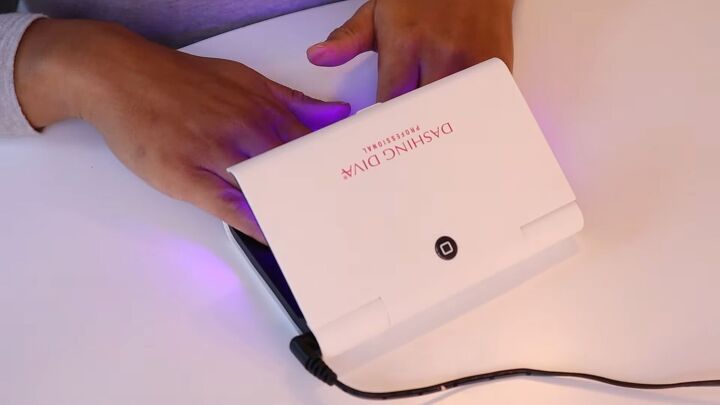
Now, put your freshly painted nails under the lamp. Depending on which brand you use, the curing process may take anywhere from 45 seconds to 2 minutes.
This is what the first layer looks like. It’s a little transparent, but you’ll be adding more layers, so again, there’s no need to worry.
Now, repeat the process, and add two more layers. Remember to cure your nails after every layer.
Tip: If you want thicker-looking nails, you can add more layers. It’s all about preference.

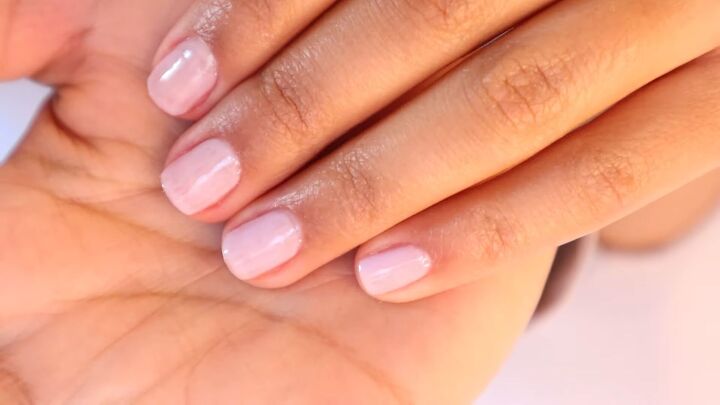
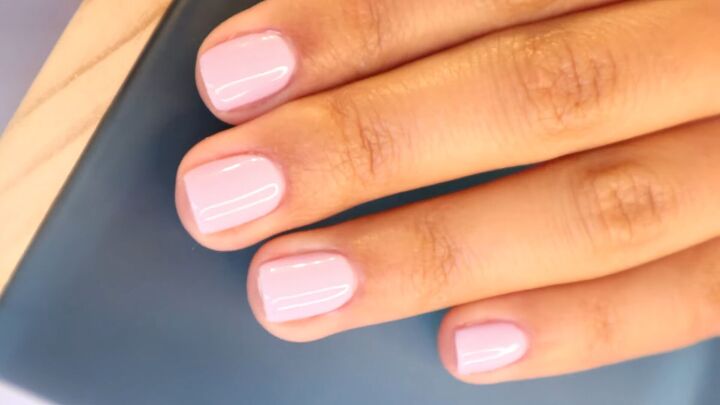
This is what your gel manicure should look like after the third layer.
9. Add a top coat
Now, it’s time to add a top coat! This will protect your gel nail polish and make it last longer. Simply add one coat and put your hand under the UV lamp until your nails dry.
10. Clean your nails
Gel polish tends to have a sticky layer, so clean your nails with a little alcohol to eliminate any sticky residue.
At-home gel manicure tips
That’s the end of the at-home gel manicure tips tutorial! How beautiful and shiny do my nails look? It’s so easy, and the process is quick, too. Now that you know how to get a gel manicure at home, you can save a lot of cash!
Thanks for joining me, and I hope you find my DIY gel manicure tips useful.
Products used
The author may collect a small share of sales from the links on this page.


Comments
Join the conversation
Your nails look beautiful. I applied gel/uv/led nail polish for the first time last weekend using a $20 kit from Amazon. It took me a couple hours but totally worth it. I don’t expect it to last the three weeks or even two but it’s way better than regular polish which sometimes started chipping the same day after a salon visit.