16 Easy Tips to Make Your At-home Gel Manicure Last

Today, I’m going to share with you my gel manicure do’s and don’ts.
So, whether you’ve been doing your own nails for a while or if you’re just getting started, these at home gel manicure tips might be useful for you.
1. Don’t rush the process
It’s important to take your time when you’re painting your nails at home if you want them to come out as best as they can.
2. Do prep your station
Make sure you set aside enough time to prep your manicure station.
This includes all of your tools, polishes, cleansing solution, cotton balls, drying lamp (plugged in!), dehydrator, files etc.
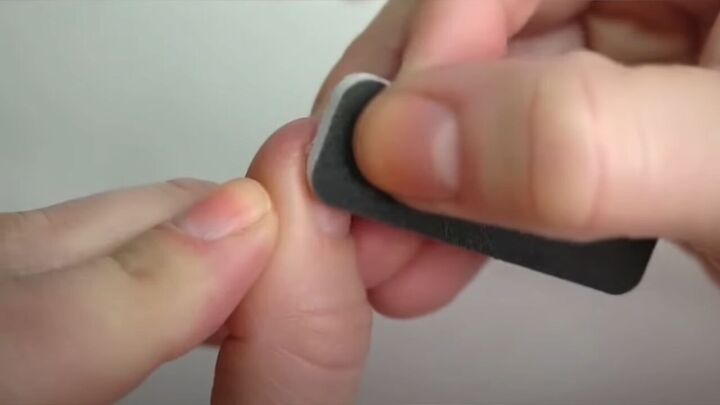
3. Don’t prep your nails too hard
Improper prep can ruin your natural nails and your gel manicure.
Make sure your nails are properly cleansed and completely dry. They should be filed before you apply polish and the nail surface must be properly buffed.
The buffing is crucial to allow the gel to stick, but there’s no need to be aggressive.
One of my favorite ways to prep my nails is to take a regular nail file and gently scuff up the perimeter of the nails.
4. Don’t peel or pick at your gel manicure
When you peel off the polish, you will likely be pulling off multiple layers of your natural nail.
This thins and weakens the nails and will make them more prone to breakage.
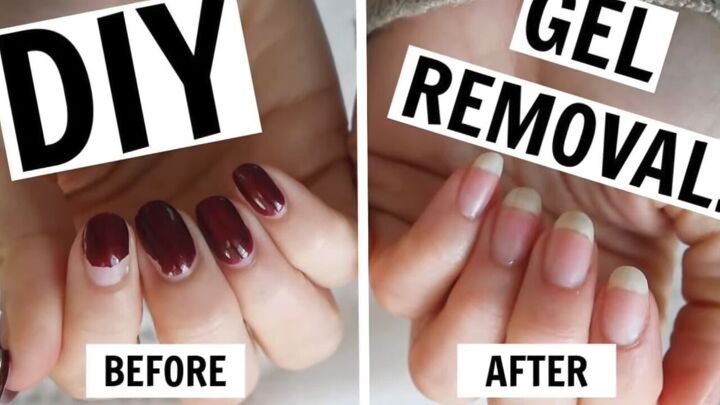
5. Do soak off your gel manicure
To remove an old gel manicure, soak a cotton ball in acetone, put it over the nail and then put on the gel removal clips.
This is much easier than using foil and healthier than soaking in a bowl, which exposes your whole finger to the acetone.

6. Don’t soak your nails in water for too long
This goes for the ocean, the pool, the shower, etc.
Obviously, your nails have to get wet sometimes. But the longer they soak, especially in hot water, the more likely the polish is going to lift, cutting your manicure’s life short.
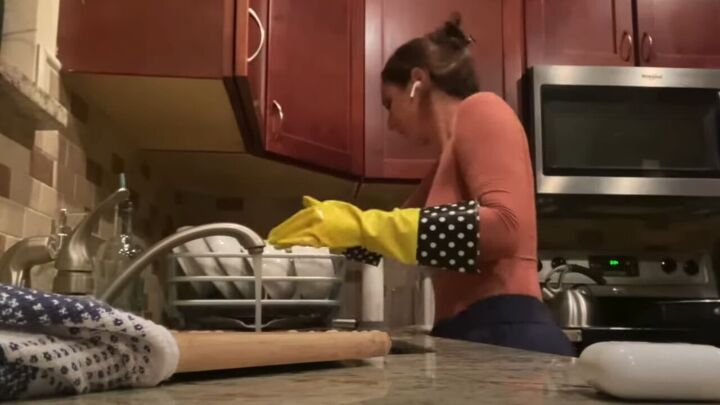
7. Do wear dish gloves
Use rubber gloves to protect your nails when you’re washing dishes or cleaning the house.
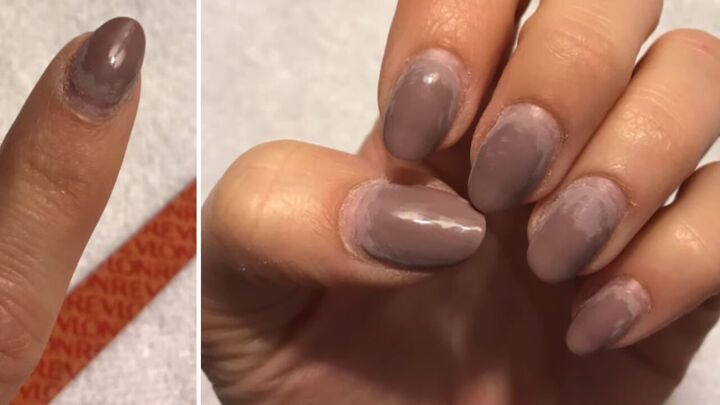
8. Do paint in thin layers
The thicker your polish, the more likely it’s going to lift and peel. The thinner the paint, the longer your manicure will last.
9. Do paint 1 hand at a time
Gel polish is never truly dry until the manicure is complete.
Alternating between hands is just going to stir up the dust even more and give you more of a chance to scrape your nails. It’s easier to work with one completely dry hand.
Start with painting your dominant hand so that, at the end of your manicure, you’ll be using your dry, dominant hand to quickly finish up with cuticle oil for both hands.
10. Don’t overcure your nails
Both UV and LED lamps are not great for your skin. Choose a lamp and a polish that allow you to cure your nails in as little time as possible for the least exposure.
11. Do wear a protective glove
There are many options to choose from and wearing them is an easy way to protect your skin from the curing process.

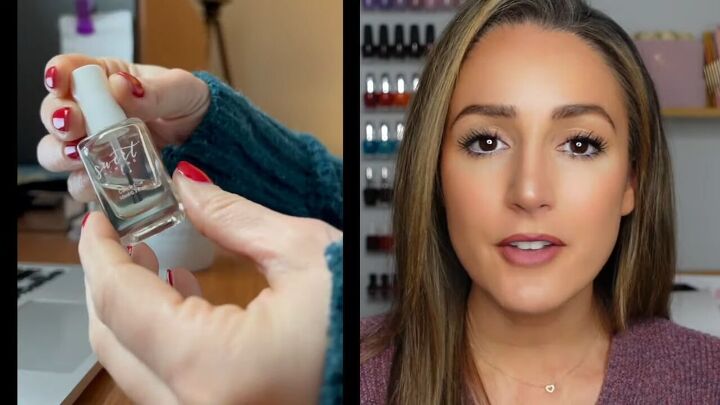
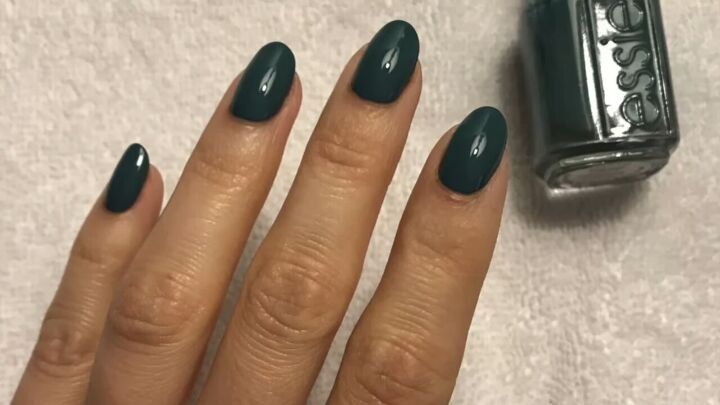
12. Do cap the edges
If you want your at home gel manicure to last, it’s important to cap the free edges of your nails.
Some people recommend capping during each coat. I usually just cap my nails during the base coat and top coat.
13. Do use a cuticle oil daily
This will help keep your manicure fresh, shiny and help to prolong it.
Be sure to get cuticle oil into your rotation, not only for the life of your gel manicure but also for the health of your cuticles and nails.
14. Don’t use 100% acetone while you have a gel manicure
If you’re giving someone else a manicure or you’re giving yourself a pedicure and you need to remove polish, use a non-acetone remover.
If you use pure acetone, it will most likely ruin your manicure.
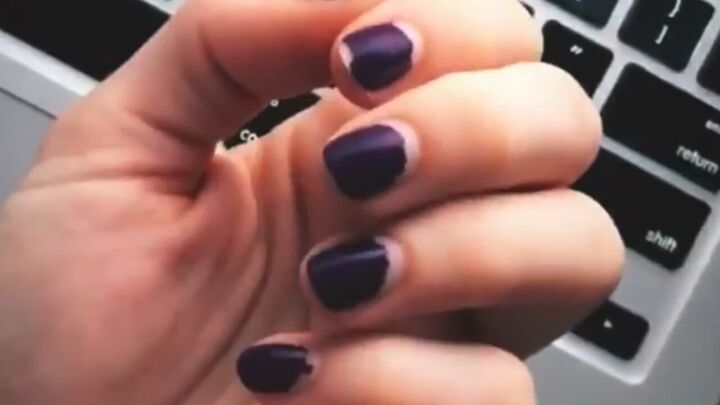
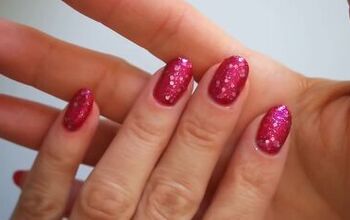
15. Don’t wear a gel manicure that’s starting to lift
If your manicure is starting to lift, you can get away with it for another day or two.
However, you shouldn’t wear it for an extended period of time because dirt and bacteria could get under there and infect the nail.
Also, when your nail polish starts to lift, it tends to snag on things, especially your hair.
If your nails start to peel, you can:
1) Soak off the polish and get a new manicure.
or...
2) Buff the surface of your gel manicure. Then file it down so that it’s flush with your nail.
Then apply regular nail polish on top.
Sometimes I’ll do a base coat and a couple coats of color.
Other times I’ll try to match what I’m already wearing. This will help smooth out the lifted area.
16. Don’t overdo it
Gel manicures are designed to last up to 4 weeks. Too many gel manicures are not the healthiest for your nails, mainly because of the acetone and the curing lamp.
At-home gel manicure tips
That’s it for my at home gel manicure tips.
If you DIY your own gel manicures at home, please leave some of your do’s and don’ts in the comments below.
Check out my tutorial on How to DIY a Super Effective Hand Soak for Dry Cracked Hands.
The author may collect a small share of sales from the links on this page.


Comments
Join the conversation