How to Easily Make a DIY Color Block Shirt With a Simple V Design

In this sewing tutorial, I will show you how to create a DIY color block shirt in a v-shape. This lovely color block t-shirt is easy to make. You can easily add this style when sewing a t-shirt or top, or add it to an existing shirt you have.
Tools and materials:
- Fabric
- Scissors
- Pins
- Sewing machine
- Measuring tape
- Chalk or marker
- Matching thread
- Iron
- Ruler
- Shirt
1. Make the band
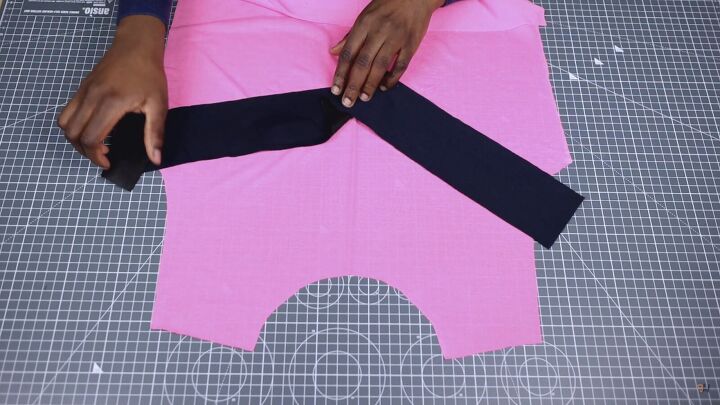
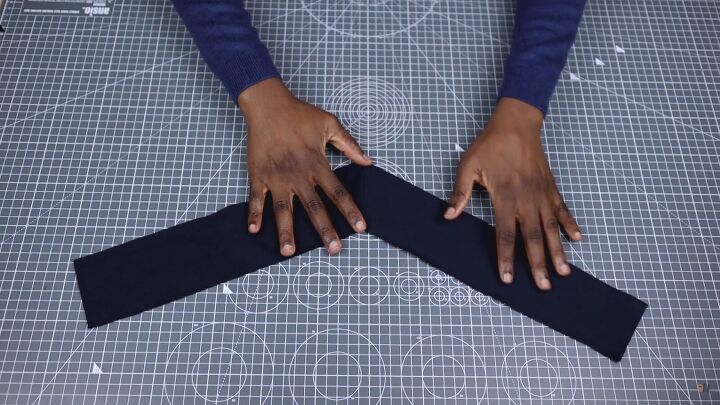
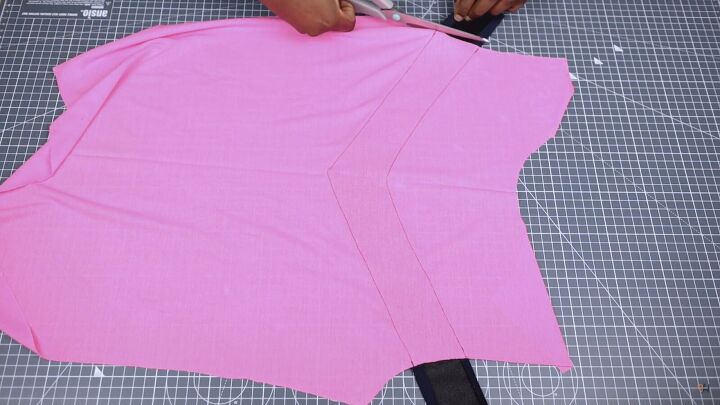
Cut a piece of fabric that measures 3 x 25 inches. This band will be placed on the front bodice piece of the t-shirt. I’m going for a v-shape look, as pictured above.
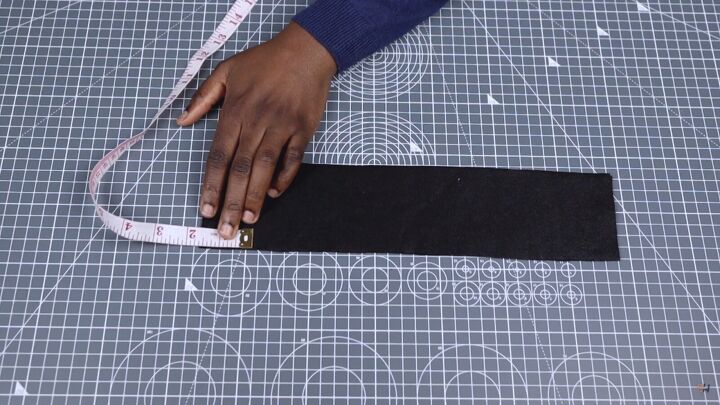
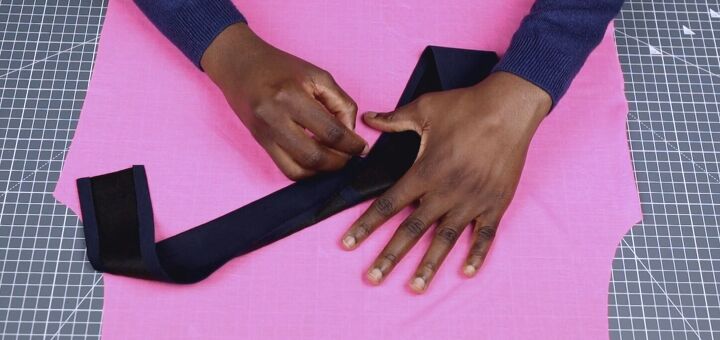
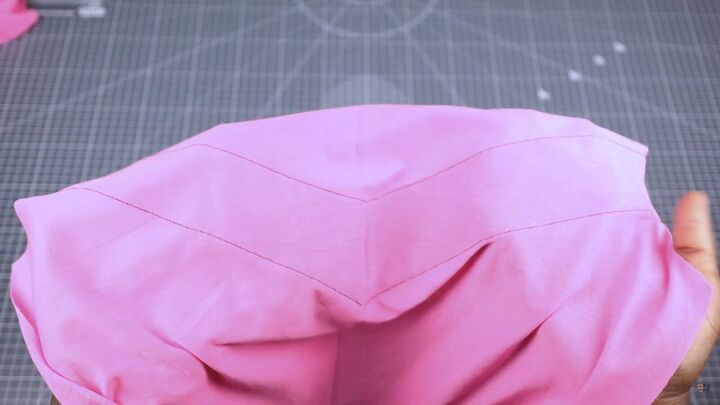
To prepare the band, fold it in half, right sides together. Then, determine how prominent you want the v-shape to be.
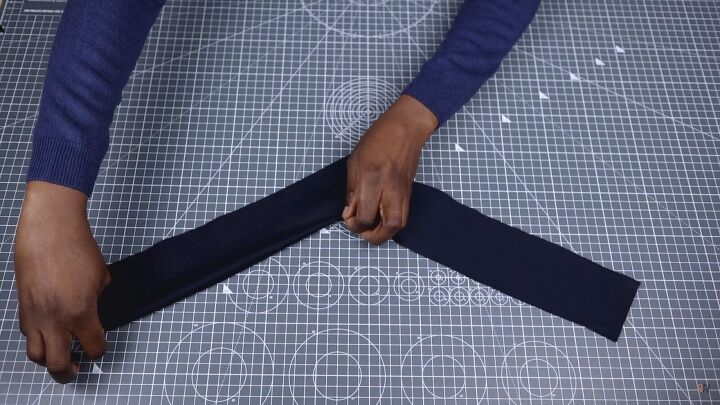
At the fold, measure 1.5 inches from the top. You can mark between 1.5 inches to 2 inches, but not less. Otherwise, the v-shape will look more like a curve.
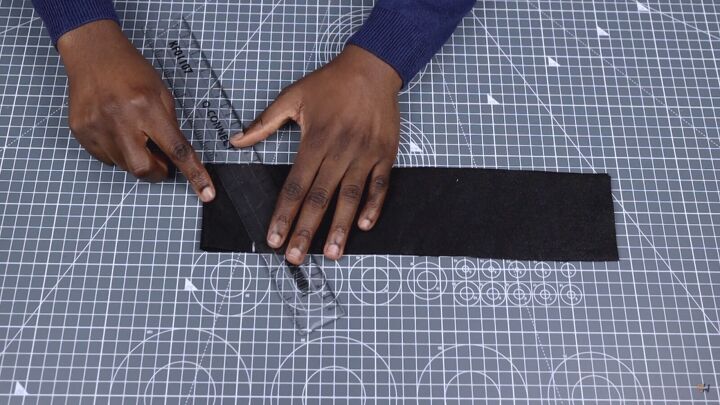
Once marked, draw a diagonal line, starting from the top mark to the folded bottom point.
Now, sew on this line to secure it.

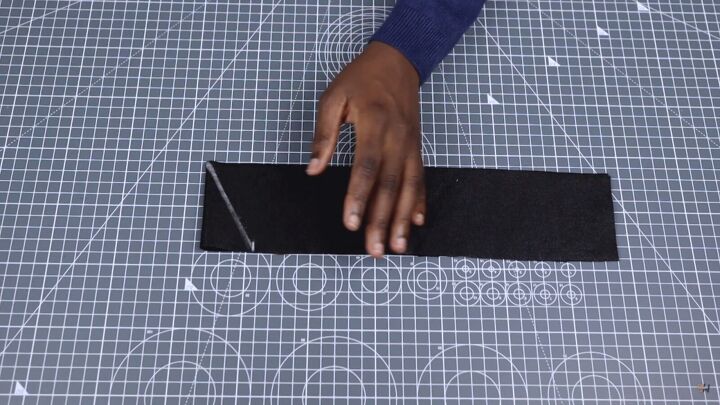
Trim off the excess fabric and open up the seams.
As you can see, I have a really lovely v-shape for my DIY color block shirt.
Next, fold in and iron ½ cm (0.2 inches) all along the band's edges. This just makes it easier to sew along the front piece.
Tip: Take your time while ironing, especially when you get to the middle of the band. It can be a bit tricky to fold in sometimes.
2. Attach the band
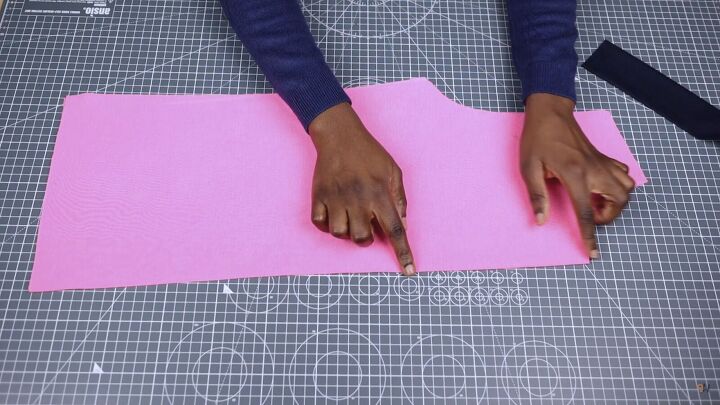
Fold the front piece of your shirt in half and give it a good press. Like this, you have a crisp center crease as a guide.
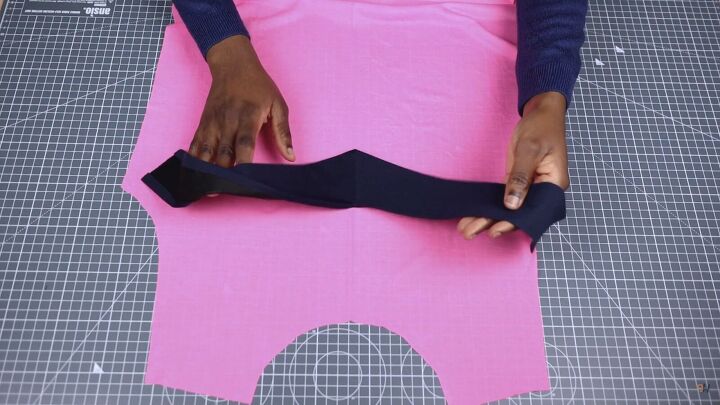
Open the front piece right sides up and place the band on top. Make sure the center of the band matches the center line of the shirt.
Mark the center as needed so you have a reference when moving the band. Remember, you want everything as straight as possible, so feel free to wriggle the band around.
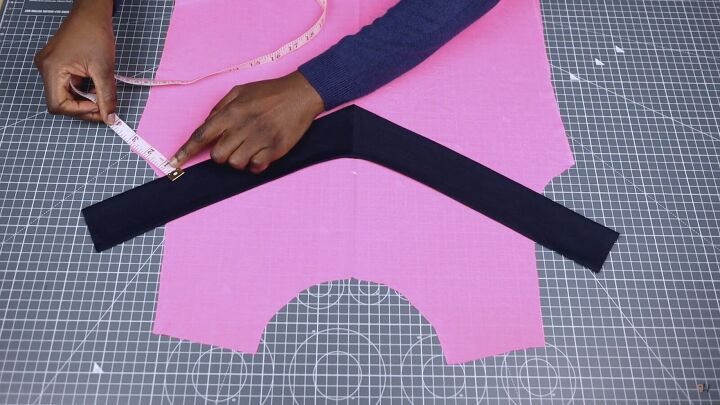
Ensure that you have the exact same measurements on each armhole.
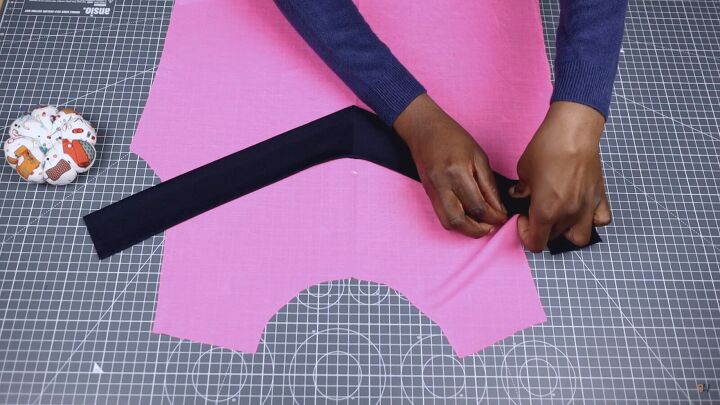
Once you’re satisfied with this, secure the band with pins to prevent it from moving around.
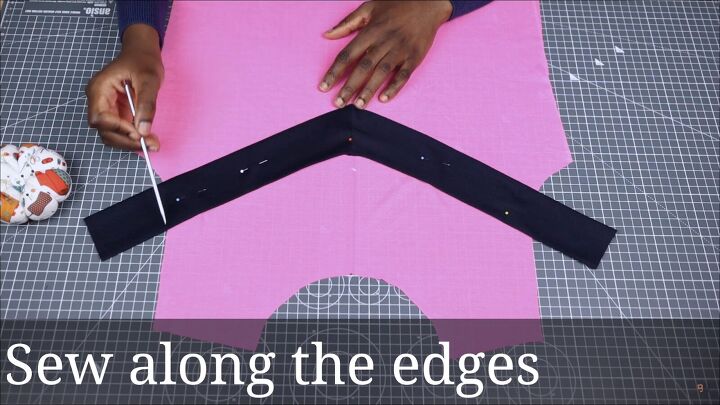
Sew along the edges with a topstitch using a 1mm (0.04 inches) seam allowance.
3. Trim the excess fabric
Once complete, remove the pins and trim off the excess fabric. To do this, turn the front piece over to the wrong side. Cut and shape the trim along the armhole’s line.
All done! I’m really happy with how it turned out. All that’s left is to continue assembling the rest of the pieces for your shirt or leave it as is if you adding the V to an existing shirt.

DIY color block shirt
I really hope you enjoyed this DIY color block shirt tutorial and that you now have the inspiration to spruce up your DIY projects.
Now that you know how to make a color block shirt easily, what color and design will you be going for? Let me know in the comments below!
The author may collect a small share of sales from the links on this page.


Comments
Join the conversation