DIY Cuffs: Flounce and Bell
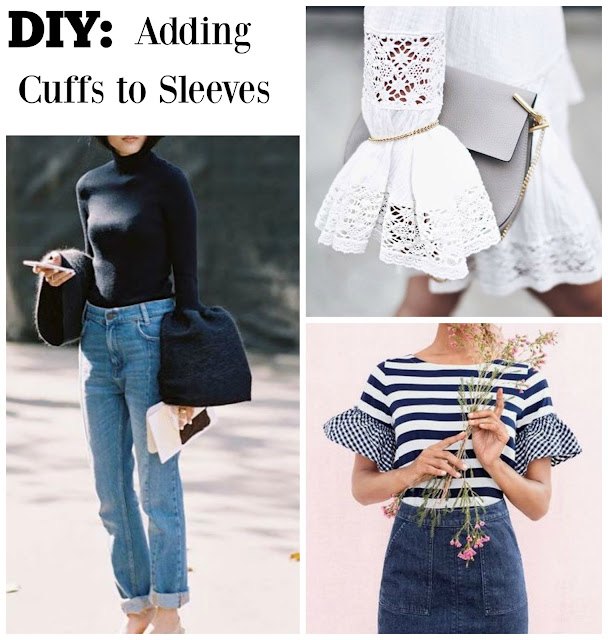
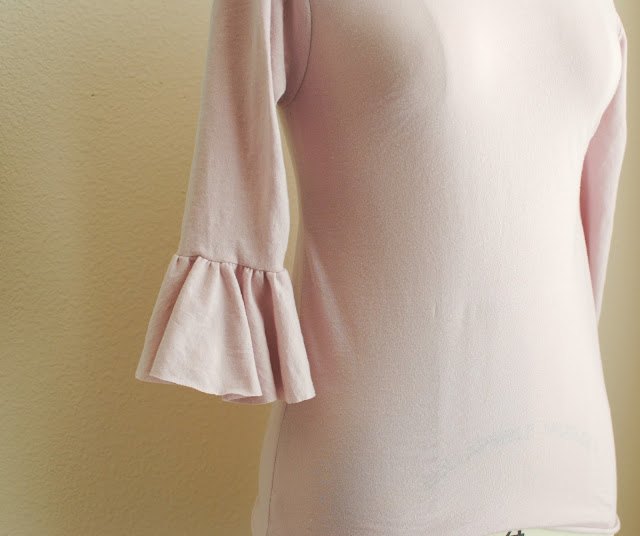
The statement sleeve trend is still ruling the runway from ready-to-wear to couture. Oversized cuffs and peek a boo shoulders are a few that come to mind. I'm going to be starting a new series “All About Sleeves” where I will be doing a tutorial each week about sleeves. In this post I'll be showing you how to add an oversized bell and flounce cuff to an existing sleeve. This will freshen up a basic top with a touch of feminine detailing. You can customize this to any length and style of sleeve.
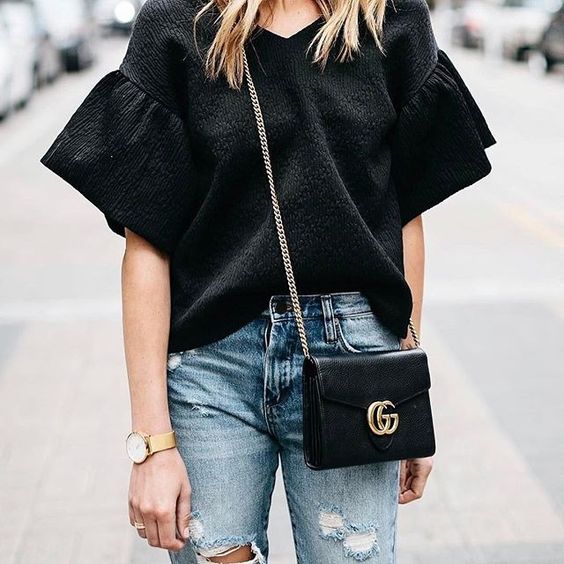
Add a bell cuff to a drop shoulder for more coverage...
You can alter the desired volume and length of your cuff. Do you want a shorter less puffy one, shorten the length and width. Try this technique on a drop shoulder to add more coverage. Try a completely different print or color for your fabric. Once you learn this technique you can have an oversized Bell Cuff for all your clothes if you want.
Get the details below on how to:
DIY instructions:
Bell Cuff
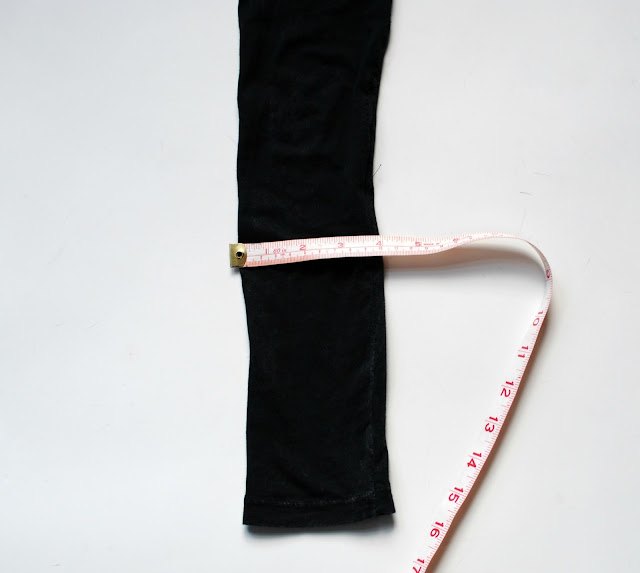
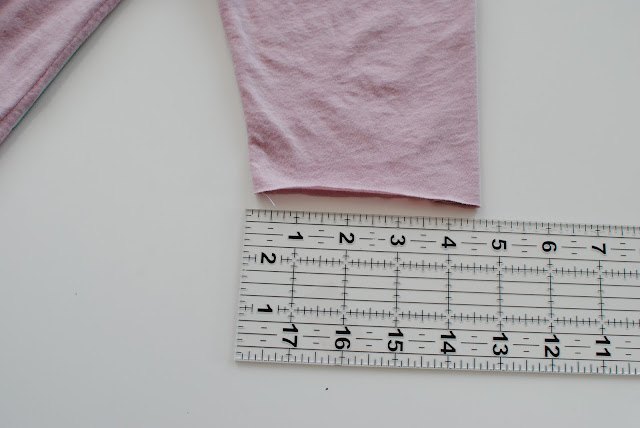
Measure the circumference of the sleeve you will be putting the cuff on. This will be your width x 2 plus 1/2 an inch for seam allowance. So my sleeve measurement was 8 then it would be 16.5 width of fabric. If you want a lot of volume x it by 2.5 or 3.
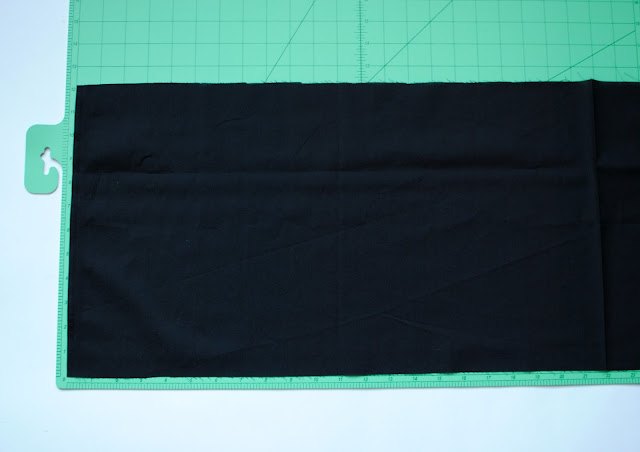
Determine the length you'd like your cuff and make sure to add a hem allowance. I did a large one that was 10 inches in length. Cut your strip for the cuff using these measurements. Mine is 16.5 x 10.
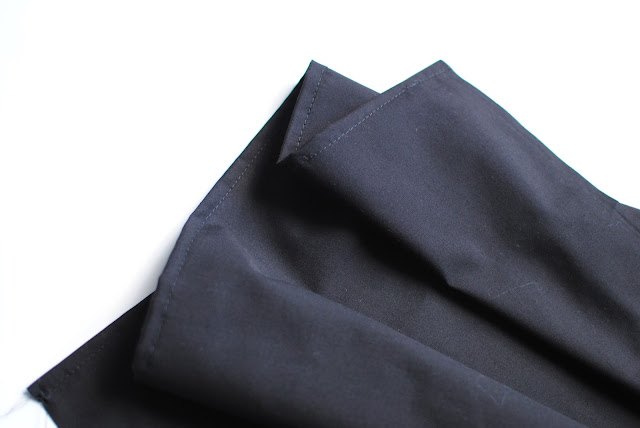
Finish the hem of the cuff.
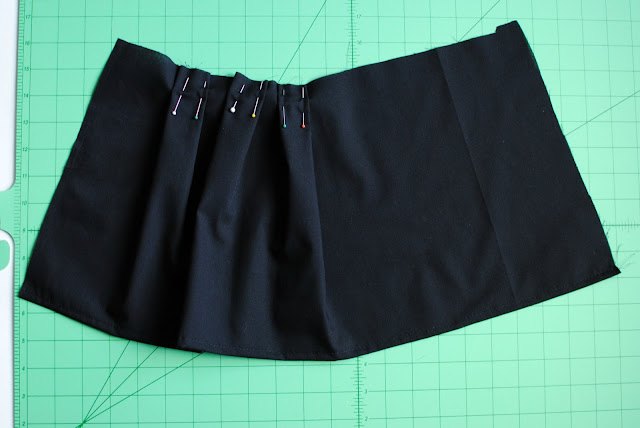
You can form pleats into the cuff by folding back and forth as such. Pin the pleats into places and top stitch them into place. Make sure you pleat enough to measure your circumference of the sleeve (mine was 8 inches but remember the 1/2 inch for hem allowance).
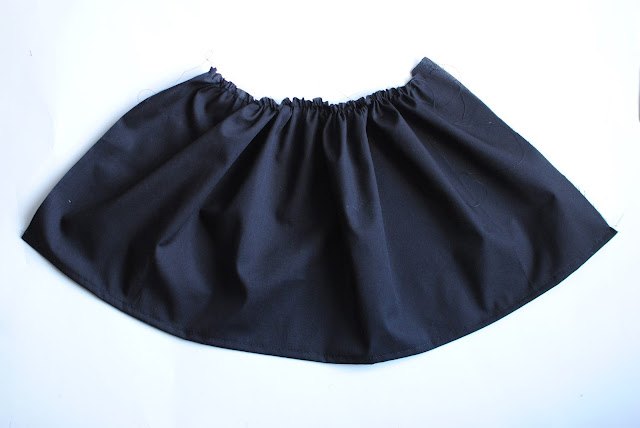
Or you can do a baste stitch which is the largest stitch length of your machine. Leave a tail of thread for the start and don't back stitch, same for the end. You will pull till you have ruffled enough to meet your circumference of 8.5.
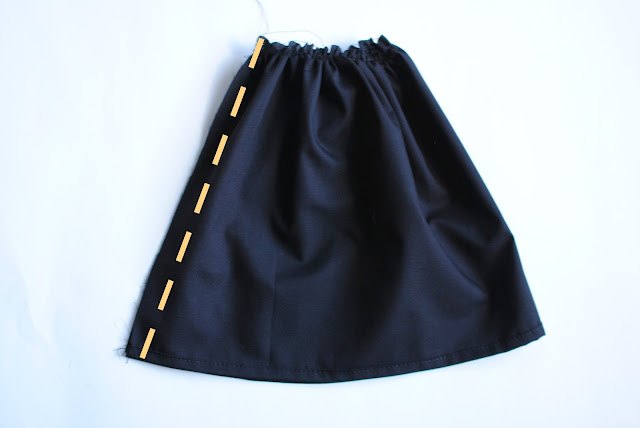
Now fold the ends to meet and sew the seam right sides together.
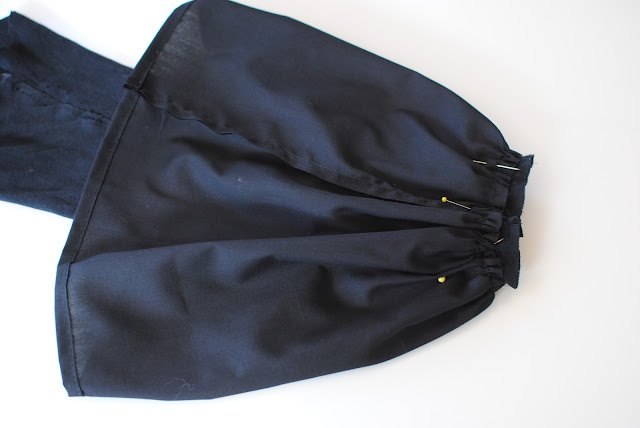
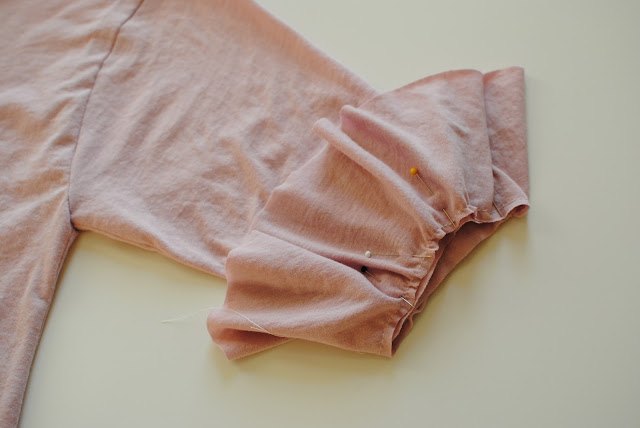
Pin inseam to inseam right sides together and sew a 1/4 inch seam allowance.
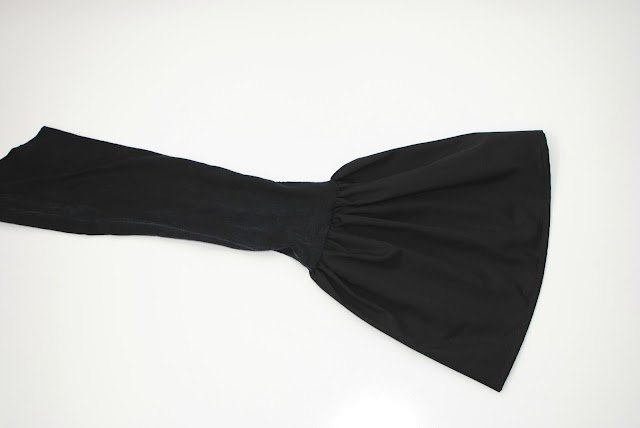
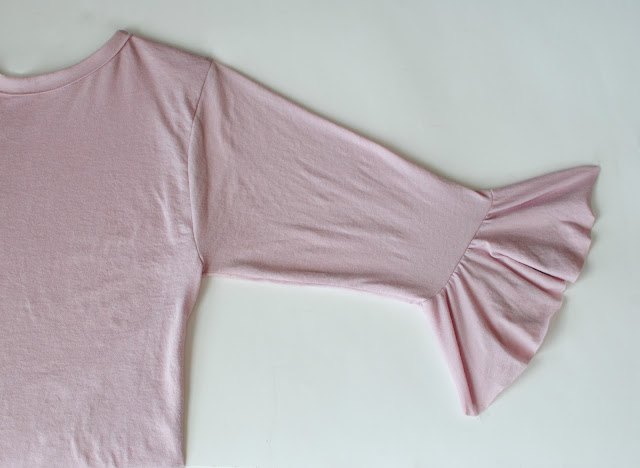
When flipped out it should look like this.
Flounce Cuff
Now for the flounce cuff. Whats the difference? The bell is a rectangle of fabric pleated or ruffled where a flounce is a perfect circular shape. The pattern will appear like a "donut."
Take the measurement you want to create the flounce for. This will be the circumference for the inner part of your "donut" pattern. If you want a little ruffle/pleat then add 1-2 inches or so depending on the volume you want. So mine is 10 total circumference.
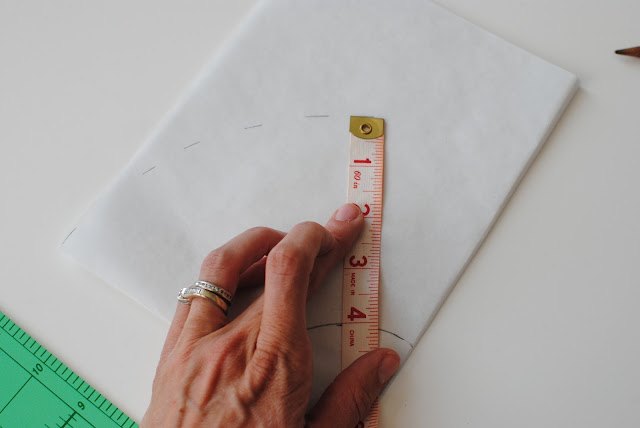
You will then take that measurement subtract 1 and then divide by 6. So 10-1 is 9 divided by 6 = 1.5.
Then take a big sheet of tissue paper, fold it into fours. From that folded corner mark out that measurement you got (1.5) forming an arc. Then you will add the length of your flounce from that line forming another arc. I wanted a 4 inch flounce. If you want a hem, make sure to add a hem allowance. I didn't want one for this.
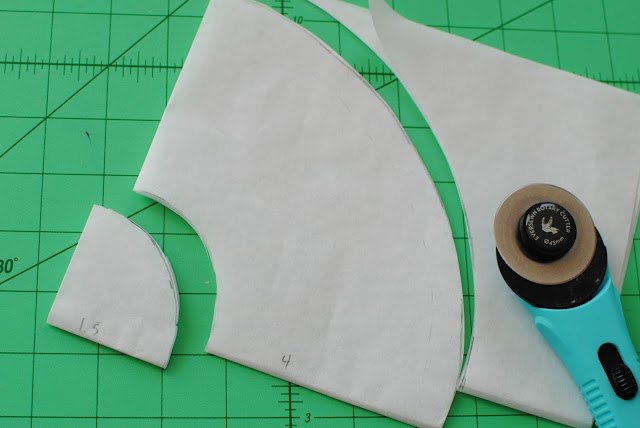
You should have 2 arcs formed. Your circumference one and your flounce length one. Cut both to create your "donut" pattern.
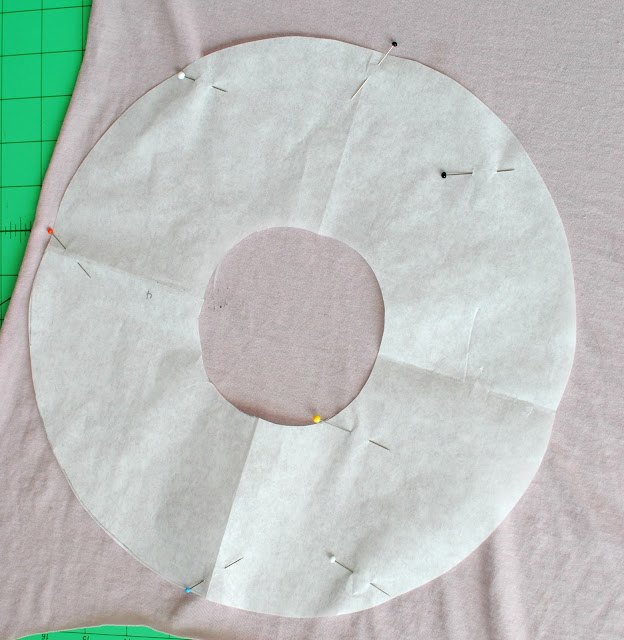
Cut out the fabric.
Attach to the end of the sleeve right sides together and sew. It should fit perfectly around unless you wanted it slightly bigger for pleats which I added to mine. I then just basted the interior and pulled to fit as I showed in the top cuff.
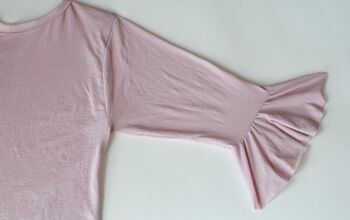
You can easily add these fashion forward details to your clothing in no time.
The author may collect a small share of sales from the links on this page.


Comments
Join the conversation