2 Ways to Make DIY Lace-Up T-Shirts That Totally Revamp Your Clothes

In this tutorial, I’ll show you guys how to revamp oversized t-shirts. You can easily transform a mundane t-shirt into a DIY lace-up t-shirt in minutes!
This is especially great if you have a bunch of barely-worn t-shirts lying around. Keep reading to see how to make a lace-up shirt in two different ways with this fantastic upcycle tutorial.
Tools and materials:
- T-shirts
- Chalk
- Measuring tape
- Needle
- Thread
- Eyelet tool
- Eyelets
- Bias tape
- Fabric glue
DIY lace-up t-shirt tutorial 1
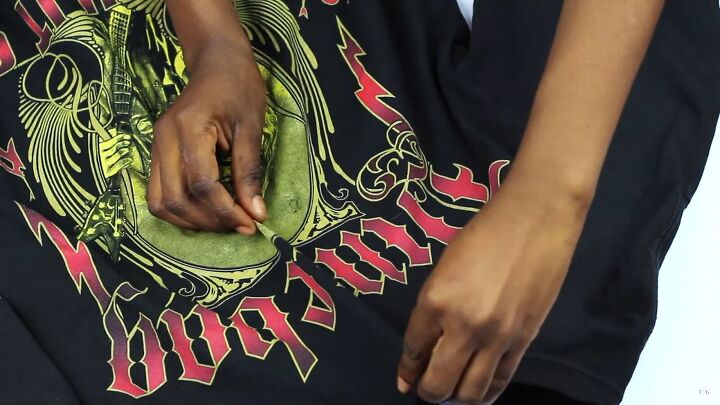
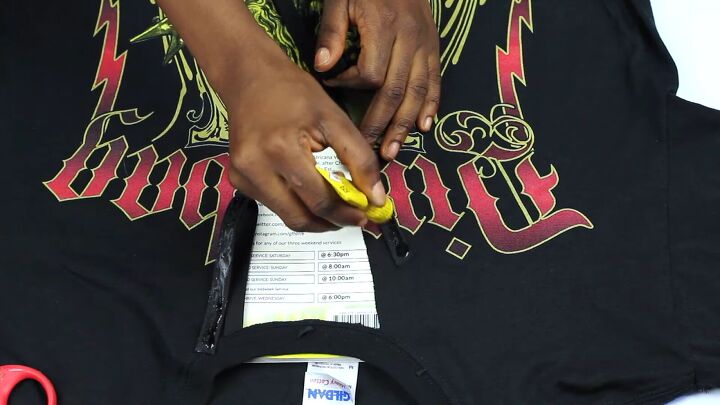
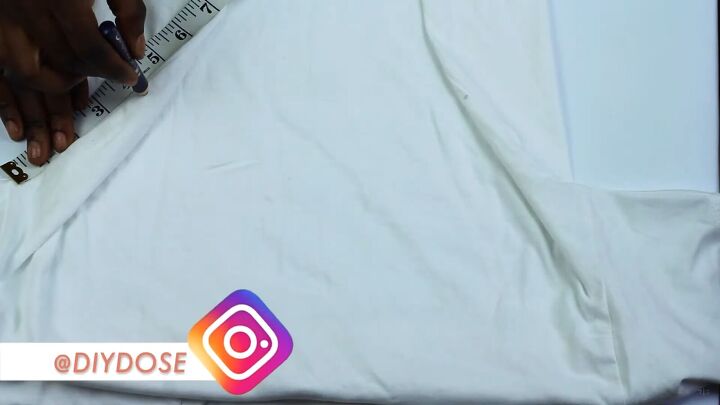
1. Mark and measure
For the first t-shirt, mark where you want the v-neck to end. Then, you pinch that point, as shown.
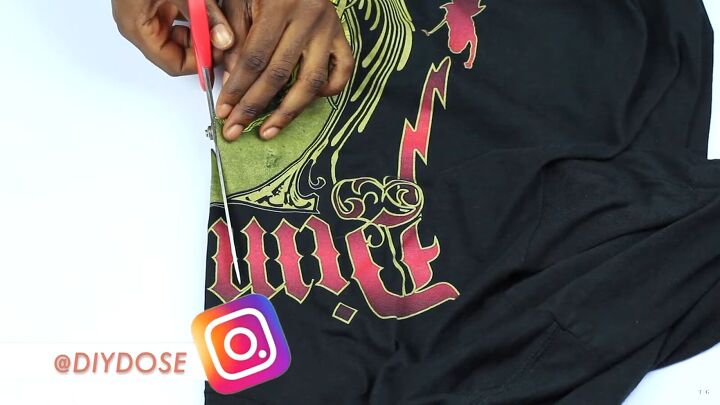
2. Cut out a v-shape
Then, turn it on its side and cut out a v-shape.
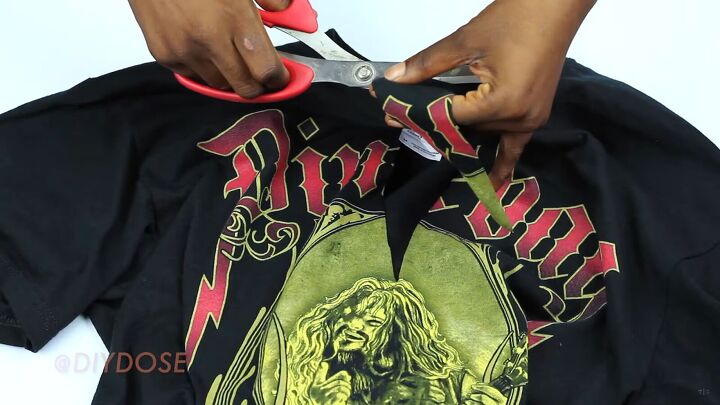
Cut the excess from the neckline. Be careful not to cut off the collar area as this holds the shape together.
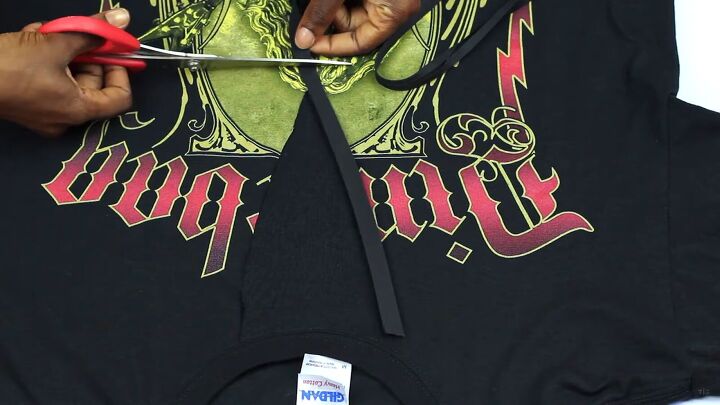
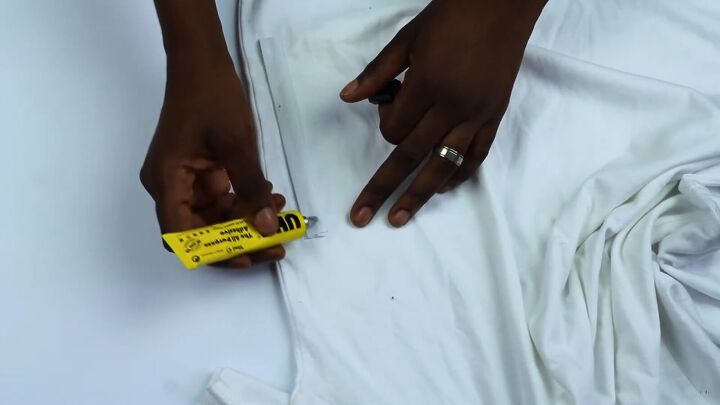
3. Place bias tape
Next, place bias tape around the raw edges and cut to size.
Add some fabric glue to the bias tape. Also, place a scrap piece of paper inside the t-shirt to avoid messy mistakes. Glue down the bias tape.
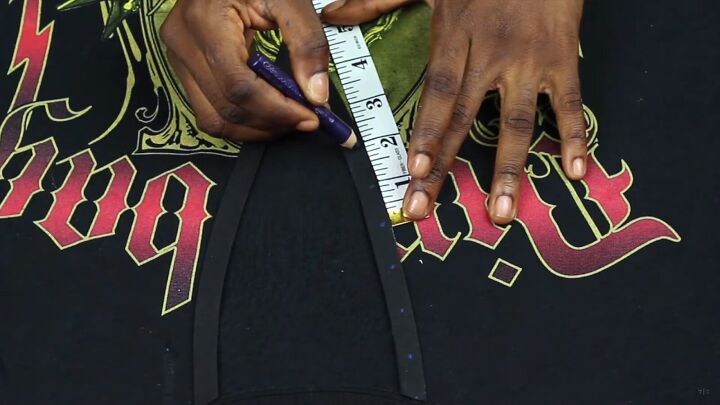
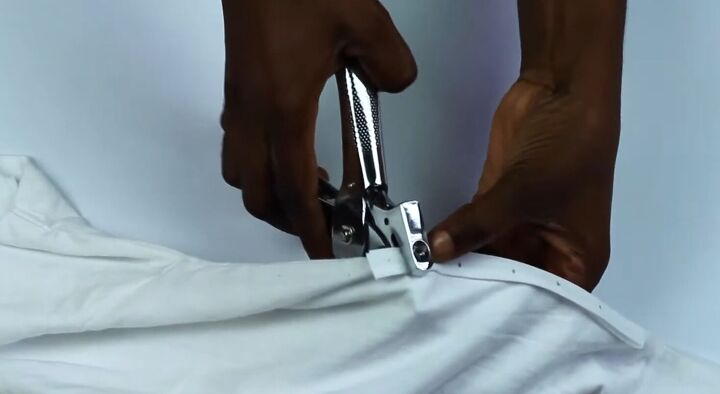
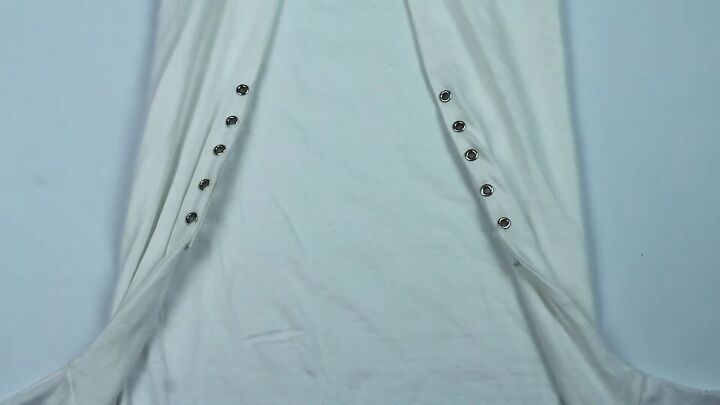
4. Add grommets
Mark where you want your grommets to be placed on your new lace-up t-shirt. I measured mine in 1-inch increments.
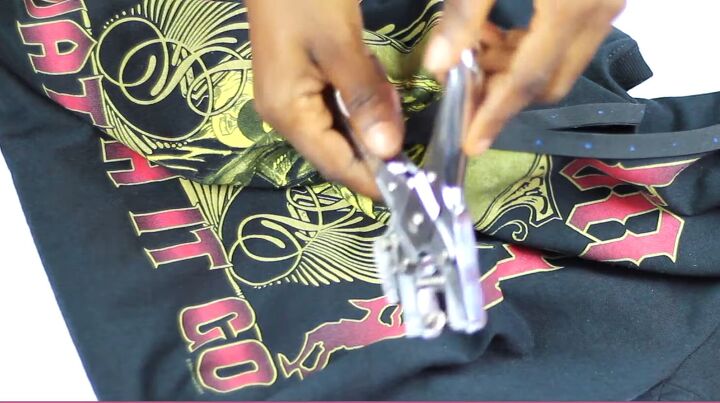
Use an eyelet tool to punch holes through the bias tape.
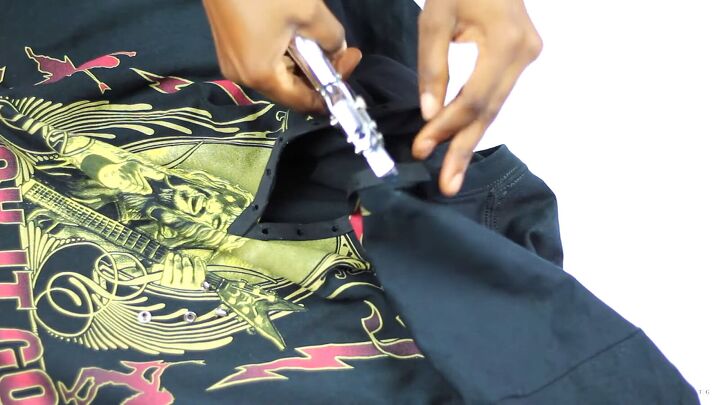
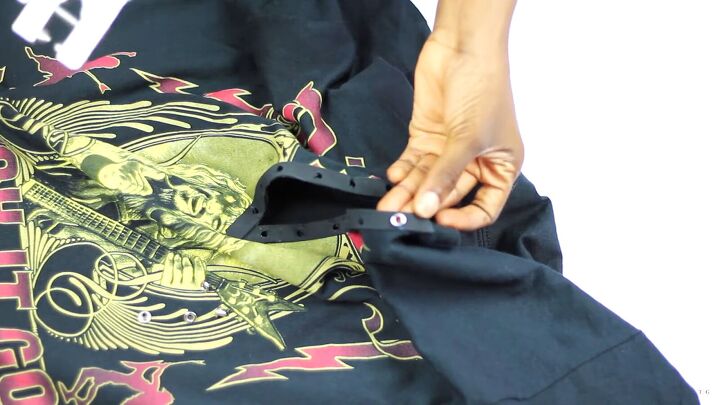
Insert your eyelets and use the same tool to press them down in place. Repeat on the remaining holes.
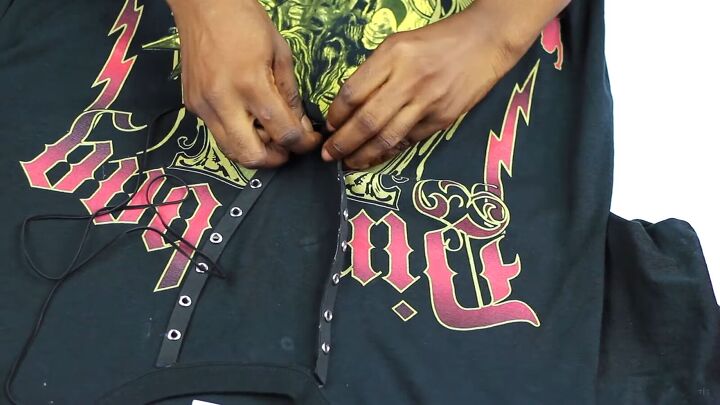
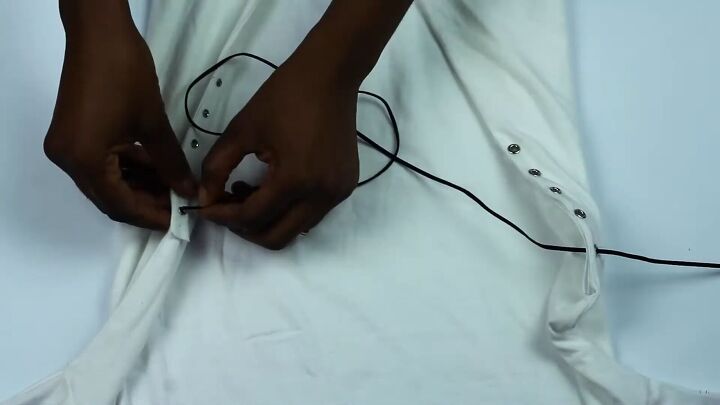
5. Feed the cord through
This lace-up graphic t-shirt is almost complete. Now, take some cord and feed it through the eyelets with a criss-cross method.

Tie off the ends and hide them behind the t-shirt.
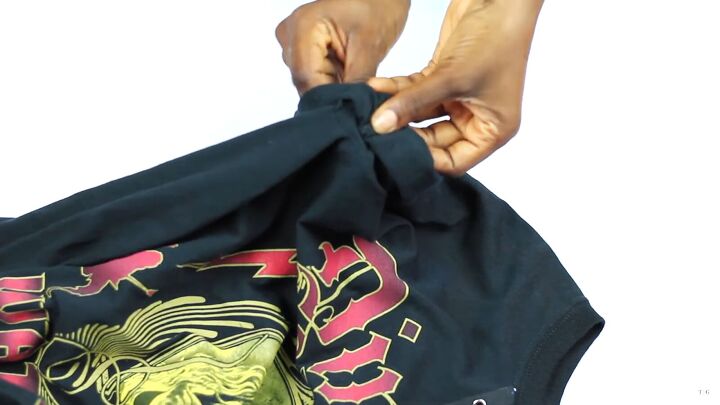
6. Fold and stitch your sleeves (optional)
For a finishing touch, carefully fold your sleeves to your desired length and hand stitch each side in place.

What do you think of the edgy DIY lace-up t-shirt? I love the neckline lace; it gives a unique vibe and detail to this otherwise normal t-shirt.
Now, let’s move on to the second tutorial on how to lace up a t-shirt on the bottom section.
DIY lace-up t-shirt tutorial 2
1. Mark and measure
From the side of your t-shirt, mark where you want the lace-up detail to begin. Make sure the measurements are the same and are symmetrical on both sides.

2. Add bias tape
Glue some bias tape together, so you land up having a thick, double layer. Make sure it’s the same size as the fold you created.
Then, glue it down to the side.
3. Add grommets
Just as in the first lace-up t-shirt tutorial, punch holes with your eyelet tool, as shown. Mark and measure where you want each grommet to be placed, too.
Then, add the grommets.
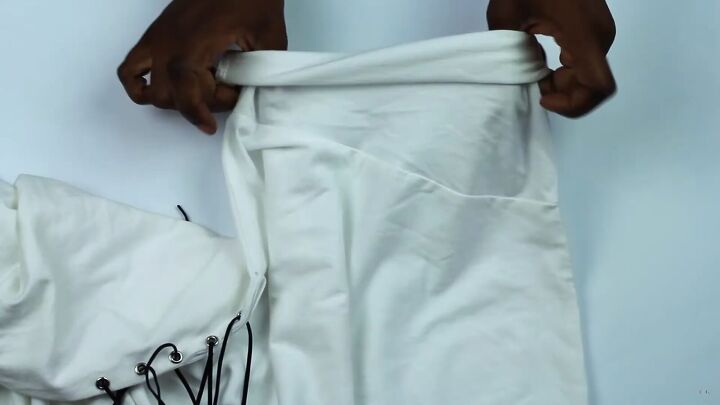
4. Add the lace-up cord
Lace-up the t-shirt from top to bottom.
5. Fold and sew the sleeves (optional)
Fold the sleeves and stitch accordingly.

That’s it! It’s so easy to make this DIY lace-up t-shirt. I love the front detail, and it really transforms a boring and plain t-shirt into something fitted and flattering.
DIY lace-up t-shirt tutorial
Thanks for joining me on this quick and straightforward tutorial. Let me know which DIY lace-up t-shirt style you like the most.
The author may collect a small share of sales from the links on this page.


Comments
Join the conversation
So cute! Good idea!