Make a Snazzy Embroidered Shirt the Simple Way

You don’t need a sewing machine to make an embroidered shirt. Embroidering a shirt by hand will also suffice, and guess what? It’s super fun, too! I’m going to show you how to embroider a shirt with two different, stunning designs. You’ll be surprised how easy it is to transform a boring old “meh” kind of item into something cute and playful. I know you’re probably wondering how I’m going to do this, so let’s jump into it and start the DIY embroidered shirt tutorial!
Tools and materials:
- Printed picture
- Shirt
- Pencil
- Needle
- Thread
- Fabric marker
- Jacket
- Stencil kit
Tutorial 1 -White shirt
Transfer the design
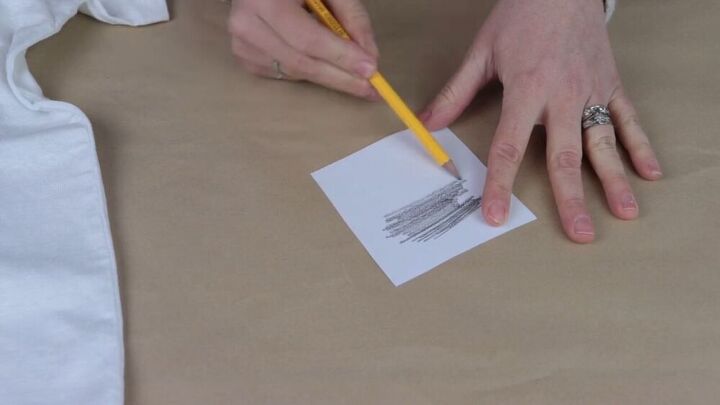
I wanted a cute embroidery design on the pocket of this plain white pocket t-shirt. Take a rigid wooden board and put it in between your shirt. You’ll need a nice hard surface to work on. Then, transfer this adorable image onto the pocket. I did this by first shading on the back of the paper. Ideally, covered in lead, anywhere where there’s an image.
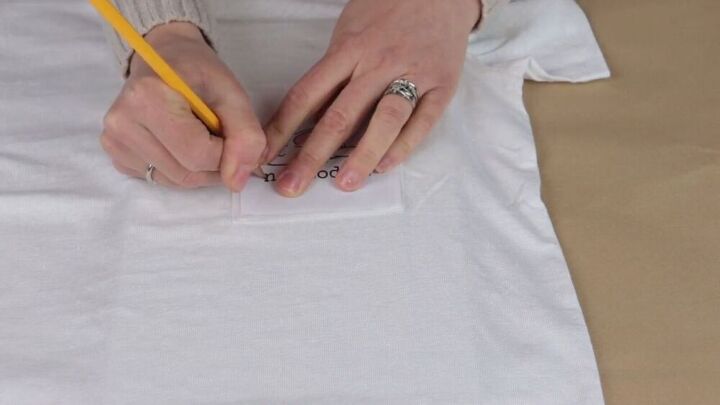
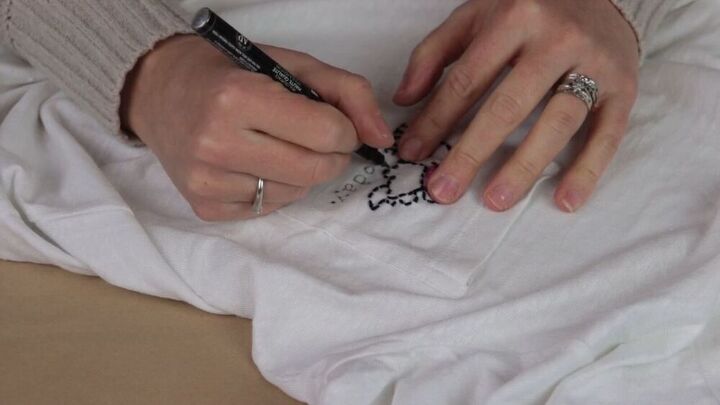
Make the outline
Now, lay the image on the fabric, and with your pencil, trace around the outline of the graphic. This is a cool transferring hack. The lead that’s on the back of the paper will transfer onto the fabric, but only the part you outline with the pencil. Magic!
TIP-
Be sure to press firmly while doing this step.
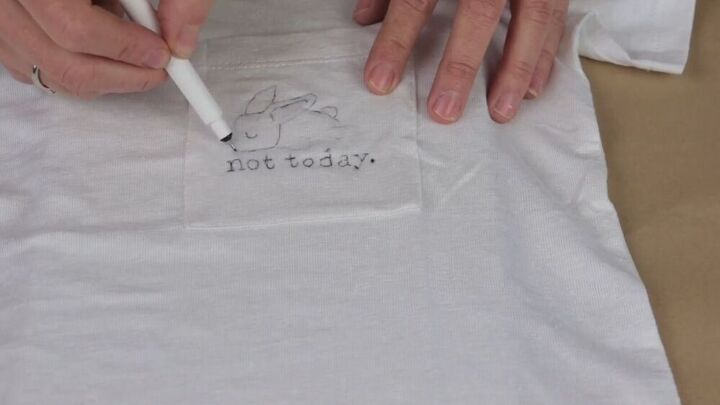
Go over the image with a marker so that it’s more visible and thus easier to follow when you start embroidering.
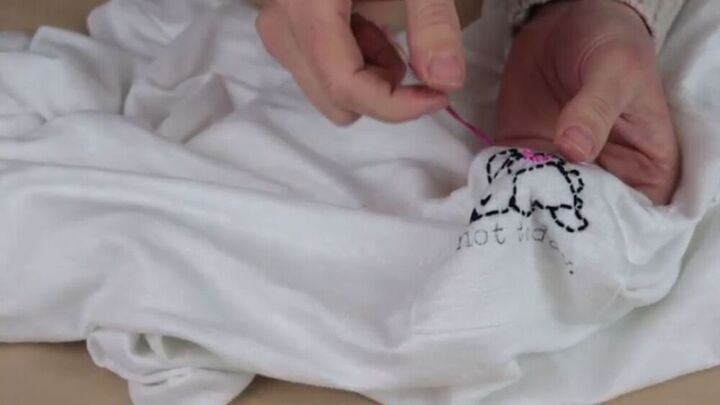
Embroider all around
Now, here’s the exciting part! It’s time to start embroidering this DIY embroidered shirt. Taking a colored thread of your choice, embroider the outline of the image. There’s no special technique to this- Just a needle and thread! Feel free to add any other colors; I put some pink for the bunny’s ears; giving it a cool dimension.
Go over the words
I didn’t want to embroider the letters since they are small anyway; I thought it would be best to go over them with a fabric pen.
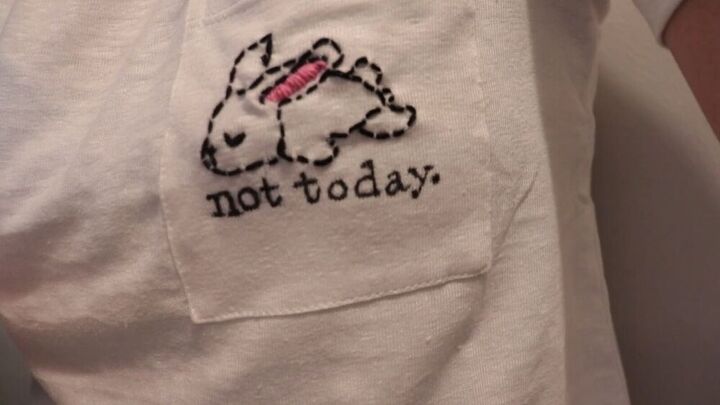
That’s it, here’s the stunning result. It’s definitely fun to embroider and turn something simple into a more sophisticated item. I just love how this embroidered shirt turned out, it’s so unique, don’t you think?
Tutorial 2 - Denim Jacket
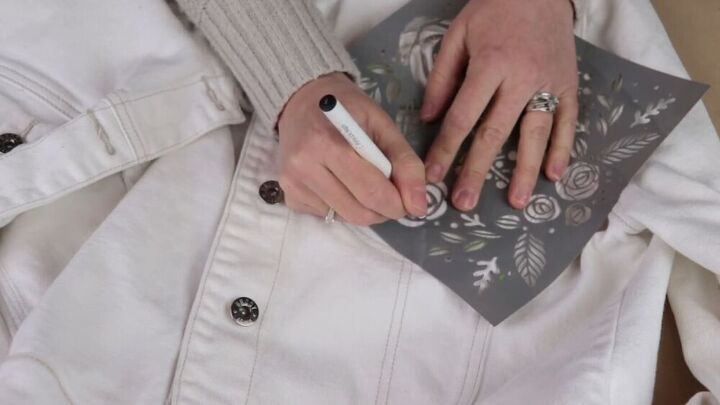
Trace the stencil
So, I decided to jazz up an old, white denim jacket. For this technique, I used a stencil to get a lovely rose design on the pocket area.
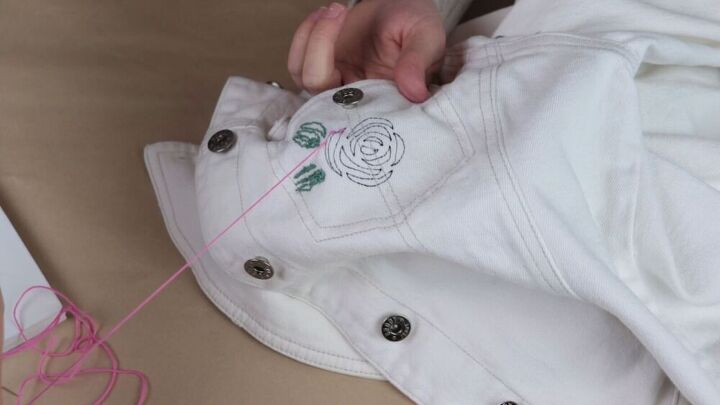
Start embroidering
I traced the design with a pen, and went ahead with the fun embroidering part! I did a simple embroidery technique around the outline. I used a lovely green color for the leaves and pink for the petals.

We’re done! It’s so simple and fun to create. Here’s the finished look! I love how it gives the jacket a classic feel. I really love how this came out.
The two fun options I showed you in this tutorial can be repeated on almost any clothing item, and of course, you can choose any design you desire. Once you have the design sketched out, it really is so easy to follow, even beginners can ace this project. So before you think of throwing out a mundane t-shirt or jacket, try these super cool embroidery tricks to spruce up your closet!
The author may collect a small share of sales from the links on this page.


Comments
Join the conversation
Embroidery is a great way to hide stains and oopsies too!