How to Cut T-shirts Into Tank Tops & Halter Tops in a Few Easy Steps

In this DIY, I’m going to show you how to cut t-shirts into tank tops. I have three t-shirt cutting designs and I’ll walk you through each of them step-by-step. This DIY is so easy and doesn’t require any sewing, we’re simply going to transform the t-shirts into different styles by cutting them.
Tools and materials:
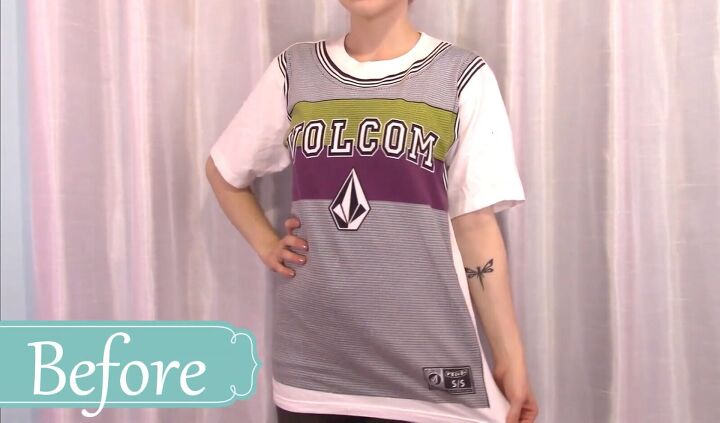
- One oversized t-shirt
- Two tight-fitting t-shirts
- Scissors
- Chalk
Cropped tank top
1. Mark the t-shirt
Put your oversized t-shirt on inside-out and mark the edge of your shoulders. Then remove the top, lay it flat, and make sure your marks are even.
2. Cut off the sleeves
Starting at your shoulder marks, cut off the sleeves, following the shape of the seam.
3. Cut off the collar
Starting with a small hole, carefully cut off the collar.
4. Shorten the top
Grab one of the sleeves, line it up with the bottom of the armhole, and mark the length. Cut your shirt at least this long.
Here is the finished look! I love the new cropped design.
Racerback tank top
1. Mark your collarbone
Take one of your tight-fitting t-shirts, put it on inside out and mark where your collarbone meets the collar of the shirt.
2. Draw a line
Lay the shirt flat and draw a curved line from below the sleeve to your collar marks on each side.
3. Cut the t-shirt
Start cutting from underneath the sleeve through both layers, stopping at the collar.
Flip the collar over and continue to cut on the back layer. Be careful not to cut through the collar. Cut around the collar to finish removing the sleeve and repeat on the other side.
If you have extra space on the sides, grab the bottom of the armhole and fold it inwards.
Here is the finished racerback tank top. I love the shape of it!
Convertible halter top
1. Mark the t-shirt
Put the t-shirt on inside out and mark how low you want the neckline. Then mark how deep you want the open back.
Lay the shirt out flat and draw a v-neck using your neckline mark and the edge of your collar.
2. Cut the t-shirt
Then, cut out the new neckline on the top layer.
Then continue cutting the rest of the collar off in the back.
3. Draw a line
Flip the shirt over, and starting from the bottom of the sleeve, draw a curved line through your back mark connecting to the other side.
4. Cut the back layer
Put your hand inside the shirt and cut through the back layer only.
5. Cut the sleeves
Turn the shirt back and carefully start cutting around the sleeves.
6. Mark the straps
Flip the shirt again so that it’s backside up. If the armholes are still attached to the back, cut these pieces. Next, fold the top part of the back upward and lay it flat, you will use this fabric to create the straps. Draw out the straps.
7. Cut the straps
Proceed to cut out the middle part.
8. Stretch
Last but not least, stretch the straps.
Here are two different ways to style this halter, but I’m sure you can find some more. The first way is to twist each strap inwards until tight, then tie them behind your neck.
Another way is to cross the straps in front and then tie them behind the neck.
How to cut t-shirts into tank tops and halter tops
I hope you enjoyed learning three different ways that you can transform your t-shirts. They are all so easy to achieve and don’t require any sewing at all.
Let me know which one is your favorite style in the comments below - the cropped tank top, the racerback tank top, or the convertible halter top.
Enjoyed the project?
Suggested materials:
- One oversized t-shirt
- Two tight-fitting t-shirts
- Scissors
- Chalk
The author may collect a small share of sales from the links on this page.


Comments
Join the conversation