How to Make a Color-Block Shirt Using Your Grandad's Old Clothes

Today, I'm upcycling one of my grandfather’s old shirts and transforming it into a color-block shirt. I'll be spicing it up a little and slimming it down. If you want to see how to make a color-block shirt, then keep reading.
Tools and materials:
- Oversized shirt
- Bodice and sleeve patterns (optional)
- Fitted shirt (optional)
- Sewing machine
- Matching thread
- Fabric
- Scissors
- Marker
- Pins
- Measuring tape
- Iron

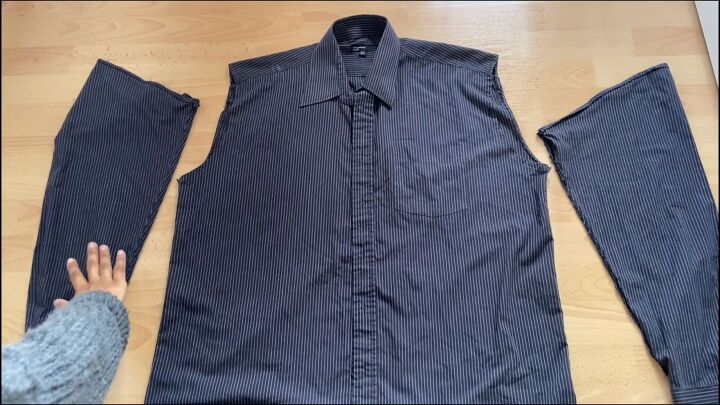
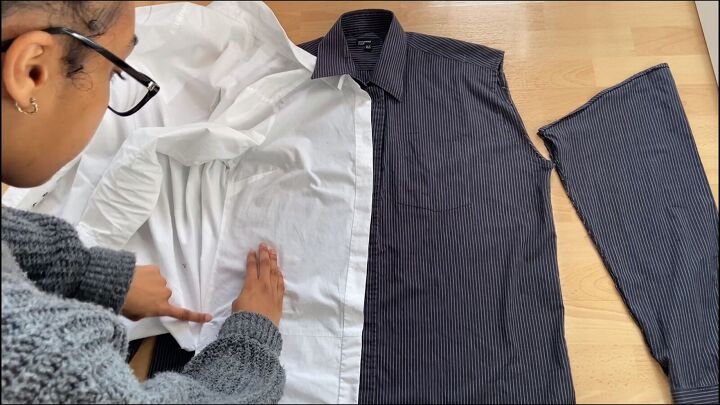
1. Unpick the sleeves
Detach the sleeves with a seam ripper.
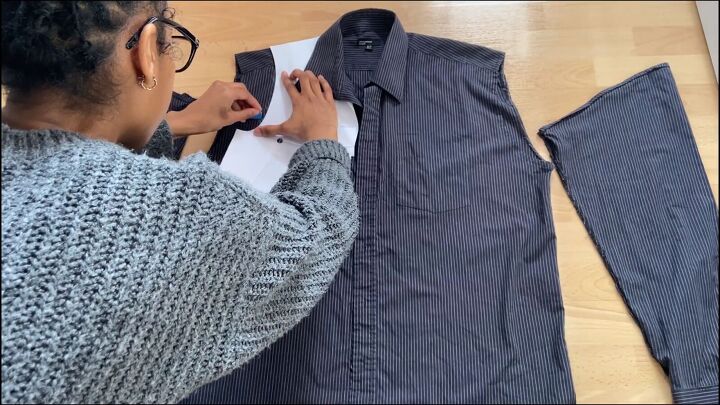
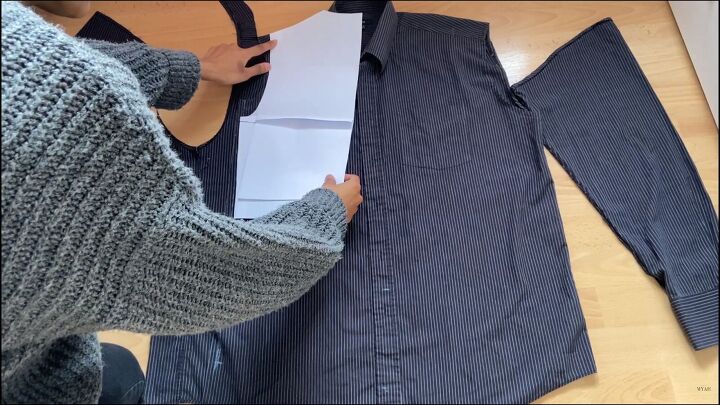
2. Slim down the shirt
There are two ways to tailor the bodice. The first is to use a pattern.
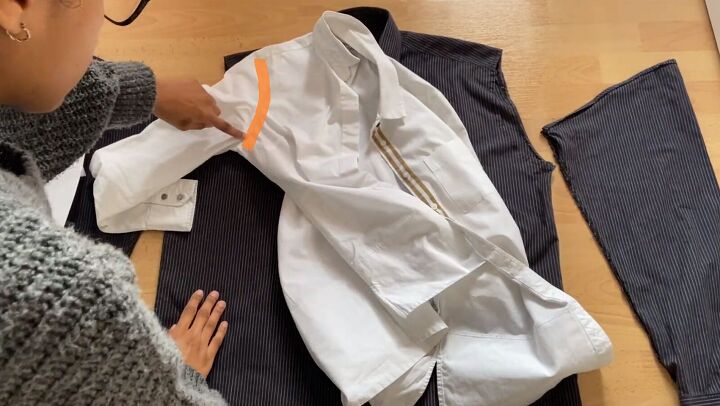
Or, use an existing shirt. Align the shoulder where it drops and trace.
Add seam allowance to the armholes.
Line up the shirt with the collar. Mark the side seam.
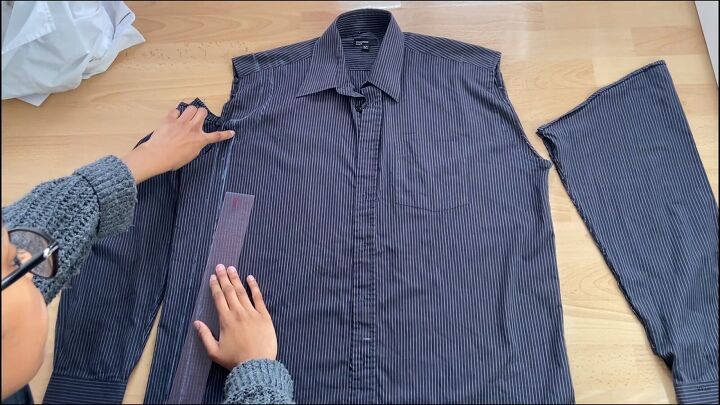
Straighten with a ruler and add seam allowance.
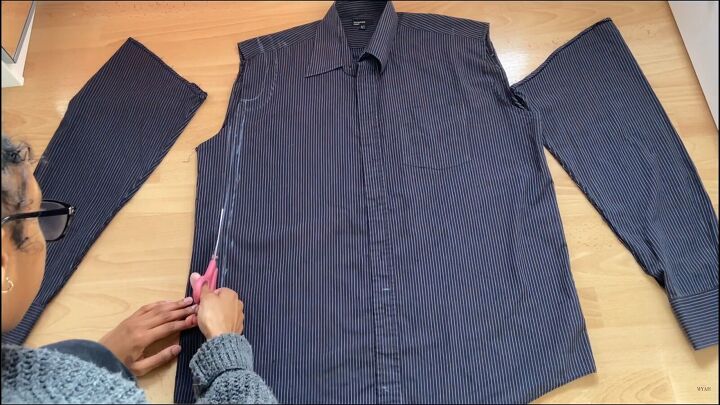
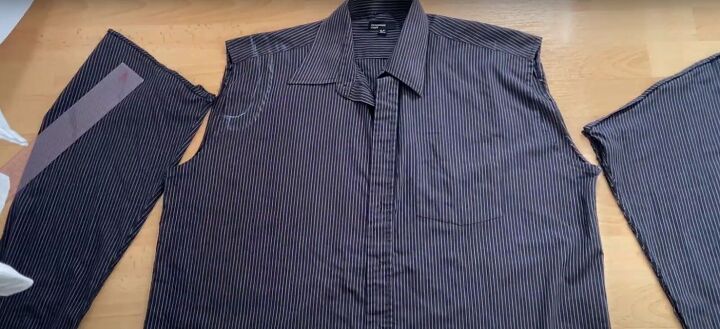
3. Cut the shirt
Cut along the traced lines.
Do the same on the back. Remember the armhole is different from the front.
4. Shape the sleeves
Trace the sleeves. Line up the top of the sleeve with the edge of the shoulder. Mark the armhole line.
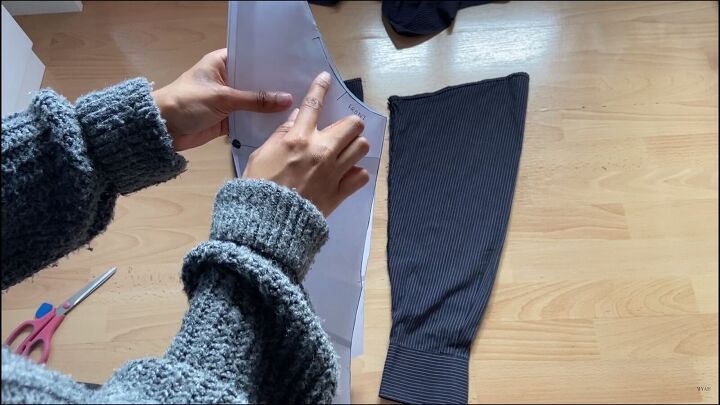
Now, do the same for the front, including seam allowance.
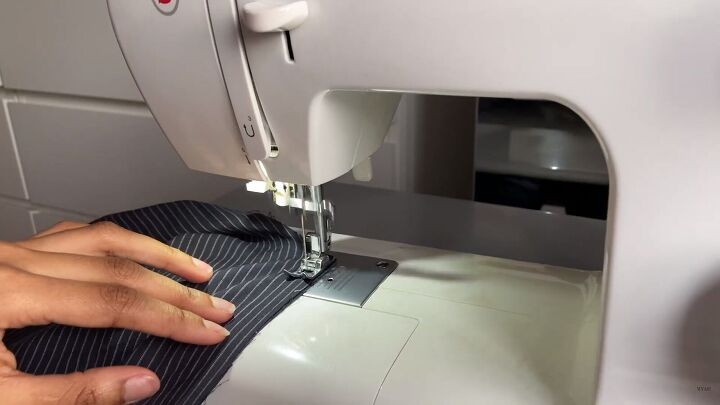
5. Attach the sleeves
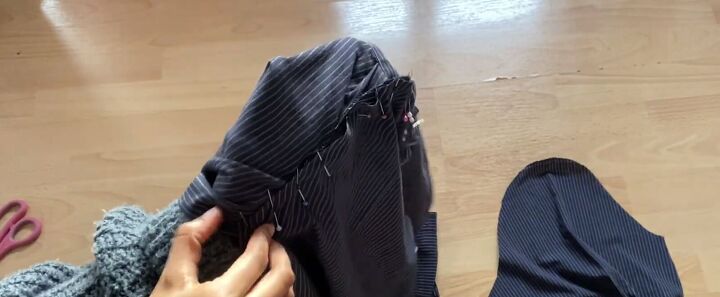
Align the center of the armhole and sleeve, right sides facing, then pin all around.
Stretch the pinned layers as you sew to straighten out the ripples.
Alternatively, fold the side seams of your bodice and sew down the side, right sides facing. Give it a good press after. Repeat for the second sleeve.
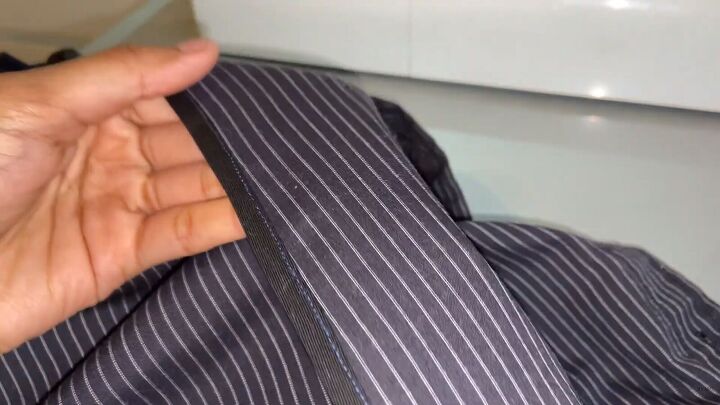
I finished my seams with a bias band.
Next, sew down the side of the sleeves.

Try on the shirt and make any adjustments.
6. Crop the shirt
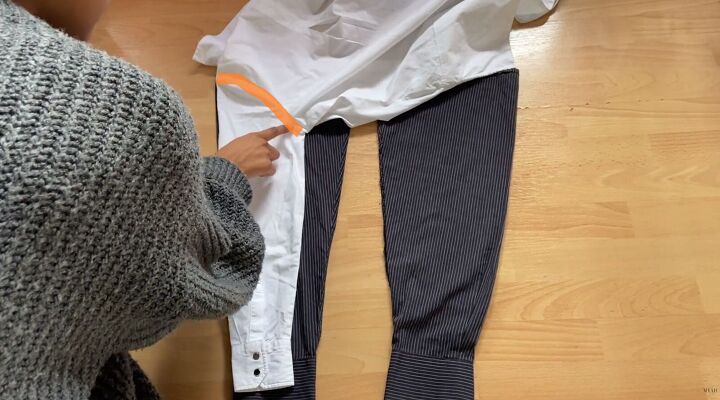
Make a mark where you’d like the shirt cropped.
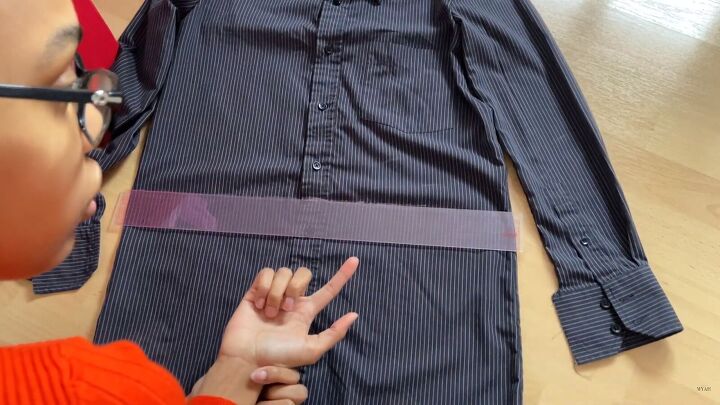
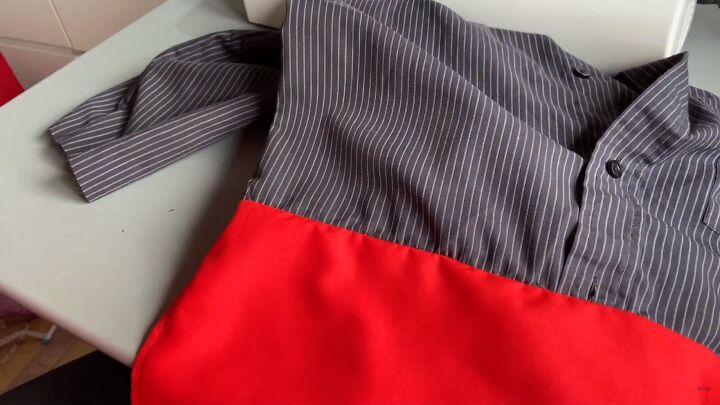
In the reference image, the red fabric gets introduced seamlessly. To do the same, mark the line you want (with added seam allowance) and ensure it continues to the sleeves.
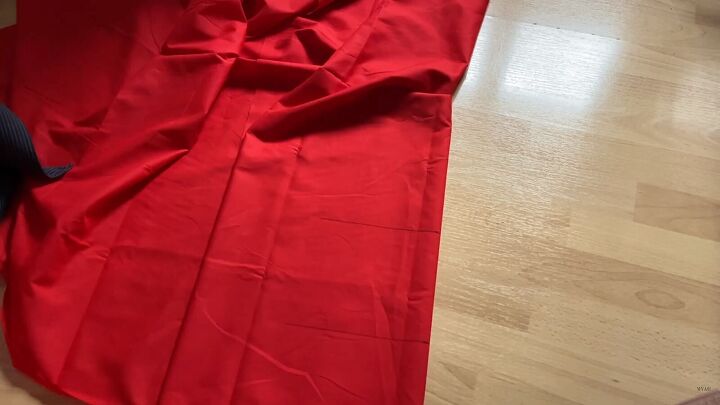
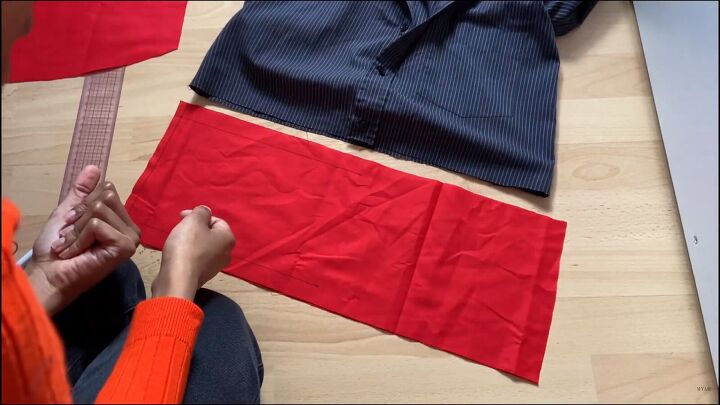
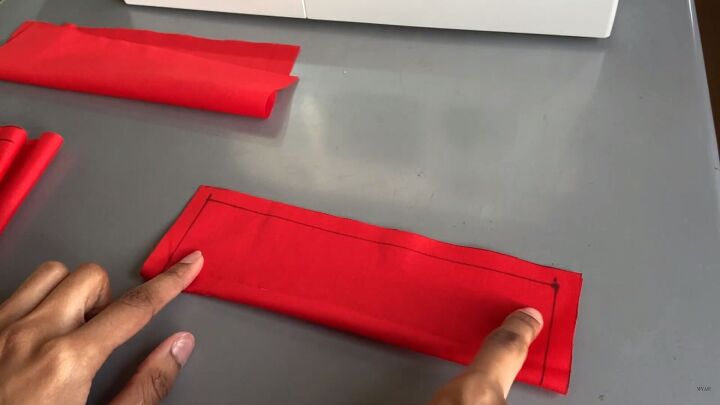
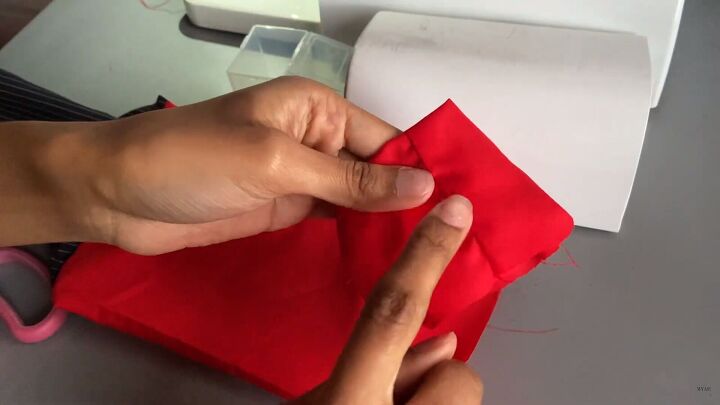
7. Cut the fabric
I doubled up the red fabric because I want it to be thicker. Fold it in half and mark how long you want the bottom piece to be on the folded edge. Mine is 15cm (5.90”). Extend these lines.
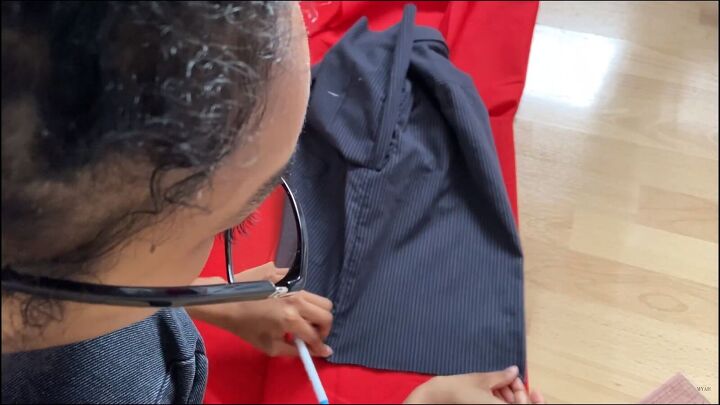
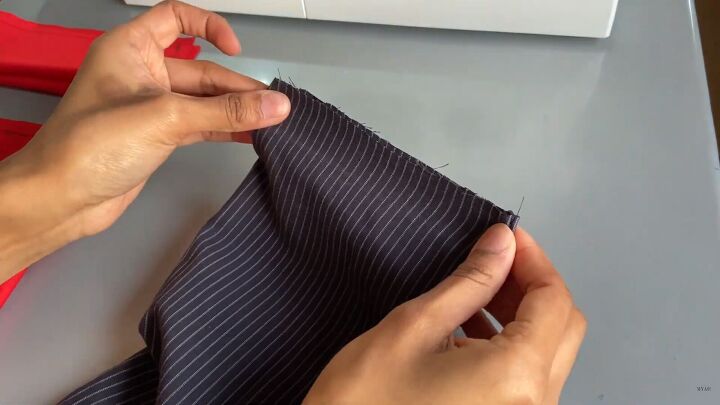
Fold the back of your shirt and match it to your measurements by putting it along the folded edge. Then, mark where the seams end.
Square off the line, as shown.
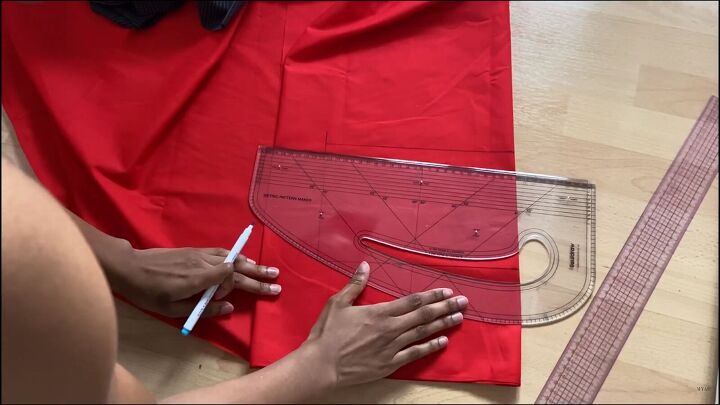
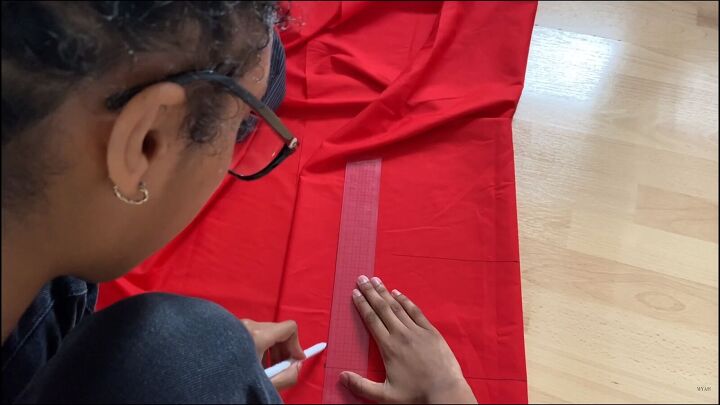
I’d like my back piece to be curved, so I’m using a curved ruler. You can also use a pattern or shirt with a rounded bottom.
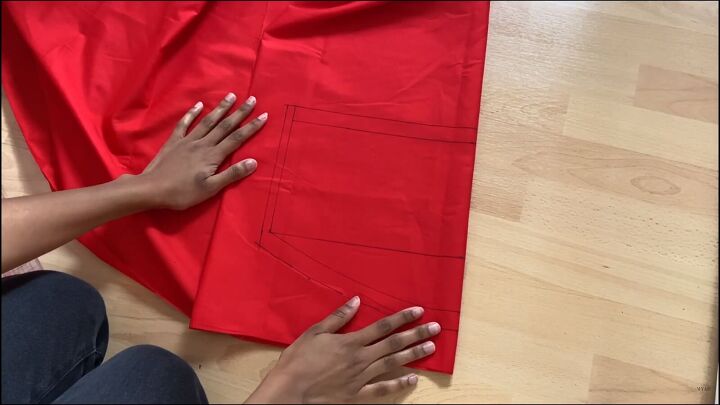
Add seam allowance and cut out this piece. Do the same to the front, too.
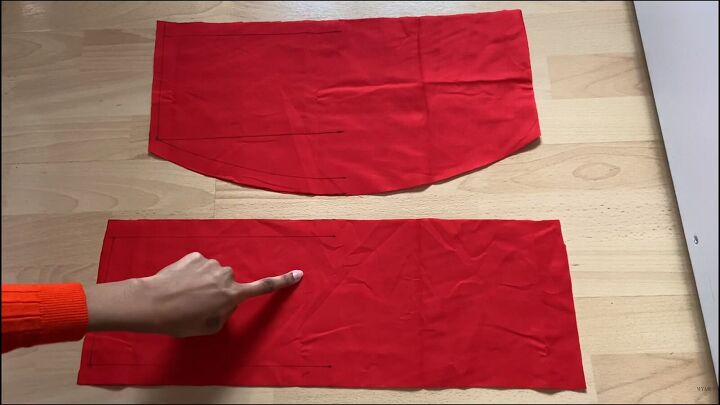
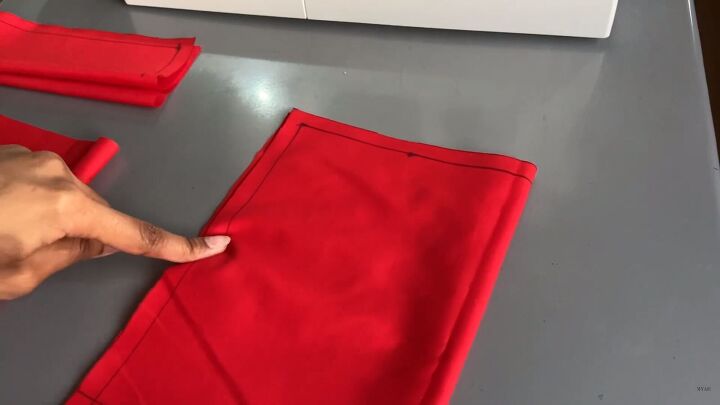
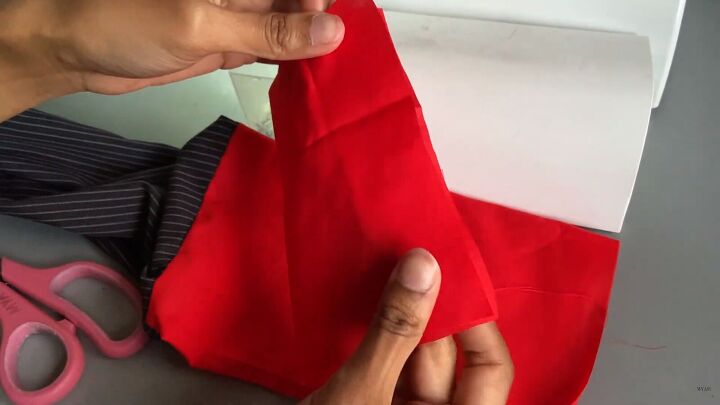
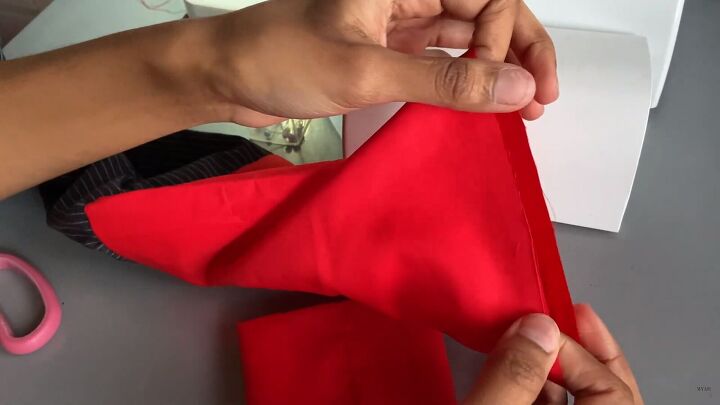
Here are my back and front pieces.
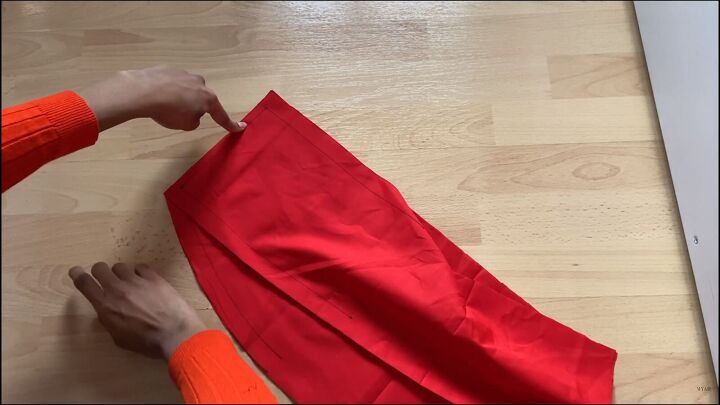
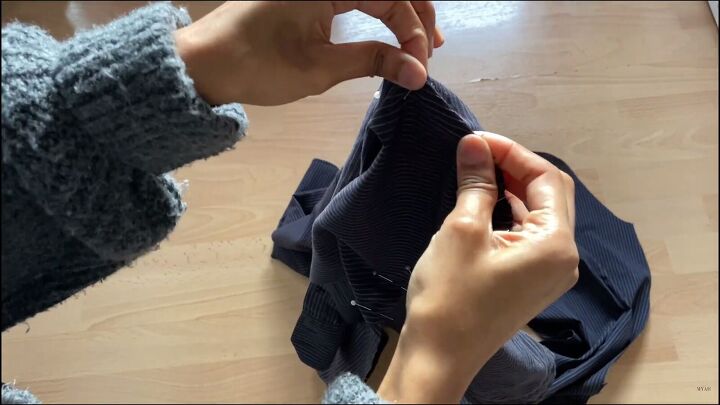
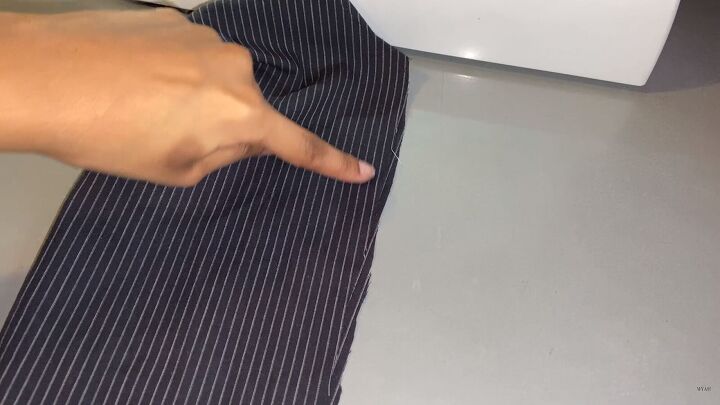
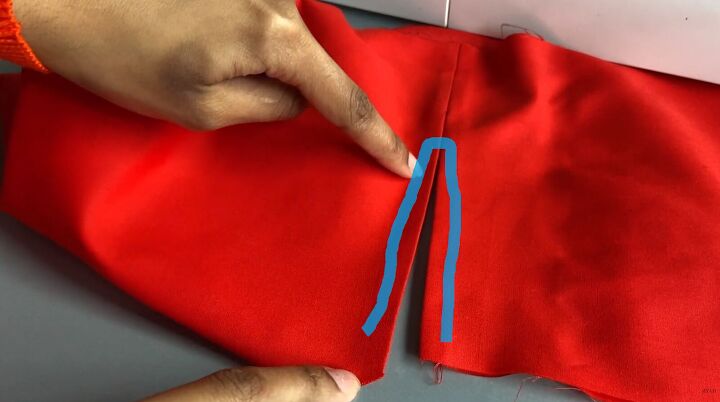
Line up the sides and connect them. I want a slit in the side of my
shirt. I’ll stop sewing around where my finger is pointed.
Before sewing, double-check that all pieces match up. The front piece was just a little bit longer in my case.
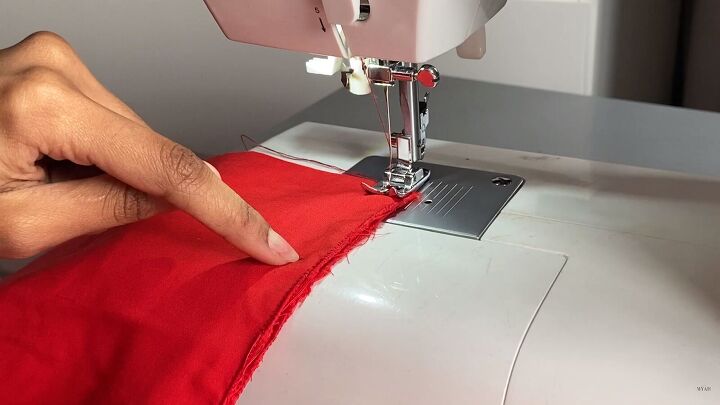
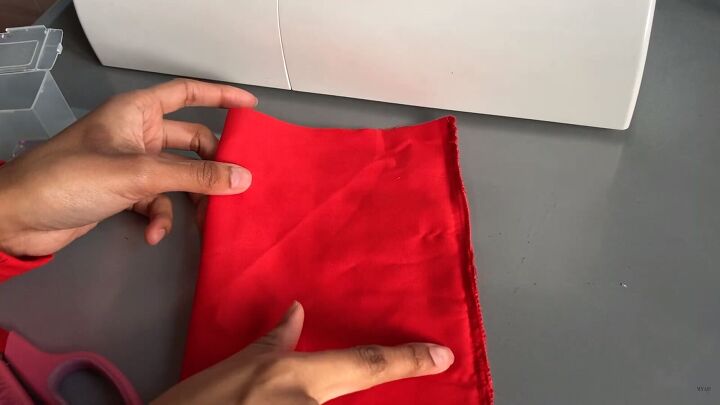
Finish the raw edges with a zigzag stitch and sew until the slit, then backstitch.
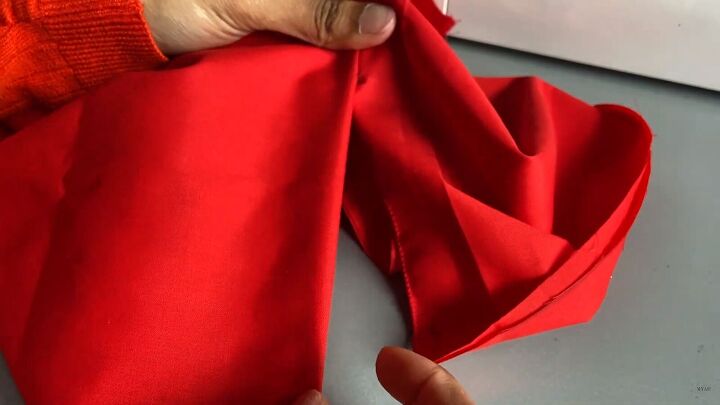
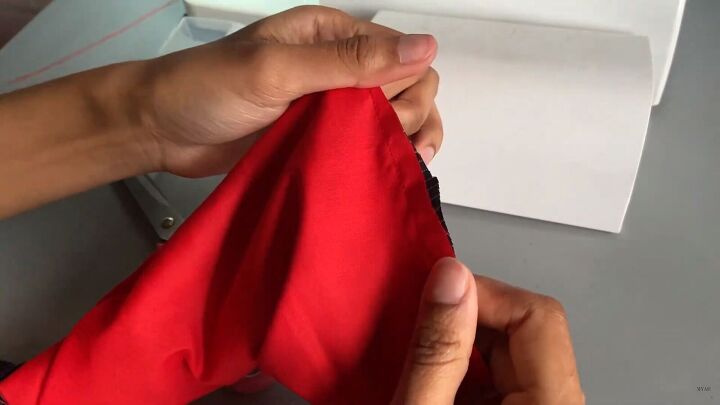
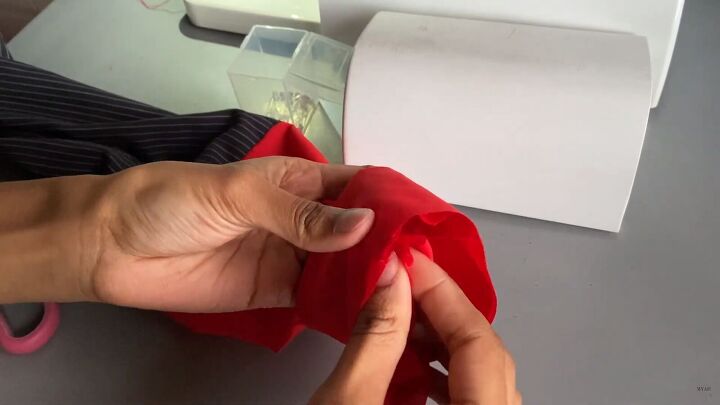
To finish these edges, fold them back and press the folds.
Once ironed, sew the slit from the bottom up, then pivot back down.
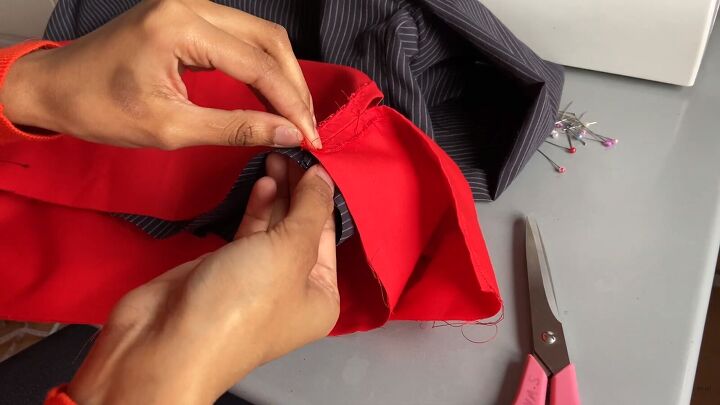
8. Assemble the DIY color block shirt
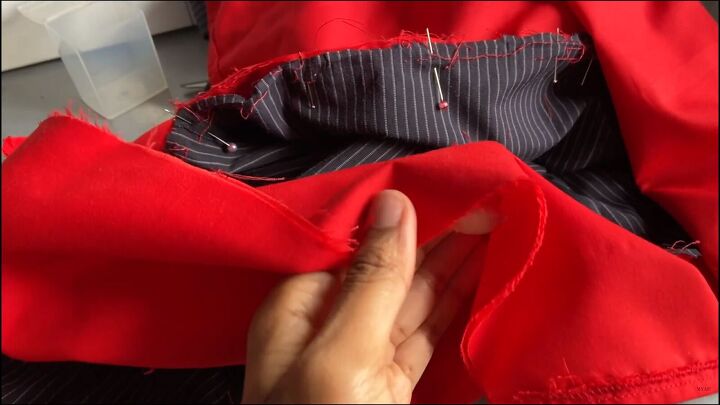
With right sides facing, line up the seam (where the split is) to the center seam of the shirt and pin that in place. Repeat for the back piece. Once complete, do a straight stitch all around.
Iron the seam allowance and topstitch.
9. Finish the sleeves
Measure the circumference of the sleeves; mine was 15.5cm (6.10”).
Measure 15.5cm (6.10 “) from the fold of the fabric. Add seam allowance to the bottom, top, and sides. Sew around the lines with a straight stitch.
For the cuff, measure your wrist. Mine is 20.5cm (8.07”). Put the fabric on the fold, mark your measurement and add 1cm (0.39”).
Sew the side seam of your sleeve and attach it to the armhole.
A zigzag stitch will neaten the edge and prevent it from fraying.
Fold the cuff piece right sides facing. Sew down the side.
Fold the piece upward and iron.
Sew a basting stitch along the raw edge of the sleeve. Pull the thread to gather until it fits the cuff.
Place the sleeve into the cuff, right sides touching. Align the side seams and secure with a straight stitch.
10. Hem
Hem the bottom.
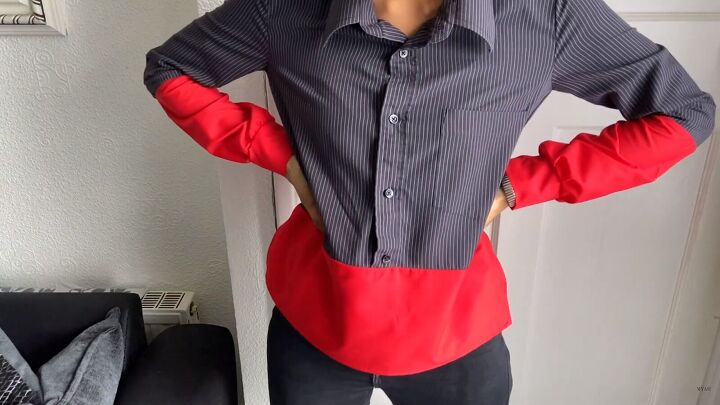
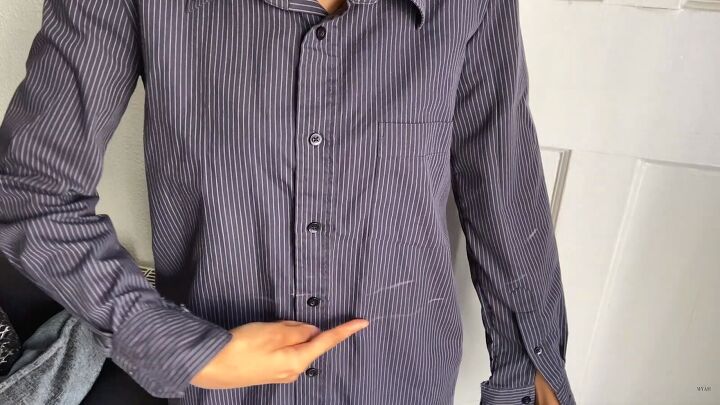
How to make a color-block shirt
What do you think of this trendy color-block shirt? I hope you enjoyed this tutorial on how to sew a color-block shirt. Thanks for joining me.
The author may collect a small share of sales from the links on this page.


Comments
Join the conversation
I love your design even better than your inspiration piece. Well done!
i admire anyone that has sewing skills. However, why not just dye the bottom of the shirt and shirt sleeves to get the same results without deconstructing the shirt and/or sleeves of it? Just my two cents.
Again, major props to you and everyone else out there who knows how to and likes to sew.