How to Make a Stylish Crop Top

Today, I am going to show you how to make a crop top from a shirt I previously refashioned.
I didn’t use the sleeve pieces of the shirt and didn’t want to throw them out, so I came up with this awesome DIY crop top idea. I thought this would be a great tutorial for anyone who is interested in upcycling clothes; it’s easy, super cheap and you end up with a trendy little shirt.
Tools and materials:
- Scrap arm pieces
- Pins
- Sewing machine

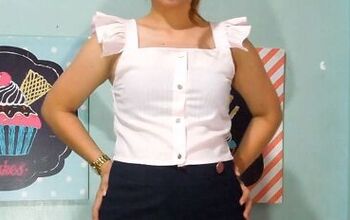
These are the pieces I had left over from the shirt I cut up. Find something similar and let‘s start this step-by-step DIY crop top!
1. Put the sleeves on your arms
Start off your DIY crop top by turning the sleeve pieces inside out and putting them on each arm.
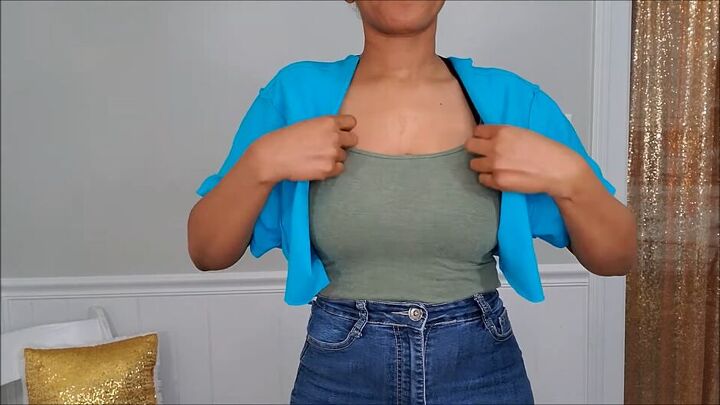
2. Adjust the top to find the center
Place the top on your body and make sure both sides are evenly spaced at the top, bottom, and sides.
Now find the center point where the two pieces will be joined.
If you are using cotton fabric, take into account that it will roll on the edges once cut, so while finding your center make sure to unroll these edges.

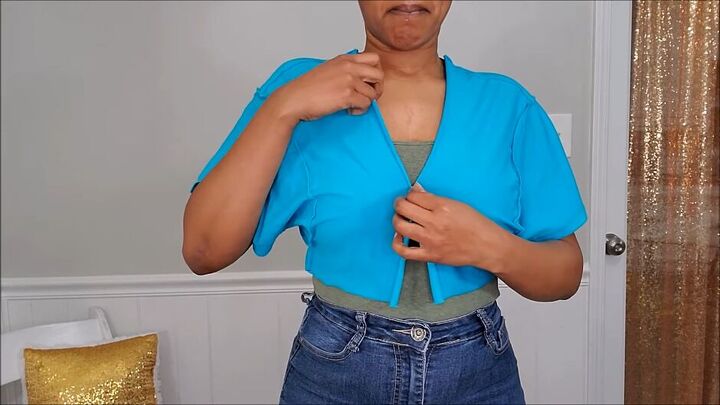
3. Pin the center
Once you have found the center, pin the two pieces together.
We are going to sew a seam down the center here, to attach the pieces together.
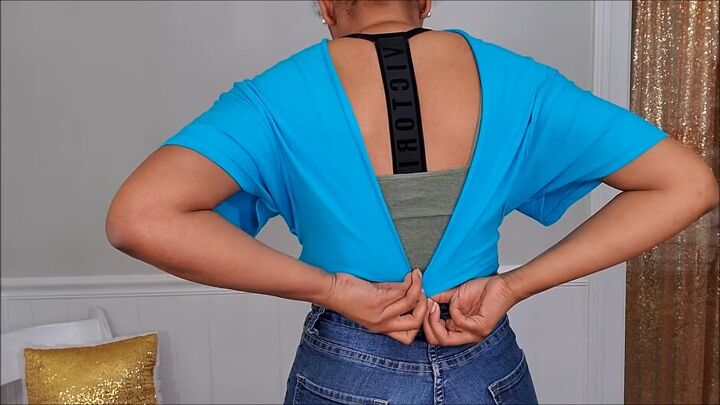
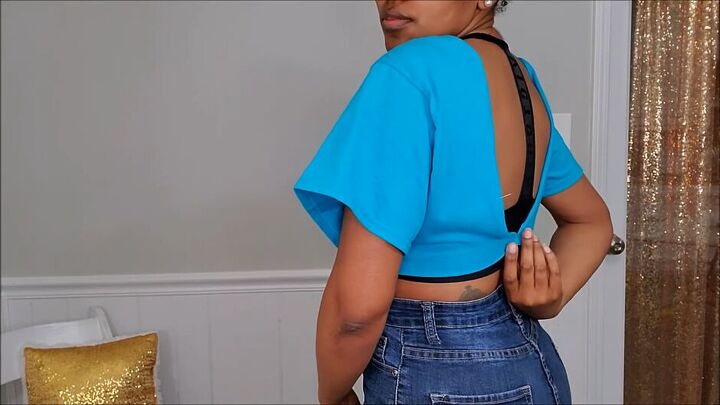
4. Pin the back
Now you need to pin the two pieces at the back. You have to be a little bit flexible here!
You can see how I pinned it here. We are going to stitch it at the bottom with the pin as our guide.
If you have any extra fabric scrap pieces from the refashioned shirt you could add a few straps across the back, by the shoulders. I didn’t have any, so I left it as is.
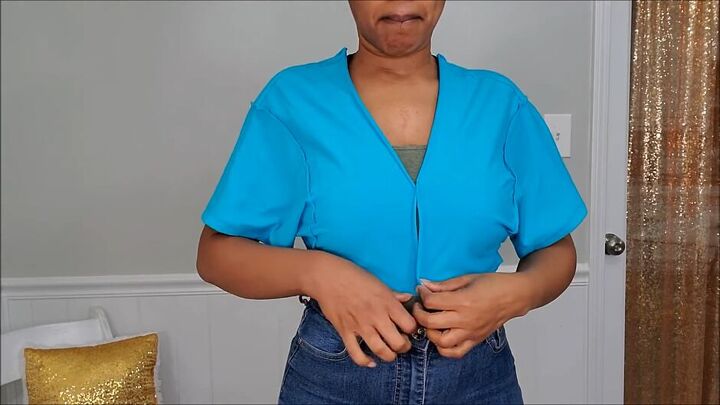
5. Sew the two pieces together
Stitch down the front of the shirt and the bottom back of the shirt.
6. Neaten the edges
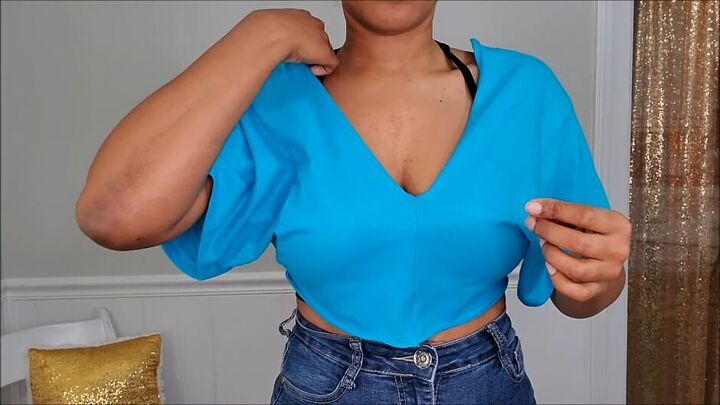
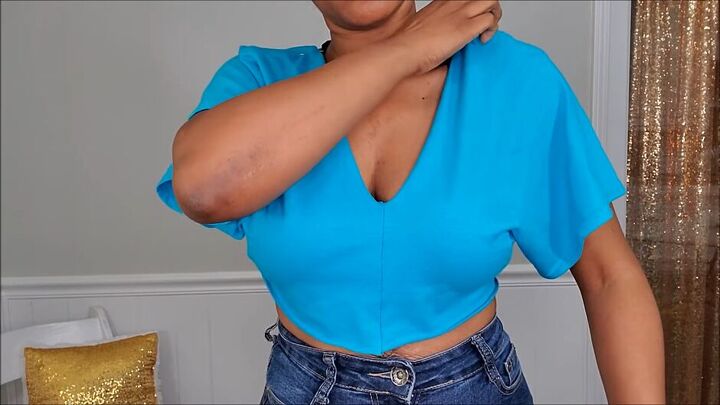
Make sure you are wearing the crop top right side out and tuck the edges by the shoulders in.
Pin them down.
Pin down the edges of the back of the shirt as well.
Go ahead and sew the pinned edges to neaten up the top.
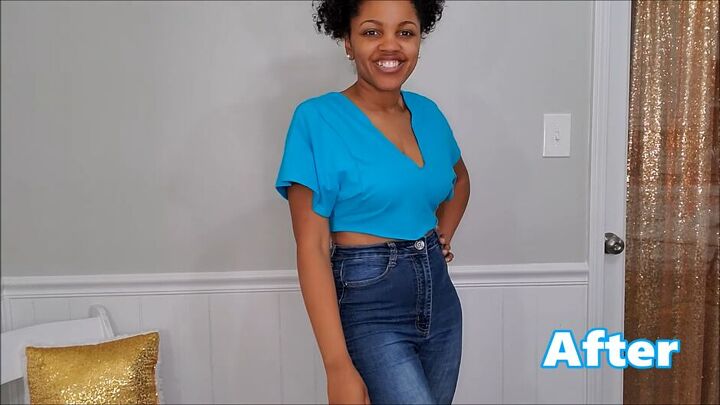
How to make a crop top
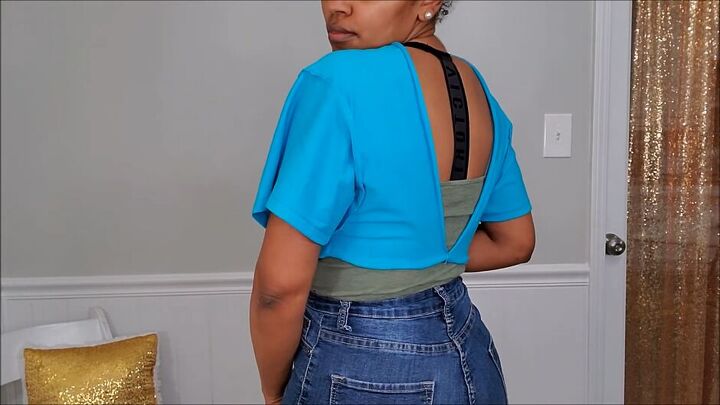
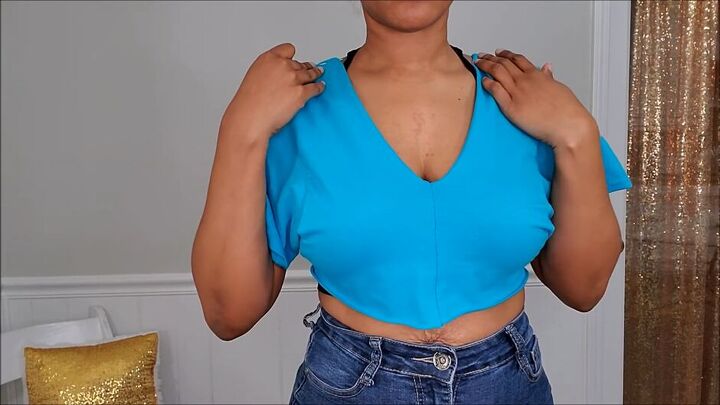
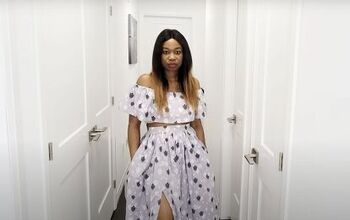
Here is the finished DIY crop top. I paired it with my high-waisted jeans and swooped my hair up so that this gorgeous neckline is highlighted.
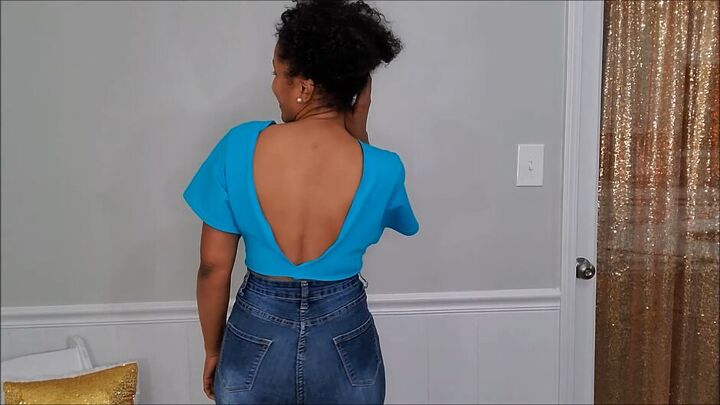
How cute is the back? I am loving the low cut, it gives the crop top a little bit of an edge.
This was so simple to make and of course, totally free. Hopefully, this inspired you to pull out some of your own scraps and make something incredible with them.
I really hope you enjoyed learning how to make a crop top with me. Let me know what you think of my idea. I love hearing your thoughts.
As always you guys, be unique and I’ll see you next time!
The author may collect a small share of sales from the links on this page.


Comments
Join the conversation
That's SO cute and you look lovely in it! Thanx for sharing!