Make This $85 Sexy Ruched Crop Top For Only $3

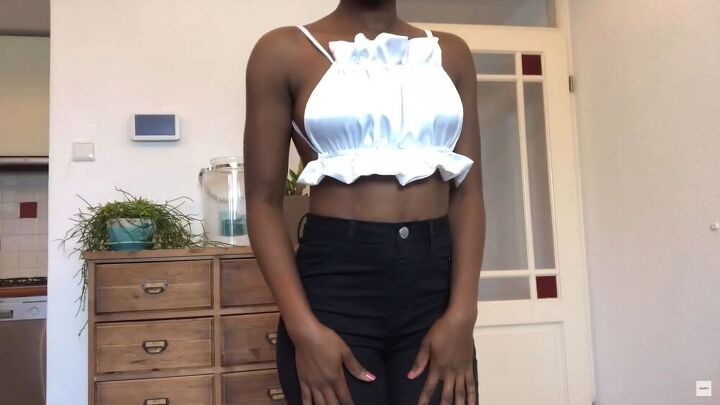
Lately, there are so many crop top trends on the Internet. One that caught my eye was this open-back, white ruched crop top. The top cost around $85 to buy, so I decided to make my own DIY crop top for a fraction of the price.
I’m going to show you how to make this slinky ruched crop top from scratch. It’s super straightforward and easy, making it a great DIY for beginners, too.
Tools and materials:
- Fabric scissors
- Measuring tape
- Pins
- Fabric clips
- Sewing machine
- Seam ripper
- Thread
- Safety pin

1. Make the ruched top pattern
To get started, fold your fabric in half; the length should be 60cm (23.62 inches).
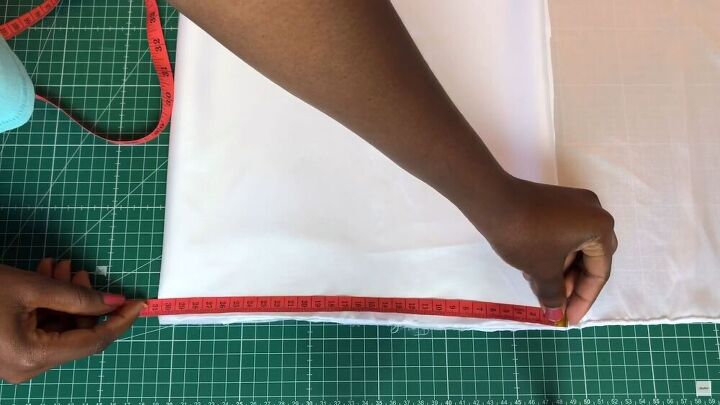
Then, fold it again and measure 30cm (11.81 inches).
From the bottom, measure 30cm (11.81 inches) upward. Mark this in increments and join the line.
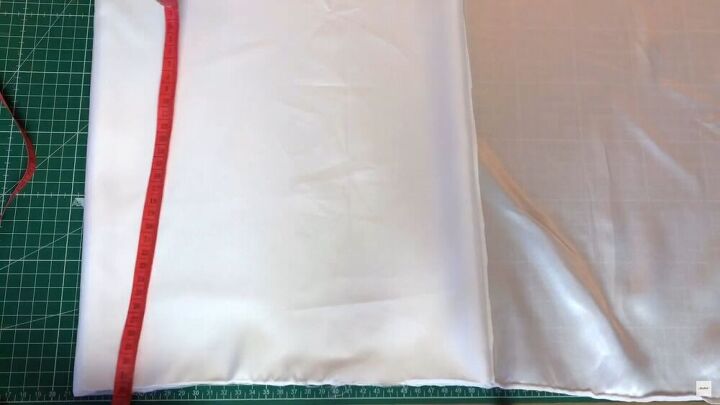
Next, along the line you just drew, measure 22cm (8.66 inches), and from that mark, join it to the bottom end with a diagonal line, as shown.
Now, go ahead and cut out the pattern through the layers. You should now have two of the same pieces.
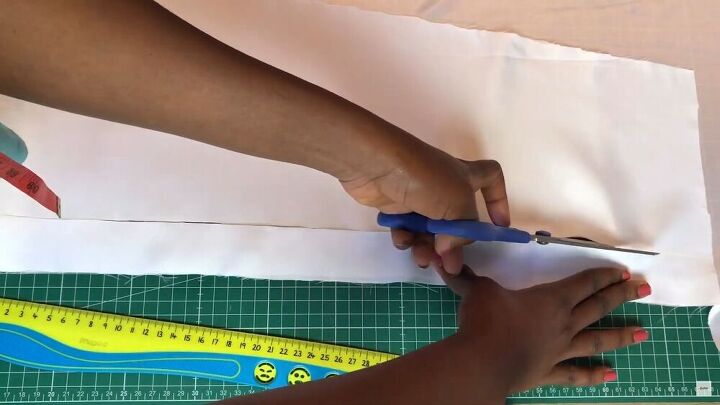
While you’re at it, cut three strips of fabric for the straps—each measure around 116cm (45.66 inches).
2. Make the ruched crop top
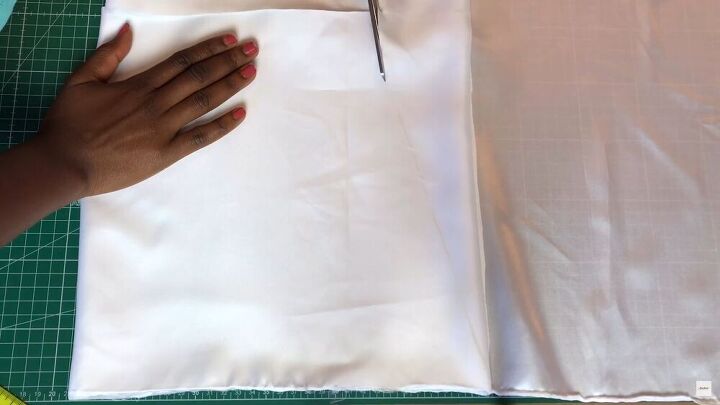
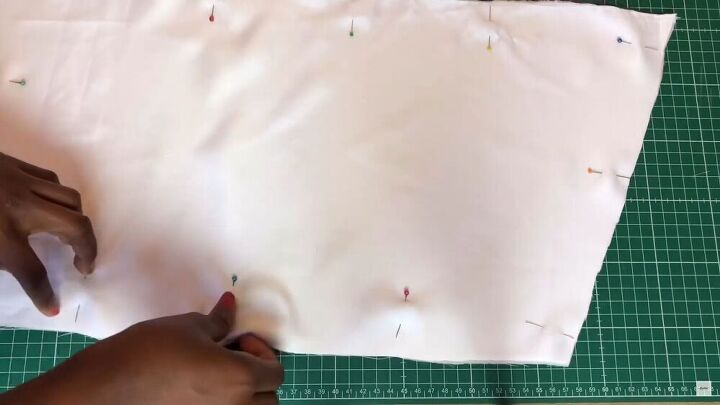
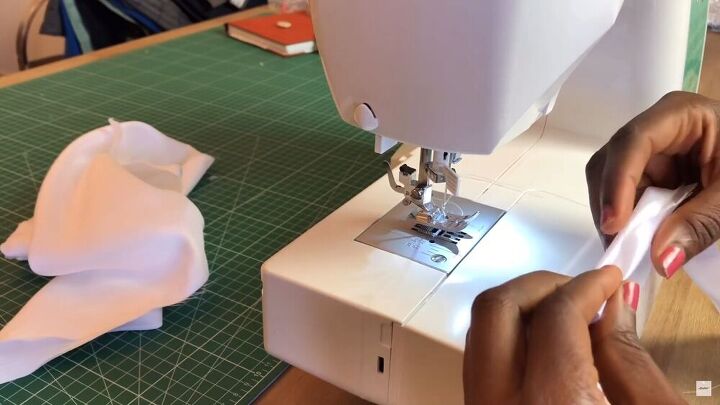
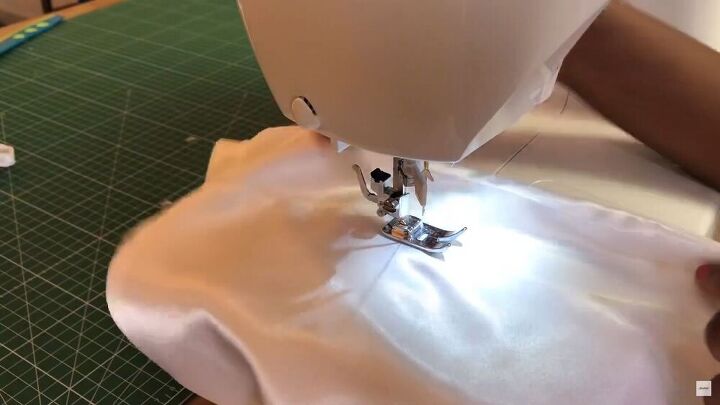
Now, lay both of the main fabric pieces on top of each other and pin the raw edges.
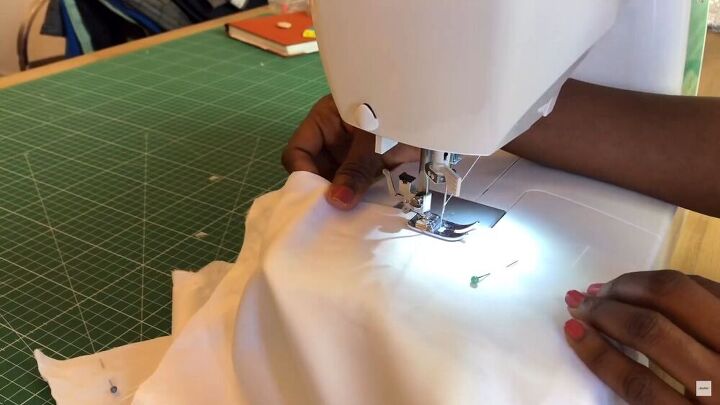
Sew the raw edges to secure. Make sure you sew with a ¼-inch seam allowance all around. Also, leave a small gap open so you can turn the fabric inside out.
Tip: While sewing the crop top, make sure to take out the pins, so they don’t get jammed in your sewing machine.
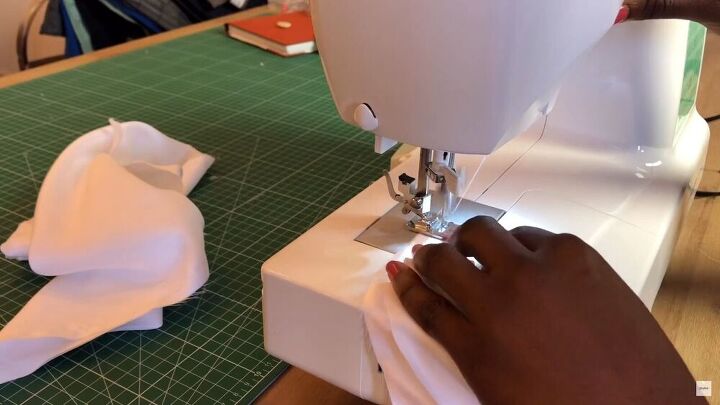
The three straps need to be one long piece. So, go ahead and sew them by the short ends.
After, fold the raw edges of the strap to the middle and fold it over.
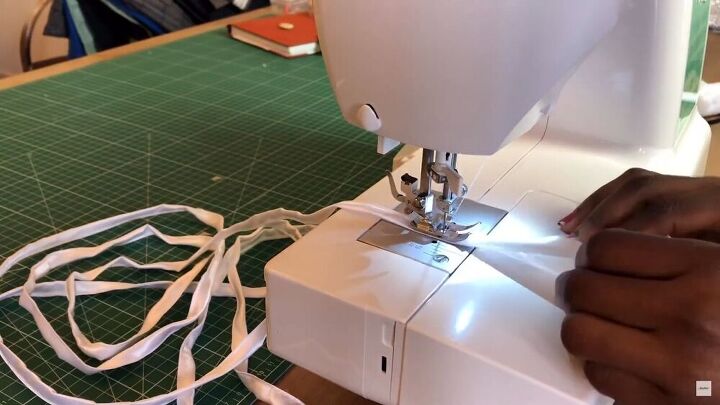
Then, fold it and sew all along the edge of the strap. This will give the slinky ruched crop top a professional touch.
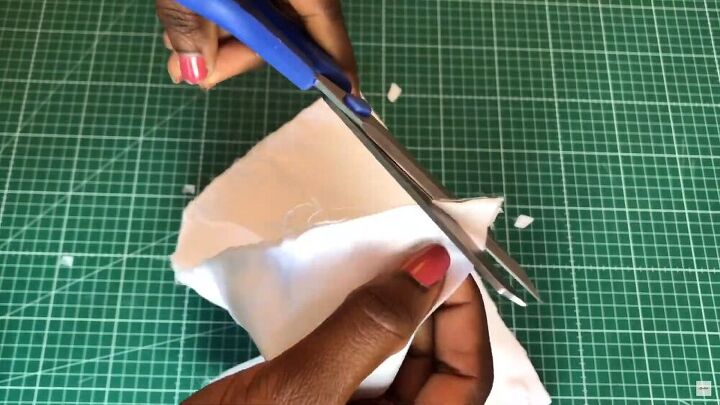
Now that the sewing is out of the way, snip the corners of the top so that when you turn the top inside out, you won’t have sharp corners poking out.
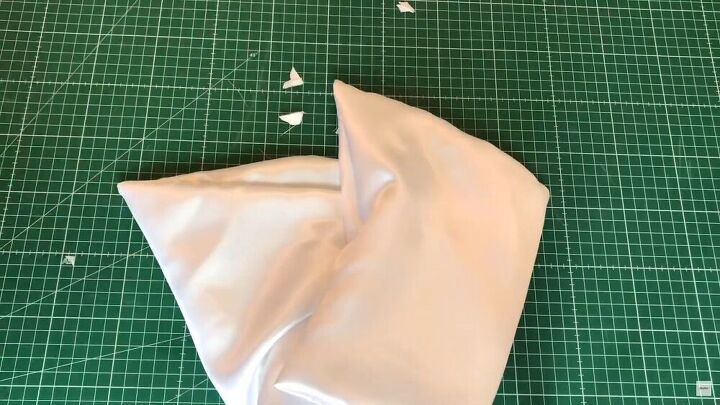
Turn your crop top inside out and stretch the corners using a pair of scissors or something long. This will ensure that the corners don’t bulge.
3. Make the straps casing
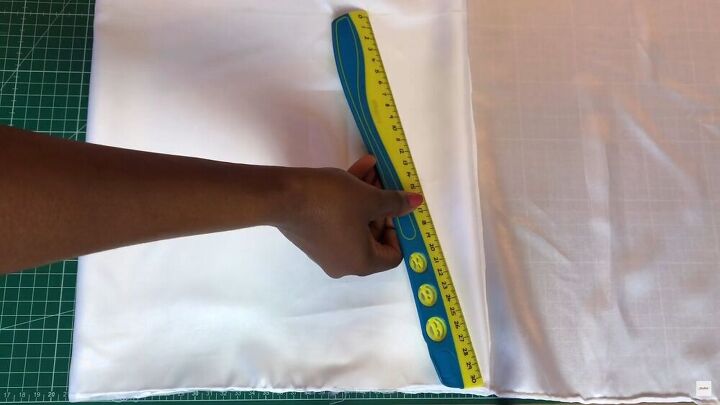
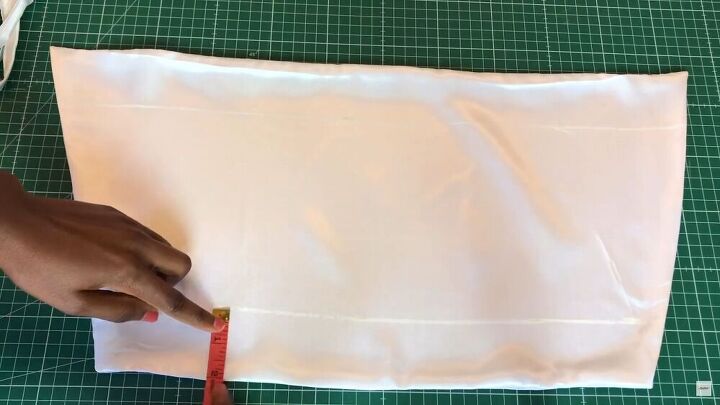
Press your fabric and measure 2 inches off the top and bottom edge. Then, draw a straight line across. Make several marks, as shown.
Now, head on over to your sewing machine and sew two parallel lines across, following the line as a guideline. To get the measurement of the encasing right, measure the short length of your strap, and sew the encasing accordingly.
My strap was a ¼ inch, so I stitched the two lines a little bigger than that. Also, be sure to stitch the bottom casing a little bigger than the first, as you will be feeding double straps through there.
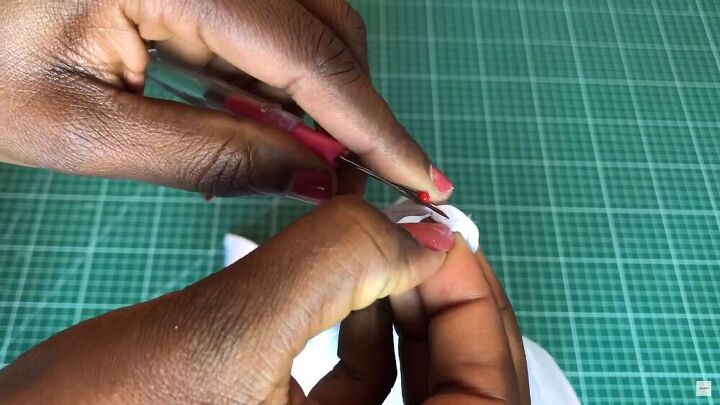
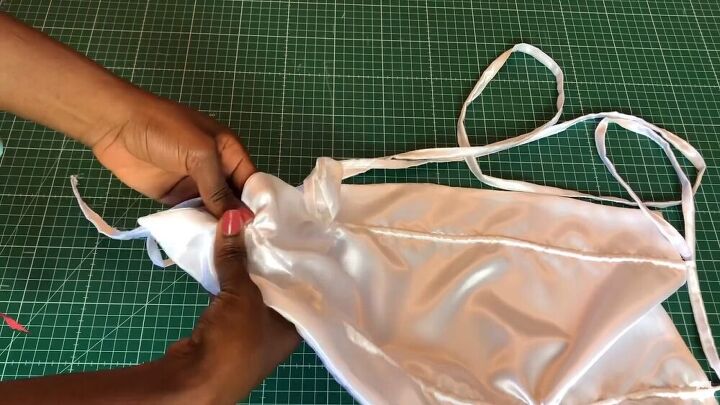
Using a seam ripper, carefully open the sides of the white ruched crop top.
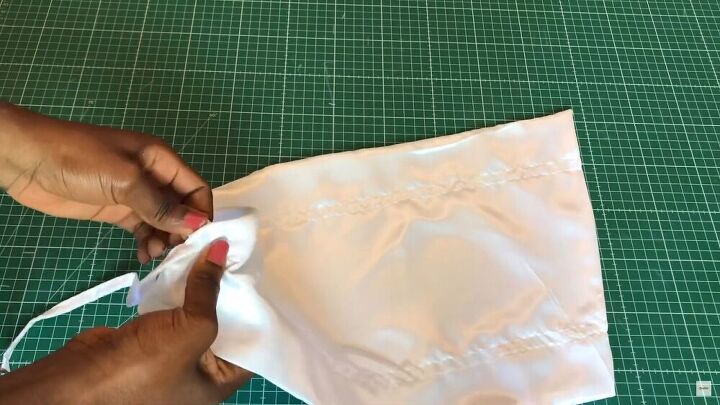
Now feed the strap through the tunnel, as shown. It’s better to do this with a safety pin for ease of maneuvering.
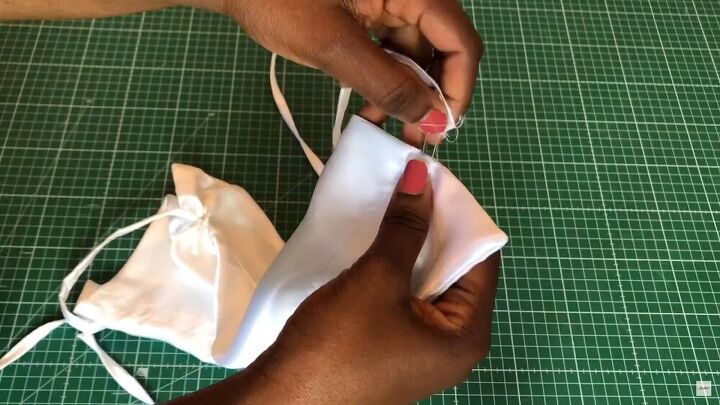
Once you’ve finished the one side, feed the end of the same strap through the opening on the other casing. Push it through until you reach the other side.
Once that is complete, take your safety pin, and attach it to the other end of the strap. Then, feed this end through the other end of the casing. Essentially, the bottom casing will have double straps running through it.
Tip: To see exactly how I do this, skip to 4:52 minutes on my video.
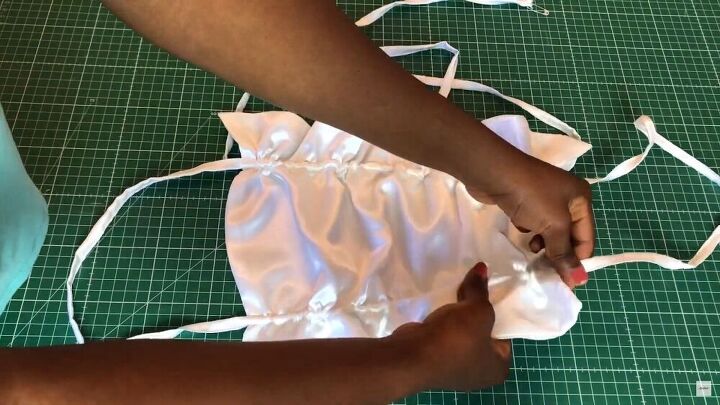
Lastly, even out the straps… and it’s complete!
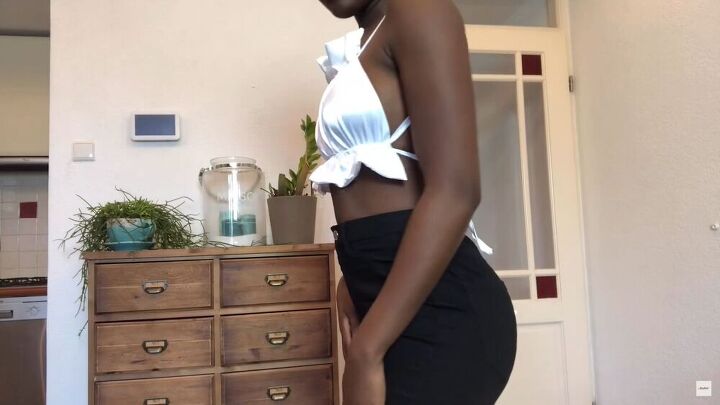
I really love this top! What do you think of this open-back ruched crop top?
DIY ruched crop top tutorial
My slinky ruched crop top sits perfectly on the body, and the satin fabric gives it an elegant vibe. Thank you for joining me, and I hope you make your very own DIY crop top so you can see just how easy (and fun) it is to make.
The author may collect a small share of sales from the links on this page.


Comments
Join the conversation
It looks beautiful on you! Plus, you are a very good seamstress!