How to Make a Cute DIY Off-Shoulder Top Out of Something Unexpected

Would you like to learn how to make an off-shoulder DIY top from an unexpected piece of material? If I’ve piqued your interest, then keep following this sewing tutorial. Find out what my secret upcycle is, but don’t tell anyone! And, of course, if you can’t find something at your thrift store to upcycle, you can also use other fabric you have laying around.
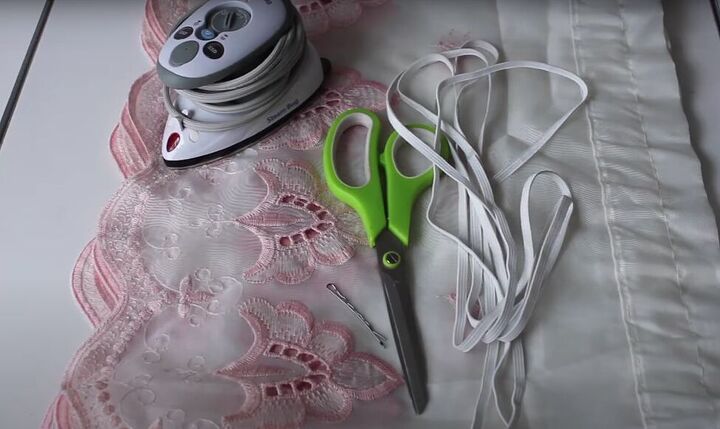
Tools and materials:
- DIY thrift fabric or other fabric
- Clothes iron
- Scissors
- Sewing elastic
- Bobby pin
- Sewing needle and thread
- No-sew glue
- Sewing machine (optional)
1. Prep your fabric (and find out my secret!)
Okay, here’s my big secret! I found this lovely curtain piece that was just the right length for what I wanted, and so I’m using it for my off-shoulder DIY top. This curtain was especially good because of the beautiful embroidery, and also because I can repurpose the curtain rod casing at the top of my shirt.
Measure the circumference of your upper arm and add at least another 4 inches. Then measure the circumference of your torso at your chest and add at least another 8 inches.
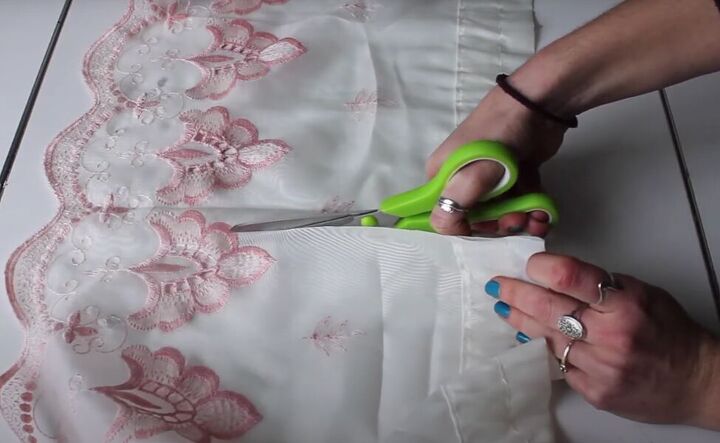
From your curtain or fabric, cut 2 arm pieces and 1 body piece.
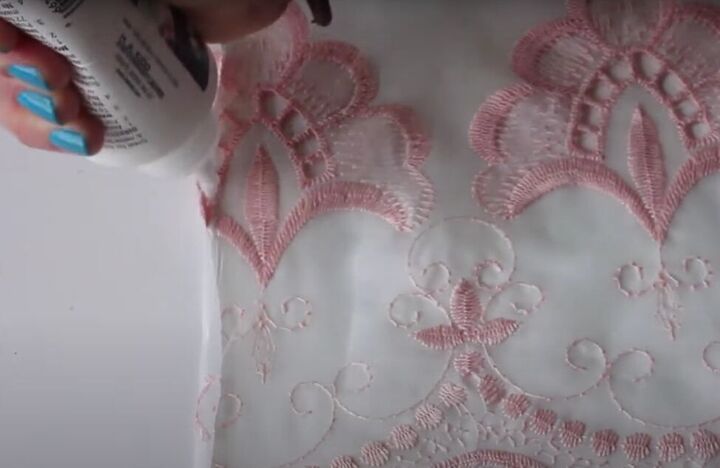
2. Make new seams
Fold in the raw edges of your cut fabric and iron those hems to hold them in place. Then, hem those edges using either a sewing machine or no-sew fabric glue.
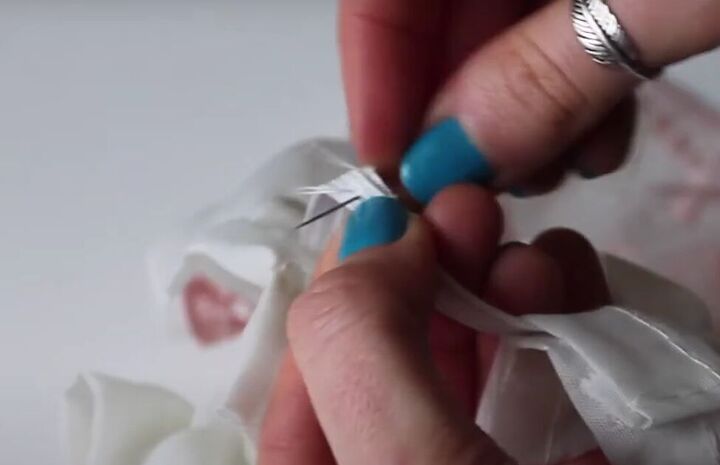
3. Add elastic
The finished top will sit on your body just above your chest. Cut your elastic to the appropriate length for your measurement. Then, wrap one end of your elastic around a bobby pin, or use a safety pin inserted in one end of your elastic, to feed your elastic through the top casing of the curtain. Sew the ends of the elastic together.
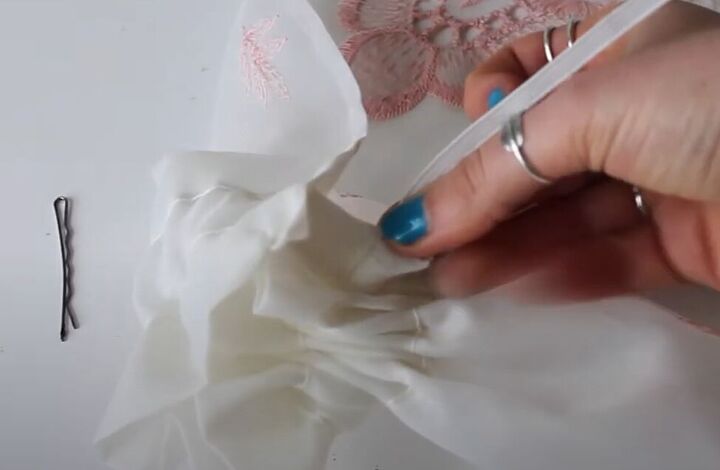
Repeat this step for the top of each arm.
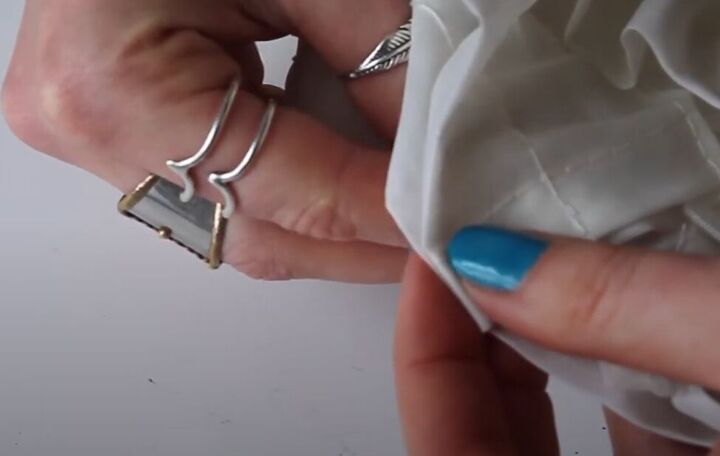
4. Attach the arms to the bodice
You don’t actually have to sew the arms to the top, but I preferred the way the top looked with arms sewn on. Just hold the side of the arm to the side of your top, making sure you align the top edges, and mark where you will attach each arm to the top. Then attach them using just a couple of stitches.
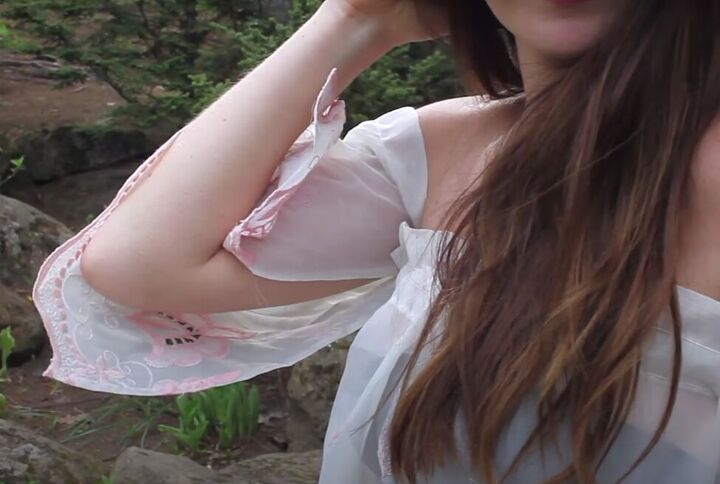
Here’s a good look at the finished sleeve.

And here is the open back.

Off-shoulder top DIY tutorial
All done! It really doesn’t get much easier than that. And even if you think it still resembles a curtain, you can’t argue about how pretty it is with the embroidery and the scalloped hem on the bodice and sleeves.
Please leave a comment to let me know if you tried making this off-shoulder top, what you made yours from, and how it turned out!
The author may collect a small share of sales from the links on this page.


Comments
Join the conversation
I’ve also done this with curtain valances! But not with the sleeves…..a fabulous touch….will try adding them. Great job!
I ALWAYS TREASURE HUNT IN THE THRIFT STORES FOR FANCY TRIMED CURTAINS FOR HEMS & SLEEVES.