2 Fun Ways to Refashion Clothes: DIY Cold-Shoulder Top & Fringe Jeans

Here’s a fun tutorial for you on how to refashion clothes. It’s super simple and great for beginners who want to learn to upcycle.
I’ll be transforming this simple blouse into an open-shoulder top and sprucing up this old pair of jeans. Let’s get started!
Tools and materials:
- Pins
- Scissors
- Ruler
- Chalk
- Sewing machine
- Needle

Here's the outfit before the transformation
DIY cold-shoulder top
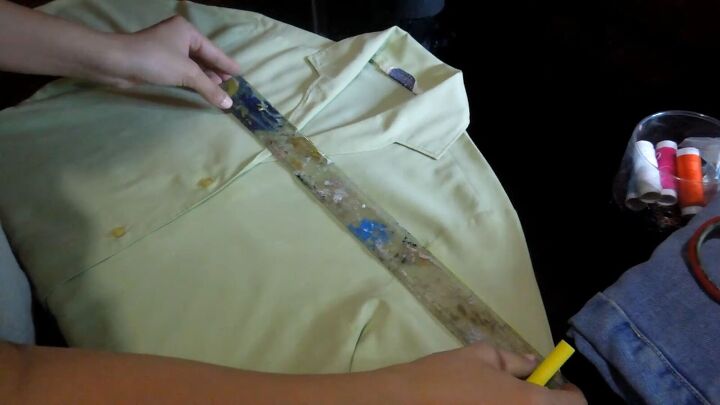
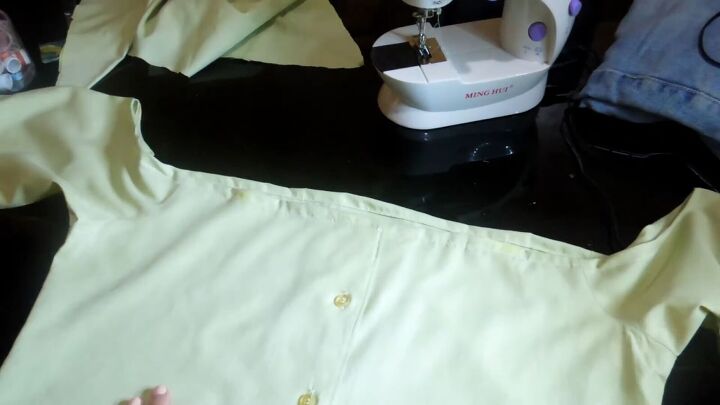
1. Cut the top
Cut out the top shoulder section from your blouse. Be sure to draw a straight line across the blouse.
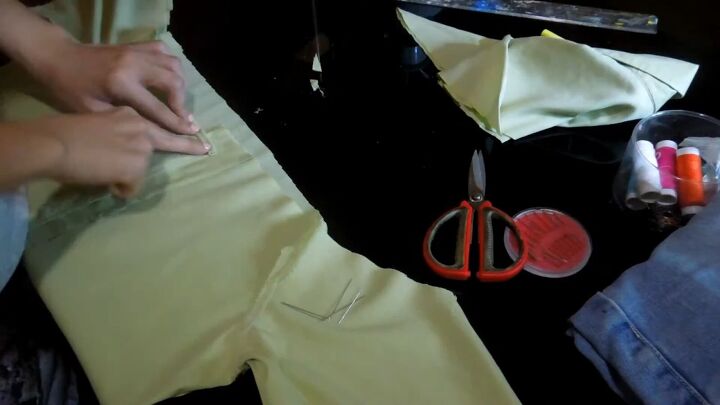
2. Pin the raw edges
Turn the blouse right sides facing, fold the top raw edge over twice and pin all around.
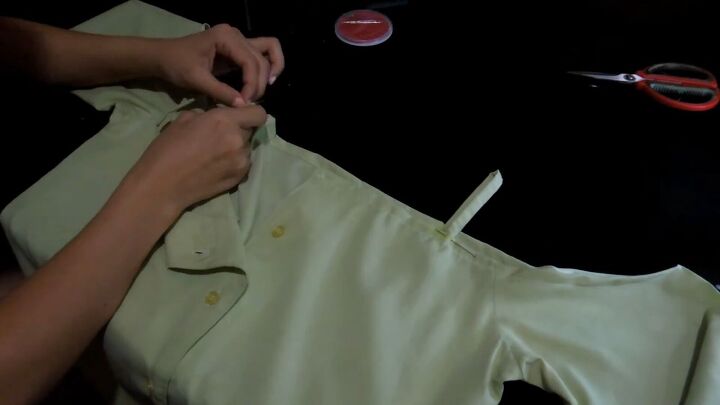
3. Sew the shoulder seam
Snip into the side shoulder seam so that the fold is neater at the edges.
Then, stitch the fold to secure it in place.
This is what it should look like.
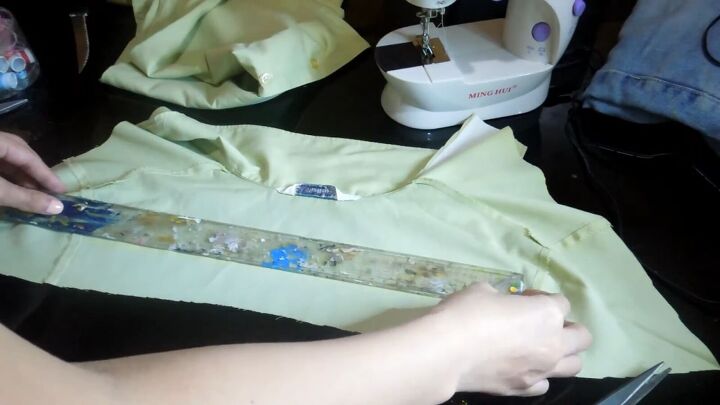
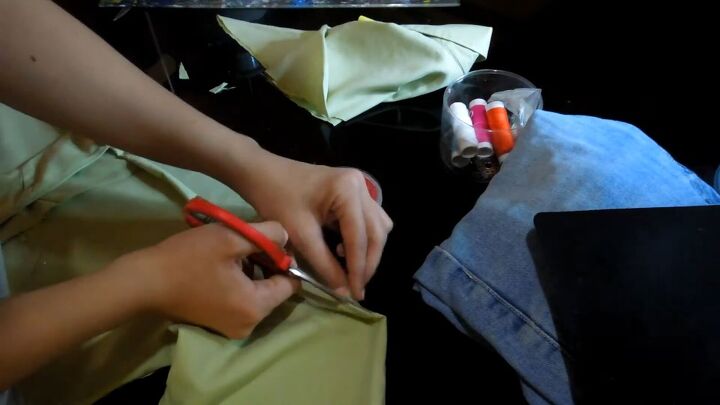
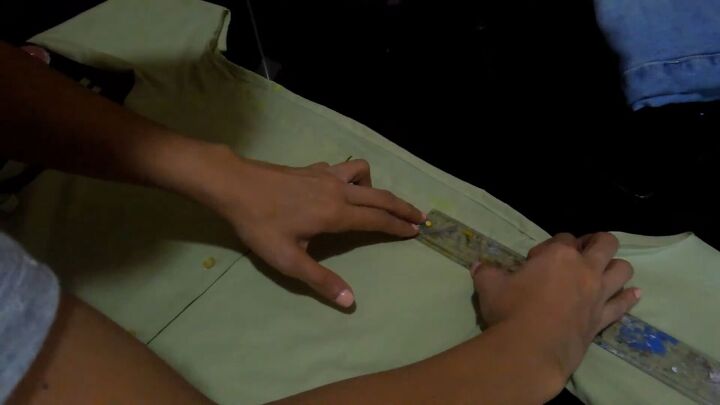
4. Make the straps
Use the back part of the cut-out shoulder piece to make the spaghetti straps. Use a ruler, and be sure to draw straight lines.

Then, cut two equally sized straps.
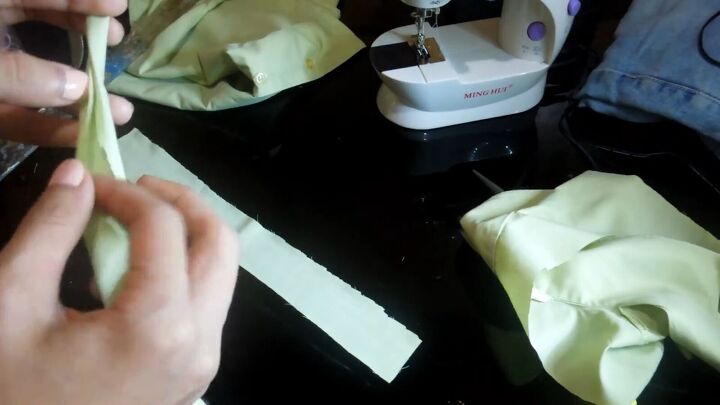
Fold each edge inward and then fold the whole strip in half.
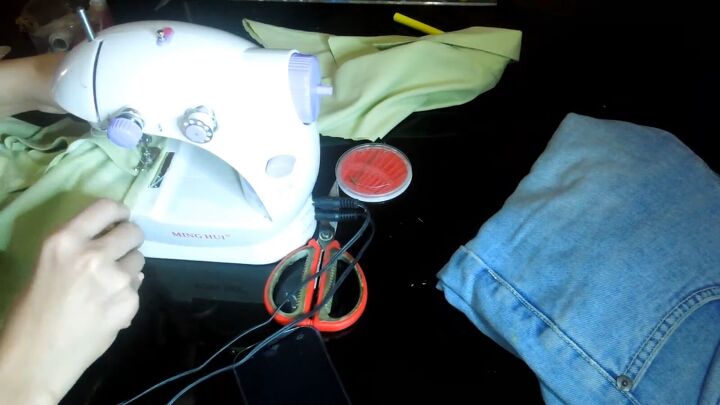
Pin along the edge and stitch.
5. Attach the straps
Measure your open-shoulder top and make equal markings on either side. This is where you’ll attach the spaghetti straps.
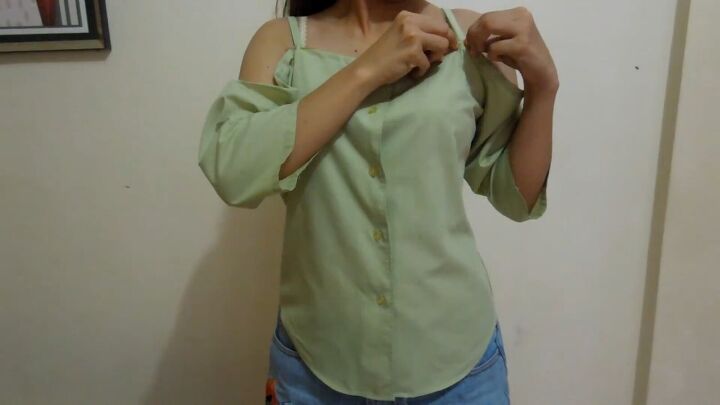
To know the right height and fit of the straps, wear the top and pin each end accordingly.
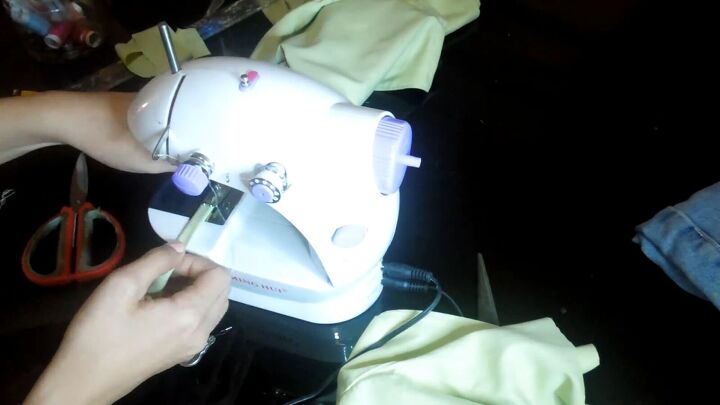
Head back to your workstation and hand-sew the straps.
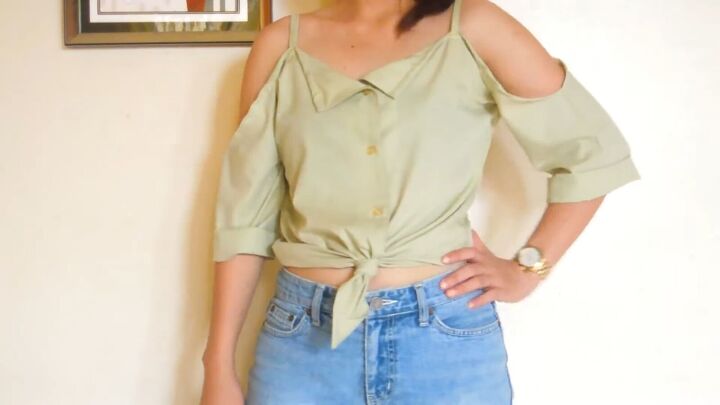
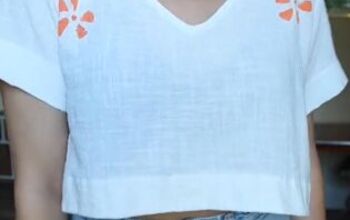
Here’s the finished look! What do you think of this lovely open-shoulder top? I love how the sleeves drape off my shoulders.
DIY fringe jeans
Next up, we will fringe this classic pair of jeans.
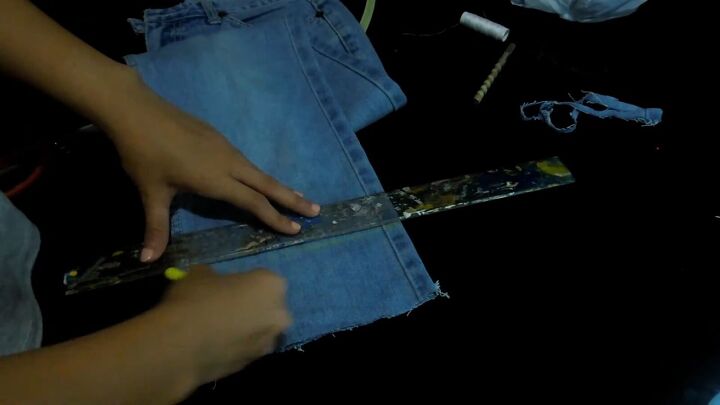
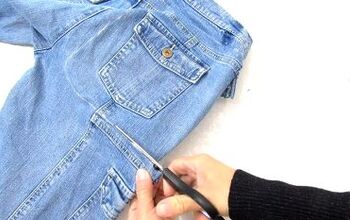
1. Measure where the fringe will go
Measure from the bottom how high you want the fringe to be. Fold your jean legs on top of each other for this step so that both legs are symmetrical.
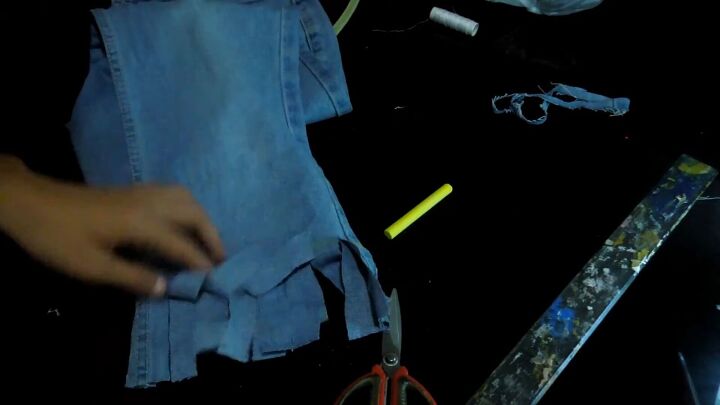
2. Cut the jeans
Next, take a pair of scissors and cut into the jeans from the bottom up. Cut a few frills, as shown.
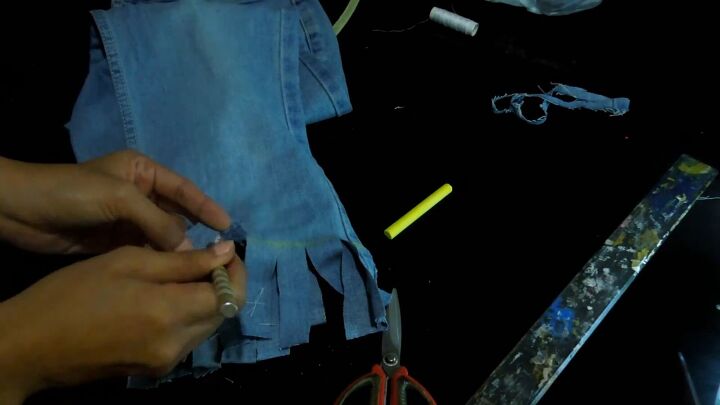
3. Pull the thread to make the fringe
Using a fine needle, start fringing your pants. Start at the bottom raw edge and pull the threads to separate from each other at the bottom. Pull out the threads as you go along.
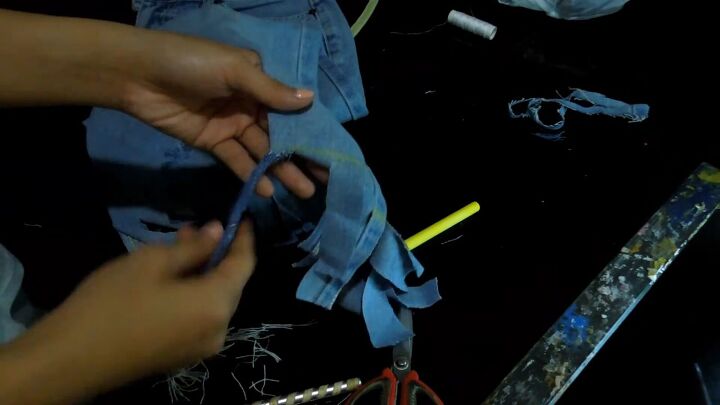
4. Twist
Then, twist each piece. This step is easy but is a little time-consuming. So, be sure to do this DIY when you know you’ll have enough time on your hands.


Refashion clothes
What do you think of this boho-style fringed look? I hope you enjoyed this tutorial and that you have a good idea of how to refashion clothes the easy way!
The next time you want to throw out your used items, think twice about it and see if you can transform them into something trendy and cool.
The author may collect a small share of sales from the links on this page.


Comments
Join the conversation
I love your refashion outfit. The blouse is adorable and the fringe detail on your jeans is especially nice.
I like what you did with the top. You may now consider yourself a good enough seamstress to justify the purchase of a grown-up sewing machine! Just teasing...you did a great job with the tools you have.