Want to Keep Cool This Summer? Try This DIY Open Back Top Look

What better way to cool off this summer than with an airy DIY open back top? It's chic and light, plus it’s easy to make. I’m sharing my open back top tutorial to show you how to make an open back top with just a few materials.
Keep on scrolling to see how I made this lovely DIY open back top with ruffle sleeves! You’ll absolutely love the results.
Tools and materials:
- Fabric
- Matching thread
- Measuring tape
- Pins
- Top as a guide for the pattern
- Scissors
- Sewing machine
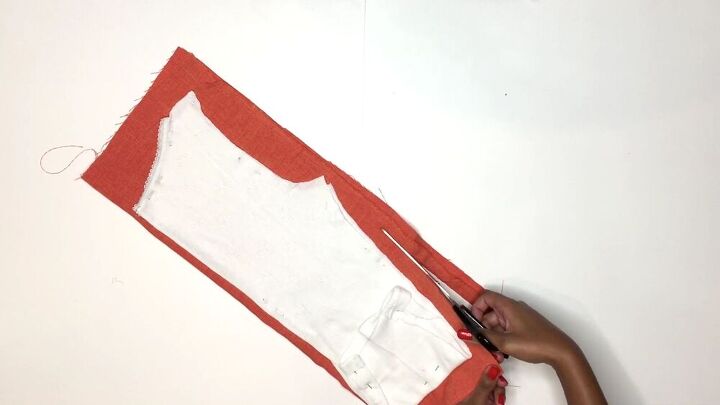
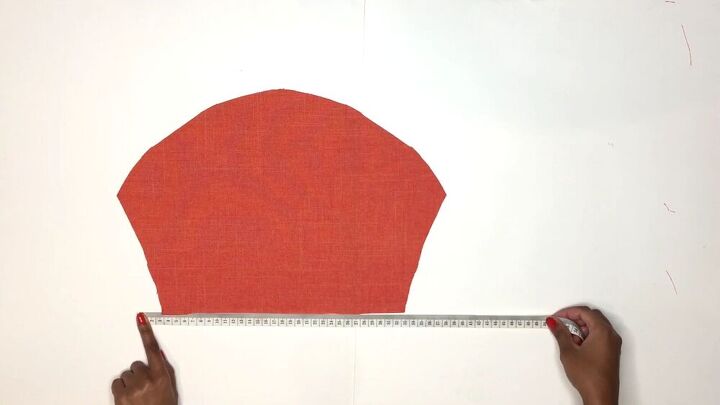
1. Make the open back top pattern
For the pattern, use a top that fits you well. I took one of my old tops apart, so that I can use it for any future sewing projects.
Fold and pin your top onto the folded fabric and cut around it, adding a 2cm (0.78 inches) seam allowance.
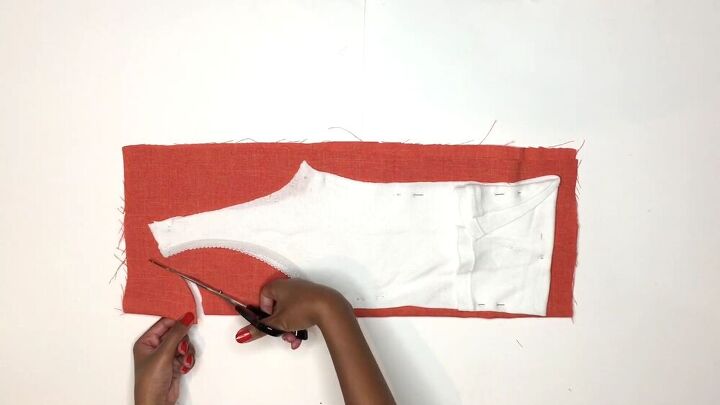
For the front piece, I cut a higher neckline because I prefer that style. Also, I wanted my top to be shorter in length, so I folded the bottom accordingly. This is entirely up to you, though.
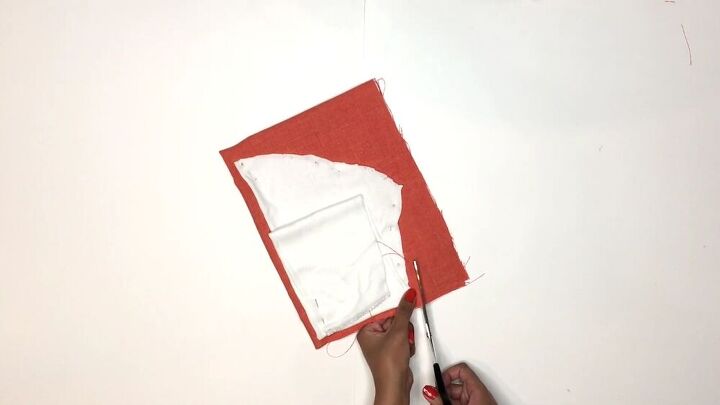
Now, go ahead and cut the sleeves. Don’t forget to add seam allowance.
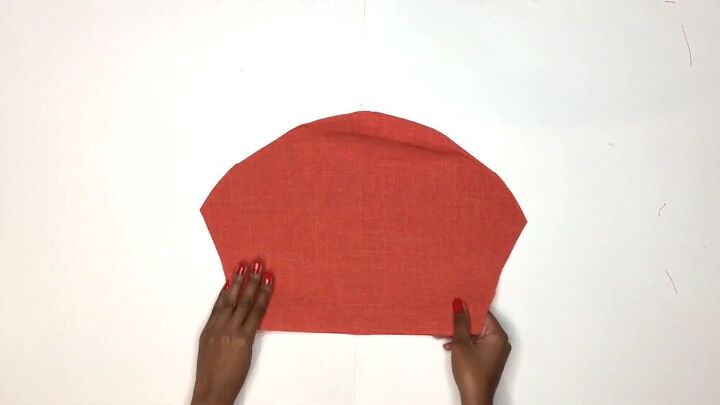
The length of my sleeve is roughly 10cm (3.93 inches) below the armpit.
2. Make the ruffles
To create the ruffle detailing for the sleeves, measure the bottom of your sleeve, and then double that measurement.
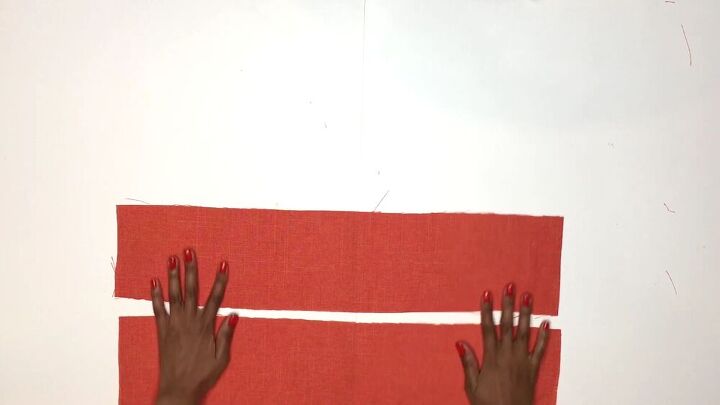
Next, cut two strips using that measurement.
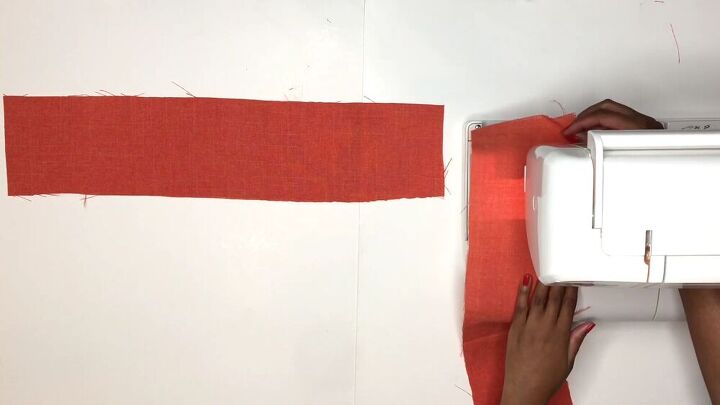
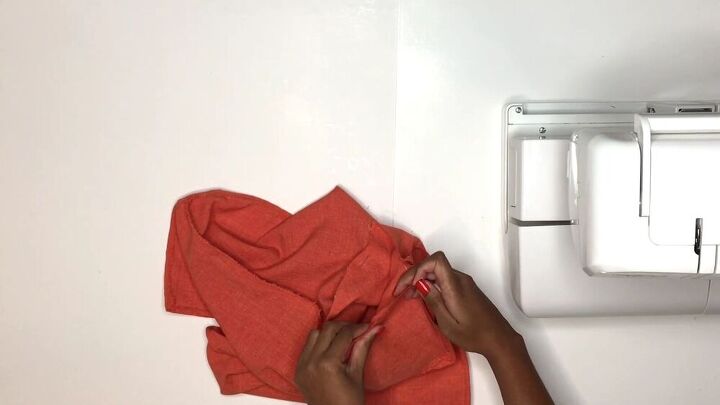
To make the ruffles on this DIY open back top, sew a straight stitch along one of the raw edges. Use the widest possible setting your machine has.
It's actually best to sew two straight stitches. Sometimes, the thread breaks when gathering, so having an extra stitch gives you a backup plan.
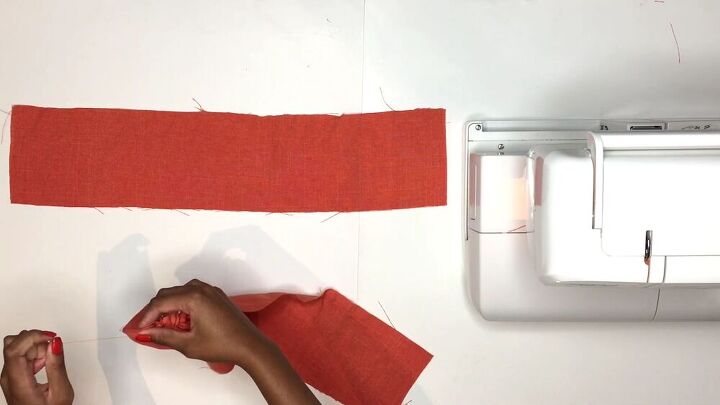
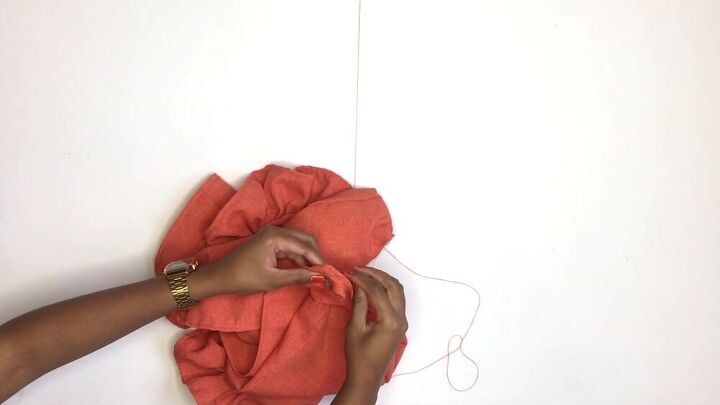
To gather the fabric, gently pull on one end of the thread. Repeat this on the second fabric piece.
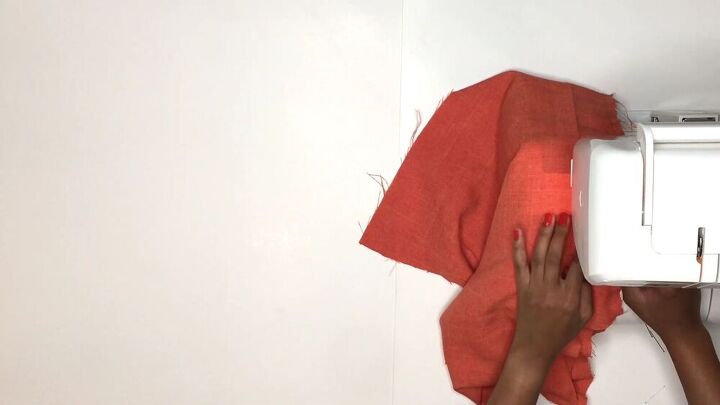
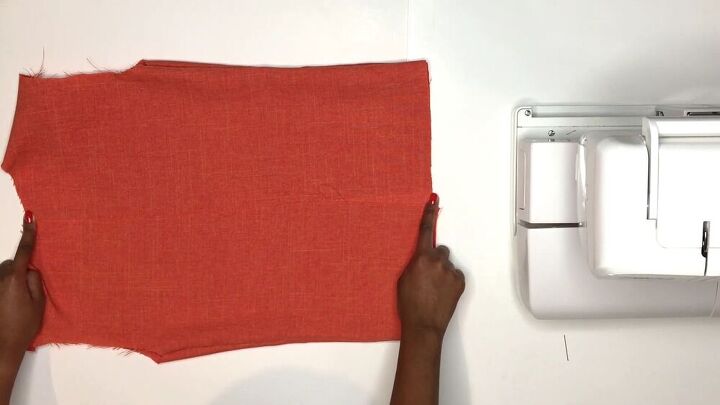
3. Assemble the open back top
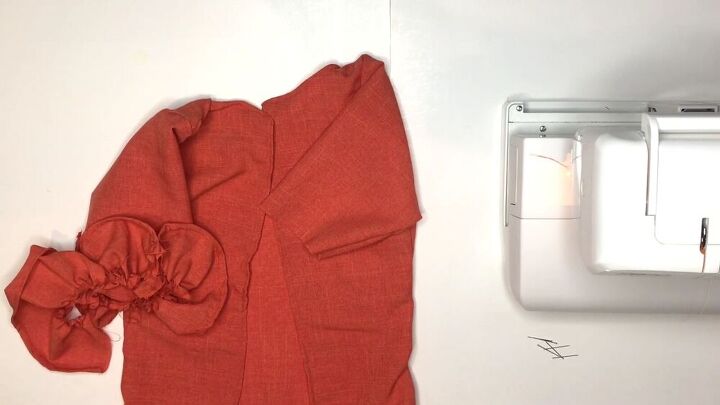
Lay both the front and back pieces together, with the exterior sides facing inwards. Pin the side seams and the shoulder seams, then sew.
Now, cut a straight line all the way down the middle of the back part. This will create the open back of the top.
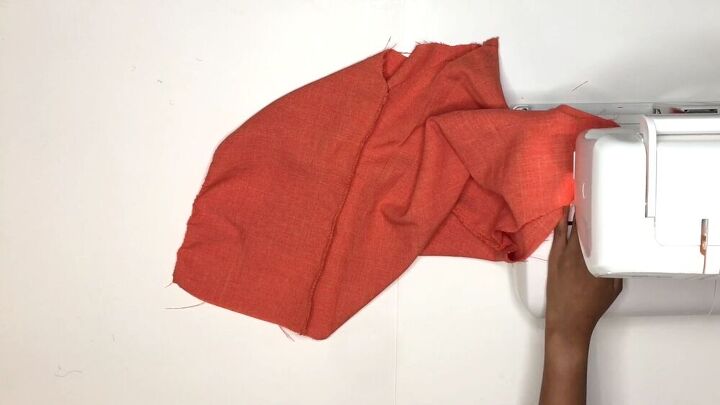
Next, overlock all the raw edges. This style of fabric frays easily, so be sure to do this step!
To hem visible edges, tuck the fabric inwards by about 1cm (0.39 inches) and stitch. This will give your open back top a more finished and polished look. Do the same for the ruffles.
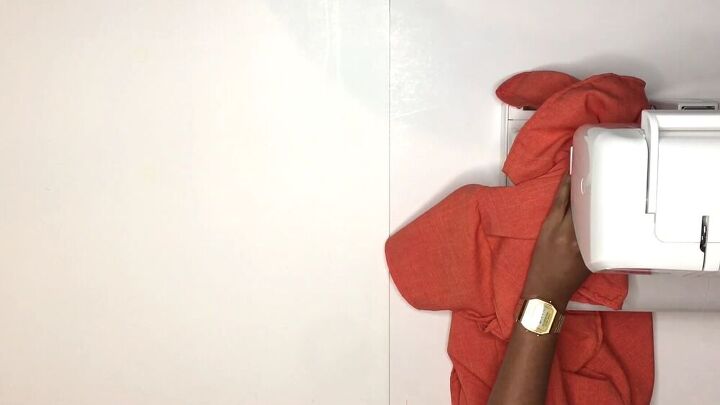
For the sleeves, sew the edges together with a straight stitch.
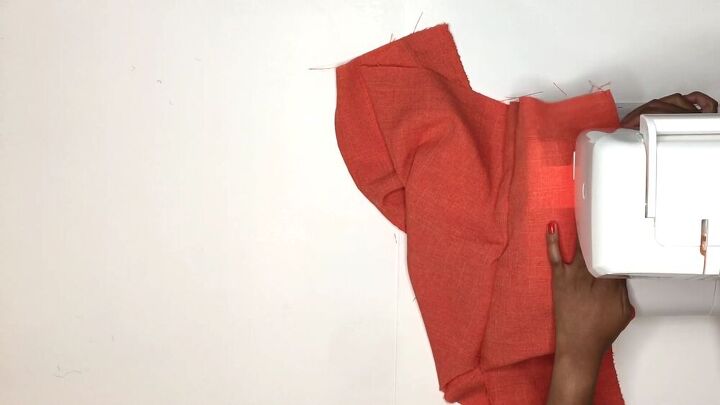
4. Attach the sleeves to the top
Pin the sleeves to the inside of the top. Then, match and align the armpit seams and pin the rest. Sew to secure with a straight stitch.
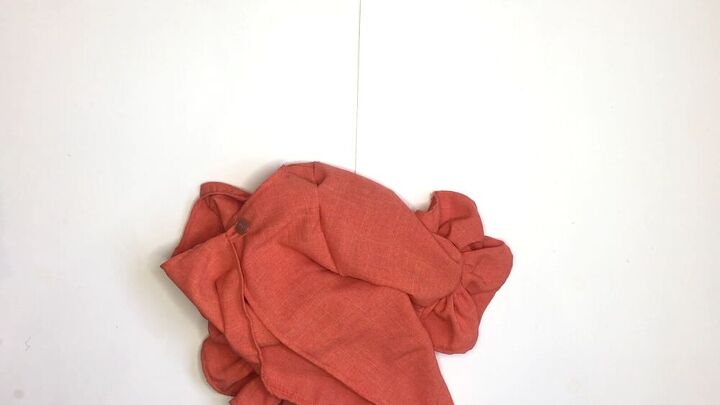
5. Add the ruffles
Now it’s time to attach the ruffles. Go ahead and pin the gathered side of the ruffles to the opening of the sleeve.
Then, straight stitch them together. If you have any excess ruffle fabric, cut that off and straight-stitch the short ends together.
When I tried the top on later, the ruffles stuck out a bit. So, I added an extra straight stitch where the seams met to point them down.
6. Attach the button
Now it’s time to attach the button. Manually sew it on either the left or right side of your back piece (it doesn't matter which really).
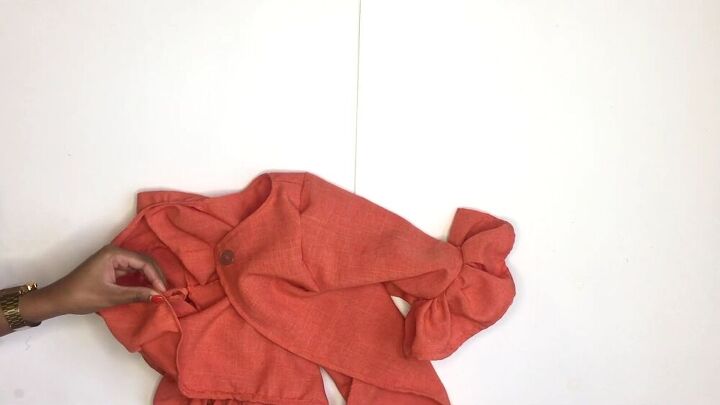
Now, go ahead and make a little loop. This will serve as the hole for your button.
Test out loop's position with the button on the opposite side. Once you're happy with placement, hand sew the loop in place.
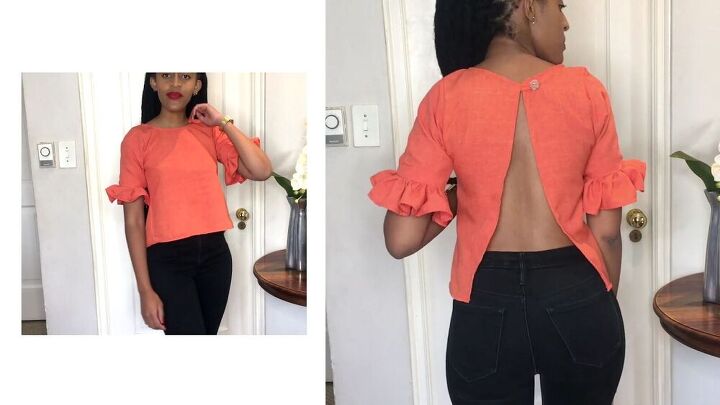
What do you think of this DIY open back top? I think it’s super summery and versatile for daytime wear or an evening outfit.
Thank you for joining me on this open back top tutorial. Now you now have some motivation and the know-how to make an open back top for yourself. Good luck!
The author may collect a small share of sales from the links on this page.


Comments
Join the conversation
Super cute! Love the ruffled sleeves!