These Massive DIY Puff Sleeves Were Inspired by Anne of Green Gables

In this tutorial, I'm going to show you how to make DIY puff sleeves using the Anne Puff Wrap Pattern. Why is it called the Anne pattern?
"Every other little girl in class had puff sleeves. Anne felt that life was really not worth living without puff sleeves." - Anne of Green Gables
I found a lovely rich forest green shirt with blue and yellow woven plaid, and it seemed like the perfect candidate to be transformed into a puff-sleeve shirt. Follow along with this tutorial for step-by-step instructions on how to measure, cut, and construct this DIY puff sleeve pattern.
Tools and materials:
- Long-sleeved men’s button-down shirt
- Complementary fabric
- Anne Puff Wrap Pattern
- Paper
- Scissors
- Pins
- Measuring tape
- Ruler
- Serger
- Sewing machine
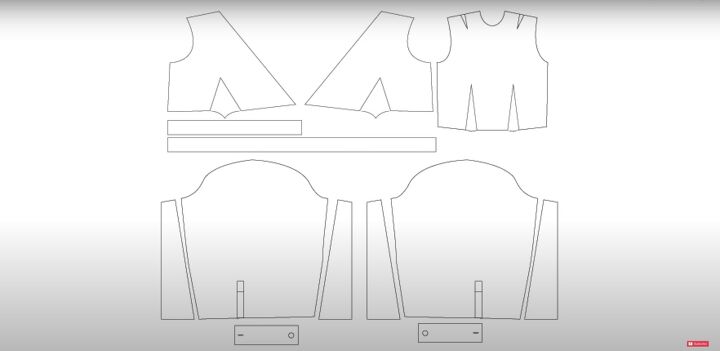
1. Cut out the pattern
Download and print the pattern linked above, and cut out all the pieces.
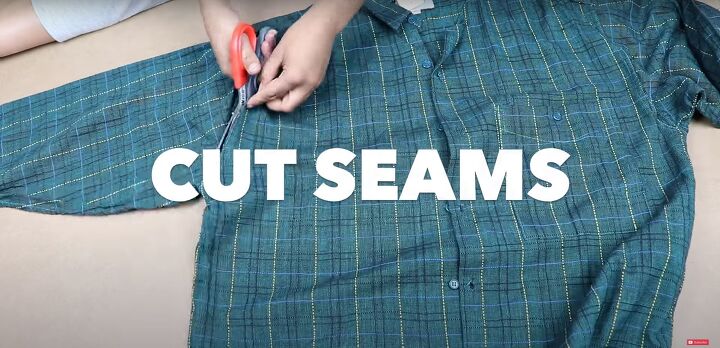
2. Deconstruct the shirt
I started by taking apart the shirt by cutting it apart near the seams. I seam-ripped the sleeve seam because I wanted to keep as much width as possible since it was going to become a puff sleeve.
I also used a seam ripper to remove the cuffs, because I will need to open that seam anyway when I reattach the cuffs.
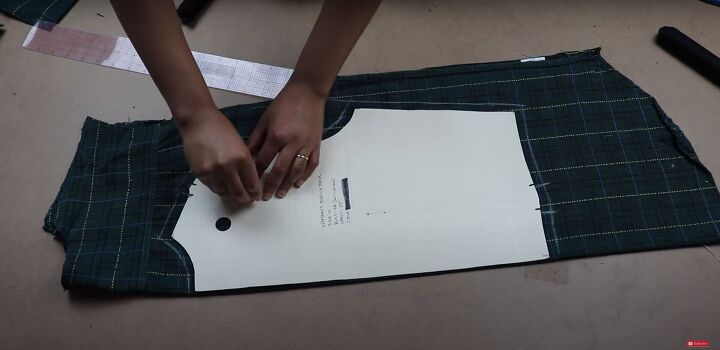
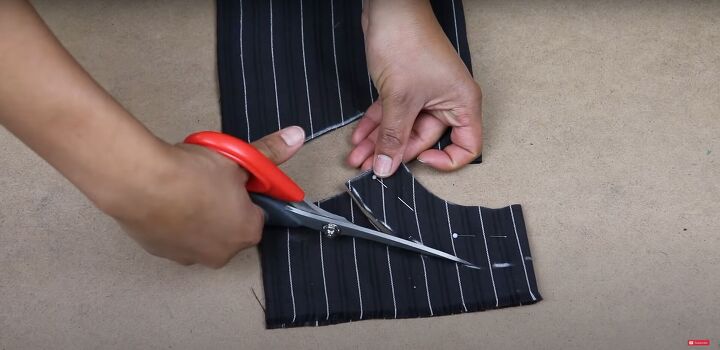
3. Cut the fabric
For instructions and advice on how to cut out the fabric pieces, see the video from 2:12-5:49.
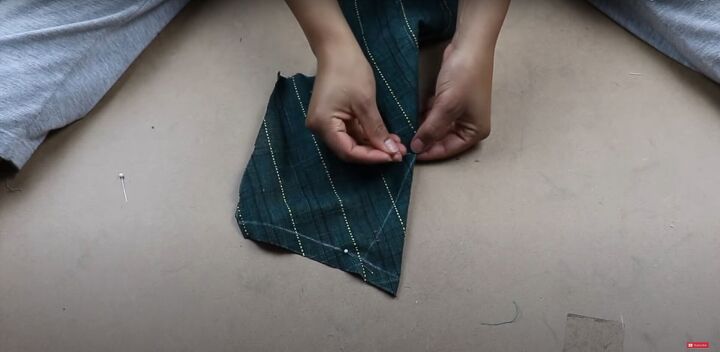
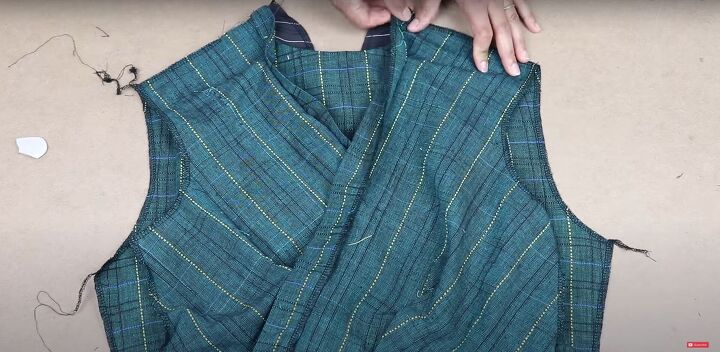
4. Pin and sew the front darts
To begin construction, I pinned the front and back darts in place and sewed them down.
5. Create the back facing
To create the back facing, I folded the back bodice in half and traced the neckline along the shoulder and the neck onto a piece of folded fabric. Then, I measured the front placket of the shirt and added the seam allowance to that number.
I then used that number to mark the width of the facing all along the traced curve of the neckline, and cut it out.
6. Sew the sash
To add the sash, I sandwiched the front bodice between the right sides of the sash pieces, and sewed it down with a straight stitch, leaving a half-inch seam allowance. Remember to apply the longer sash to the side of the shirt that will be on the outside of the wrap.
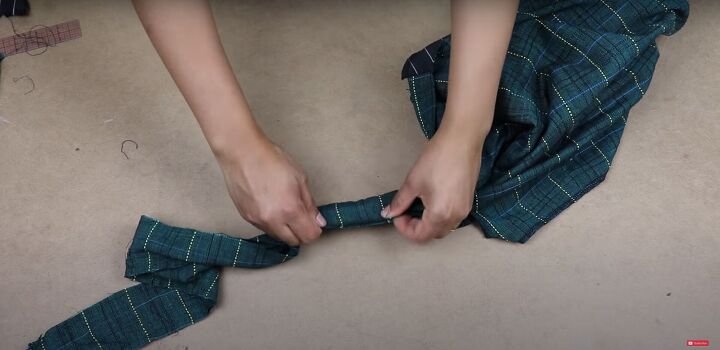
To finish the bottom of the sash, I flipped the sash pieces back up so the right sides were facing again. I sewed it as far as I could by pushing the bodice down in between the sash pieces, and sewing as far as it would fit.
Then, I pushed the fabric through the sash to turn it right side out. I was able to sew down the whole sash this way, but you can also sew as much of the sash as possible, turn it right side out, and then finish stitching with a topstitch.

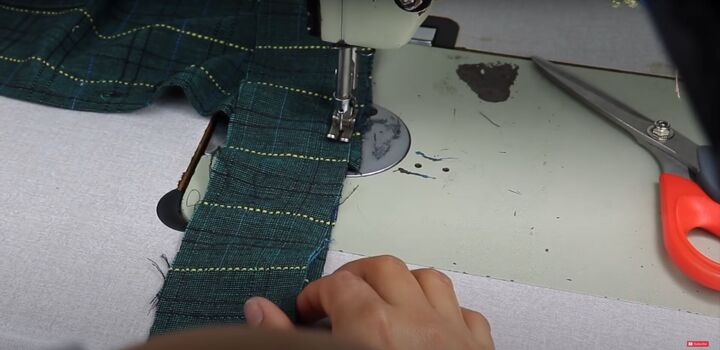
7. Hem the bottom
Next, I turned up the bottom of the back bodice and stitched it down to create a finished hem.
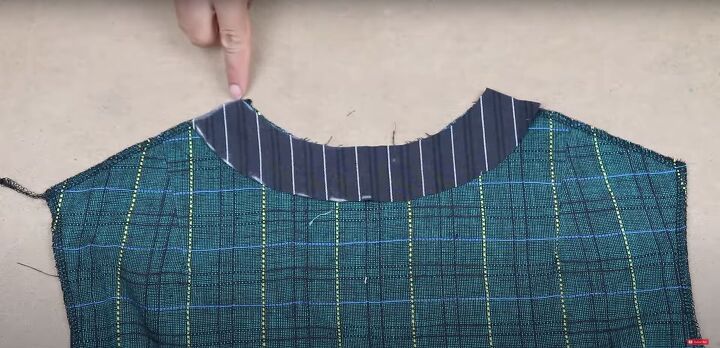
8. Pin and sew the facing
Then I sewed the facing to the back neckline.
9. Rip seams, pin, and sew
I seam-ripped the button plackets on the front bodice pieces, and then pinned and sewed the shoulder seams of the front and back bodice. I attached the plackets to the facing, and sewed that down, as well.
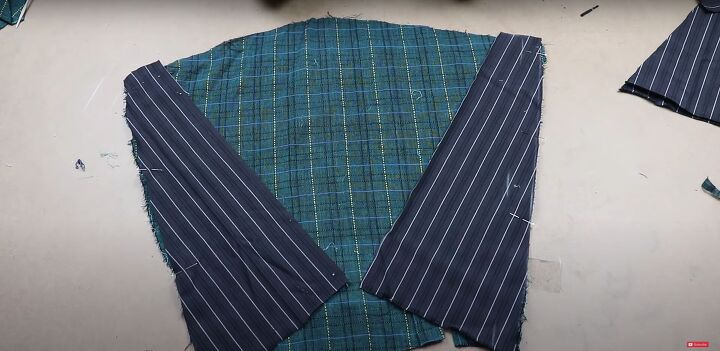
10. Pin and sew the puff sleeves
Next, I pinned my sleeve triangles to the sleeves, right sides facing, and sewed them in place.
I included a topstitch along these seams for a cleaner finish, but it’s not necessary.
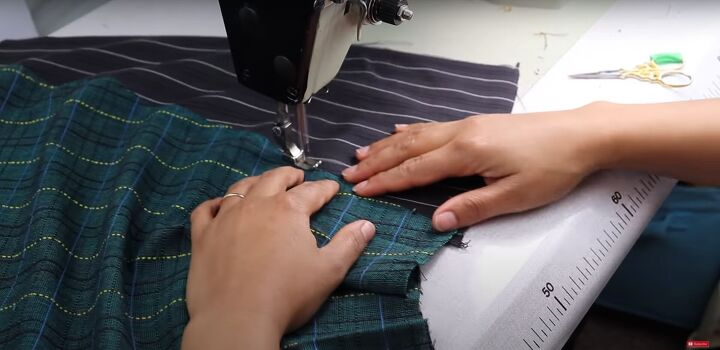
11. Gather the fabric
I ran a large stitch along the top and bottom edges of the sleeves and pulled the thread to create gathers.
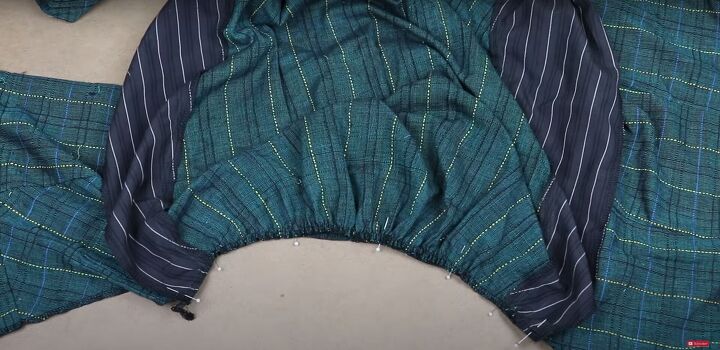
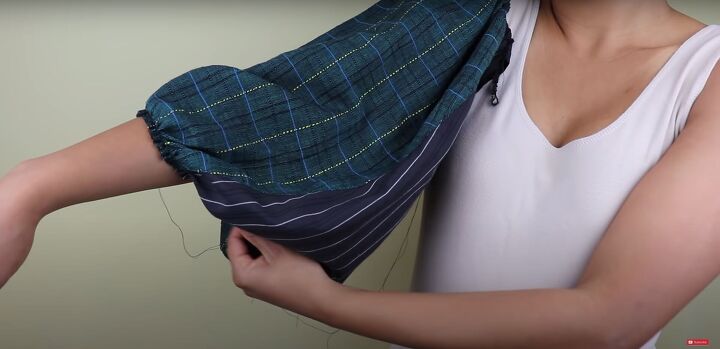
12. Attach the sleeves
I matched the gathered top edge of the sleeve to the curve of the armhole, pinned it in place, and sewed it down.
Then, I adjusted the gathers at the hem of the sleeve to match the length of the cuff, and pinned and sewed the underarm seam and side seam.
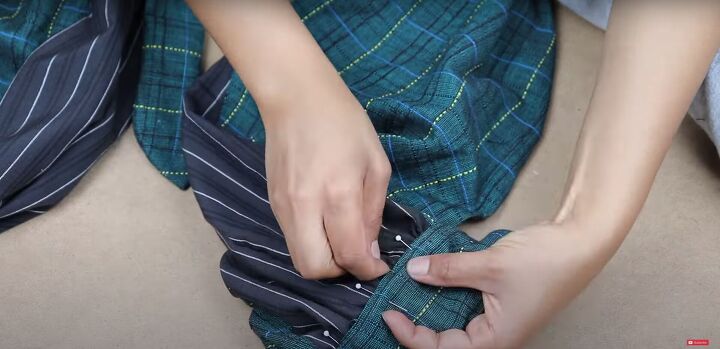
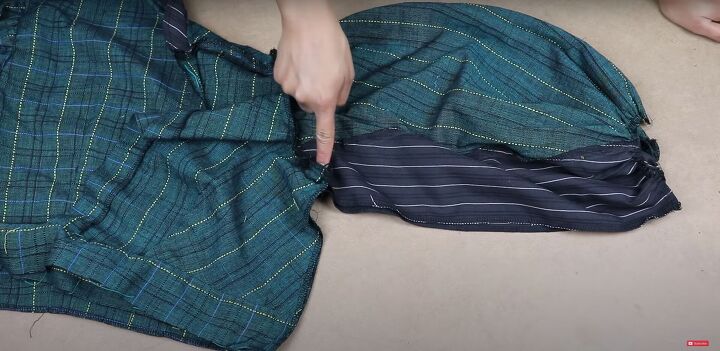
13. Pin and sew the cuffs
The top placket is where the buttonhole on the cuff is. So I matched up the buttonhole side of the cuff to the top overlapping placket.
Then, I sandwiched about half an inch of the hem of the sleeve in between the layers of the cuff. I pinned everything in place and sewed. I used a double stitch for this area.
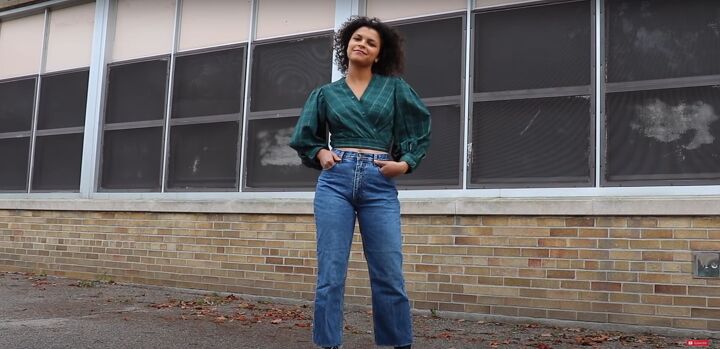
DIY puff sleeves top
And with that, the transformation was complete! Let me know what you think of this puff sleeve sewing pattern. If you use this pattern and tutorial to make a wrap shirt of your own, please post your results. I’d love to see how it turns out.
The author may collect a small share of sales from the links on this page.


Comments
Join the conversation
I love the complimentary fabric, another lovely detail. and the way you used the placard with buttons on the front, awesome.
Super cute and btw I love Anne of Green Gables movies and the fashion from back then.