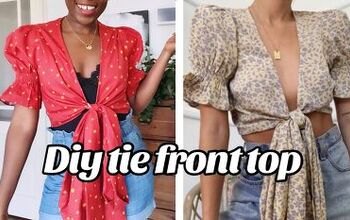
How to Sew a Blouse: Easy DIY Tie Knot Top Tutorial

Today, I want to show you how to sew a blouse with tie fastenings at the shoulders and waist.
The pattern is very straightforward and we’re going to draw it directly on to the fabric.
I used a medium weight satin for mine because it drapes so well. These measurements fit size 38 European, but they’re easy to adjust for other sizes.
Best fabric scissors!
Tools and materials:
- 55 inch (140 cm) wide satin or similar fabric
- Fabric marker
- Measuring tape
- Pins
- Scissors
- Sewing machine
- Serger (optional)
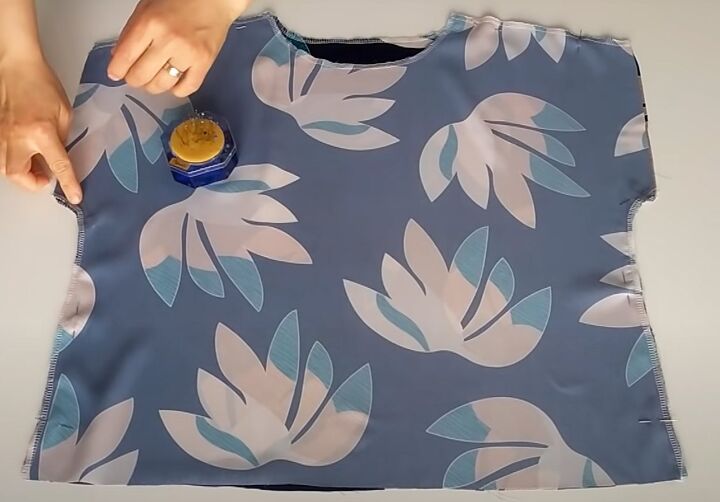
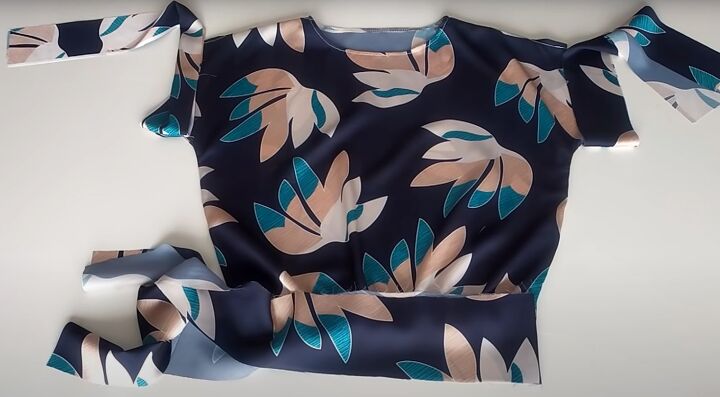
1. Cut out the blouse
Cut a piece 25 inches (63 cm) long from your 55 inch (140 cm) wide fabric.
Fold the fabric in half widthways and in half again.
Place it flat with the folded edge towards you.
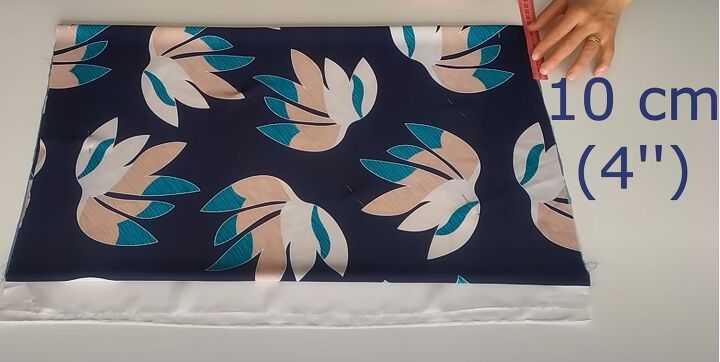
Mark the neckline curve 1.6 inches (4 cm) deep along the folded edge and 4 inches (10 cm) wide.
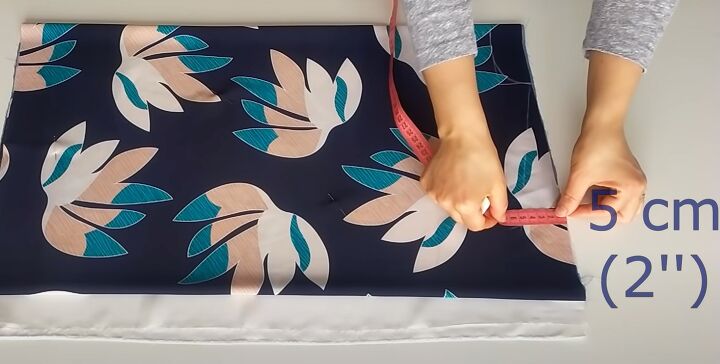
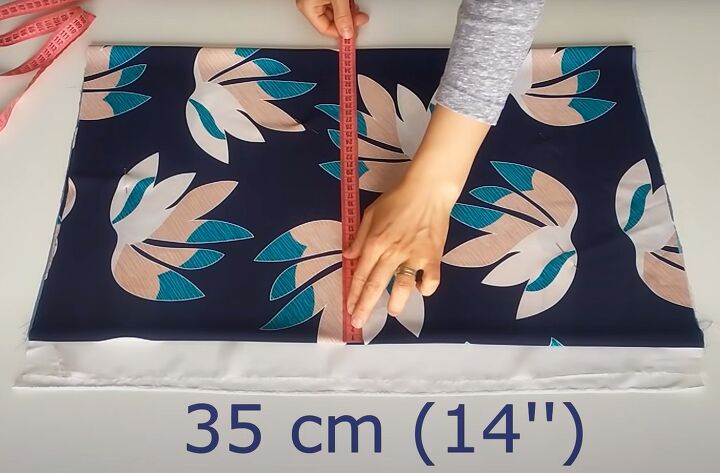
Draw a line for the shoulders 8 inches (20 cm) long from the outer edge of the neckline, angling it in to 2 inches (5 cm) from the raw edges.
Measure 8 inches (20 cm) from the end of the shoulder seam for the sleeve depth.
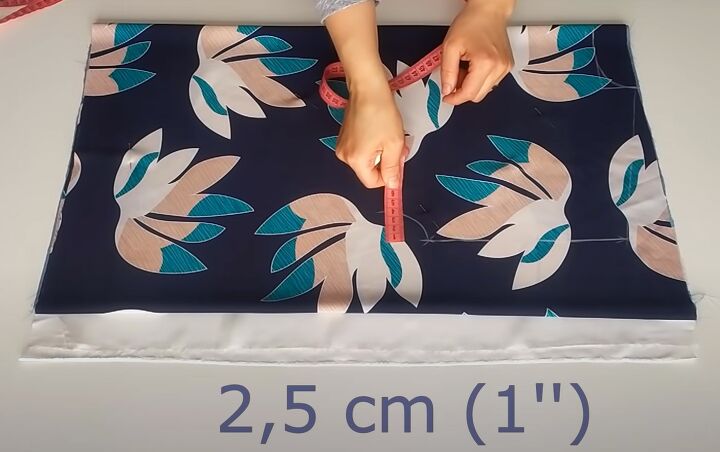
Draw a 1 inch (2.5 cm) deep curve at the bottom of the sleeve. The width from the curve to the folded edge of the fabric should be 10 inches (26 cm).
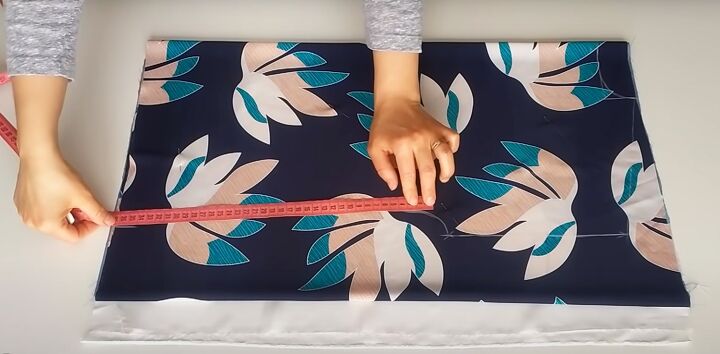
Measure 11 inches (28 cm) across the bottom of the blouse and join this point to the side seam at the underarm.
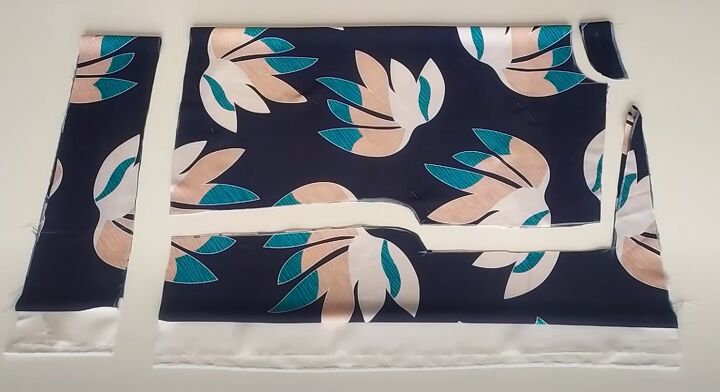
Draw a line 4 inches (10 cm) up from the lower edge of the blouse across the fabric and cut along the line.
Cut out the rest of the blouse shape.
Separate the two parts of the blouse.
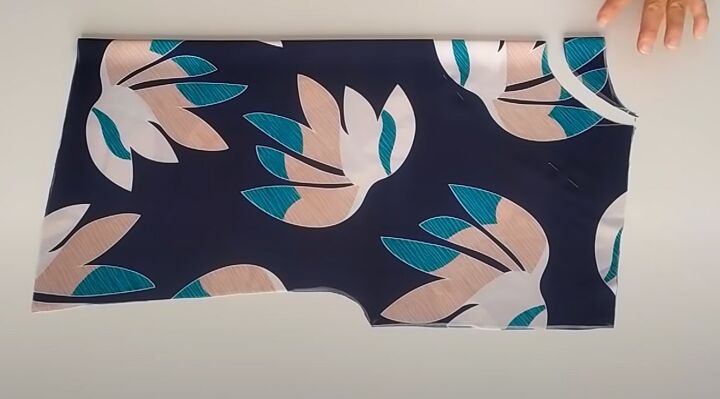
Fold one part in half lengthways and lower the front neckline by a further 1.6 inches (4 cm).
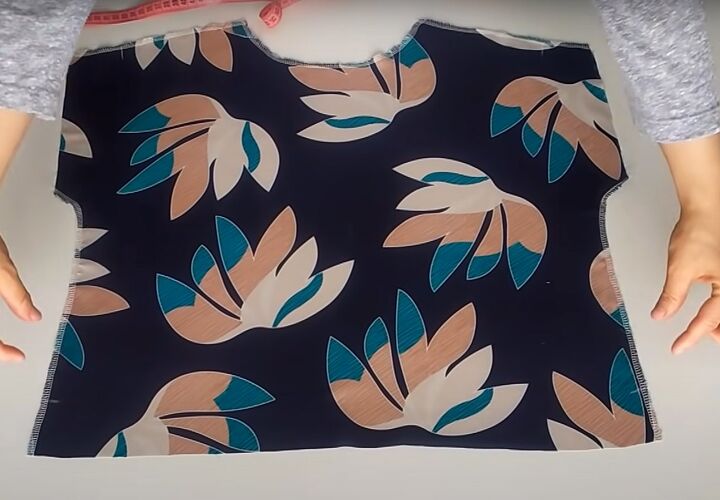
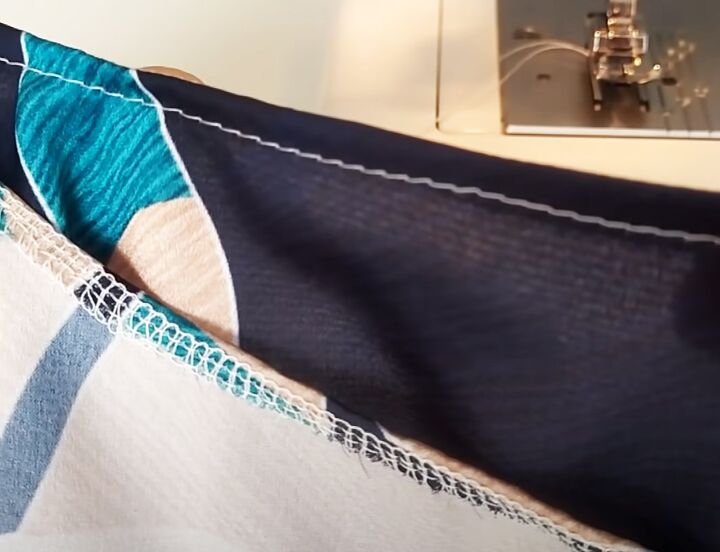
2. Shoulder and side seams
Finish the raw edges along the shoulders, neckline and side seams, using your serger or an overlock or zigzag stitch on your machine.
Mark 2 inches (5 cm) up from the bottom edge and in from the outer edge of the shoulders on both pieces.
Place the back and front together with the right sides facing.
Pin and sew the side seams from the marks to the underarms.
Join the shoulder seams from the marks to the neck edge.
3. Neckline
Open the seam allowance at the shoulder seams.
Turn the neck edge to the wrong side by about 0.25 inches (0.6 cm) and sew in place.
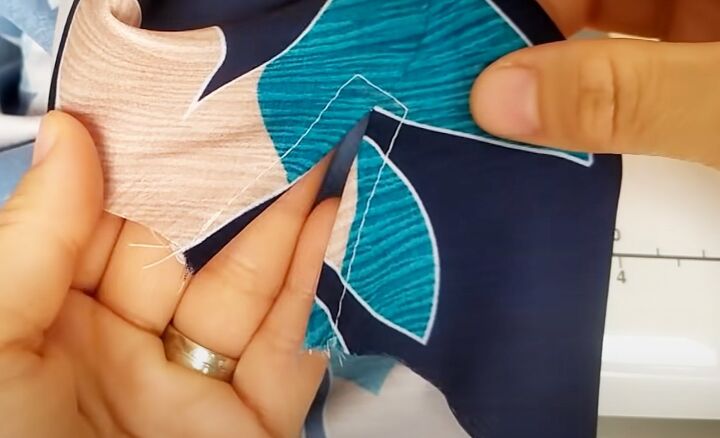
4. Slits
Turn the edges of the slits at the side and shoulder seams to the wrong side, matching the seam allowance.
Sew in place along each side and across the top.
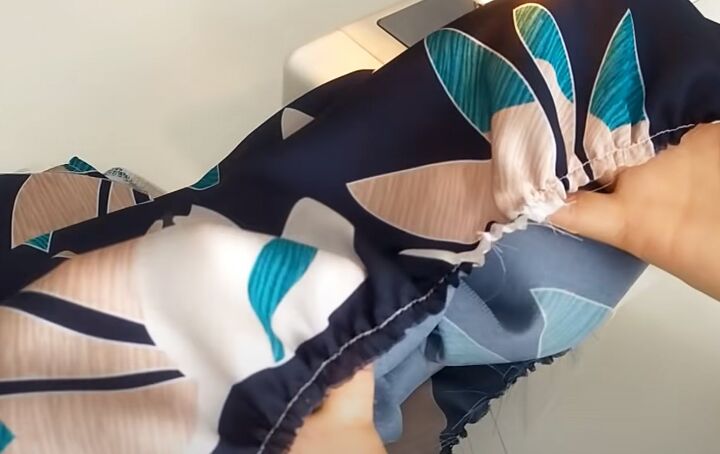
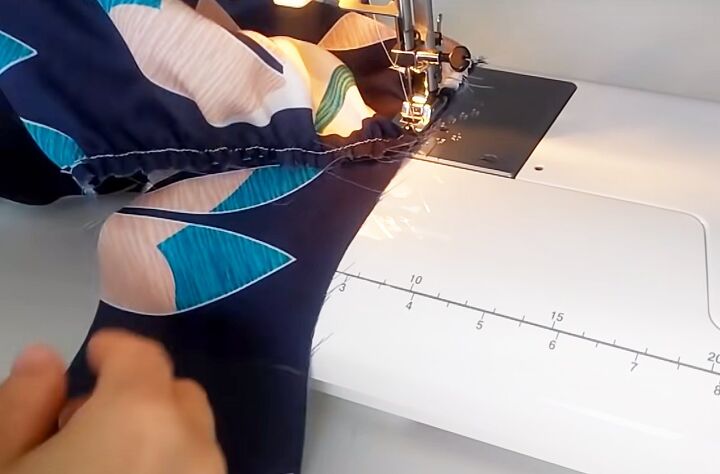
5. Gather lower edge
Sew a row of gathering threads along the lower edge on the back and front.
Gather each edge to a width of 16 inches (41 cm).
6. Waist and sleeve ties
Cut two strips of fabric each 3 inches (7.5 cm) deep and 40 inches (100 cm) long for the sleeve edges.
Cut one strip 4 inches (10 cm) deep and 59 inches (150 cm) long for the lower edge.
You can join pieces together if you need to.
Mark the center point of the waist tie.
Place the tie right side up.
Pin the wrong side of the back of the blouse at the split to the center mark. Stitch in place outside the gathering row.
Repeat for the blouse front.
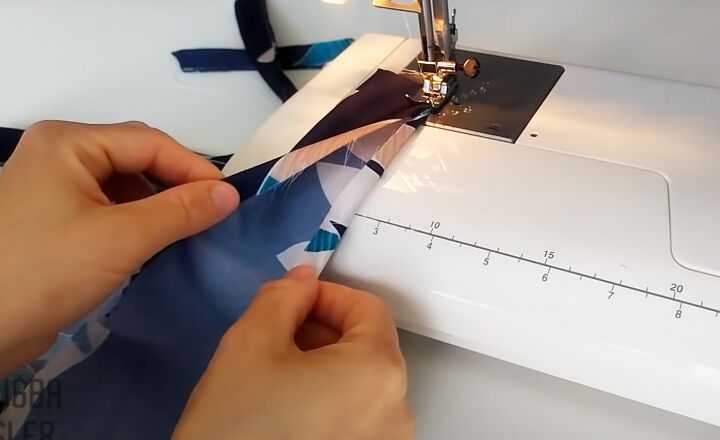
Fold each of the free ends of the tie in half with the right sides facing. Sew across the short edges.
Turn the end of the tie right side out.
Turn in the long edges by about 0.25 inches (0.6 cm). Sew the folded edges of the free end together.
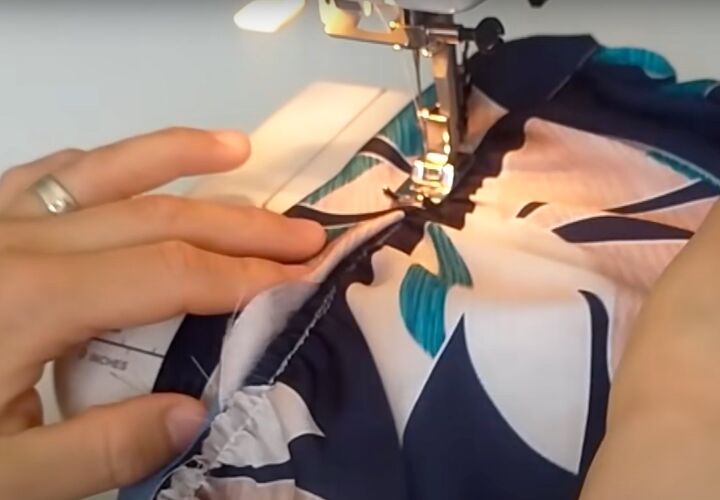
When you reach the part of the tie that’s attached to the blouse, turn the raw edge under and sew it to the right side of the blouse, covering the gathering row.
If you’re new to sewing, you may find it easier to pin the edges first.
Attach the ties to the sleeve edges in the same way.
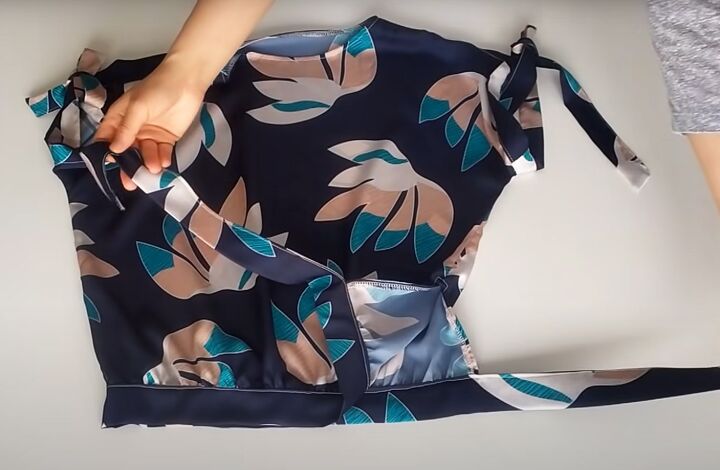

How to sew a blouse: DIY tie knot top
Fasten the ties into bows and you have a beautiful blouse with a striking feature.
I hope you’ve enjoyed learning how to sew a blouse and that you’ll give this a try. I’d love to know how you get on or if you have any questions.
Please leave me a comment below.
Next, Keep Your Money Safe: Cute and Easy DIY Wrist Pocket Tutorial.
The author may collect a small share of sales from the links on this page.


Comments
Join the conversation
This reminds me of the way my mom would make clothes. Excellent 🤩🤩🤩