How to Sew a Super-Cute DIY Tie-front Top: Step-by-Step Tutorial

This is a tutorial on how to sew a DIY tie-front top. I love the way a tie front top looks: it is so chic and elegant! I’ve divided up a tutorial on how to sew a tie front top into two. You can learn how to draft a tie-front top pattern from scratch using part 1.
This tutorial teaching you how to make a tie-front top is suitable for beginners and experts. I’m so excited to show it to you!
Tools and materials:
- 2 Yards of fabric
- Matching thread
- Sewing machine
- Serger (optional)
- Scissors
- Pins
- Printed pattern
- Weights (for pattern cutting)

1. Cut the fabric
Have all the pattern pieces cut out with a ½-inch seam allowance. Cut the front pieces first. You will have 2 front pieces. Fold the fabric in half for cutting the back, sleeves, and ties. Cut bias strips to finish the long neckline.
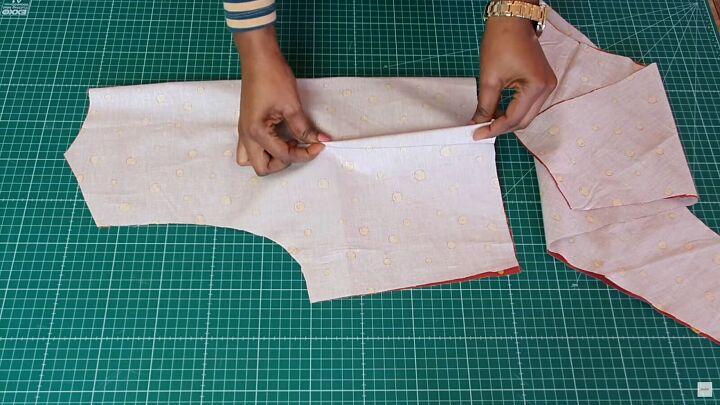
2. Sew the bodice
Start with the back piece and sew the darts as directed on the pattern.

Lay the back piece and then the two front pieces on top, right sides together. Pin and sew the shoulders with a straight stitch and finish the top of the seam with a zigzag stitch.
Iron the seams flat and then the rest of the garment.
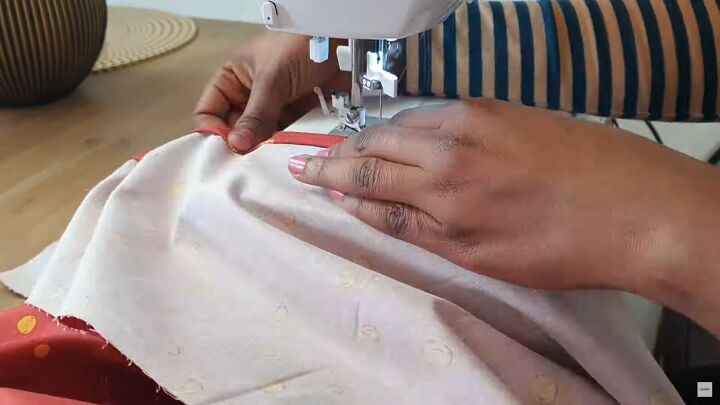
3. Sew the neckline
Attach the shorter pieces of bias straps with the short ends, right sides together, and sew so they are one long strip.
Attach the long bias strip to the entire front and back of the neckline.
4. Sew the sleeves
Open up both sleeves. Do a running basting stitch at the sleeve cap to gather in the sleeve.
Fold the bottom hem up ½ an inch. Pin in place and sew. Sew 4 strips of elastic thread starting 3 inches from the bottom hem horizontally across the entire sleeve to create a ruched effect.

Serge the sleeve cap.
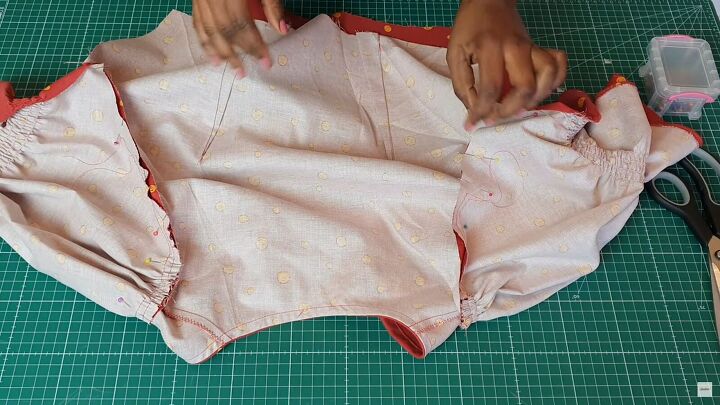
5. Attach the sleeves to the bodice
Pin the sleeves into the shoulder and armhole. Sew them together with a straight stitch.
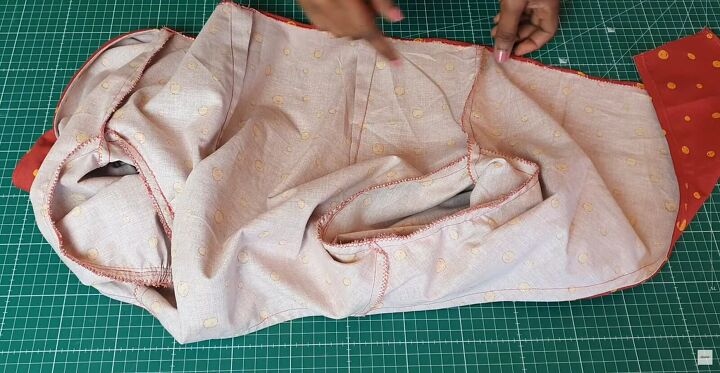
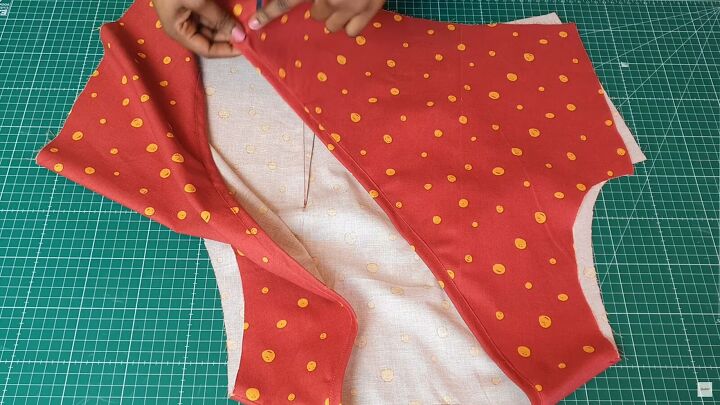
6. Sew the bodice up
Once the sleeves are attached, stitch the side seams and the inner sleeve seam. Finish all the raw edges by serging or using a zigzag stitch except the tie ends. Hem the bottom ½ an inch.
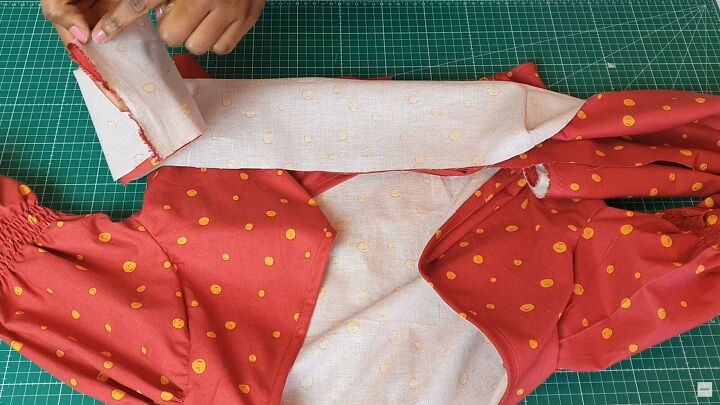
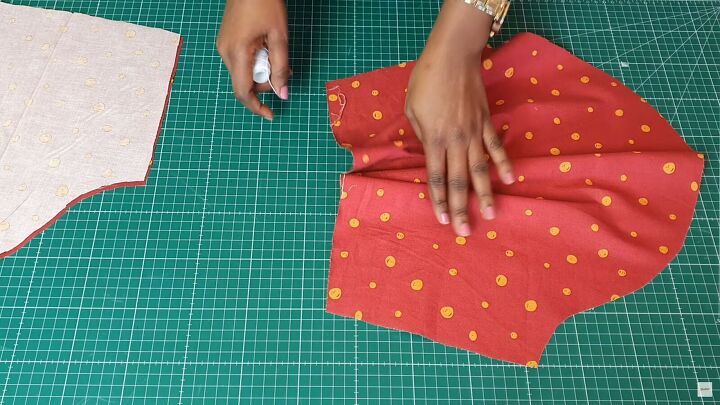
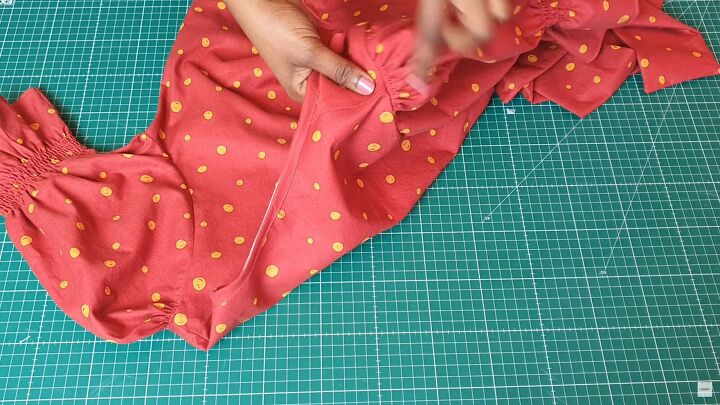
7. Attach the ties
Fold the ties so the right sides are facing. Stitch the short end and then lengthwise, keeping one short end open. Flip them inside out.
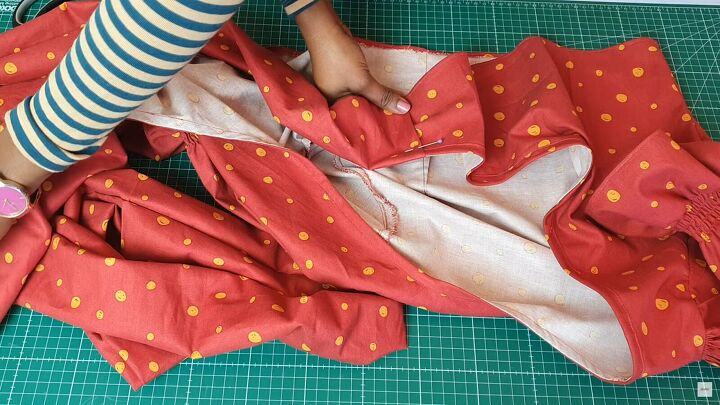
Lay the tie near the unsewn raw edge of the connecting piece on the bodice. Fold in the raw edge of the tie and insert the raw edge of the top. If there is a slight bit of difference in the size, fold the shirt connection so the front is as flat and equal to the tie.
Pin in place and sew with a straight stitch as close to the edge on both sides.
8. Finishing touches
Remove the basting stitches from the sleeve cap.

DIY tie-front top tutorial
You’re done! I hope you enjoyed my teaching you how to DIY this front knot tied crop top. Please let me know in the comments if you have any questions or need any additional help. I love hearing from you!
The author may collect a small share of sales from the links on this page.


Comments
Join the conversation