How to Make a Leg of Mutton Sleeve Pattern & Sew It Together

In today's tutorial, I'm going to show you how to make a leg of mutton sleeve. This is a sleeve shape that is fuller at the shoulder but fitted at the wrist, which gives it the leg of mutton shape.
We'll start by drafting a basic sleeve pattern, then I'll show you how to modify it to make a leg of mutton sleeve pattern. Let's get started.
Tools and materials:
- Fabric
- Ruler
- Pen
- Pattern paper
- Sewing machine
- Thread
- Scissors
- Elastic
1. Make a basic sleeve pattern
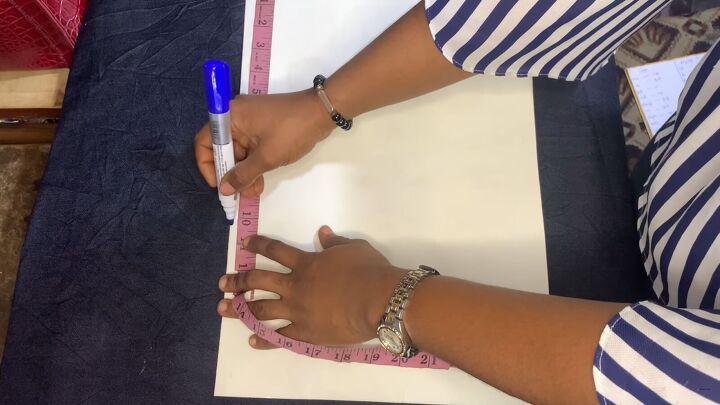
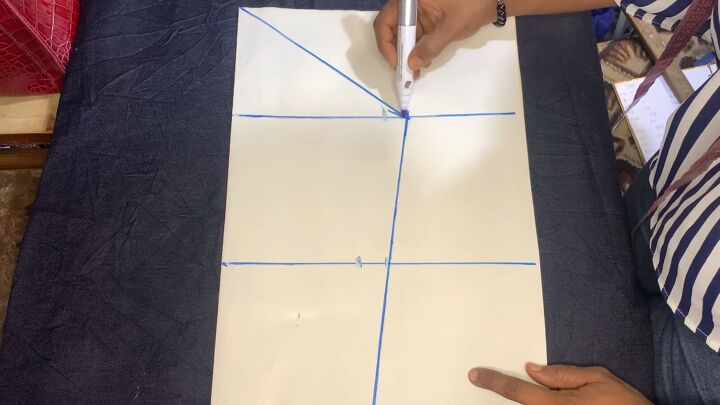
On a piece of folded paper, mark 5 inches down (on the fold). Then, make another mark at 11 inches.
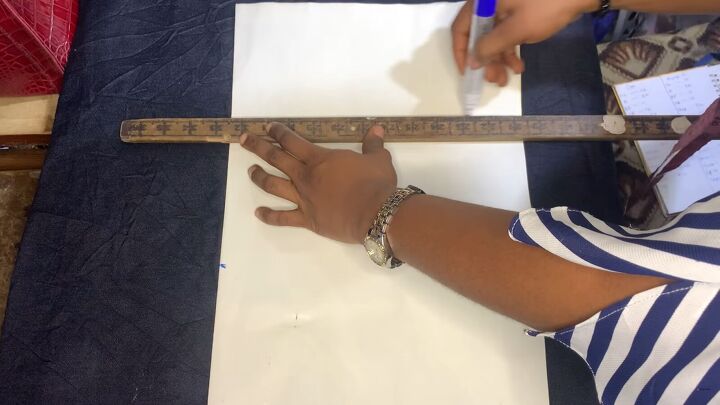
Extend lines from each mark across your pattern paper.

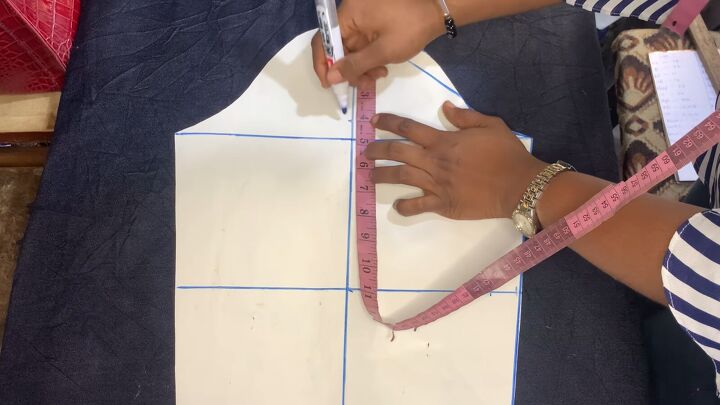
Divide your round sleeve measurement (circumference of your forearm) by two. Then, measure this inwards from the 5-inch mark. Add a 1-inch allowance.
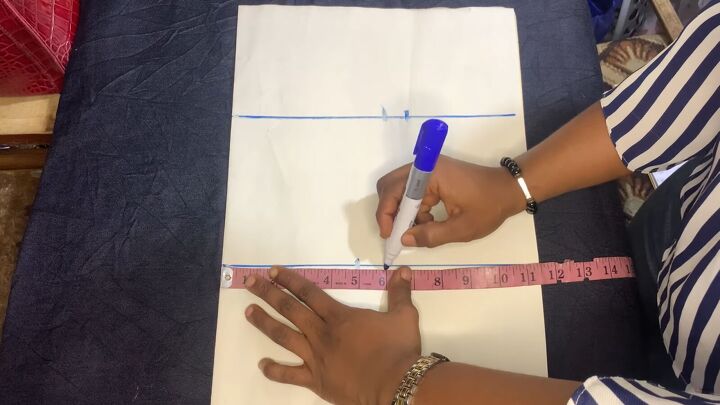
Also, divide the elbow measurement by two, measure this inwards from the 11-inch mark, and add a 1-inch allowance.
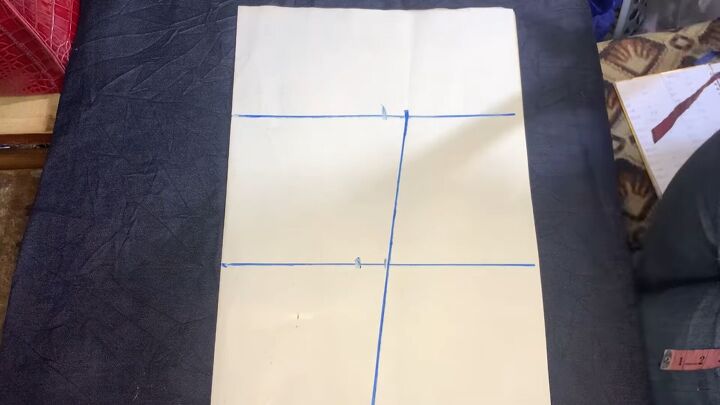
Now, connect both points, as shown.
Draw a triangular line so that it meets the top folded edge.
Then, draw a curve along this line, as shown above. Cut out the basic sleeve pattern.
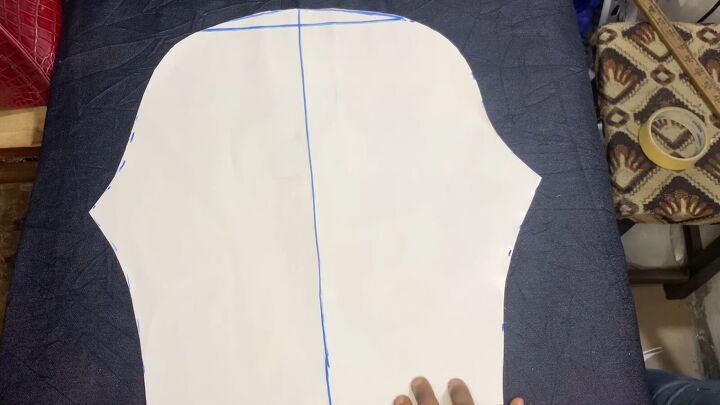
2. Make the leg of mutton sleeve pattern
Now, let’s create the leg of mutton sleeve pattern from this basic sleeve pattern. Open the pattern and extend the lines all the way across the paper.
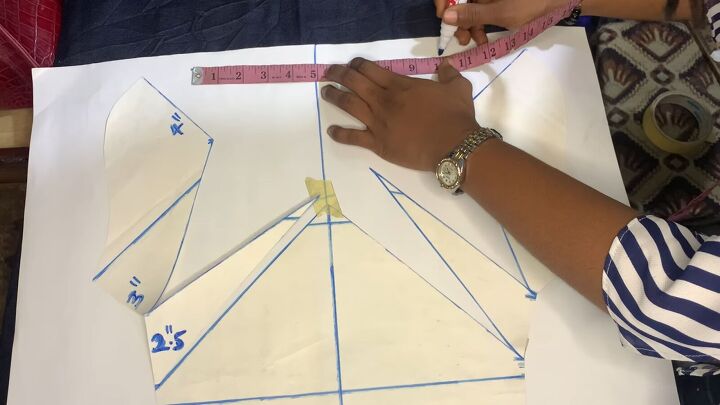
Draw down the open fold line to create a center line.
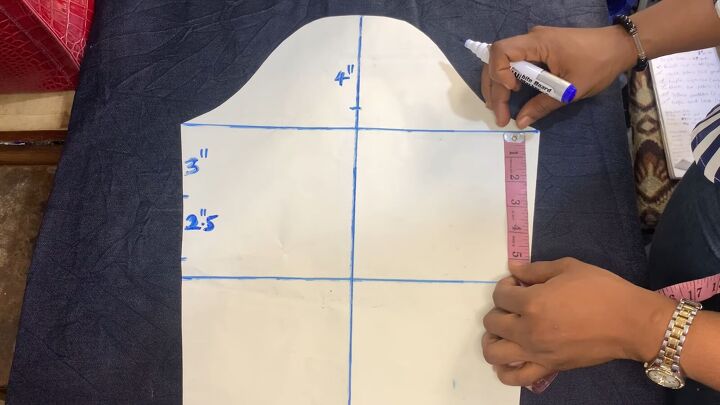
From the top, mark 4 inches downward.
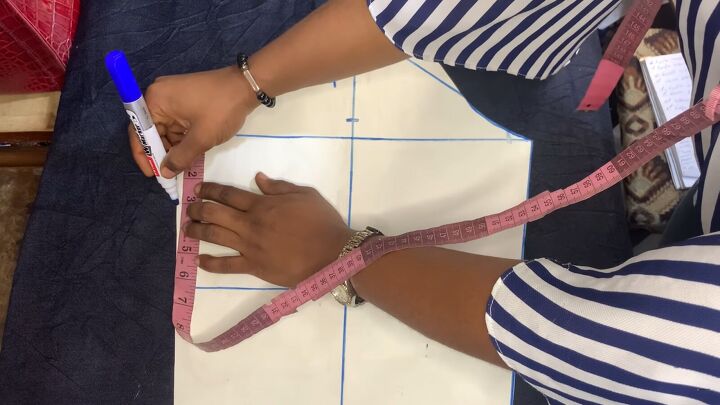
Mark 3 inches down from the top line.
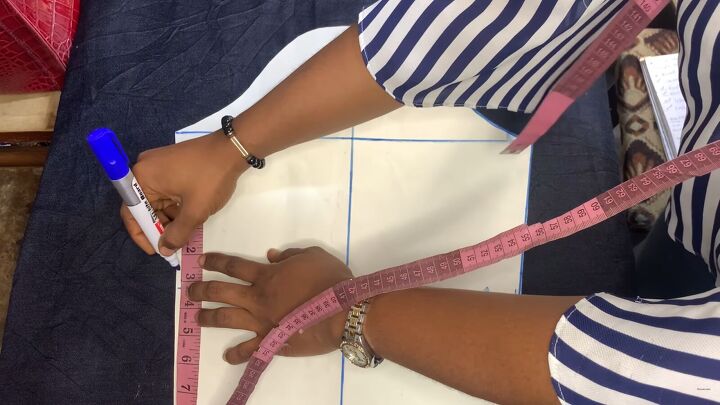
From the 3-inch mark, go down another 2.5 inches and make another mark.
Repeat on the other side.
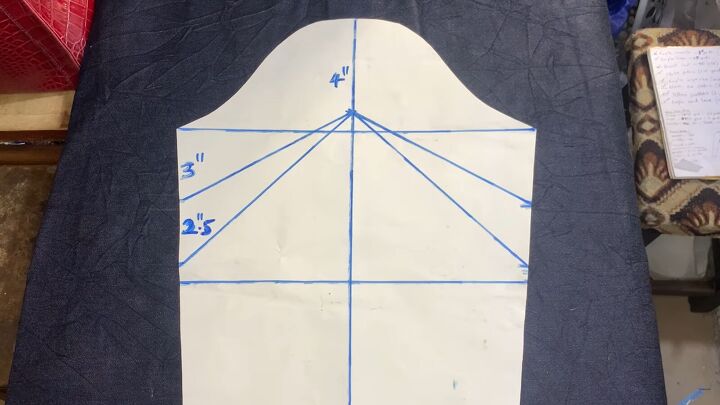
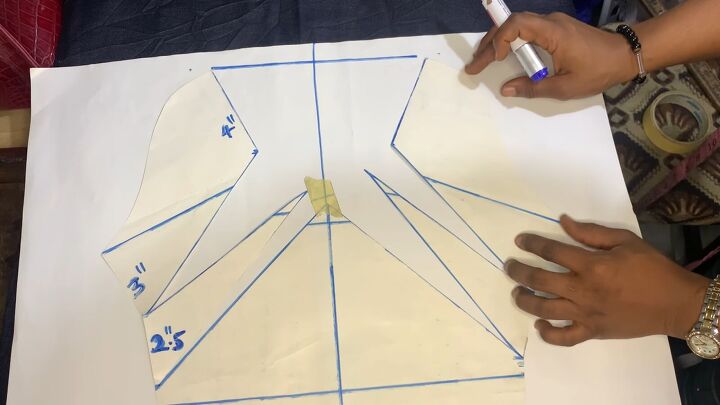
Connect both side points to the top 4-inch mark.
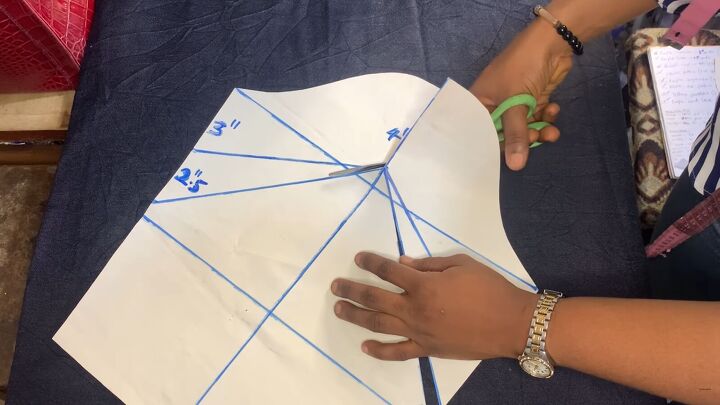
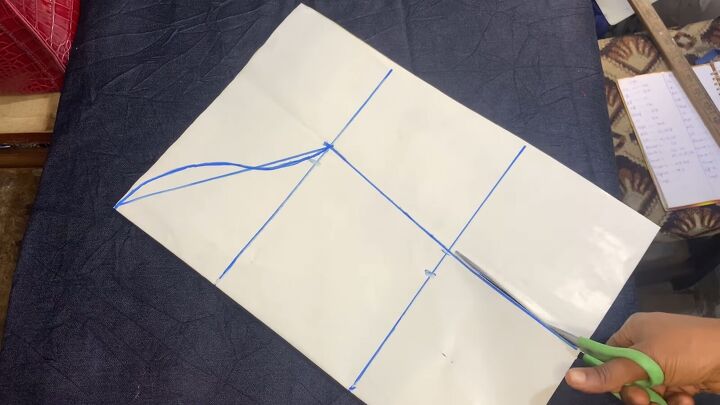
Starting from the top, cut down the center line and diagonally to the second line. Make sure not to cut off the edge completely; stop a little before so it’s still attached.
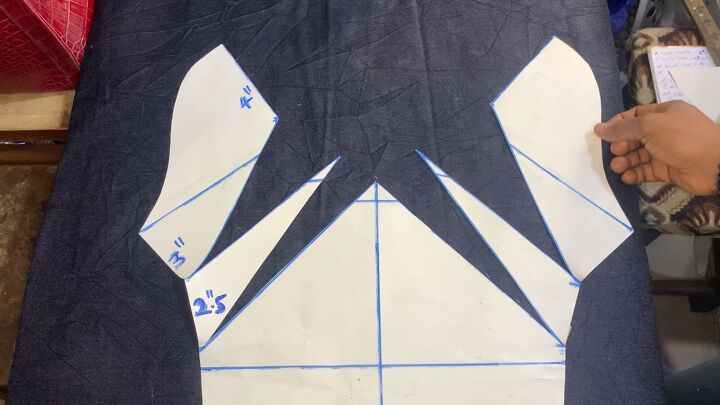
Then, cut along the first diagonal line, and stop just before the end.
Tip: If you cut the whole piece off by mistake, just use tape to piece it back together.
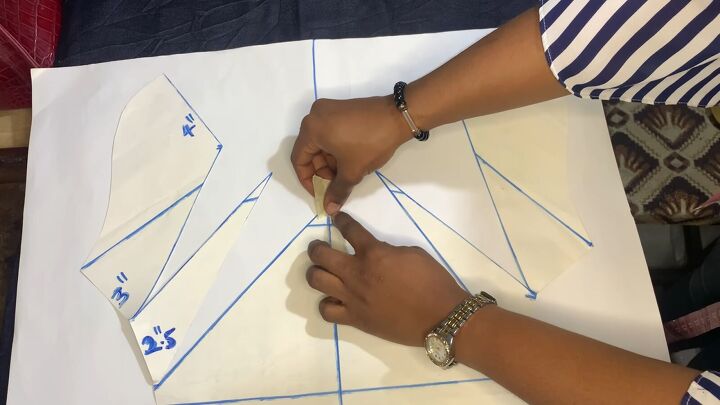
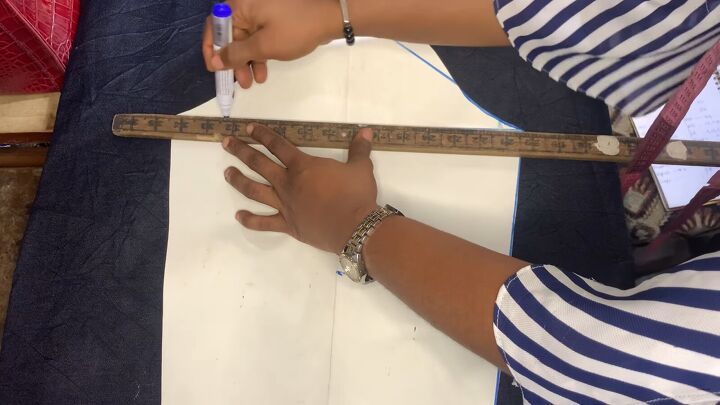
Using new pattern paper, find the center line and mark it. Then, place your cut-out pattern on top, align the center, and tape it down.
On top, mark how wide you want your sleeve to be. If you want the gathered part to be exaggerated, you can go as far as 6-8 inches. I opted for something lowkey, so I went for 4 inches on either side.
Align the sides of the top pattern so that the tips touch the ends of the line you just drew.
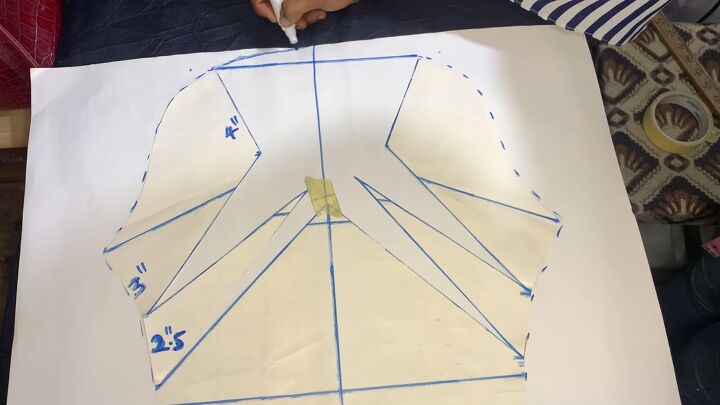
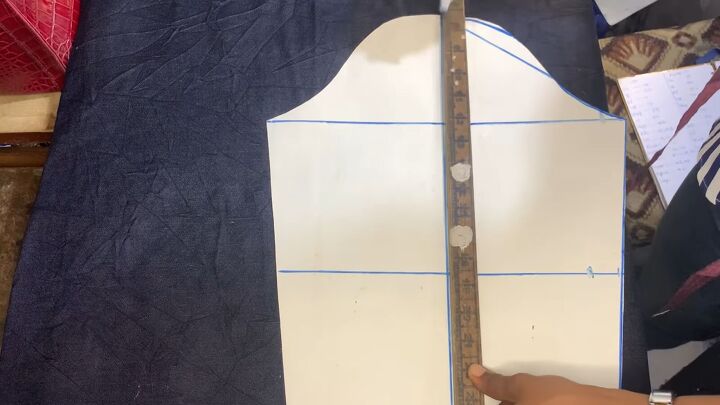
Now, trace around and curve the top. Ensure you at least have 1 inch from the top for seam allowance.
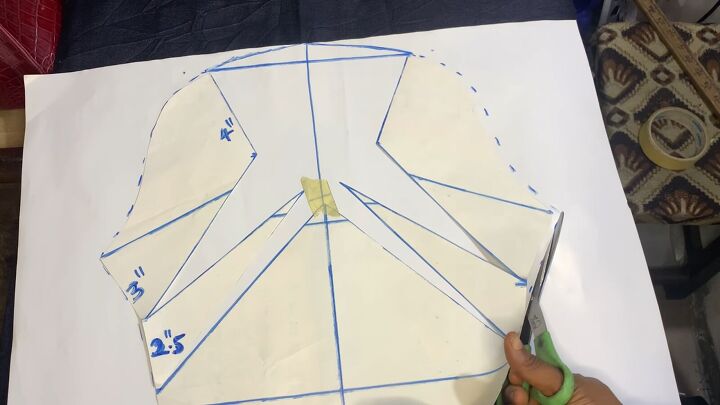
Cut around your pattern.
Your leg of mutton sleeve pattern is complete!
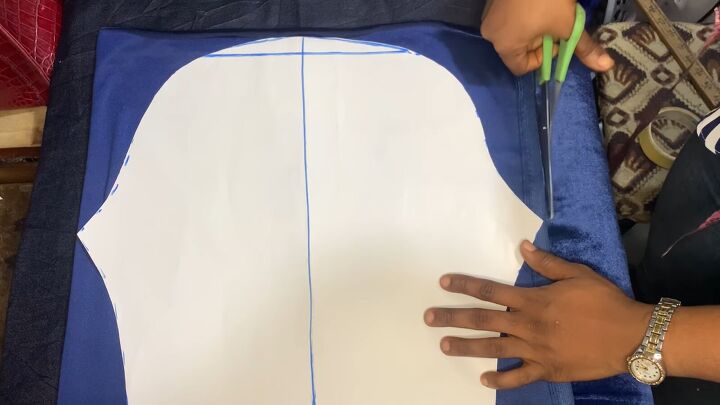
3. Cut the fabric
Go ahead and cut the pattern on your fabric. It can be any fabric of your choice.
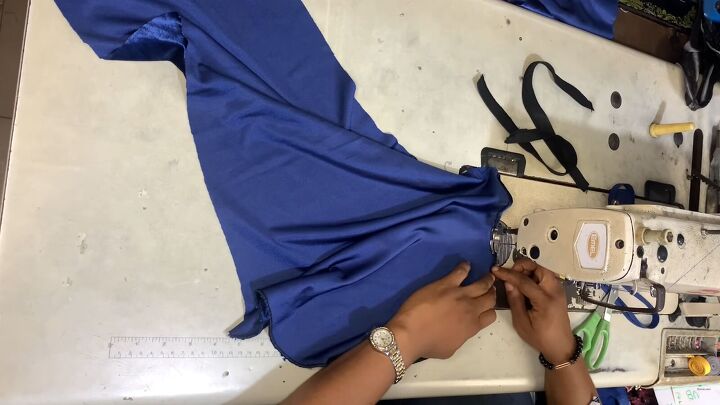
4. Sew the leg of mutton sleeve
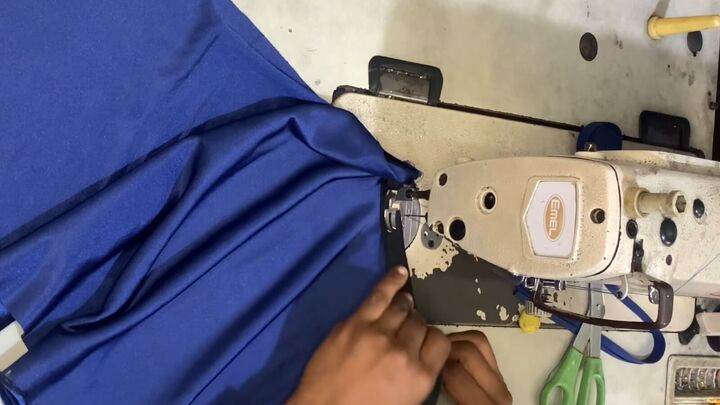
Ok, let’s get down to business. Start by hemming the top raw edge with a single fold.
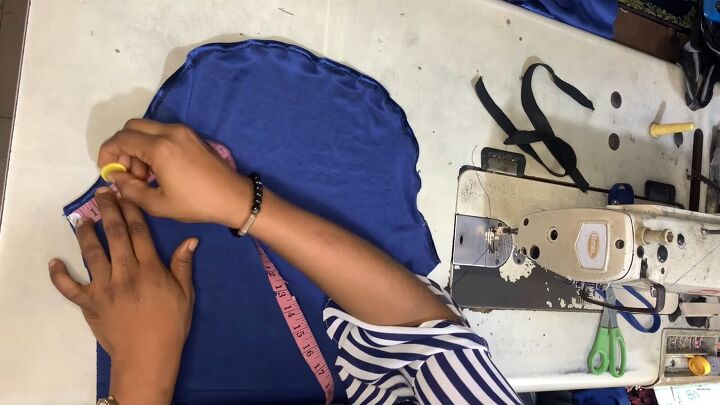
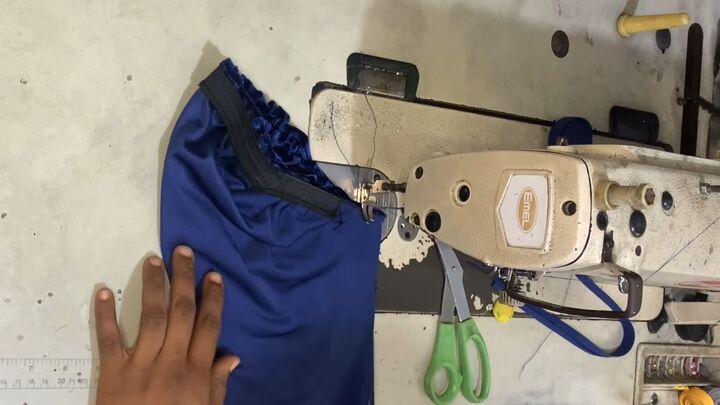
Mark two inches from the tips, as shown.
Start sewing the elastic from one of those points. If you’re wondering how long the elastic should be, mine was 4 inches less than my shoulder measurement. Remember to stretch the elastic as you sew.
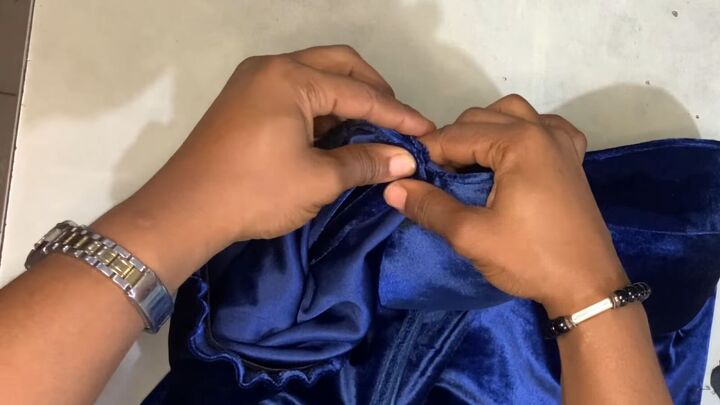
Once your elastic is sewn, go ahead and sew the side seam with the right sides facing.
5. Attach the leg of mutton sleeve
Now, you can attach your sleeves to your bodice or dress. Just make sure to align the seams, as I have.
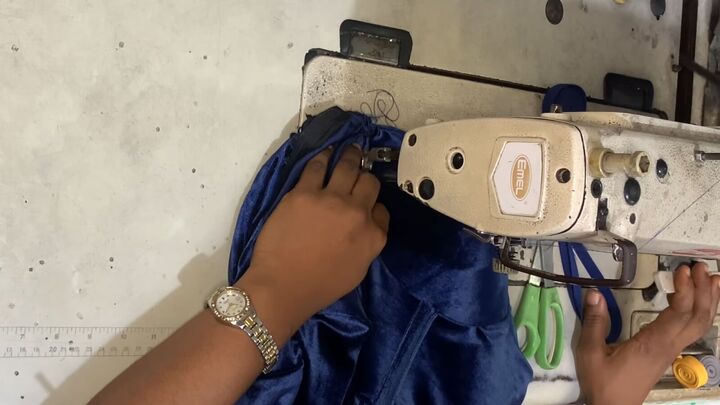
Sew the pieces together. I was attaching my leg of mutton sleeves to a tube-style dress, so I didn't have an armhole to insert the sleeve into. Instead, I sewed down by two inches, as that’s what I measured as a starting point for the elastic.
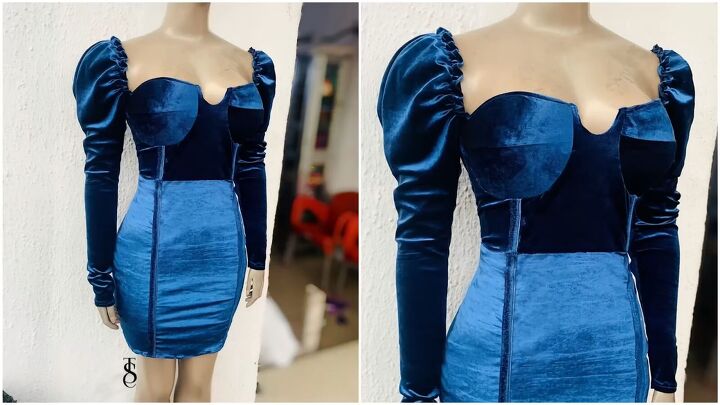
Leg of mutton sleeve tutorial
Here’s the final result. What do you think of this stunning leg of mutton sleeve? Thanks for joining me, and I hope you got to learn a thing or two.
Let me know what you think of my leg of mutton sleeve tutorial down below.
The author may collect a small share of sales from the links on this page.


Comments
Join the conversation
Wow, this dress probably looked fabulous on a curvy hourglass body. Very flattering. I do not have the right type body for this particular dress but the sleeve can be used on a few different types of bodices. Nice tutorial.
Very clear directions, appreciated.