How to Make a Pretty Strawberry Blouse: DIY Bow-Back Top Tutorial

Welcome to my strawberry blouse tutorial! I called this DIY bow-back top the strawberry blouse because with the puff raglan sleeve and red pattern it looks just like a strawberry!
I made two versions of this DIY tie-back top: one upcycled from a men's shirt and one from fabric. I am so unabashedly pleased I was able to make this using a men’s shirt because I didn’t think it was possible at first. If you want to know how I did it, keep reading!
Tools and materials:
- Men’s large button-down shirt OR 1.5 yards of 59” fabric OR 2 yards of 44” fabric
- Strawberry Blouse pattern
- Paper
- Scissors
- Pins
- Iron
- Elastic band
- Safety pin
- Knitting needle or long stick
- Serger
- Sewing machine
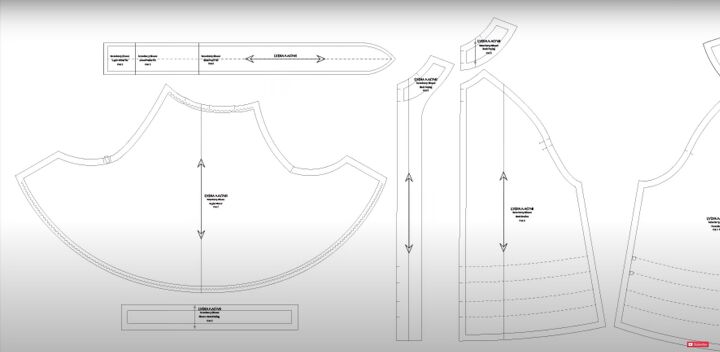
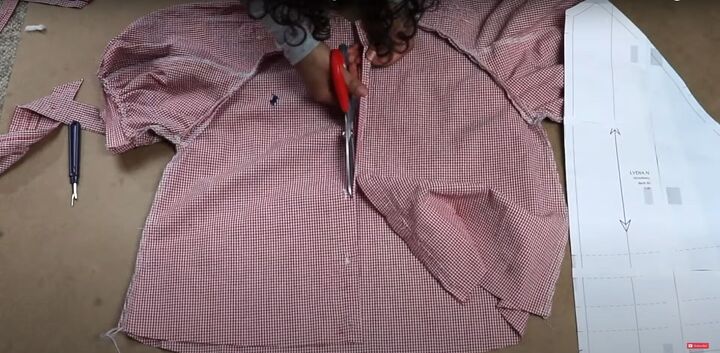
1. Cut out the pattern
I created this Strawberry Blouse pattern to make this top. You can download the pattern or slow down the footage on the video to make the pattern yourself.
If you are upcycling a shirt for this project, make sure the shirt is a size large or bigger. You can see how I cut all the pieces from the shirt in the video from 3:34-5:46.
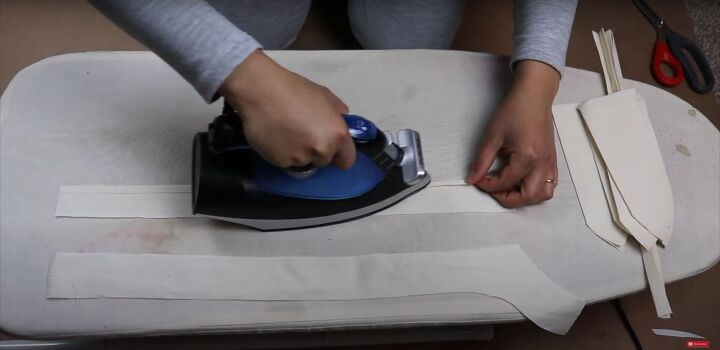
2. Iron and serge
Once cut, I prepped everything by ironing folds in the appropriate places: the sleeve hem binding, the waist ties, the facing ties, and the casing areas on the front and back bodice.
Make sure you iron according to the widths established on the pattern. This will really streamline your sewing process. I also serged the sleeves and body on the side seam and armhole seam.
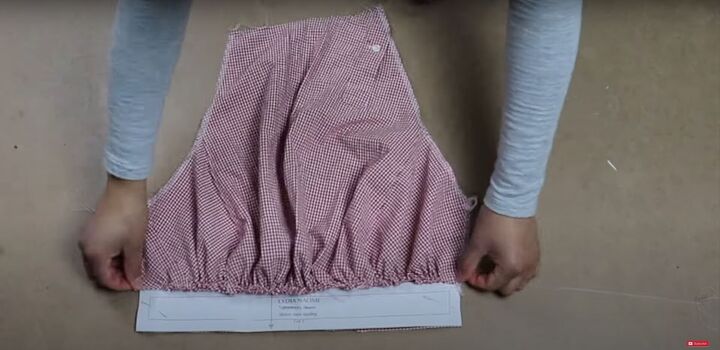
3. Gather the sleeves
I then sewed a large stitch along the top and bottom of the sleeves for gathering, then gathered the sleeve hem to the length of the sleeve hem binding.
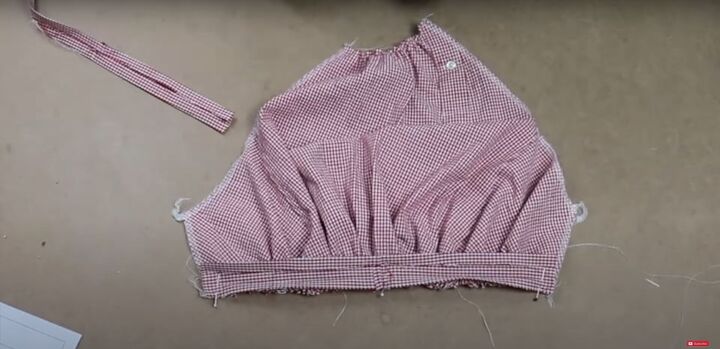
4. Pin and sew the sleeves
I then took the sleeve hem bindings and folded them in half, then folded the sides in by half an inch, and applied these right sides together to the sleeve hem, sewing them down with a half-inch seam allowance.
5. Pin and sew the sleeves to the bodice
Next, I pinned the sleeves in place. The front of the sleeve has a single notch, so I matched the notches together, pinned, and sewed. Then I did the same for the back, matching the double notches.
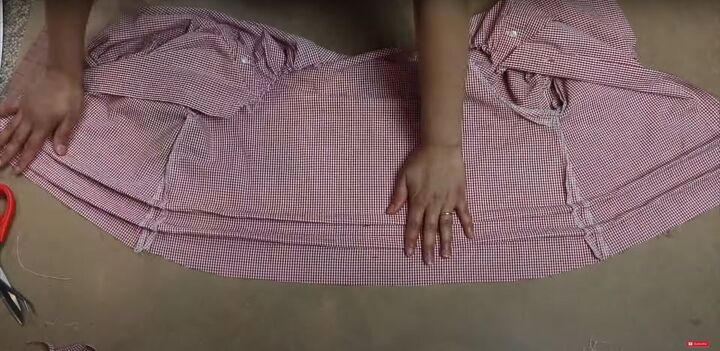
6. Pin and sew the side seams
Then, I sewed up the side seams.
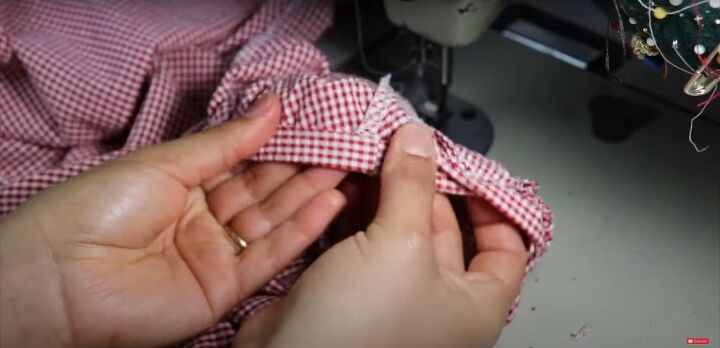
7. Hem the sleeves
Next, I came back to finish the sleeve hem by folding back the binding and topstitching about one-sixteenth of an inch from the edge of the seam, catching the fold on the reverse side.
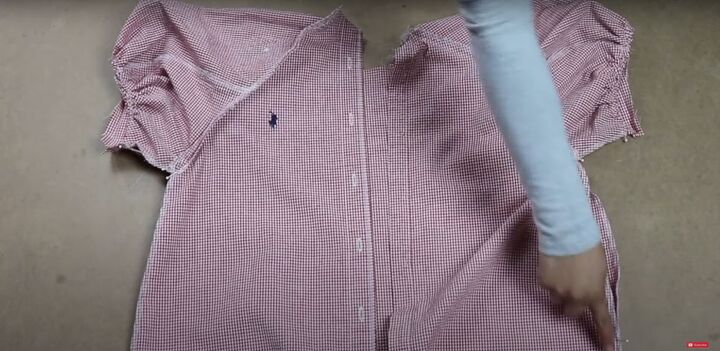
8. Cut off the button plackets
To reduce the bulk on the back seams, I removed the button plackets.
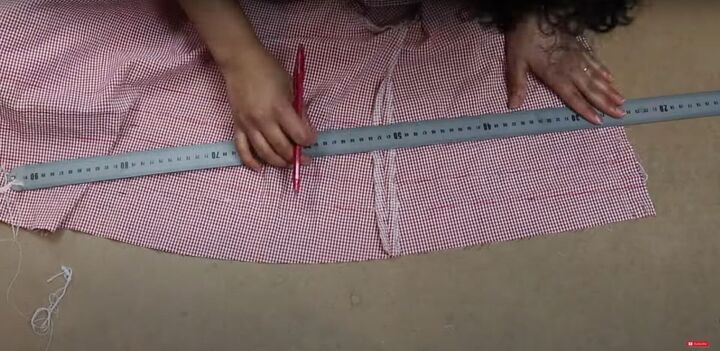
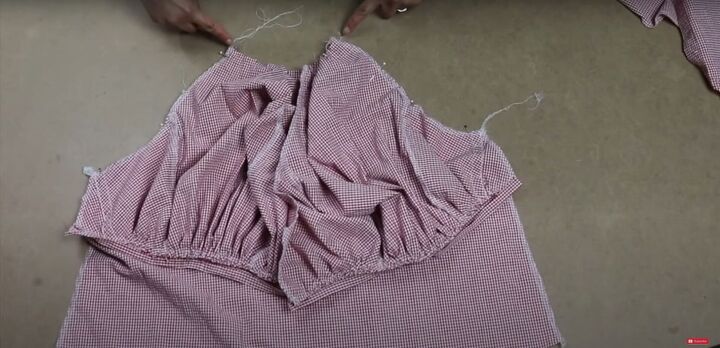
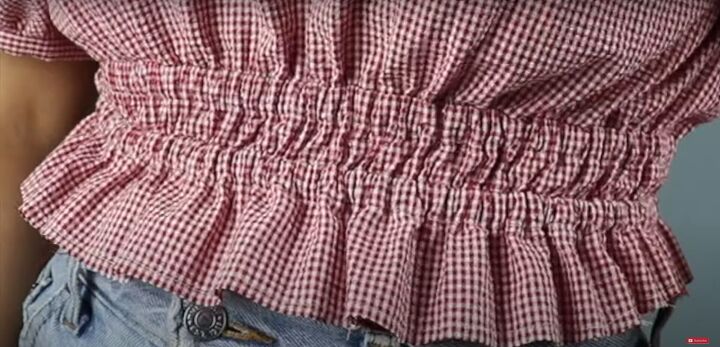
9. Mark the elastic casing
Then, lining up the ruler with the notches, I drew the lines for the elastic casings onto the fabric.
10. Pin and sew the elastic casing
I matched these lines together and sewed a five-eighths of an inch wide casing. Then, I folded these down and sewed along the edge to complete the casing.
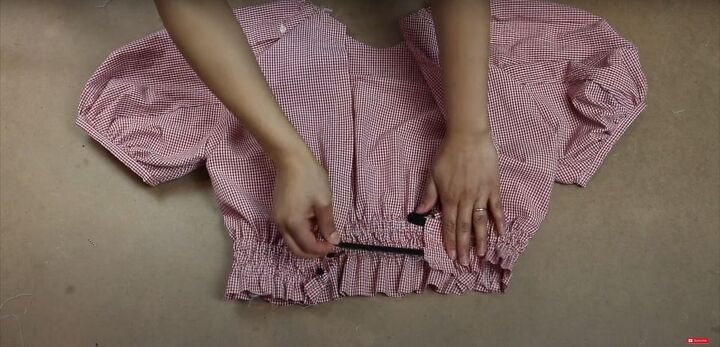
11. Insert elastic
I used a quarter-inch wide elastic. The length of one elastic band should be 4-6 inches smaller than your waist, and the other should be 4-6 inches smaller than the circumference just above your waist. I used a safety pin to feed the elastics through the casings.
Tip: I recommend trying the strawberry blouse on and making any necessary adjustments at this point, before sewing down the elastic at the ends of the casings.
12. Pin and sew the facings
Next, I connected the shoulder seams of the front and back facings and made sure to sew the center front seams, as well.
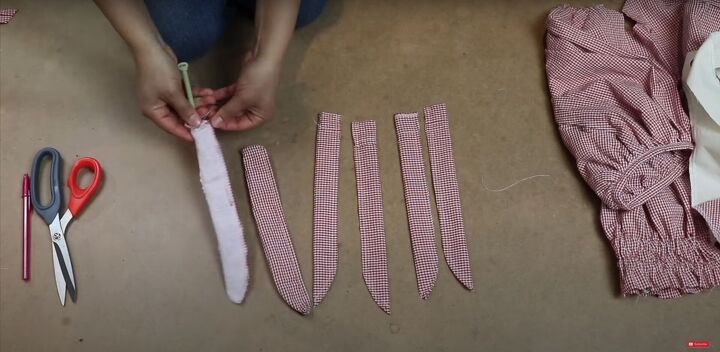
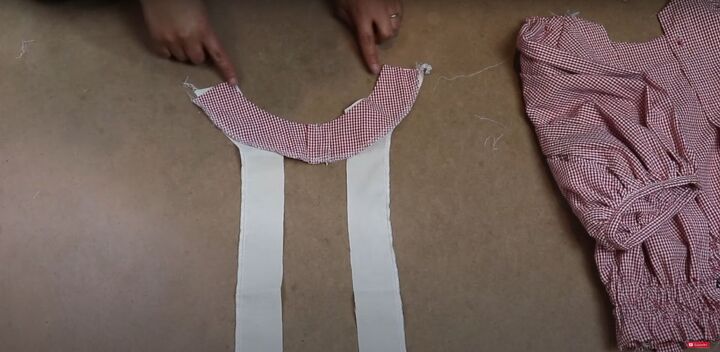
13. Cut and prep back ties
Then I prepped the back ties. Once sewn, I turned them right side out with a knitting needle.
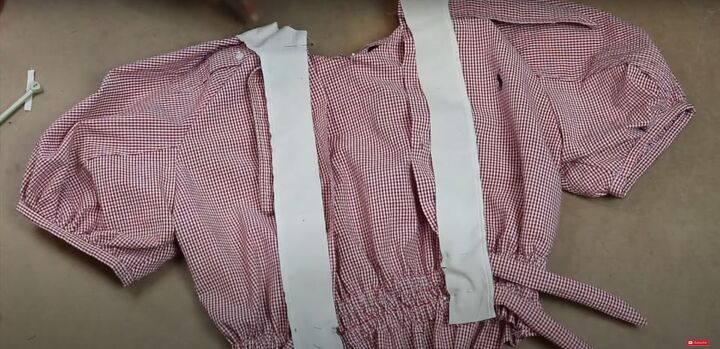
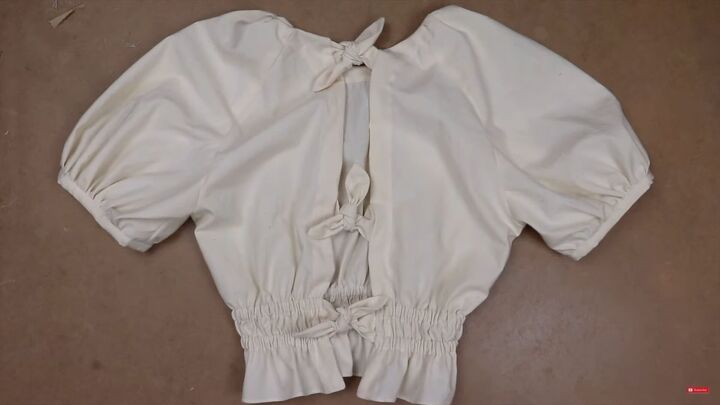
14. Attach the back ties
Next, I placed the back ties in their places according to the pattern. I sandwiched the back ties between the facing and the bodice and then sewed down the facing and ties together.
15. Understitch and topstitch
After sewing down the facing, I did an understitch and then a topstitch half an inch from the edge, stopping at the sleeve seam. I did the same for the front, leaving the facing segment that is attached to the sleeves unsewn.
16. Hem
To finish, I left the hem raw because I kept adjusting it, and it became too short to roll the hem. So I just ran a stitch along the edge to keep fraying under control. But I recommend you use a roll hem presser foot to hem the bottom edge of the shirt.
If you are making this shirt from scratch, see the video from 10:56-13:43 for a slightly different method to attach the back ties and facing.
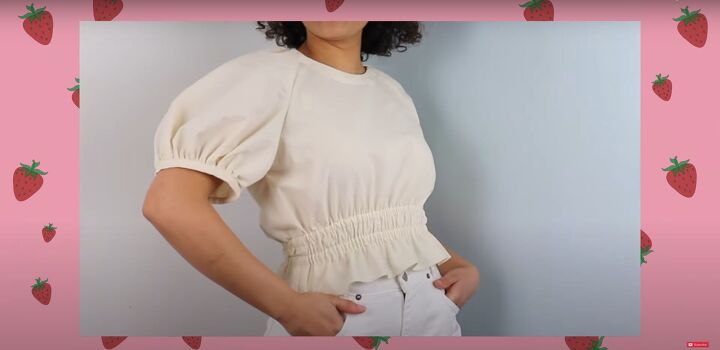


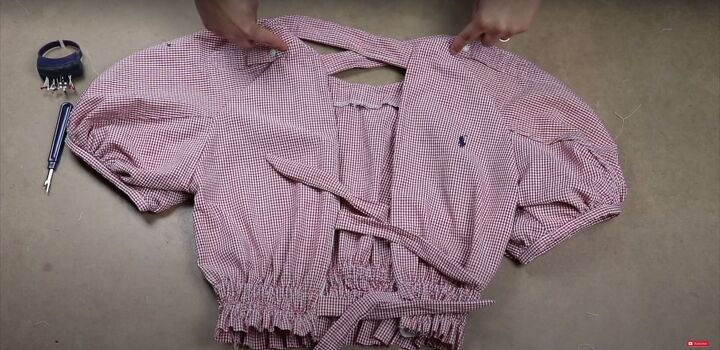
DIY bow-back top strawberry blouse tutorial
Please let me know what you think of this transformation, and the DIY bow-back top pattern I created. If you make a strawberry blouse of your own, I would love to see the results!
The author may collect a small share of sales from the links on this page.


Comments
Join the conversation