How to Do Clean Girl Makeup: A Natural, No-Makeup Makeup Look

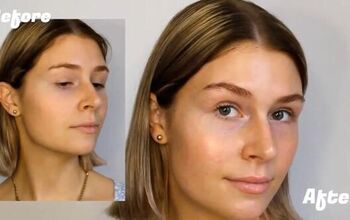
Today, we’re going to be doing a clean girl makeup tutorial. I’ve seen the clean girl makeup trend going around social media for quite some time and I love seeing all of the different looks everybody’s created.
It's essentially a natural, "no makeup" makeup look. So, we’re really going to be focusing on the dewy skin along with lashes, brows, lip liner, and all that good stuff. Let’s get started!
Tools and materials:
- Face oil
- Brow gel
- Illuminating product
- Under-eye brightening corrector
- Concealer
- Translucent powder
- Cream blush
- Lip liner
- Mascara
1. Prep your skin
Before applying my makeup, I washed my face and applied oil to further hydrate my skin. I find that face oil sits nicely on my skin when I’m not using too much makeup.
If I’m going in with a heavier coverage foundation, I like to stick to a gel moisturizer just because the gel soaks up in my skin whereas the oil sits nicely on top of it and gives a really pretty glow.
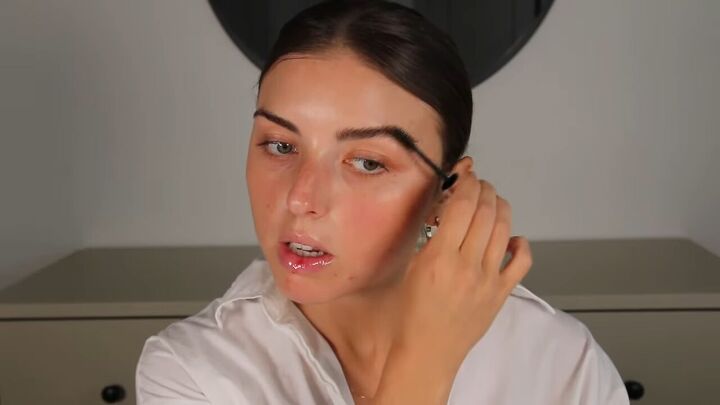
2. Brow gel
Next, I’m going in with brow gel. I just grew my eyebrows so I like to brush them up, and then once I reach the arch of my brow, I like to brush them up in a diagonal just so it has a nice arch to it and they look fluffier.
You can also go in with a brow tint just to add some more color and fullness, but I’m just using a clear brow gel since my brows are pretty dark naturally.
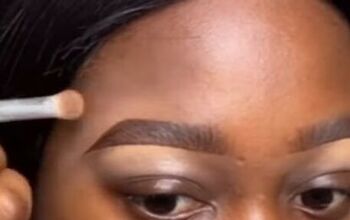
3. Add illumination
Next, I’m going in with an illuminating product over my cheekbones and jaw. This isn’t to add coverage, just to help make your skin look more glowy.
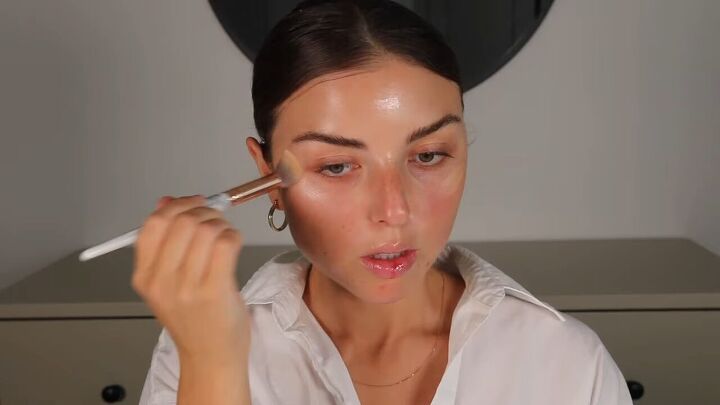
After applying, grab a brush and start blending it. I like to tap the product on my cheekbones since I don’t want to move it around too much.
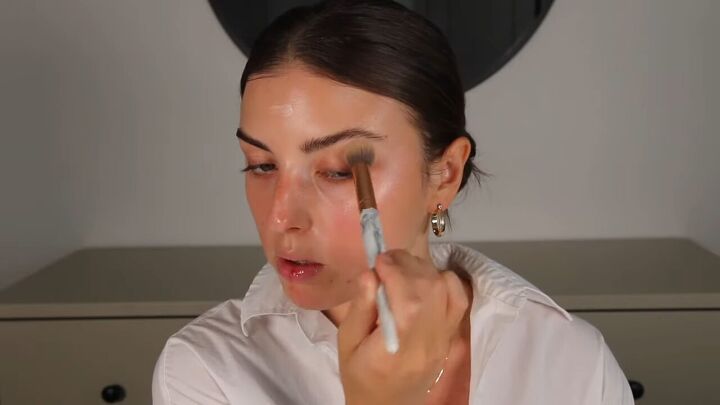
You can also bring it up alongside your temple area, up to your brow bone kind of in a C-shape. It adds such a beautiful glow.
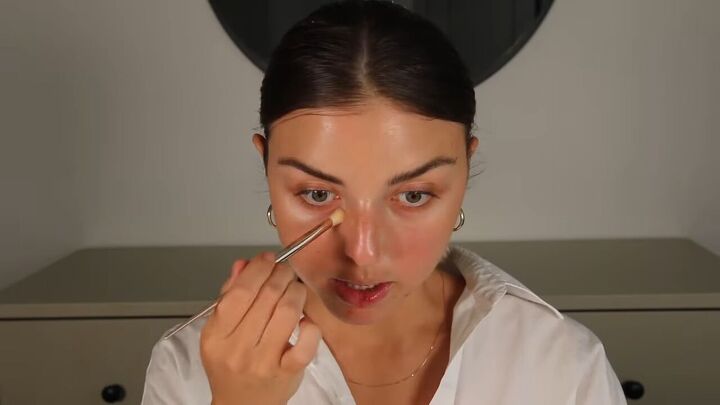
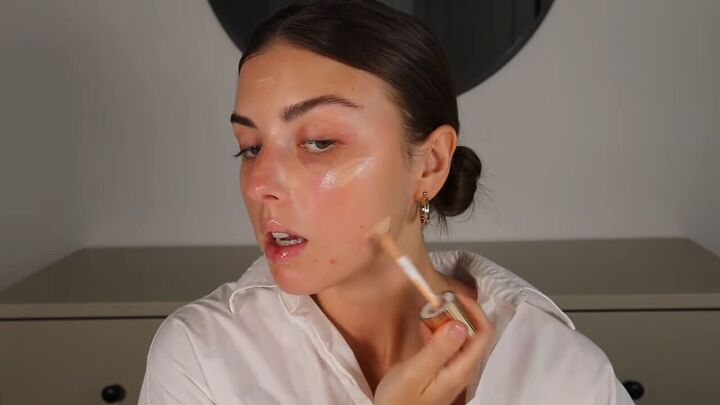
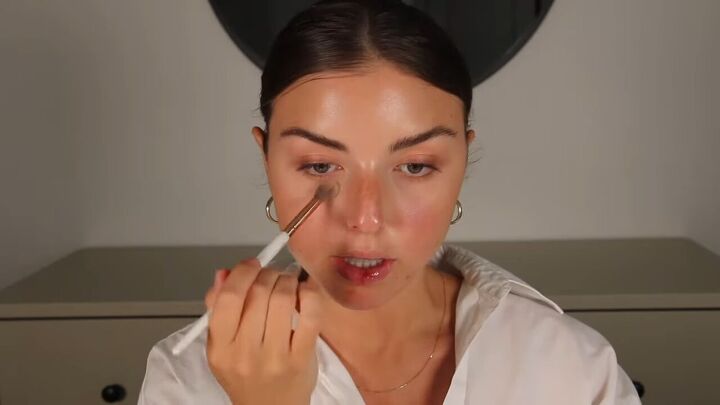
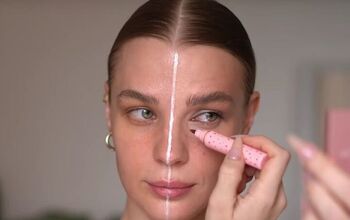
4. Under-eye brightening corrector
Next, I’m going in with an under-eye brightening corrector and just using the smallest amount of product where I have the most darkness and I’m only placing it right in that area.
Don’t worry about putting it all underneath your eye, because you don’t want your under-eyes to get cakey with product, so keep it very light.
Any excess product, I’ll just take it upwards but not directly underneath the lash line.
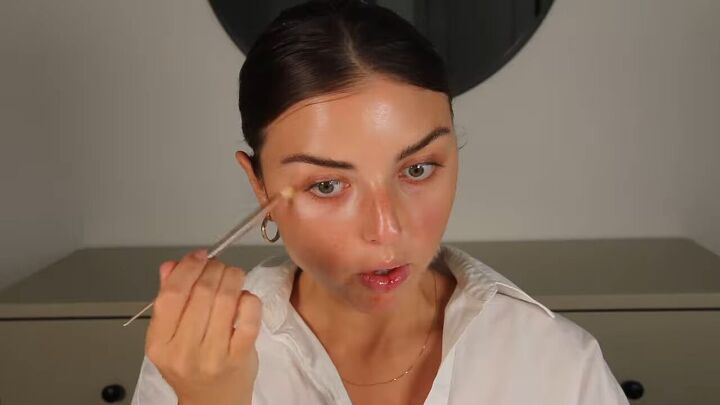
5. Concealer
The concealer is also going to help correct the darkness underneath your eyes. If you don’t have bad dark circles, you can skip this step as it’s not that important. On a good day, I won’t even bother with the concealer.
To keep everything very minimal, I’m using a concealer shade that’s around one shade lighter than my skin tone so it doesn’t look obvious that I have concealer and no foundation. You want everything to blend really nicely.
To apply, I just dot it right underneath my eyes and use my finger to melt the product into my skin. Make sure your hands are clean. A little bit goes a long way, so you don’t need to apply lines of product underneath your eyes. Just keep it really minimal.
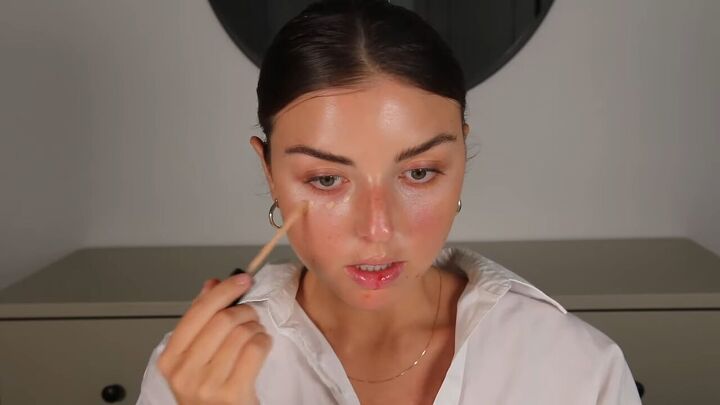
6. Set with translucent powder
So we don’t crease, I’m going in with a very fine translucent powder, nothing that’s going to add additional coverage. This will help set the concealer and mattify all the oils in it so there’s no creasing throughout the day.
This is also a good time to start setting in the areas you don’t want to be dewy, so I like to set underneath my eyes, around my nose, and right between my brows.
7. Cover blemishes
For any kind of face acne, I go in with a concealer that’s full coverage and similar to my skin tone. Using a brush, I just directly tap on the spots I want to cover. I’m only applying a little bit to neutralize the redness, then using a bit of powder to set it.
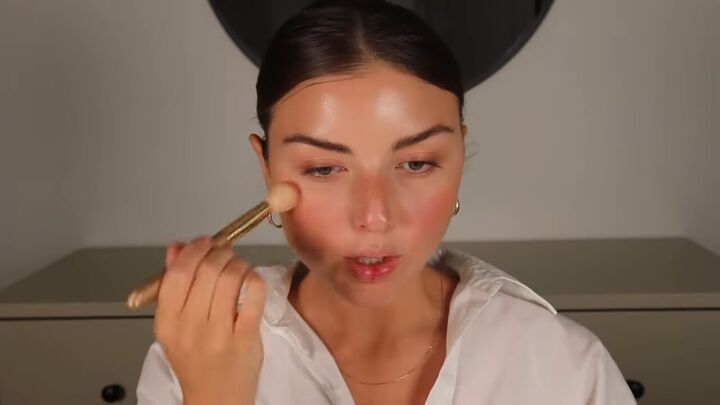
8. Cream blush
Cream blush just melts into the skin a little better than powder and it looks a lot more natural. I go in with a brush and just brush it on. You want to apply where you will naturally get the flushed look like your cheeks and your nose.
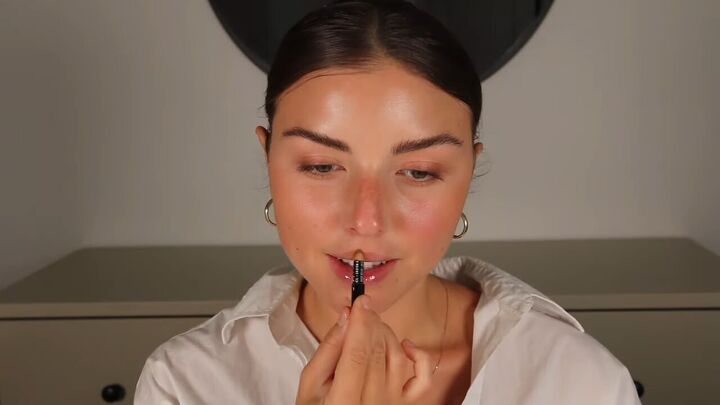
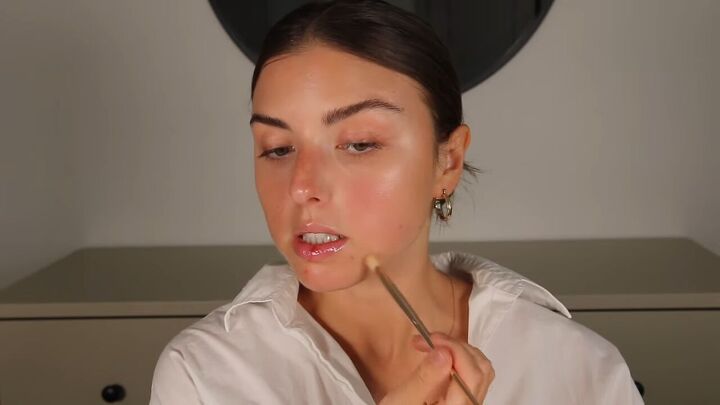
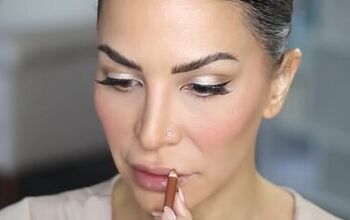
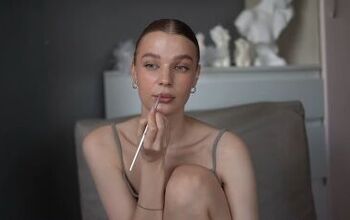
9. Lip liner
I don’t want to irritate my lips, so I’m going to go in with a lip liner to just lightly define the border of my lips.
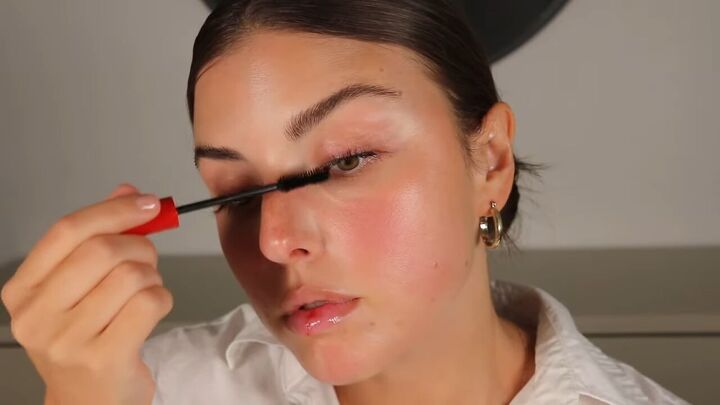
10. Mascara
Finally, I’m going to be adding some mascara. I want my lashes to make a huge statement and just open up the eyes, so I want them to be super voluminous and fluffy.
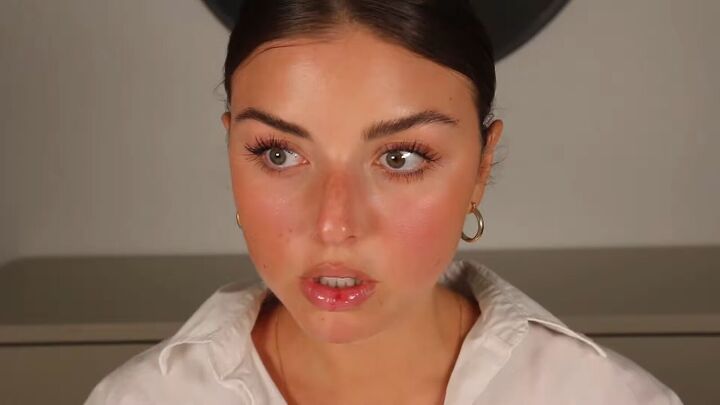
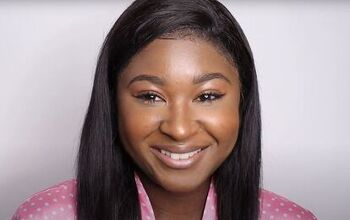
Clean girl makeup
Here’s my finished take on the clean girl makeup look. I love how this turned out, and it’s seriously going to be my go-to summer routine. It’s so easy and so fast.
Let me know what you guys think about the look and the trend below!
Products used:
- Anastasia Beverly Hills Clear Brow Gel
- Charlotte Tillbury Flawless Filter
- Becca Cosmetics Under Eye Brightener
- Makeup Forever HD Concealer 21
- Laura Mercier Under Eye Translucent Powder
- Dose Of Colors Cream Blush Dreamy
- NYX Nude Beige Lip Liner
- Nars Soft Matte Concealer
- CLIO Kill Lash Superproof Mascara 04 Extreme Volume
The author may collect a small share of sales from the links on this page.


Comments
Join the conversation
I’m thinking I’d like to give it a try alright but need some help with the face oil part. What exactly are you using as face oil? You look great by the way!
This is a very pretty look and you are gorgeous, but I'm afraid I'm just too lazy to use a routine that requires 9 different products, but thanks so much for sharing!