How to Finish Seams | Elise's Sewing Studio

We may earn money or products from the companies mentioned in this post.
Whether you are sewing clothes, decor, or anything else, you need to finish seams in your project! Different seam finishes are best used for various fabrics and applications. Finishing your seams prevents fraying and helps your sewing have a professional finish.
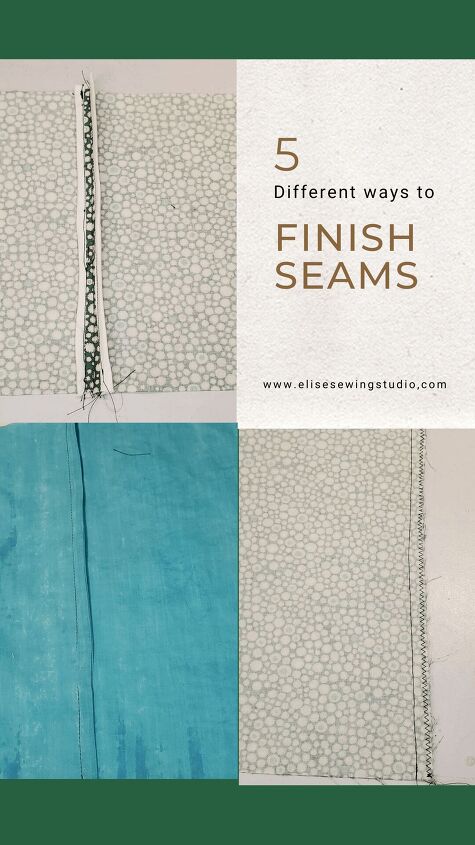
“Finish the seams” refers to doing something to your fabric to prevent the cut edges from fraying. It can be done by covering the raw (cut) edge with thread, or encasing the edge in a French seam (more on those below).
One of the few places you don’t need to finish your seams is when you are creating a lining. The area you are covering with a lining also does not need seam finishes applied since the lining will cover it.
- Double turned hems
- Facings and collars where the raw edges are covered
- boiled wool or felt
- leather
- vinyl
- faux fur
- pleather
Since these materials are not woven, they don’t unravel. A lining is commonly used with the above materials.
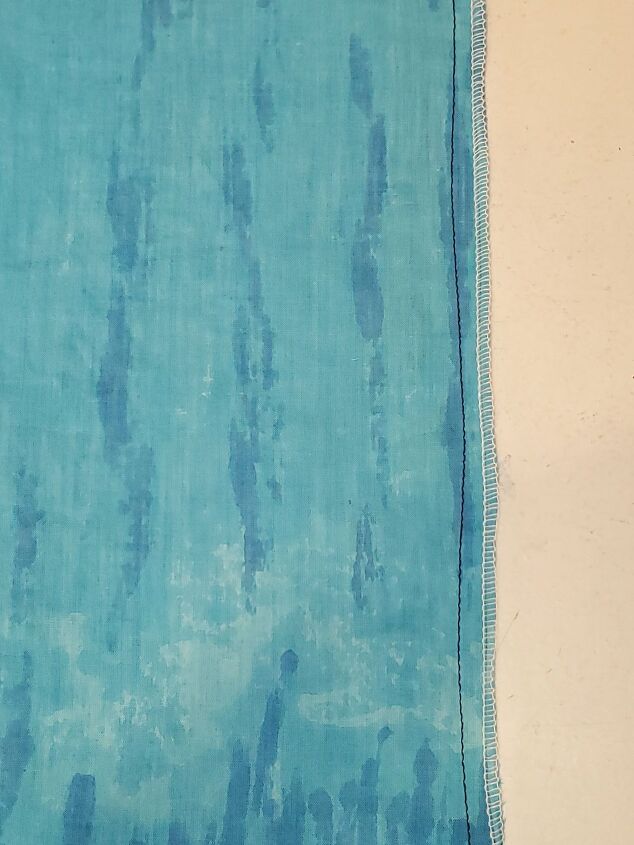
A serger uses either 3 or 4 threads to cover the edge of the fabric. For most woven fabrics, serge your pieces after cutting and then sew.
If you are sewing a knit fabric project (stretch/jersey), you can use a serger with a 4-thread configuration to make your seams and construct most of your garment.
How to finish seams without a serger or overlocker
I was sewing for a number of years before investing in a serger. Before I got my serger, I usually used a zig-zag stitch on the edges of my fabric.
It worked, but the serged edge is much neater. It is also faster to run fabric through a serger than to zig-zag it.

Your sewing machine may also have an overcast stitch. This serves the same purpose, to over the edge of your fabric with stitches to prevent fraying.
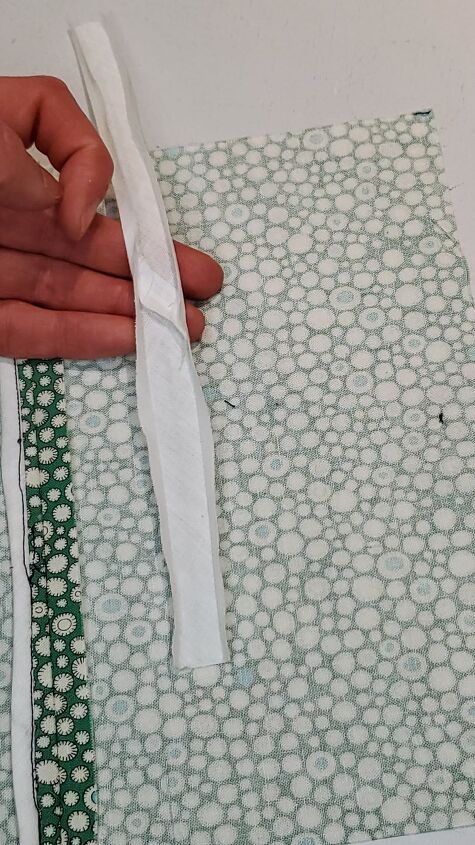
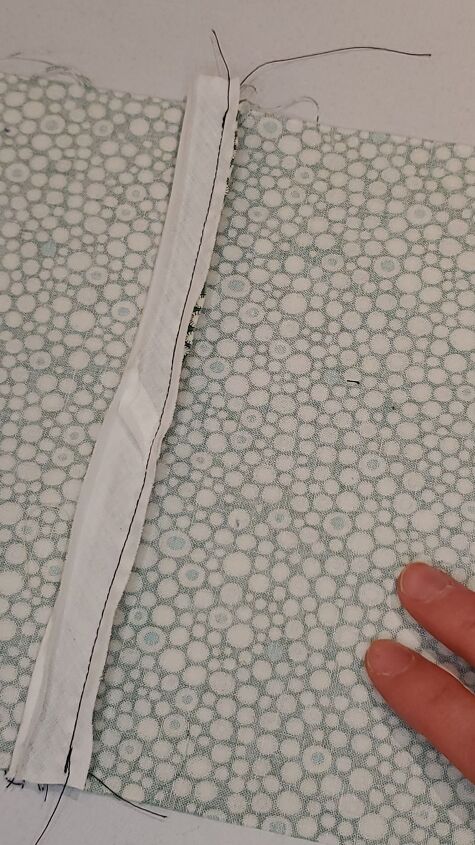
Bias tape is a professional-looking way to finish your seams without a serger.
You can buy bias tape or make your own. It is a strip of fabric cut along the bias that can be used to cover seams. If you want to make your own bias tape, you can read how to do that here.
Bias binding is suitable for woven fabrics only – it will not stretch with a knit fabric. It does make for beautifully finished seams.
While I wouldn’t consider using bias tape advanced if you are new at sewing just be aware that you really need to be comfortable sewing straight. If you are still mastering the machine, you might have an easier time with a zig-zag. You can also practice on scraps first.
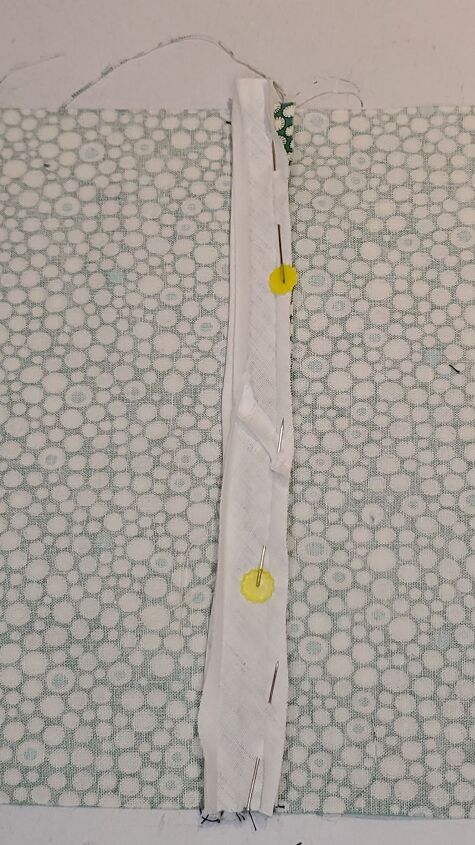
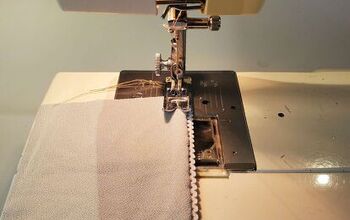
Take one edge of the bias tape (unfold it if it is folded) and pin it to the right side of your fabric. Sew it to the raw edge, I usually use 1/4″ seam allowance here.
I’m using navy thread so you can see it, but it would have been much prettier with a thread match!
Press it so it folds over the stitching line, then fold it down over the other side.
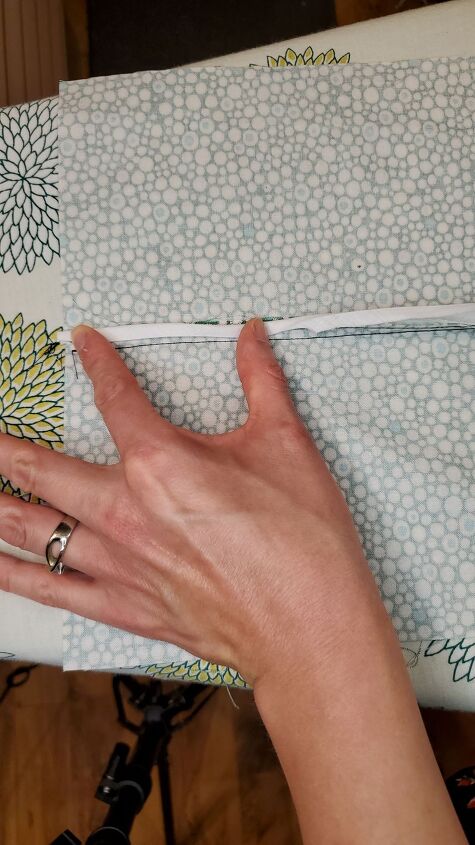
“Stitch in the ditch” (sew in the first stitching line), catching the bias tape on the other side of the fabric. You can do this so the bias tape is folded under, or laying flat.
The seam finish where the bias tape is flat underneath and not folded is called a “mock Hong Kong”.
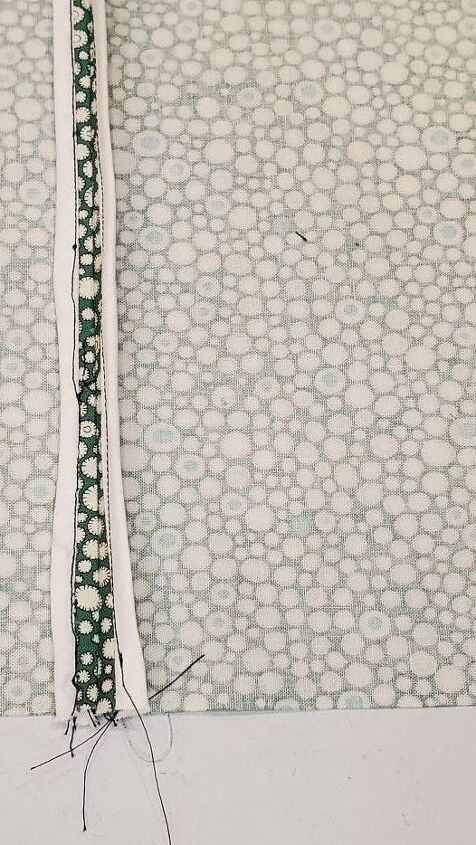
You now have a nicely covered seam.
The method where the bias tape is folded under on the bottom side can also be used to finish necklines and other edges of your sewing projects.
If you are sewing a knit or jersey fabric (basically a fabric with stretch), you need a seam finish and stitches that stretch with your fabric, otherwise, the stitching can break when the fabric stretches.
Serging is the most common (and what I recommend) as a seam finish for knits. As a bonus, you can serge your seams together so you sew your seam and do your seam finish all in one step.
If you don’t have a serger, you can use a zig-zag.
Note that knit fabric doesn’t fray much, unlike woven. However, it really does look much nicer with a serger.
If you would like to learn more about picking the right fabric for your next project, read How to choose fabric for garment sewing.
Since woven fabrics don’t have much stretch, you can use any of the seam finishes above.
If you want to learn more about knits versus wovens, head over to my article about sewing words you need to know.
A French seam is a seam finish where the raw edge of the fabric gets encased in the seam. This is the best choice for sheer fabric, but it can also be used any time you want to make the inside of your garment look professional.
French seams are best suited for lightweight woven fabrics.
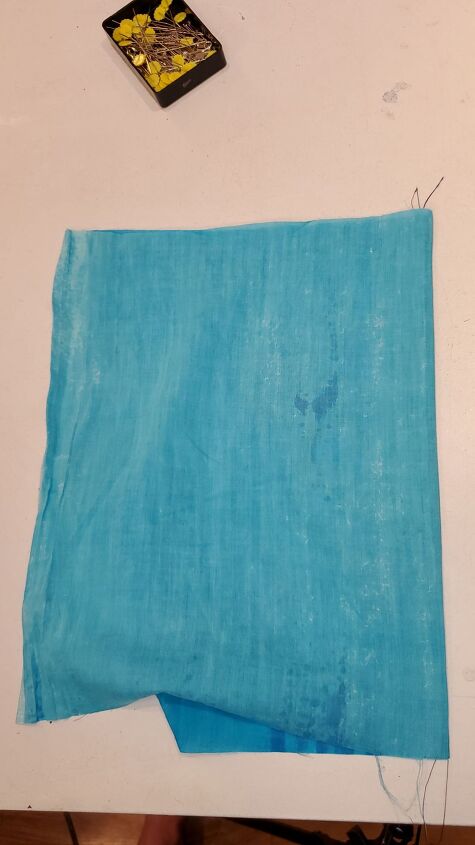
Most seams are sewn right sides of fabric facing each other, then flipped to the right side with the seam allowance on the inside. To make a French seam, however, put the wrong sides together.
Sew your seam with a very small seam allowance (I usually use 1/4″), wrong sides together.
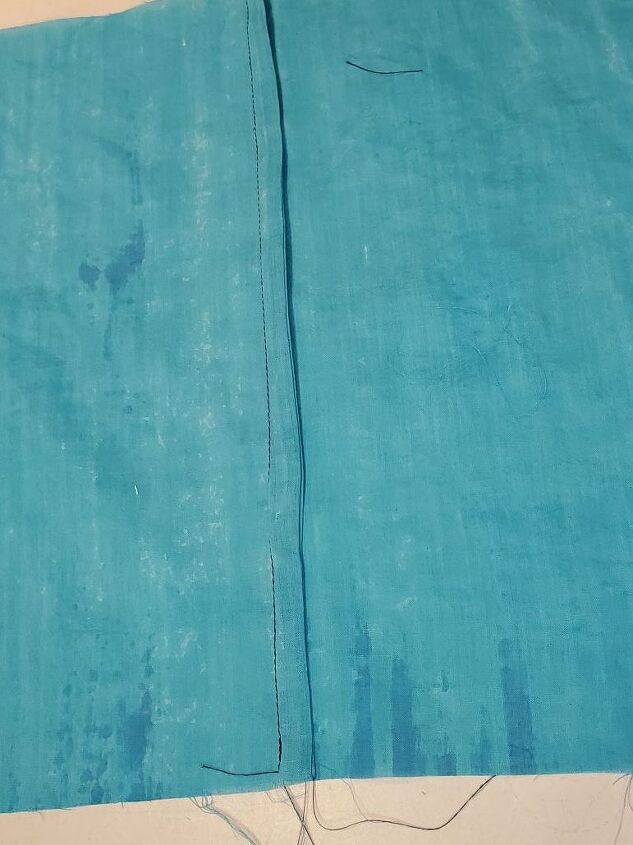
After you sew your small seam. put the right sides together so that the seam allowance of what you just sewed is on the inside. Press.
Sew with a slightly bigger seam allowance. here I usually use 1/2″. Remember the idea is to sew just to the outside of the raw seam allowance edge, so the raw seam allowance is encased inside this seam with the larger allowance. Press.
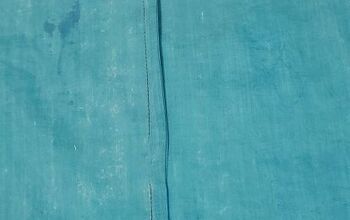
Flip right side out, then press again. You now have a beautiful, professional French seam!
If a little bit of the raw edge is sticking out of your seam, just trim it away.
If you aren’t sure about the fit of your garment, then you’ll want to test the fit before sewing a French seam as they aren’t easy to alter once sewn.
If you are sewing a garment where you know you might need to adjust the fit, you will be best off applying a seam finish to the fabric just after your pieces are cut, such as a serged edge or zig-zag stitch,
If you have taken an item in at the side seams and need to cut away seam allowance, you can use most of the seam finishes listed here except for a French seam.
There is one more seam finish I’ll mention, but it’s not one I use. If you have pinking shears, you can “pink” the edges of woven fabric and run a line of stitching along the pinked edge.
The pinking shears cut the fabric in a zig-zag edge. These zig-zags are then on the bias, and won’t fray much. It may still fray a bit, which is why there is the extra row of stitching.
You can find pinked seams on handmade clothing, especially vintage garments from before the time that sergers were popular.
There isn’t one “best” seam finish.
I will say that I use serged seam finishes the most. They are versatile – suitable for knit and woven fabrics – and fast. Once you get used to the convenience of a serger, it can be hard to go back to more time-consuming ways, although I do like the clean finish of a French seam in garments.
What seam finish do you use the most? Let us know in the comments below.
The author may collect a small share of sales from the links on this page.


Comments
Join the conversation